An iPhone 7 carries three microphones, and each serves a separate function. Before you travel across the city, a short check tells you which element is silent and whether the fault is hardware at all.
Three Microphones and Their Jobs
What each mic handles and how to spot it| Microphone | Where it sits | What it feeds | Quick check |
|---|
| Lower | Bottom edge, on the charging flex | Normal calls, voice memos | Record a memo |
|---|
| Upper | Next to the earpiece | Speakerphone, noise cancelling, selfie clips | Ring on speaker |
|---|
| Rear | Beside the main lens | Video sound, noise cancelling | Film a short clip |
|---|
A One-Minute Self-Test Before You Book
- Voice memo: open the recorder and speak normally; silence or a muffled result points at the lower microphone.
- Speakerphone call: ring a second phone on speaker; if you are heard here but not on a standard call, the bottom element is the suspect.
- Rear lens clip: film a short video and play it back; no sound means the rear microphone or its flex.
- Selfie clip: record with the front lens; missing audio points at the upper microphone.
- Siri and voice notes: ask Siri a question and send a spoken message; both failing usually confirms the lower microphone.
Software and Accessories That Fake a Dead Microphone
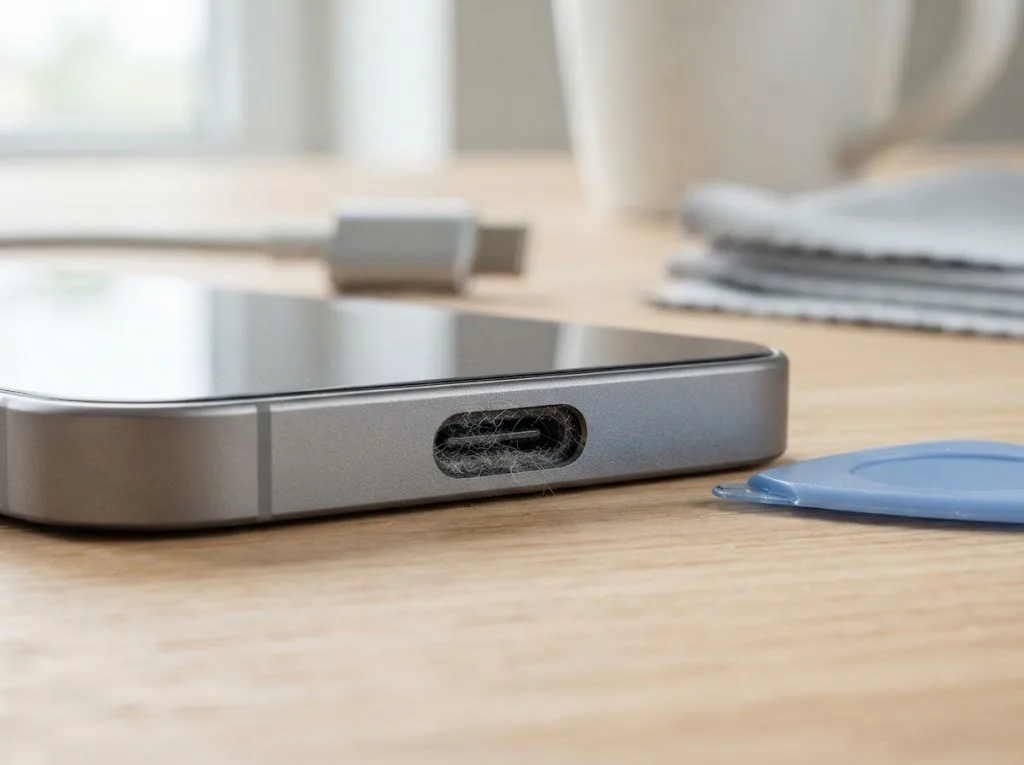
A paired Bluetooth headset, a denied microphone permission or a blocked grille can silence the device without any hardware fault at all. The bottom opening collects pocket lint and case debris, and a layer of dust over the mesh turns a working mic into a muffled unit. In Settings, check that the recorder and calling apps still hold the microphone permission after an update. A screen protector cut for the wrong model can also sit over the upper slot. Before paying for a component, unpair every Bluetooth device and reboot a single time, because the phone keeps sending sound to a headset that is no longer nearby. If the self-test still points at a dead element, an iPhone 7 microphone replacement in Almaty starts with a free check in front of you.
Matching the Symptom to the Failed Part in iPhone 7 Microphone Replacement
A dull, distant voice has three common roots: lint packed into the grille, water that reached the contacts, or a microphone that genuinely failed. We separate them by symptom first, so you pay for a cleaning when cleaning is enough.
Symptom, Likely Cause and What We Do
symptoms matched to causes and actions| Symptom | Likely cause | What we do |
|---|
| Silent on calls, fine on speaker | Lower microphone | Swap the charging flex |
|---|
| Muffled, never fully silent | Dirt or lint in the grille | Clean the mesh and openings |
|---|
| Dead after water | Oxidation on the contacts | Diagnose, then swap if needed |
|---|
| Voice cuts in and out | Loose connector | Reseat it or fit a new one |
|---|
| No sound on video only | Rear microphone | Fit a new rear module |
|---|
Cleaning, Drying or Replacing After Water
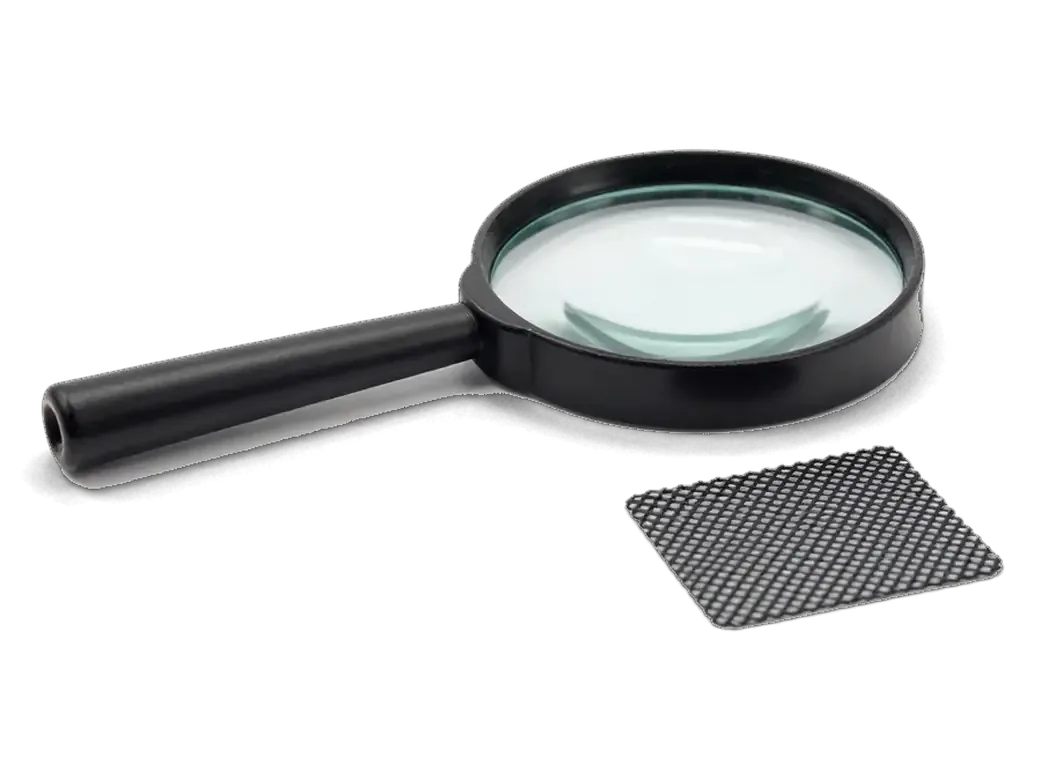
After water, a clean and dry often restores a muffled microphone, but a silent one usually needs the charging flex swapped. The iPhone 7 carries an IP67 rating, which covers splashes rather than immersion, so liquid still reaches the lower mesh through the speaker openings and dries slowly against the contacts. We open the grille, lift the lint with a fine pick and clear the mesh, then check the lower microphone against the rear and front ones. Oxidation shows as grey or green film on the part — where it has eaten into the traces, cleaning buys weeks, not months, and the flex goes in new. Diagnostics after a liquid hit can take up to two days, because corrosion keeps spreading and a component that tests fine today may fail tomorrow. If the phone went under, book the check early — oxidation moves faster than the calendar suggests.
Why the Charging Flex Comes With the Microphone in iPhone 7 Microphone Replacement
Owners are often surprised that a microphone repair pulls in the charging port. On the iPhone 7 these functions share a single physical component, and that shapes both the diagnosis and the bill.
One Part, Several Jobs
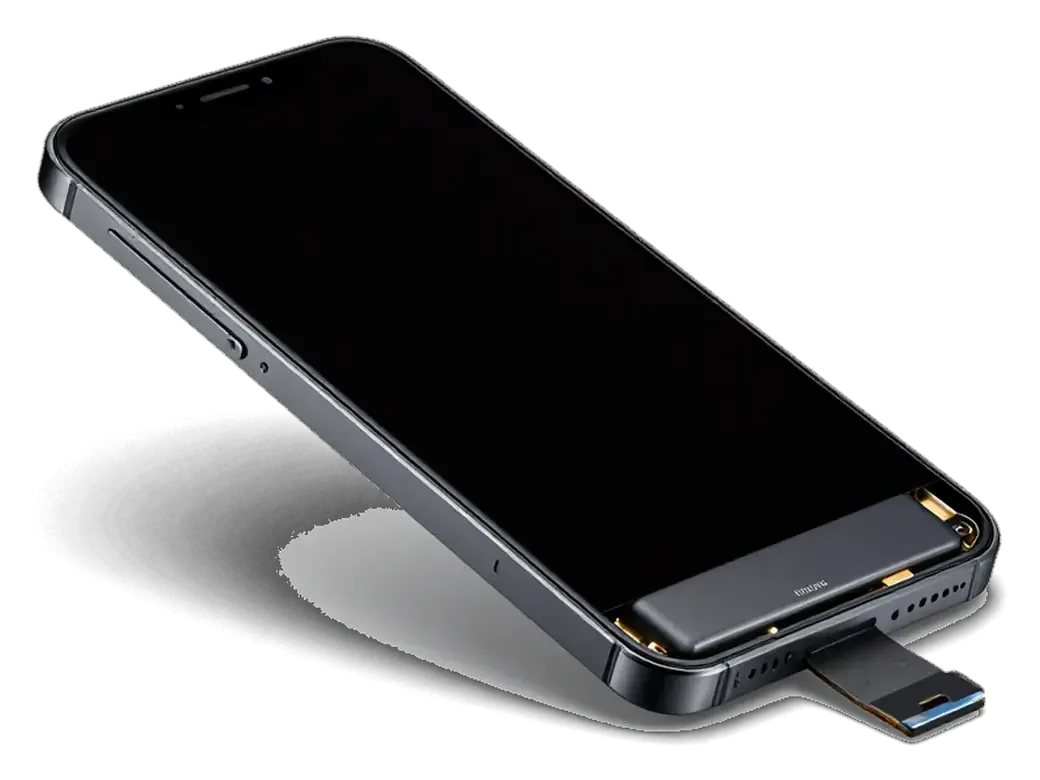
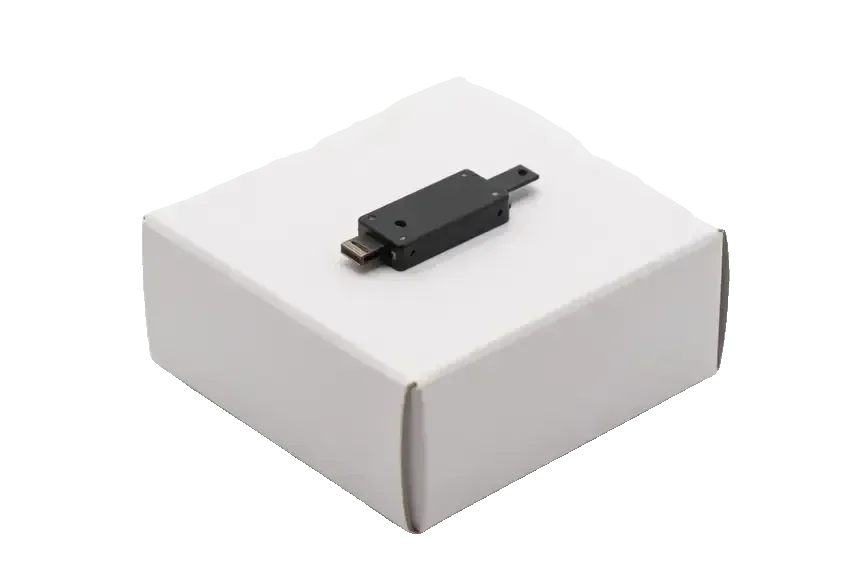
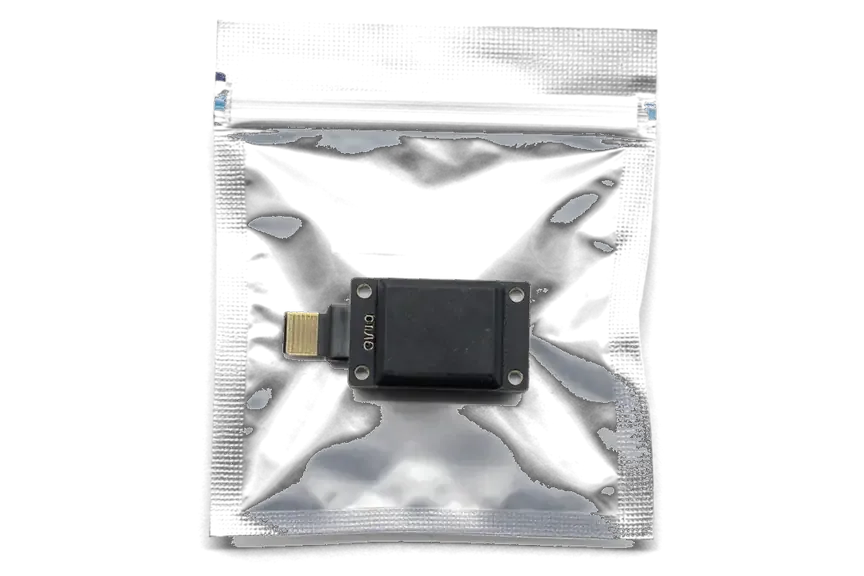
On the iPhone 7 the lower microphone is soldered to the charging flex, so the two are replaced as a single unit. That ribbon runs along the bottom edge and carries the Lightning connector, the lower mic and the contact pads for the loudspeaker. Apple bonded all three onto a single assembly, which is why the catalogue for this model has no standalone lower microphone. The upper microphone sits in a separate cable near the front camera, and the third serves the rear camera during video recording. Because the same ribbon also carries the Lightning socket, a failing charge port and a silent mic often turn out to be the same fault — if your phone already needed the cable held at an angle to charge, expect the microphone to be part of that job.
What Else the New Flex Restores
- Normal calls: the lower mic picks up your voice again on a standard handset call.
- Charging: a worn Lightning connector that worked only at an angle is swapped with it.
- Data transfer: syncing over the cable runs reliably once the ribbon is new.
- Voice memos: the recorder captures clean audio instead of silence or hiss.
- Speakerphone handoff: switching between handset and speaker no longer drops your voice.
When the Fault Is the Audio Codec and Not the Microphone
The iPhone 7 has a well-known circuit-level fault that mimics a dead microphone. We separate it from a genuine microphone problem before anyone swaps a part.
Signs That Point to the Board
A greyed-out Speaker button, a dead voice recorder and a slow boot on the iPhone 7 usually mean the audio codec on the logic board, not the microphone. The pattern repeats: the button stays inactive no matter how often you tap it, the recorder app opens but captures nothing, and startup drags through the logo longer than usual. Those symptoms share a single origin — the chip that routes audio signals — while a failed lower cable leaves the Speaker button working and only kills a single channel. Water contact and a drop onto the lower edge are the two common triggers we see behind codec damage. Swapping the audio chip in this case changes nothing, so diagnosing the logic level first saves the cost of a component that was never faulty.
How We Tell Them Apart
We run the voice memo, speakerphone and boot test in front of you, and if all of them fail together we look at the logic board, not the lower assembly. The check takes about 15 minutes and costs nothing, even when you decide against the repair. Our engineer records a voice memo on the spot, calls the speakerphone from a second handset and times the boot, then compares the results with the channel map for all three microphones. Circuit-level work is done under a microscope and takes from one to three days, so it is quoted separately from a same-day swap of the audio chip. As a direct contractor with our own workshop, we tell you which of the two faults you actually have before any component is ordered.
How the Replacement Runs and What You Get Back
From the first WhatsApp photo to the handover with the sound check you watch, this section walks through each step of the job and what stays in your hands at the end.
From WhatsApp Photo to Pickup
- Photo quote: send a picture of the phone on WhatsApp; an engineer replies within five minutes with a price.
- Free diagnostics: the engineer checks the device in front of you for 15 minutes and shows what has failed.
- Receipt: price, part, turnaround and warranty are fixed on the receipt in about two minutes before work starts.
- New component: the charging flex is shown in factory packaging before installation, original or aftermarket as you choose.
- Waiting: coffee and Wi-Fi in the waiting area while the swap runs, usually 20 to 40 minutes.
- Courier: a courier across the city takes 90 minutes and is free with a repair if you cannot come in.
The Handover Check and Your Warranty
Before you leave we check 32 functions in about 10 minutes, microphones included, and hand over the receipt, warranty card and old part. The engineer runs the same routine every time: both cameras, the three microphones, speakers, charging and network, with you watching the screen. The old charging flex goes into the box with your device, so you can see the component that failed. Warranty runs up to 1 year and covers the fitted flex, and the receipt carries the same terms we agreed before the work began. One habit from our bench: test the phone on a real call to a second handset at the counter, because speakerphone alone can pass while the handset microphone still fails. Ask the engineer to place that call before you sign, and listen for your own voice on the other end.
Summary: iPhone 7 microphone replacement
A short list to take with you before booking the work, drawn from the symptoms, parts and checks covered above.
- Find the silent microphone first: a voice memo, a video on each camera and a single speakerphone call narrow the fault in a minute.
- Expect the flex, not just the microphone: on the iPhone 7 the lower microphone and the charging port are a single unit.
- Rule out the board: a grey Speaker button and a dead recorder point at the audio codec, not the microphone.
- Clean before you replace: dirt and lint in the grille mimic a failed microphone and cost nothing to fix.
- Check the sound on pickup: test calls, speakerphone, voice memos, video and Siri before you leave the counter.









 iPad
 MacBook
 iMac
 Mac mini and Studio
 Apple Watch
 AirPods
 Apple Pencil
 Apple TV
 HomePod