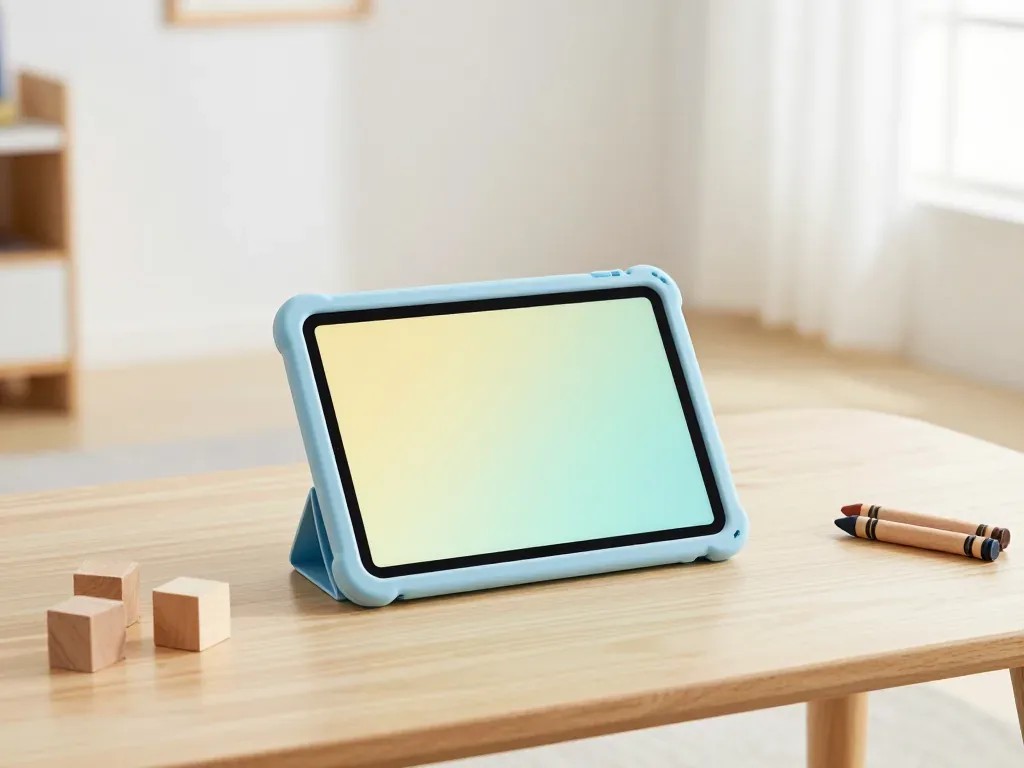
The Air 4 pairs a thin aluminium body with a fully laminated display, so its typical failures differ from older tablets. Below are the faults owners bring in most often and the symptom that points to each.
Cracked glass, lines and dead touch zones
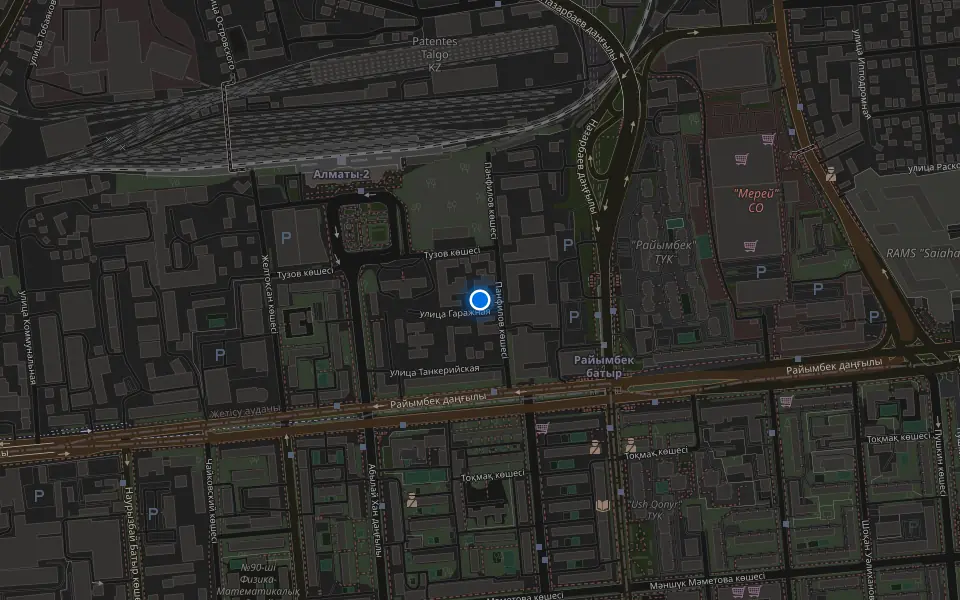
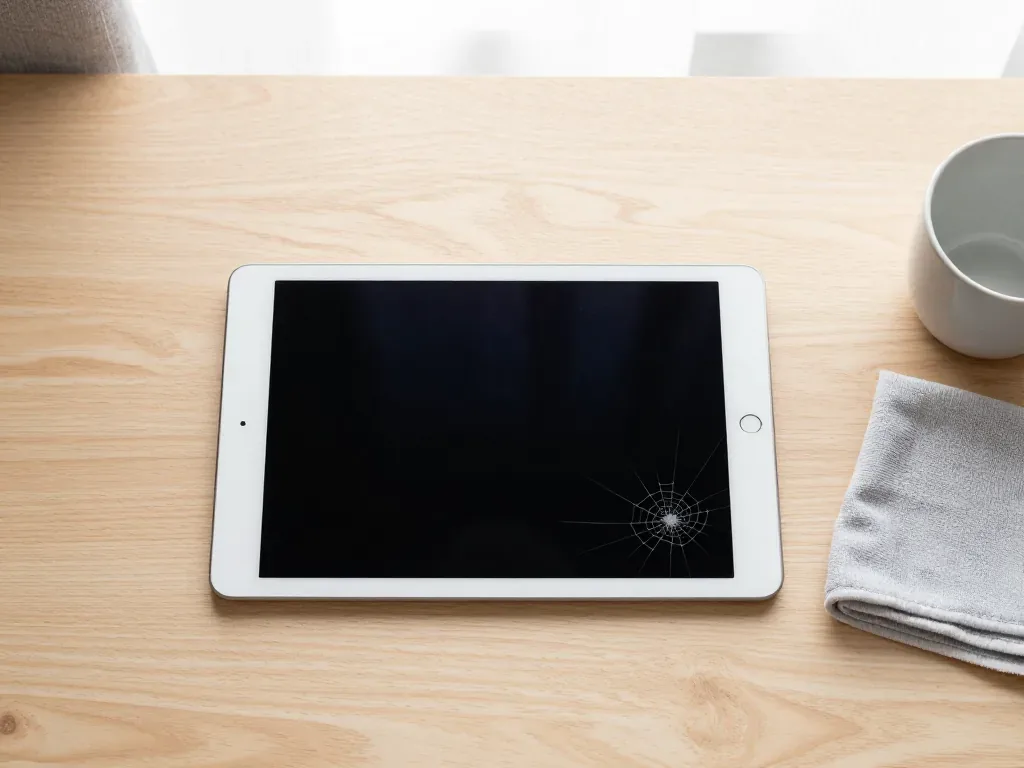
On the Air 4 the glass and LCD are bonded into a single module, so a crack that reaches the panel shows as lines, black patches or dead touch zones rather than a simple chip. A drop on the corner often leaves the outer glass intact while the liquid crystal layer underneath bleeds dark and stops responding along a strip. Because the digitizer sits inside the same laminated stack, a damaged layer takes touch with it even when the image still looks clean. A hairline crack over intact glass can wait a few days if touch still works everywhere, but any pressure on it can spread into the LCD and turn a glass-only job into a full assembly swap.
Battery wear, swelling and sudden shutdowns
We see Air 4 batteries swell after years of heat and charging cycles, and a swollen cell pushes the display up along an edge before it ever fails to hold a charge. The cell is glued into the chassis, so the swelling has nowhere to go but outward against the screen, and the first sign is often a tablet that rocks on a flat table or a bright pressure spot on the panel. Owners usually notice the shutdowns later — the device dies at 30–40% or cuts out under load. If the screen sits proud of the frame or rocks when pressed, stop charging the tablet and bring it in — a swollen cell under a bonded panel can crack the LCD from the inside.
Charging, USB-C and board-level faults
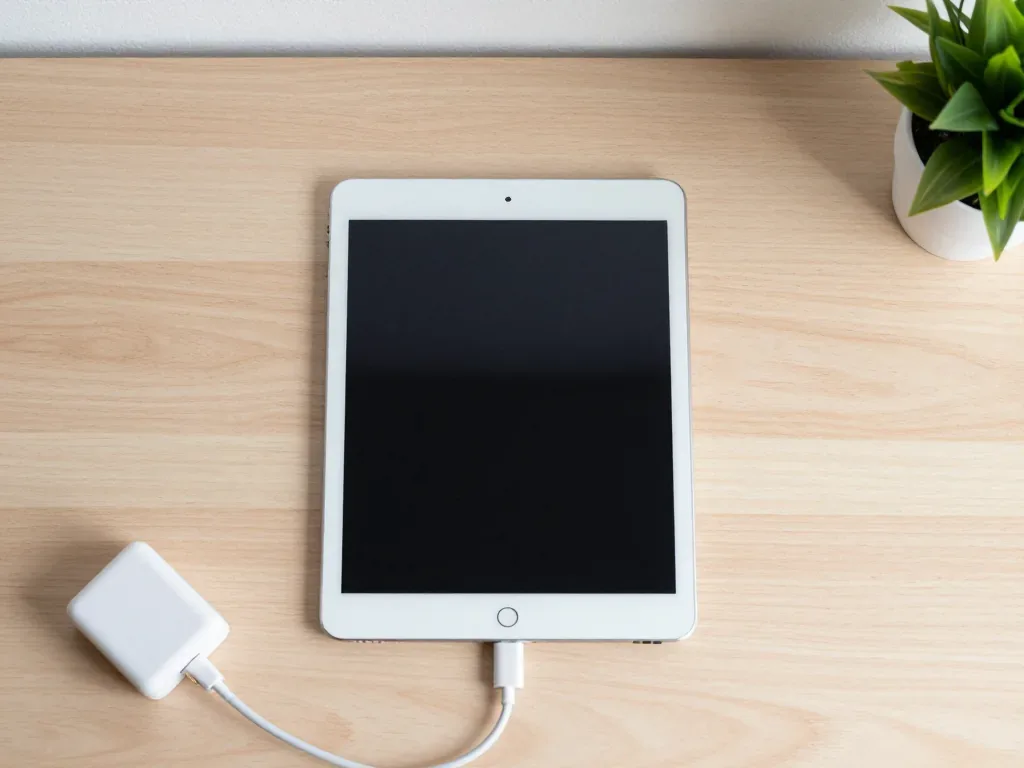
- Cable and adapter first: swap the lead and charger to rule out the simplest cause before touching the tablet.
- USB-C port and flex: the connector and its ribbon are checked next, since lint and bent pins mimic a dead battery.
- Battery state: a cell that reads low and will not accept charge points to wear rather than the port.
- Power controller on the board: only when the first three pass does the fault move to the charging IC under the shield.
- Symptom check: USB-C ports on the Air 4 collect lint and bend pins from angled cables, so a port that works only at a single angle is usually the connector, not the battery or the board.
Display Module, Touch ID and Apple Pencil After the Swap
The Air 4 belongs to the laminated generation, and its fingerprint reader lives in the top button rather than under the display — both facts decide what a screen repair actually involves on this tablet.
Why the Air 4 screen is replaced as a whole module
On the Air 4 the front glass, touch layer and LCD are bonded into a single laminated unit, so a cracked front is replaced as one piece rather than as bare glass. The digitizer and the LCD sit directly against the cover with an optical adhesive layer between them, and the anti-reflective coating is applied to the outer surface during bonding. Separating those layers by heat or wire requires the panel to come off the frame, and the adhesive rarely releases evenly across a 10.9-inch diagonal. A bonded screen is never a glass-only job on this model — the LCD matrix and the coating are what fail first in a careless split. Trying to save the display this way usually ruins the matrix and the anti-reflective layer, so the full assembly protects touch response and the True Tone sensor that reads through it.
Touch ID in the top button and how it survives a repair
The Air 4 fingerprint reader sits in the top button and is paired to the logic board, so we transfer the original button to the new assembly instead of fitting a fresh one. That pairing is why a replacement assembly arrives without a working reader, and why the original part, its flex and the small contact plate travel from your old display to the new one during the swap. The transfer adds a few minutes to the job but keeps the reader matched to the board it was registered with. A component pulled from another tablet will power the device but refuse fingerprints, so ask any workshop to confirm your own part goes back on before they start.
Apple Pencil response and True Tone after a new panel
- Pencil across the screen: draw diagonal lines into all four corners and watch for gaps or jitter.
- Tilt and pressure: shade with the stylus held low, then press harder to confirm pressure steps register.
- True Tone: toggle it in Settings and move the tablet between warm and cool light.
- Auto-rotation: turn the tablet through all four orientations and confirm the image flips cleanly.
- Connector seating: lag or a frozen white balance after a swap usually means a poorly seated display cable, not a bad panel.
How We Handle Your iPad Air 4 Repair in Almaty
The order of steps matters as much as the part itself — here is the exact path your tablet takes during an iPad Air 4 repair, from the first WhatsApp photo to the moment you walk out with it.
From a WhatsApp photo to a fixed quote on the receipt
- Photo first: send a picture of the damage on WhatsApp and an engineer replies within 5 minutes with a price and a free slot.
- Free diagnostics: the engineer checks the device in front of you and shows exactly what is broken before any work is approved.
- Written quote: price, part type, turnaround and warranty go onto the receipt in about 2 minutes, before the tablet is opened.
- Waiting area: you can stay on site with coffee and Wi-Fi while the work is done, since most jobs finish within the hour.
- Pickup set: the device comes back with the receipt, the warranty card and the old part in the box.
Free diagnostics in front of you and the part in factory packaging
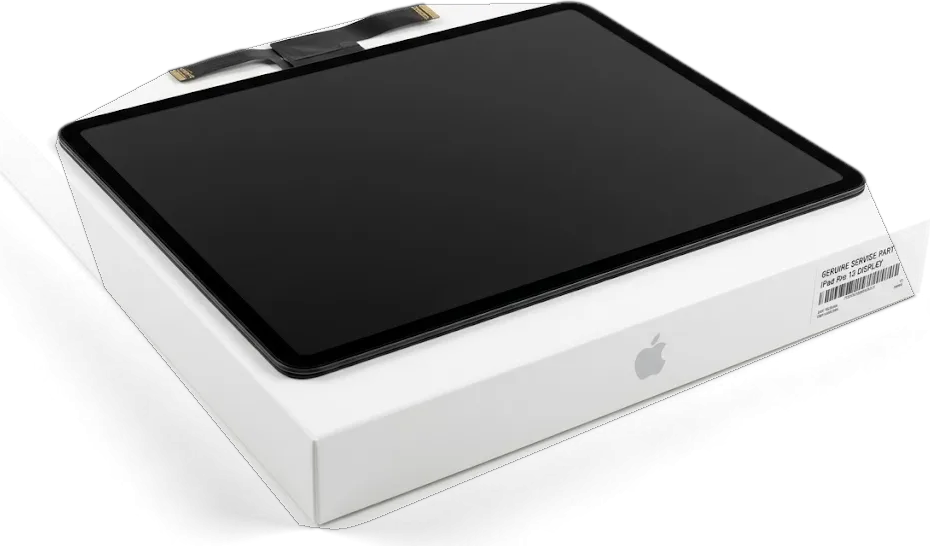
Diagnostics take 15 minutes and happen in front of you, and the replacement assembly is shown in its factory packaging before it goes anywhere near the frame. This matters on a tablet where the screen, the digitiser and the top-button Touch ID are handled as separate concerns: you see the fault on your own panel, then you see the sealed part that replaces it. We keep both original and aftermarket modules on the bench, and 64% of customers pick the original — the engineer lays out both options side by side so the choice is yours, not ours. Watching the sealed pack being opened and the fault pointed out on your own screen is the simplest way to know the part you pay for is the part you get. That is how an iPad Air 4 repair in Almaty stays transparent from the first photo to the final check.
The 32-point check and what you test before leaving
After assembly we run a 32-function check that takes about 10 minutes, covering Touch ID, True Tone, cameras, microphones, speakers, charging and network. The list is not a formality — it catches the small faults a quick visual inspection misses, such as a muffled speaker grille or a port that charges slowly. You then repeat the same checks with the engineer at the counter, so anything weak shows up while the tablet is still on our bench, not at home. Bring your own charger and cable to that final test if you can: a third-party adapter with a worn connector can mimic a charging fault that the board does not have, and ruling it out on the spot saves a second visit.
Original Part or Aftermarket and What the Warranty Covers
The Air 4 module and battery come in two grades, and the difference shows up in colour, brightness and how long the part lasts — here is how to choose.
How original and aftermarket modules differ in daily use
Two screen grades compared by daily behaviour| Parameter | Original assembly | Aftermarket assembly |
|---|
| Colour and brightness | Matches factory calibration | Slightly warmer, a touch dimmer |
|---|
| True Tone | Works as before | May shift less with room light |
|---|
| Apple Pencil | Full tracking and tilt | Full tracking, minor latency |
|---|
| Warranty | Up to 1 year | 6 months |
|---|
| Typical choice | 64% of customers | Budget-conscious owners |
|---|
Battery choice and why the glued-in cell matters
The Air 4 battery is glued under the display, so replacing it always means lifting the module first, and we fit either an original cell or a tested aftermarket one. The cell sits in a bonded sandwich of glass, panel and frame, and each opening stresses that bond a little. An original cell holds its rated capacity across more charge cycles, while a tested aftermarket unit costs less but ages faster under heavy daily use. We show you the replacement in factory packaging before it goes in, so the grade is never a surprise. A cheap cell that loses capacity within months costs more in the long run than the part itself, because the second opening puts the bonded screen at risk again.
What the warranty card covers and what it does not
Every job carries a warranty up to 1 year, and the card you receive names the part fitted, the date and the work done, alongside the old component in the box. The document travels with the receipt, so both stay together as one record of the repair. Coverage follows the part and our workmanship on that specific job: a module that fails on its own or a battery that drops capacity early is handled under the card. The warranty does not extend to a fresh drop, pressure damage or liquid contact, since those are new events rather than faults in the fitted component. Keep the card with the receipt — it is what a future claim is checked against.
Turnaround Times and What Changes the Wait
Most Air 4 jobs finish the same day, but water damage and logic faults follow a different clock — here is what to expect and how to plan around it.
Same-day repairs and waiting in the lounge
Most tablet work at our bench takes from 1 hour to 1 day, and 72% of repairs finish while the customer waits in the lounge with coffee and Wi-Fi. A screen module swap, a glued-in battery or a USB-C flex on the Air 4 all sit inside that window, since the parts are held for this model and the screen lift is a routine step. If you would rather not sit through it, a courier can collect the device and bring it back the same day. Booking a slot through WhatsApp before you arrive is what keeps the wait short, because the module for your model is pulled and checked before you reach the counter.
Water damage and why diagnostics can take two days
After liquid contact, diagnostics can take up to two days because corrosion under the shields only shows once the unit is cleaned and powered in stages. A lab bench supply lets us bring the logic board up slowly and watch current draw at each rail, so a short that looks clean at first glance surfaces on the second or third pass. Liquid often reaches the battery connector and the display flex first, and both need inspection before any power is applied again. Do not charge a wet unit to test it — current through a damp circuit turns a cleanable short into a burned component, so dry it and bring it in switched off.
Board-level work under the microscope and courier pickup
Job types against typical turnaround and the deciding factor| Job type | Typical turnaround | What decides the wait |
|---|
| Display panel swap | 1 hour to 1 day | Panel in stock for Air 4 |
|---|
| Battery replacement | 1 hour to 1 day | Screen lift and re-glue |
|---|
| USB-C port and flex | 1 hour to 1 day | Access to the logic board |
|---|
| Water damage | Up to 2 days diagnostics | Corrosion under shields |
|---|
| Micro-soldering | 1 to 3 days | Scope work and testing |
|---|
Summary: iPad Air 4 Repair
A short recap of what decides the outcome on this tablet — the module, the paired button, the cell and the fault path — so you can judge a quote and a timeline before handing the device over.
- Laminated front: the Air 4 panel is bonded as one assembly, so cracked glass is swapped whole, never re-glassed on its own.
- Paired sensor: the fingerprint reader sits in the top key and is tied to the logic board, so the original one must move to the new part.
- Swollen cell: a pack that bulges lifts the display before it stops holding a charge — stop topping it up and have it inspected.
- No-power path: a tablet that will not take current is traced from cable to port to power source to controller, in that order.
- Timing: liquid ingress and board faults run longer than a glass swap, so allow a day or more for those two cases.















 MacBook
 iMac
 Mac mini and Studio
 Apple Watch
 AirPods
 Apple Pencil
 Apple TV
 HomePod