Whether an SSD upgrade for Mac is even possible depends on the generation. Older machines use a removable module, while newer ones solder memory to the board, so the first step is always identifying the model.
How to tell whether your Mac has a removable drive
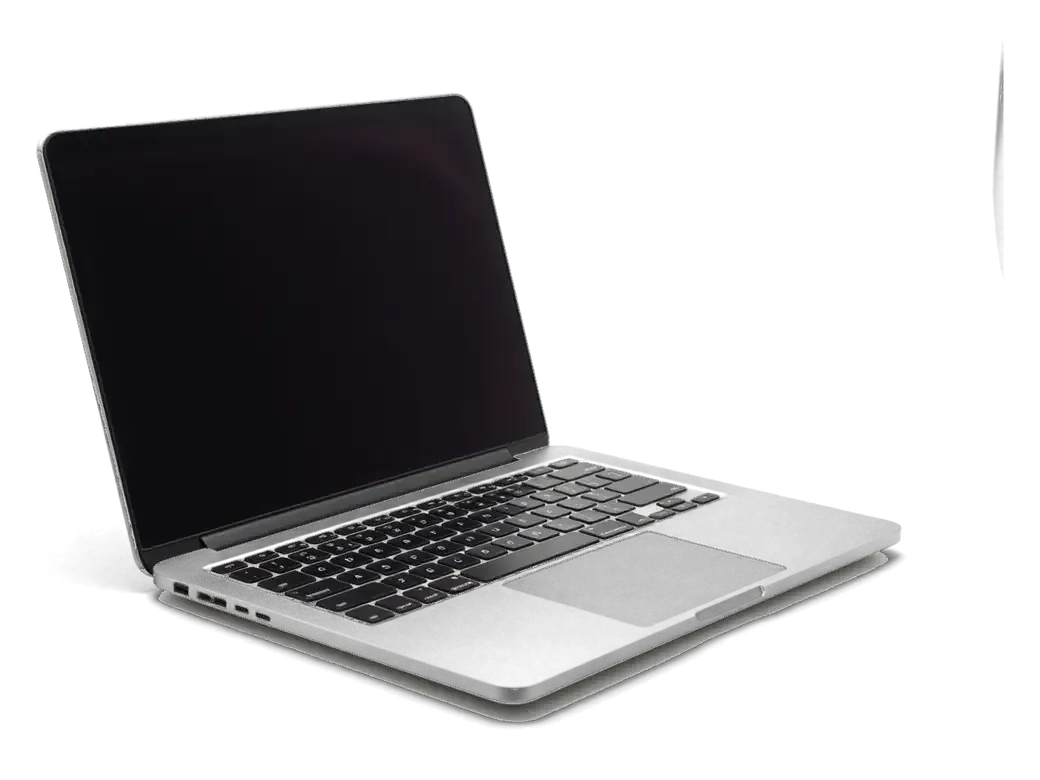
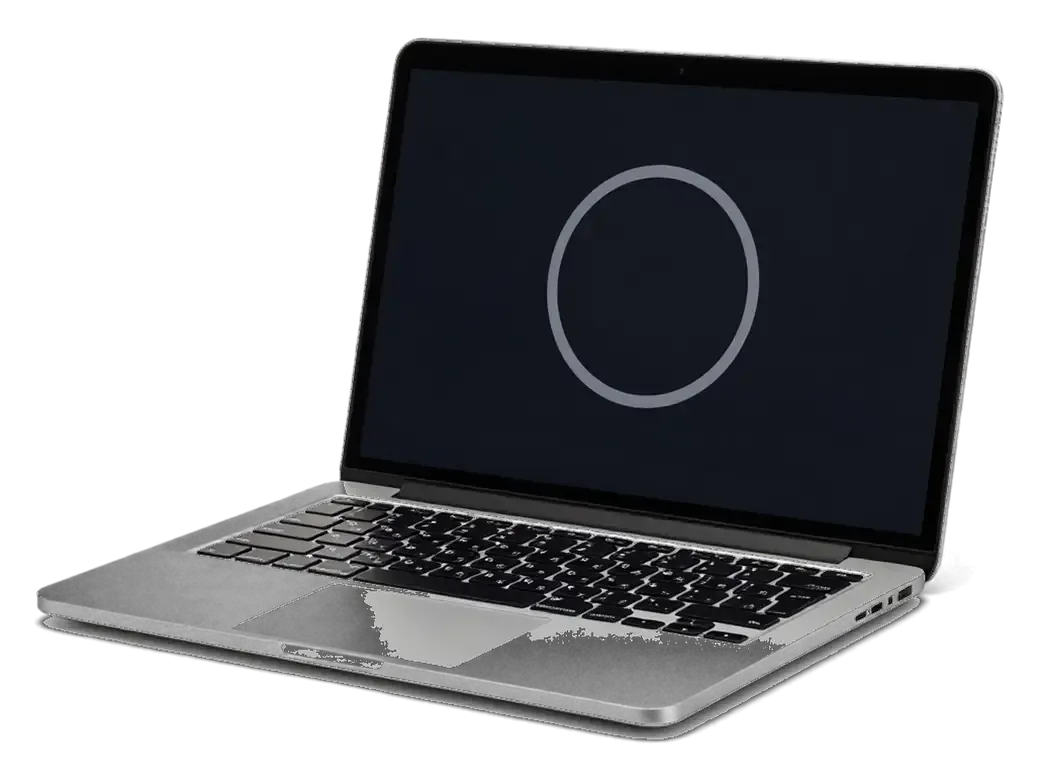
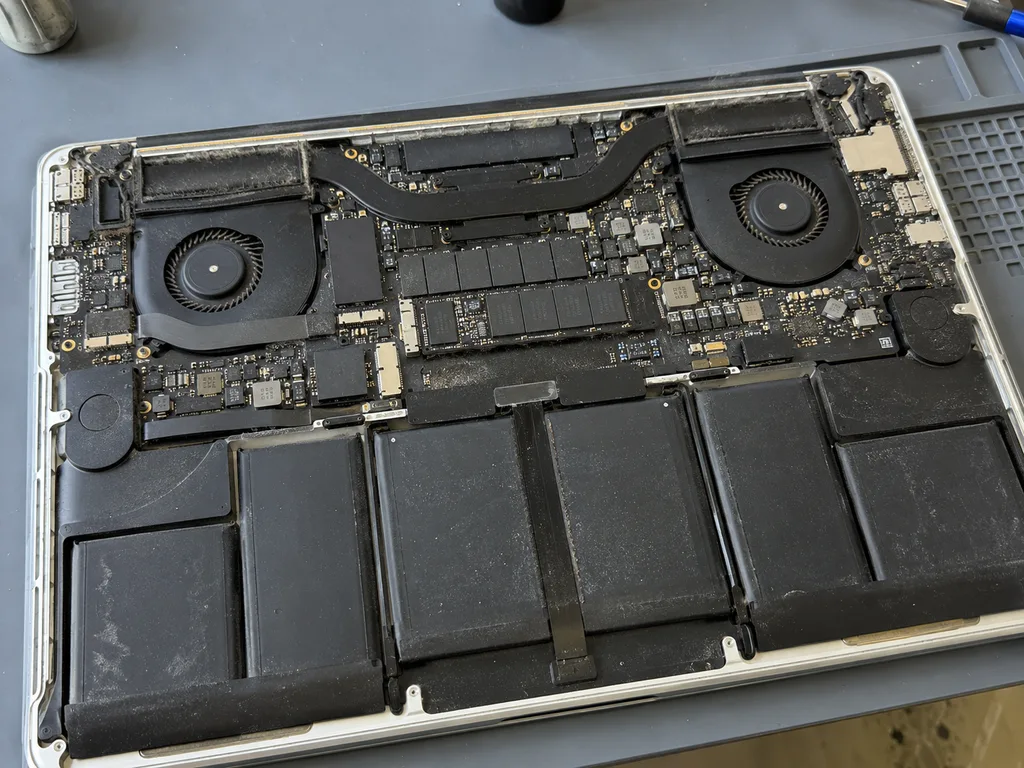
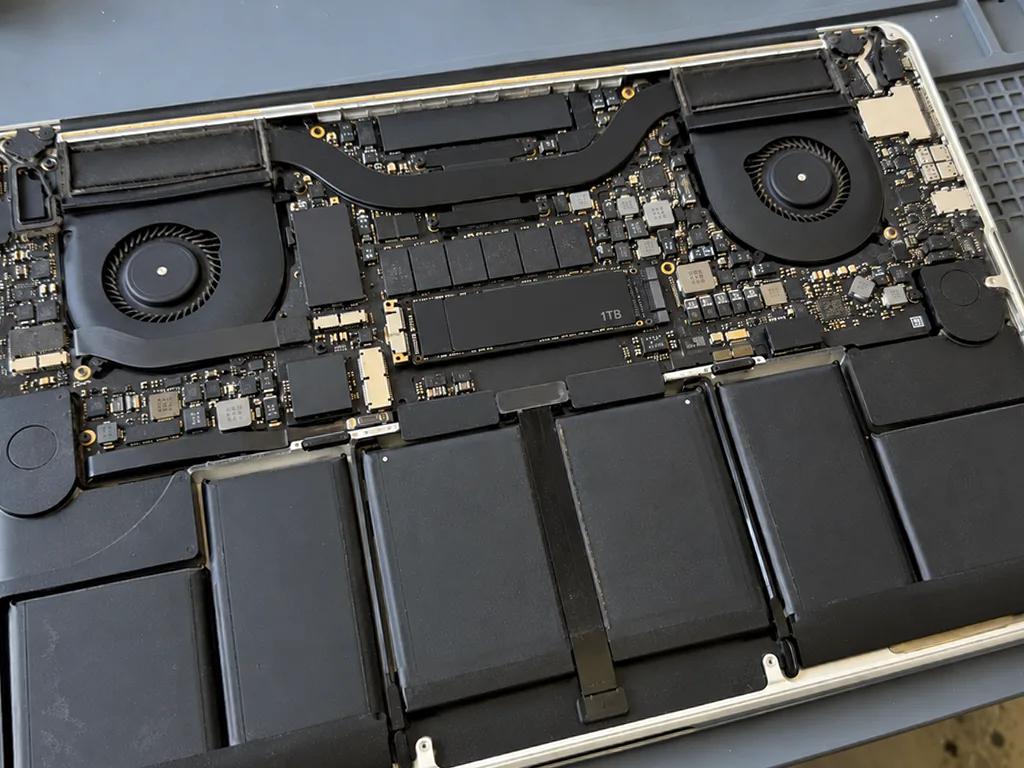
We identify your model from the serial number and the bottom case, then confirm in 15 minutes whether the storage is a separate module or soldered to the board. A non-Retina laptop opens from the bottom panel and holds a 2.5-inch SATA unit in a bracket, while a Retina Air carries a proprietary blade module on its own connector. On the T2 chip and on any Apple Silicon machine, the NAND sits directly on the motherboard and no separate module exists to swap. Our engineers check this in front of you during free diagnostics, so you see the layout before any decision. If you are planning an SSD upgrade for Mac in Almaty, this check tells you upfront whether a module swap is possible. The generation matters more than the year on the box, because two adjacent releases can have completely different designs.
Compatibility by generation
Storage layout and upgrade path by Mac generation| Mac generation | Drive type | Upgrade route |
|---|
| MacBook Pro without Retina, older iMac | 2.5-inch SATA HDD | Replace with SATA SSD |
|---|
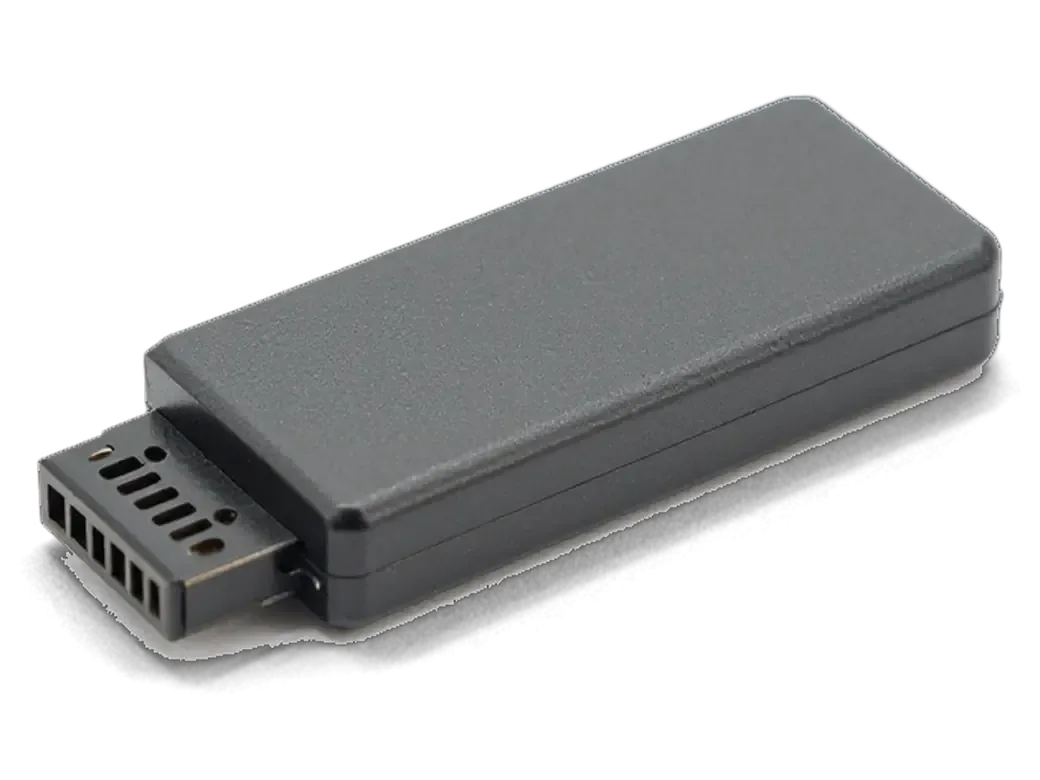
| MacBook Air, early MacBook Pro Retina | Proprietary removable SSD | Larger SSD or NVMe via adapter |
|---|
| Models with Touch Bar and T2 | Soldered storage | External SSD only |
|---|
| Apple Silicon M1 and newer | Soldered NAND | External SSD only |
|---|
Signs your current drive is holding the machine back from an SSD upgrade Mac
A slow Mac is not always a worn-out device. Often the storage is the bottleneck, and swapping a mechanical disk for an SSD brings an older laptop or desktop back to comfortable everyday speed.
Symptoms that point to the storage
- Slow startup: the login screen appears after several minutes rather than seconds.
- Laggy apps: programs bounce in the dock and take long to open.
- Constant noise: the platter clicks and hums under load.
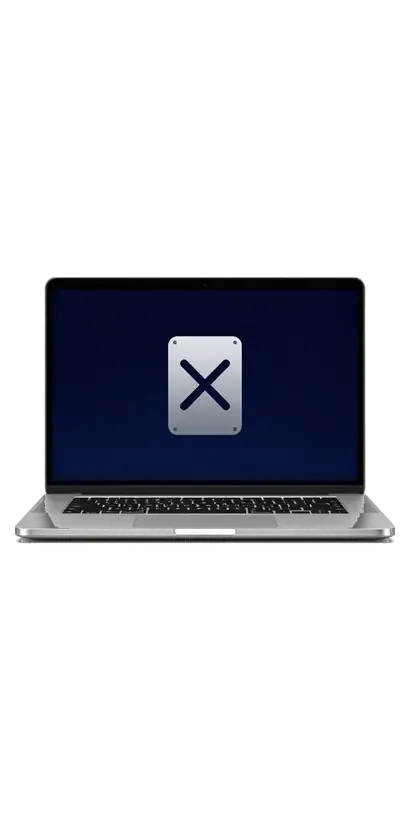
- Question mark at boot: the system cannot locate a bootable volume.
- Failed saves: files refuse to write or the device freezes mid-copy.
- Beachball stalls: the waiting cursor appears during simple tasks like browsing.
What an HDD to SSD swap changes on an older Mac
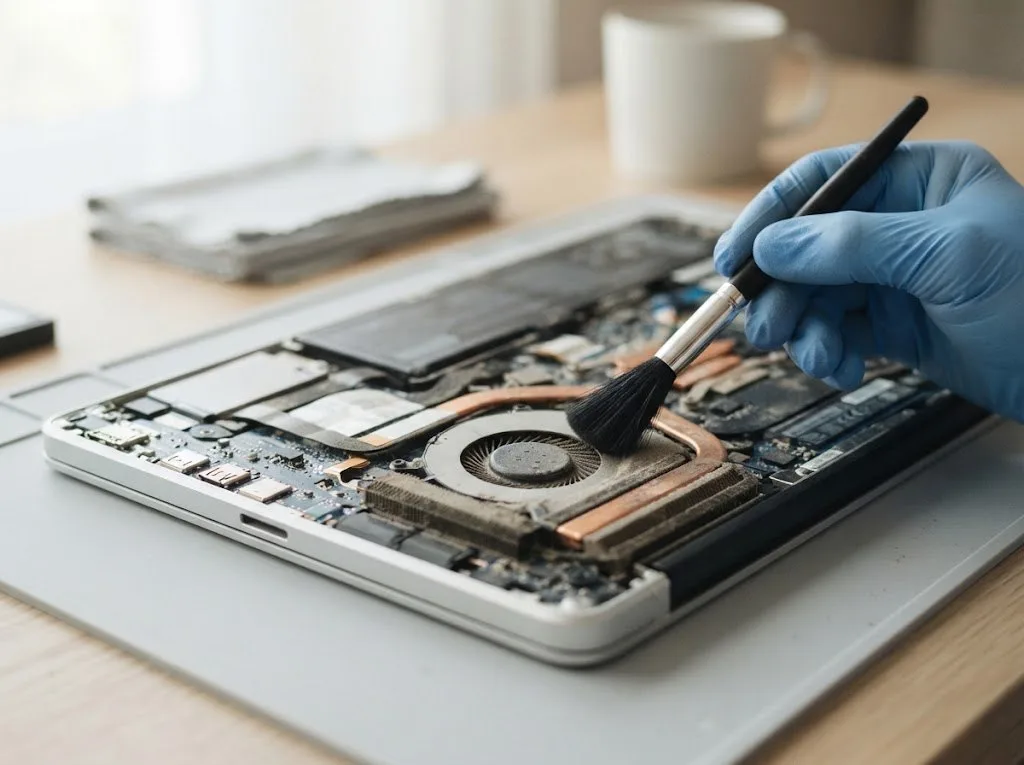
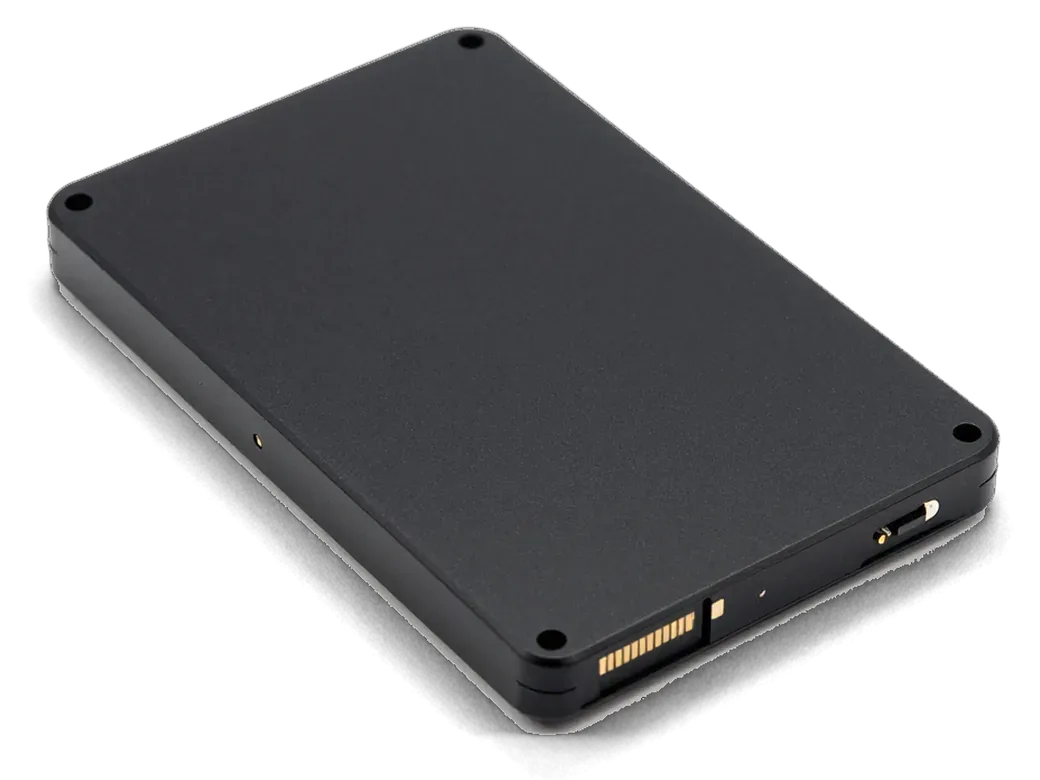
On an older MacBook Pro or iMac we replace the 2.5-inch spinning unit with a SATA drive, and the computer boots and opens programs noticeably faster. The swap touches the whole chain — the storage itself, the SATA ribbon that carries data to the board, and the bracket that holds the new part in place. A tired cable can throttle a fresh SSD, so we inspect it while the work is done and change it if the contacts look worn. On pre-Retina laptops the difference is easy to feel: the desktop is ready in seconds, apps launch without the waiting cursor, and file copies no longer stall. The gain is largest on hardware that still runs a platter-based disk, because the rest of the components are fine and only the storage was limiting everyday use.
Choosing the right SSD upgrade Mac drive for your model
Once compatibility is confirmed, the next question is which storage to fit. Capacity, interface and the choice between an original part and an aftermarket one all affect the result, and we walk through each option before work starts.
Original part or aftermarket SSD
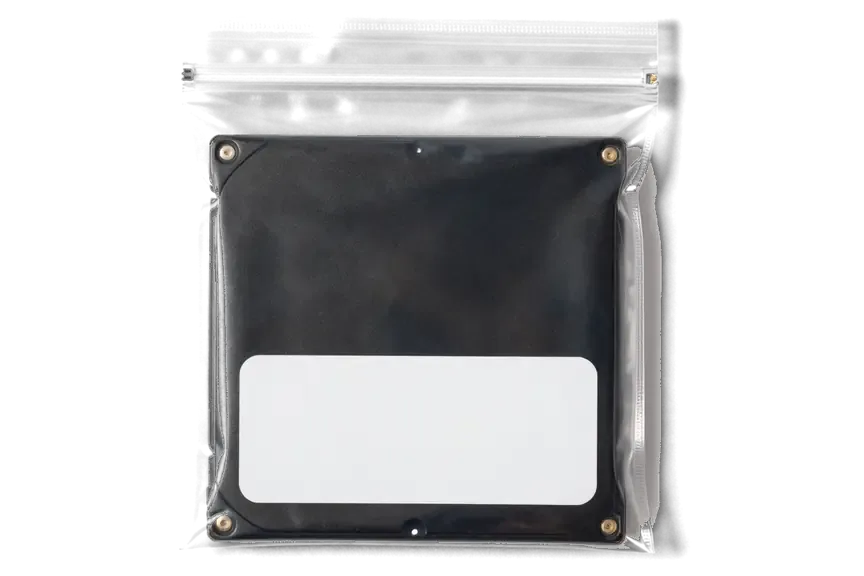
We install either a factory component or a third-party unit, and 64% of our customers pick the factory one; whichever you choose, the part is unboxed in front of you before installation. Capacity runs from 256 GB to 2 TB, and the interface has to match the slot on your board — SATA on older MacBook Pro and Mac mini computers, NVMe on later models with a swappable module. A third-party unit built on a known controller delivers close read and write figures at a lower cost, while a factory component keeps the machine nearer to its shipped specification. How long you plan to keep the laptop decides it, since on a computer already several years old a third-party module is the sensible choice.
When an external SSD is the better answer
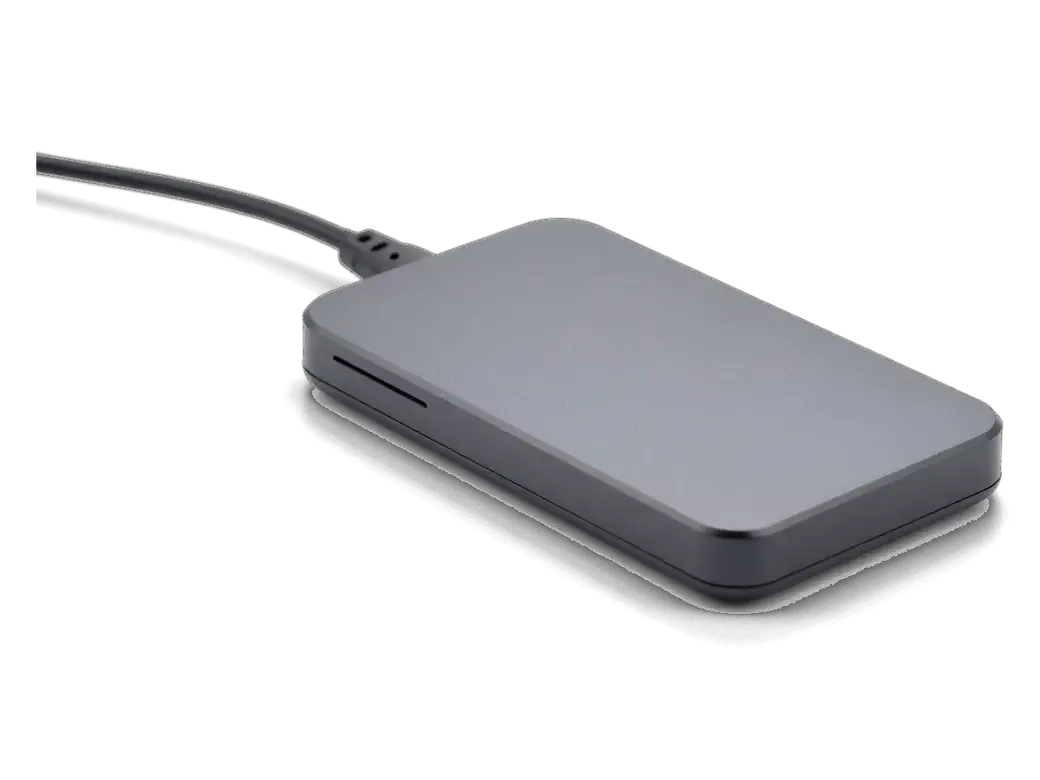
On Macs with soldered storage, an external SSD over Thunderbolt or USB-C is the practical way to add fast space without touching the board. This covers most Apple Silicon machines and Intel models with a T2 chip, where the storage sits on the logic board and cannot be swapped at all. A Thunderbolt enclosure reaches speeds close to the internal module, while a plain USB-C enclosure is slower but cheaper per gigabyte. An external device keeps the internal system intact, so it suits people who need extra room for large files rather than a faster boot volume — photographers and video editors gain most from this route, since media libraries grow faster than system files ever do.
Moving your data and reinstalling macOS
A new SSD arrives empty, so the job is not finished until macOS is installed and your files are back. We back up first, then migrate, so nothing is lost between the old disk and the new one.
Backing up and transferring your files
We take a full backup with Time Machine before the swap, then restore your files to the new SSD with Migration Assistant so your desktop, apps and settings return as they were. The backup runs onto an external drive you bring or one we connect on the bench, and Migration Assistant copies accounts, mail, photos and application data in one pass rather than folder by folder. We confirm the backup opens and the user account loads before the old disk is touched. Keeping the old component as an external enclosure after the job gives you a second copy of everything, which is worth doing before any data is deleted.
Installing macOS and testing the new drive
After installation we set up macOS through Recovery, format the volume in Disk Utility and run a speed and health check so you leave with an SSD that is confirmed working. Recovery installs a clean system build, Disk Utility formats the volume in APFS with the correct partition map, and the health check reads SMART status and sequential read and write rates against the manufacturer's rated figures. We then open a few of your own files to confirm permissions carried over. A fresh install rather than a clone avoids carrying old system errors onto the new disk, which is why we test speed and health before handing the machine back.
Turnaround, paperwork and warranty
Knowing what to expect on the day makes the decision easier. Here is how long the work takes, what you receive on paper and how the warranty covers the drive and the labour.
How long the work takes and what you get on paper
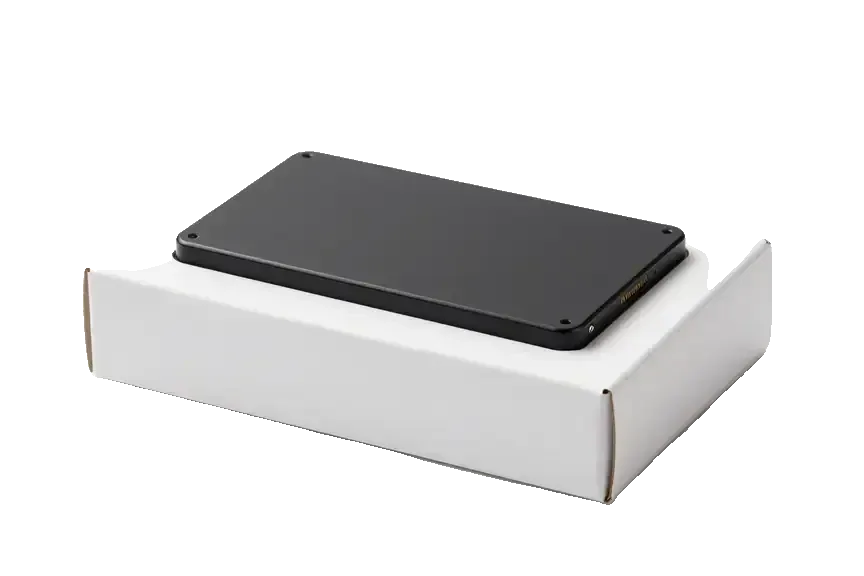
Work on a MacBook takes from 1 hour to 1 day, and before we start, the price, the part, the turnaround and the warranty are fixed on the receipt in about 2 minutes. The engineer shows the new SSD in its factory packaging before installation, so you see exactly what goes into the machine. A board-level job that needs the microscope runs 1 to 3 days, and you get a call the moment it is ready. Having the part and the timeframe written down before work begins leaves no room for a surprise later, and you keep the old component as well. Ask for the old component in the box when you collect the device — it is useful if you ever sell the machine or want to reuse it in an enclosure.
Warranty and how to book in Almaty
We give warranty up to 1 year on the work and the part, and you can start by sending a photo of the damage on WhatsApp, where an engineer replies within 5 minutes and quotes a price from the photo. Free diagnostics take 15 minutes in front of you, even if you decide not to go ahead, and the price, part, turnaround and warranty are fixed on the receipt before anything is opened. A courier across the city takes 90 minutes and is free with a repair, so you do not need to travel to the workshop yourself. Payment is by Kaspi, card or cash, and the device comes back with the receipt, the warranty card and the old part.
Summary: SSD upgrade for Mac
A storage upgrade pays off only when the model, the data and the paperwork line up. Here is the short version to carry into the decision.
- Check the generation first: a removable module can be swapped, while soldered storage on newer Macs cannot be replaced at all.
- An SSD revives older machines: replacing a mechanical disk brings a clear speed gain on older MacBook Pro and iMac models.
- Data comes first: a full backup and a clean macOS install protect your files through the change.
- Test before you trust it: a speed and health check confirms the new SSD reads and writes as expected.
- Paperwork matters: a written record of the part, timeframe and warranty protects you after the job is done.







 iPad
 iMac
 Mac mini and Studio
 Apple Watch
 AirPods
 Apple Pencil
 Apple TV
 HomePod