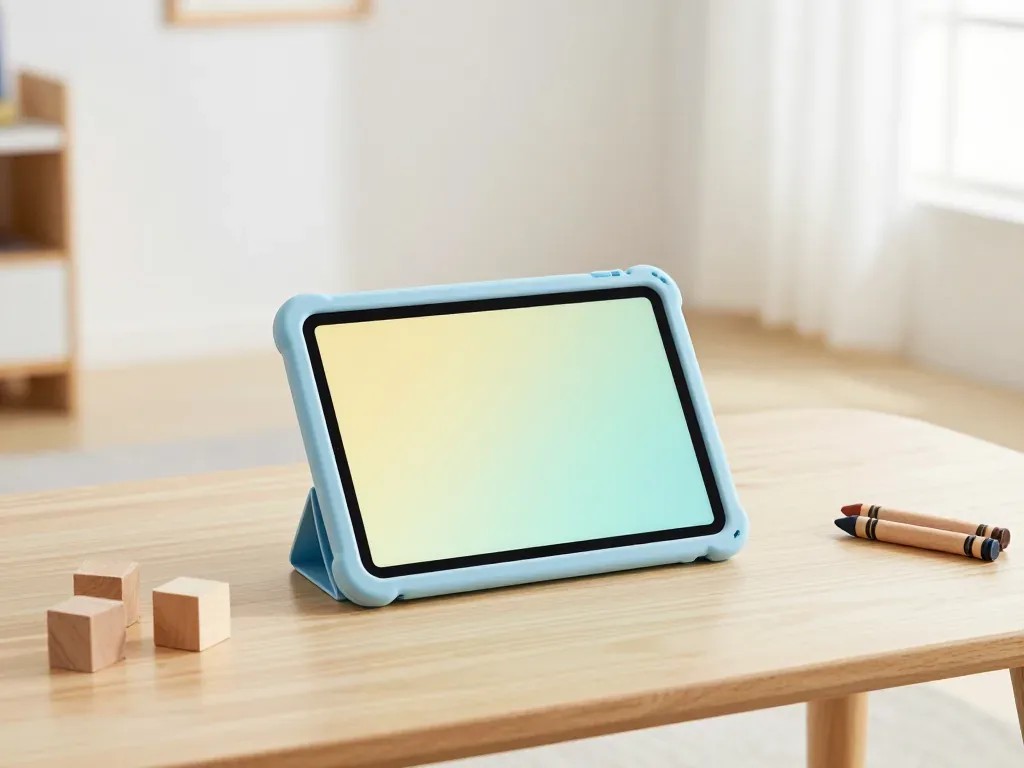
The mini 7 packs an A17 Pro into a compact aluminium body, and its usual failures follow from that build: a laminated display, a glued-in battery and a USB-C port that takes daily wear.
Cracks, lines and dead touch zones on the mini 7 screen
We see three screen symptoms on the mini 7 most often — a cracked outer glass with the image still intact, vertical lines or bright spots after a drop, and touch zones that stop responding along one edge. The panel is a laminated display module, so the protective glass, the LCD matrix and the touch layer are bonded into one part, and a knock that looks cosmetic can still disturb touch response. Apple Pencil Pro input usually exposes the damage first, because a stylus traces the whole digitizer and skips no dead strip that a finger never crosses. Because the mini 7 panel is laminated, a hairline crack that still shows a perfect picture is not automatically a cheap fix — the whole module is one part, so it pays to have it looked at before the crack spreads into the matrix.
Why a swollen battery pushes the screen away from the frame
A battery that has swollen physically lifts the mini 7 display off the aluminium frame, and that gap along one edge is the warning sign we ask owners to treat as urgent. The cell is glued into the chassis, so as it expands it has nowhere to go but outward against the display assembly, and the pressure shows up as a soft bulge or a screen that flexes when pressed. Owners often notice sudden shutdowns first — the tablet dies at 30–40% and restarts only when plugged in — because a deformed cell can no longer deliver stable voltage under load. A swollen cell should not be charged or pressed back into place — bring the tablet in as it is, because the pressure is already acting on the panel and the longer it stays, the more of the screen assembly is at risk.
Charging, USB-C and board faults on the mini 7
- Cable and adapter: the first thing to swap, since a tired cable mimics a dead port.
- USB-C port and flex: lint, bent pins or a torn flex stop power before the battery.
- Battery: a cell that no longer holds charge reads as "not charging".
- Power controller: board-level fault, confirmed only after the three checks above.
- Software lock: a stuck charge state that a restore clears before any part is touched.
Screen repair on the laminated iPad mini 7 repair display
The mini 7 is the model where owners most often ask whether the glass alone can be swapped. The answer depends on how the panel is built, so we start there before talking about parts.
Glass or full module on a laminated 8.3-inch panel
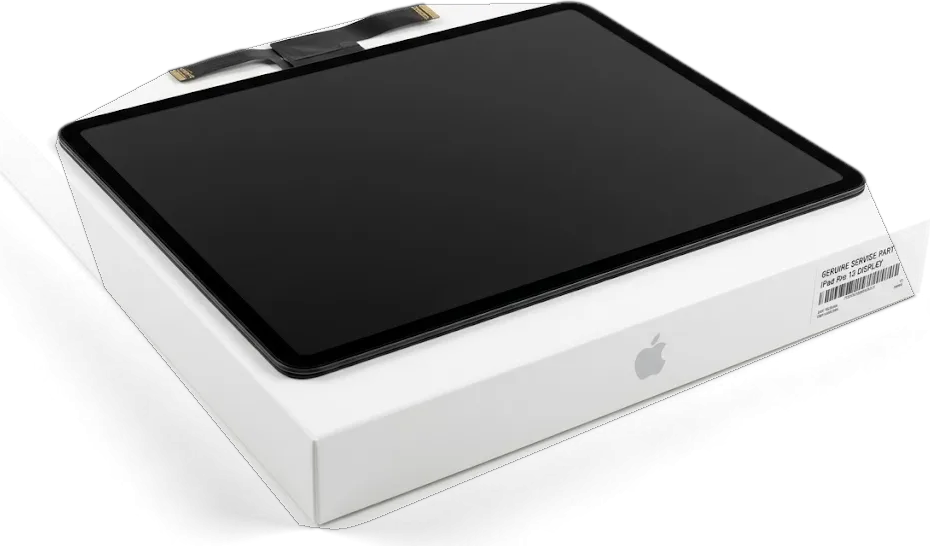
On the mini 7 the glass and the LCD are bonded into one laminated module, so a cracked screen is replaced as a complete assembly rather than as bare glass. The 8.3-inch panel carries the LCD matrix, the digitizer layer and the protective glass fused together with optical adhesive, and separating them by hand destroys the matrix underneath. In our workshop the swap is a single operation: the old assembly comes off, the frame is cleaned of residual adhesive, and a sealed module goes in. That single-part design is why a screen job on this tablet is priced and timed differently from an older model with a separate touch layer — there is no glass-only shortcut to offer, and any quote that promises one is worth questioning.
Keeping Touch ID and the top button working
The mini 7 carries Touch ID in the top button, and that button is paired to the logic board, so it is transferred from the old assembly rather than replaced with a new one. The button sits on a flex cable that also carries the power and volume contacts; once the new module is seated, we move the original flex across and test the sensor before the adhesive cures. A fresh button out of the box will not authenticate, because the pairing lives in the board, not in the part. If a repair shop quotes a full screen swap without mentioning the button transfer, ask about it directly — a new button that is not paired will leave the tablet unlocking by passcode only.
Comparing the screen options for a mini 7
Screen routes compared by part type and result| Option | What it is | What to expect |
|---|
| Original module | Factory display assembly | Full True Tone and Pencil Pro response |
|---|
| Aftermarket module | Quality third-party assembly | Close colour match, check Pencil feel |
|---|
| Glass-only | Not available on mini 7 | Laminated panel rules it out |
|---|
| Board-level fix | Repair of the existing module | Only when the panel itself is intact |
|---|
How an iPad mini 7 repair in Almaty actually runs
The order of steps matters as much as the parts. Here is the sequence a mini 7 goes through from the first message to the moment it is handed back.
From a WhatsApp photo to a fixed receipt
You send a photo of the damage on WhatsApp, a technician replies within five minutes with a price from that image, and the device then gets a free 15-minute diagnostic in front of you. The whole process actually runs on that first photo, because the crack pattern tells the specialist whether the glass alone is gone or the laminated panel underneath has failed too. The diagnostic happens even if you decide not to go ahead. The receipt is the step owners underestimate — price, component type, turnaround and warranty are written on it in about two minutes before any work starts, so there is a document to point at if anything is disputed later. This is how an iPad mini 7 repair in Almaty runs from the first message to the fixed receipt.
Preparing the mini 7 before you hand it over
- Backup: run a fresh iCloud or computer backup the same day, not one left over from last month.
- Apple ID password: have it to hand, since activation checks during testing may need it.
- Find My iPad: tell the technician whether it stays on for the duration of the repair.
- Case and Pencil: leave accessories at home unless the fault actually involves them.
- Damage notes: describe when the fault started and what happened to the tablet just before it.
Watching the work and waiting on site
The mini 7 is opened and diagnosed in front of you, and 72% of our repairs are finished while the customer waits in the seating area with coffee and Wi-Fi. For iPad and MacBook the turnaround is from 1 hour to 1 day, and the exact time is confirmed after the free diagnostic, so most owners plan their visit around that window. Waiting on site is not just convenience — it means you watch the new component come out of its factory packaging before installation and you leave with the old one in the box. At handover, the specialist runs the device through its functions with you and passes over the warranty card and the receipt.
Original part or aftermarket part
The decision between a factory component and a third-party equivalent shapes both the result and the coverage you get afterwards. Here is how we frame it for mini 7 owners.
What actually differs between original and aftermarket
An original mini 7 component matches the factory fit, colour and sensor behaviour, while an aftermarket unit is a third-party equivalent that can differ in brightness, endurance and Apple Pencil Pro response. On the 8.3-inch laminated panel, a factory module keeps True Tone and the anti-reflective coating intact; a cheaper assembly often loses the coating and reads slightly cooler in tone. In the battery, the gap shows up under load rather than in headline capacity. We show the new module in factory packaging before installation, so you can compare the label and the connector yourself. 64% of our customers choose the factory route, and the pattern is clear — owners who plan to keep the tablet for years go original, while those replacing a device soon often accept the alternative.
How the choice affects the warranty
Every repair we do carries coverage of up to 1 year, and the component you choose is written on the receipt and the warranty card alongside it. That wording matters more than any brochure line: the card names the module, the date and the coverage, so there is no argument later about what was fitted. Our technicians record whether the unit was factory or third-party at the moment of installation, and the same entry appears on both documents. Keep both papers together with the old component — the receipt is what ties a specific module to a specific repair date, which is the detail that makes a claim straightforward rather than a conversation.
Payment and handover
- Kaspi: the most common method at the counter, scanned in seconds.
- Card: accepted on site for the full amount, terminal at the desk.
- Cash: still fine, and the receipt is issued either way.
- Documents: receipt and warranty card go with the device at handover.
- Old component: returned in the box so you can see what came out.
- Timing: pay after the function check, once you have seen the tablet working.
Turnaround times and what we check after the repair
How long a mini 7 stays with us depends on the fault, not on the model. The ranges below are what we quote at the counter, and the check afterwards is the same every time.
How long each type of mini 7 work takes
Repair types compared by expected duration| Work type | Typical time | Notes |
|---|
| Screen module | From 1 hour | Laminated assembly, button transfer |
|---|
| Battery | Same day | Access through the display |
|---|
| USB-C port | Same day | Port and flex checked together |
|---|
| Board repair | 1–3 days | Done under a microscope |
|---|
| Water damage | Diagnostics up to 2 days | Full picture only after it dries |
|---|
The 32-function check before handover
After the repair we run a 32-function check that takes about ten minutes, covering True Tone, cameras, microphones, speakers, charging and network. The engineer works through the list on the assembled device, not on a bench mock-up, so a loose connector or a badly seated flex shows up before the tablet reaches you. True Tone is the one people forget: a mismatched panel or a skipped calibration leaves the display warm or cold against the room, and it is obvious within seconds once you compare it to the original. You then repeat the visible parts of that check with the engineer — touch across the whole panel, Pencil response, both cameras and the charge indicator — so the tablet leaves the counter already proven rather than promised.
Courier pickup across the city
A courier can be called to collect a mini 7, and across Almaty the round trip runs about 90 minutes, free when it is tied to a repair. You send a photo of the damage on WhatsApp, an engineer replies within five minutes with a price, and the part is confirmed before the device ever leaves your desk. That order matters: a screen or battery job booked from a photo is predictable, while a board fault still needs the unit in hand before anyone commits to a figure. Courier pickup makes most sense for the predictable jobs, and for the rest it is faster to bring the tablet in and watch the free 15-minute diagnostic at the counter.
Summary: iPad mini 7 Repair
A few points decide whether a mini 7 repair goes smoothly, and they are worth holding in mind before any work begins.
- Laminated screen: the mini 7 panel is one module, so glass-only replacement is not an option.
- Touch ID: the top button is paired to the board and must be transferred, not swapped.
- Battery swelling: a gap along the frame means stop charging and get it seen.
- Part choice: original and aftermarket differ in fit, endurance and Pencil response.
- Documents: receipt, warranty card and old part are what make a claim simple.
- Question order: ask about the part, the turnaround and the warranty in that sequence, so nothing important gets skipped in the conversation.

















 MacBook
 iMac
 Mac mini and Studio
 Apple Watch
 AirPods
 Apple Pencil
 Apple TV
 HomePod