The Series 10 is thinner, with a larger wide-angle screen, and its front-and-body combination decides which repair path is realistic. We explain the parts that matter before any work starts.
Glass, Touch Layer and Display Module on the Series 10
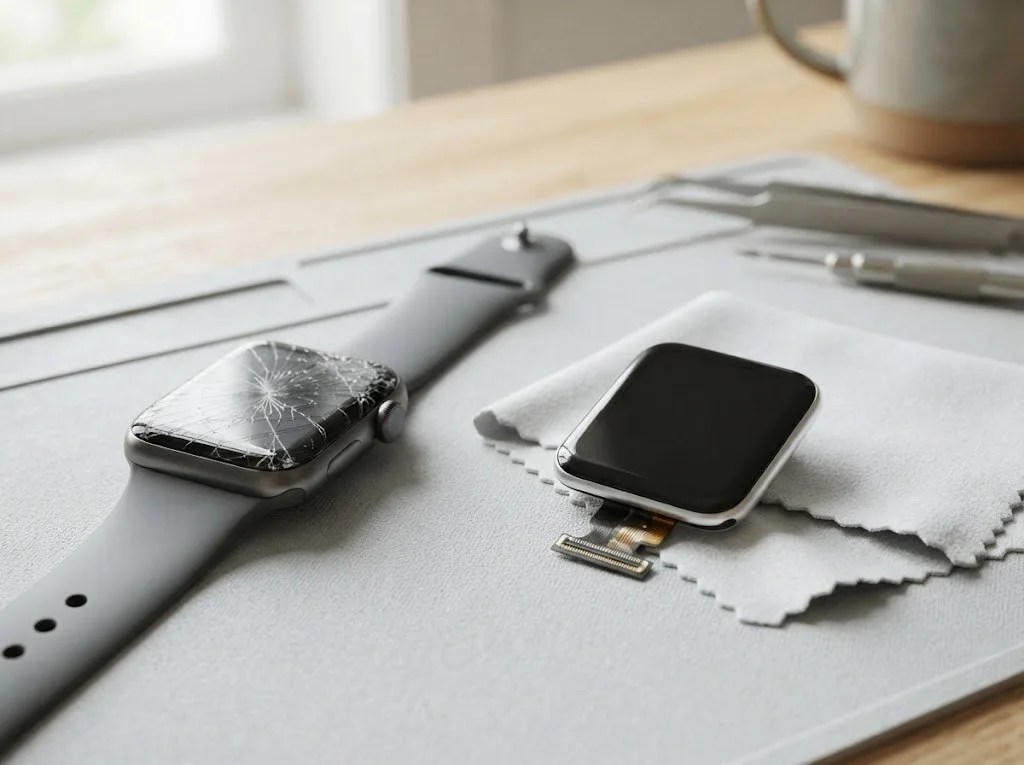
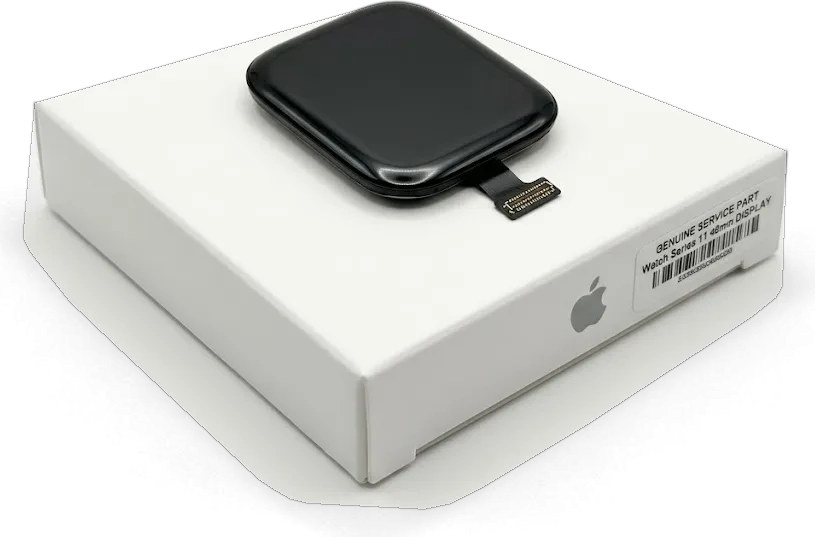
On the Series 10 the protective glass, the touch sensor and the OLED panel are bonded into one unit, so a crack does not automatically mean the whole assembly is replaced. The outer Ion-X or sapphire sheet takes the impact first, the digitizer sits directly beneath it, and the OLED layer with its short flex is the deepest and most costly part of the stack. A hairline crack that leaves the image clean usually stops at the top sheet. Once lines, dark blotches or dead touch zones appear, the digitizer underneath has taken damage. If the image is clean and touch works, a glass-only re-bond is often enough; once you see lines, blotches or dead zones, the panel itself is damaged and the whole unit goes.
Aluminium or Titanium and What It Changes for Repair
We see both the aluminium Series 10 with Ion-X glass and the titanium version with sapphire, and the harder cover cracks less often but chips differently when it does. The case comes in 42 mm and 46 mm sizes, and the opening around the screen is machined to a tighter tolerance on titanium. Ion-X flexes slightly on impact and spreads the crack across the surface, while the tougher crystal tends to chip at the edge and leave a sharp step. A titanium body holds its shape better around the opening, so re-bonding a new cover sits flatter, while aluminium dents near the edge can leave a small gap that we flag before work.
Series 10 Parts and How We Handle Each One
Series 10 assemblies and our repair approach| Assembly | Series 10 trait | How we repair it |
|---|
| Display module | Thin body, wide-angle OLED | Heat-separate, re-bond or swap |
|---|
| Battery | Slim cell under the screen | Replace cell, re-seal the case |
|---|
| Digital Crown | Sealed rotating crown | Clean or replace the assembly |
|---|
| Back cover | Pulse sensor and charging coil | Check coil and contacts, re-seal |
|---|
| Logic board | Compact SiP | Microscope repair, 1–3 days |
|---|
Common Failures and the Apple Watch Series 10 Repair Path
Most owners arrive with one of three stories — a cracked screen, a watch that dies by lunch, or one that will not charge. Each points to a different part, and the repair path for this model follows the symptom.
A Cracked Screen With a Clean Image
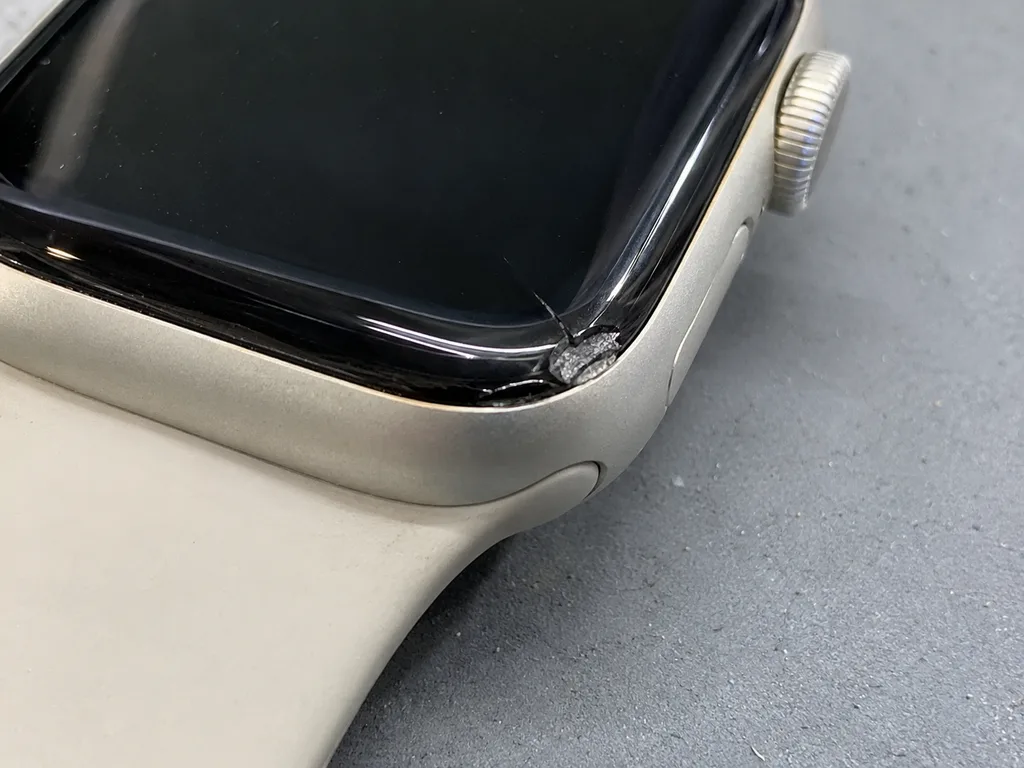
When the outer layer is cracked but the picture stays sharp and touch responds, we can often replace only that layer and keep your original panel. It is bonded to the display module, so a clean separation decides whether the panel survives; our engineers work the edge under magnification and lift the old sheet without stressing the touch layer beneath. If you are looking for Apple Watch Series 10 repair in Almaty, this is the case we see most often — a hairline crack with a clean image is the most common reason owners come to us. A hairline crack near the corner is the usual case — the picture is fine, the top layer is not. Ask for a touch test across all four corners before you agree: a hairline crack near the edge can hide a dead touch strip that appears only after the old sheet comes off.
A Battery That Drains Fast or Swells
A swollen cell pushes the display up, and this is the one case where we ask you to stop charging immediately — a lifted screen can tear its own flex. The battery sits under the display module, so pressure from a swelling cell lifts the panel first and stretches the display ribbon until it cracks. Fast drain without swelling is usually a worn cell, not software: if the watch dies on a cold morning at 40 percent, the battery has lost capacity, and a replacement restores a normal day. A screen sitting proud of the case, or a gap at the edge, points to a cell that has to come out now.
The Watch Will Not Charge or Turn On
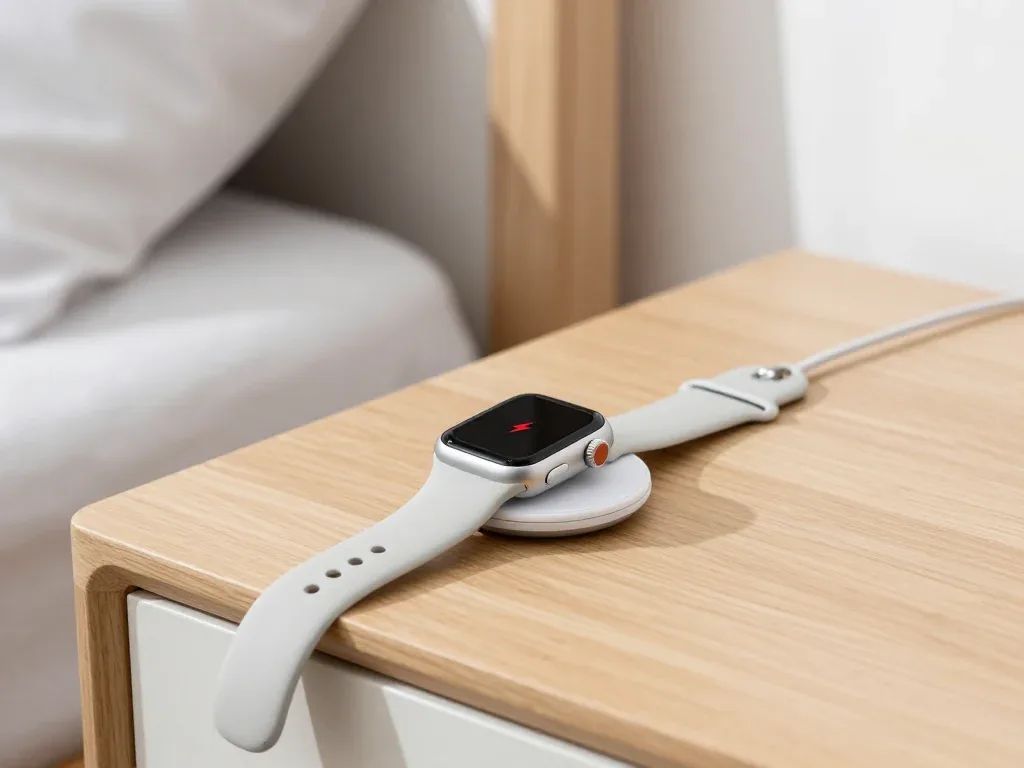
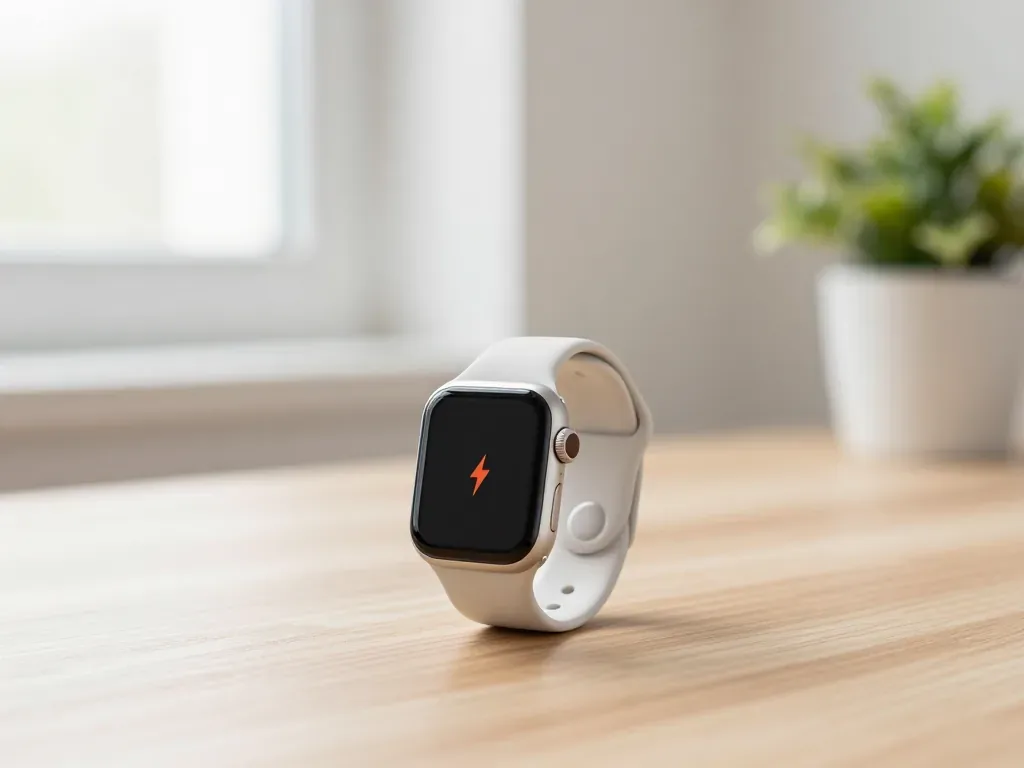
We check the charger and cable first, then the charging coil and back-cover contacts, and only then the board — most no-charge cases sit in the first two steps. The coil and the heart sensor share the back cover, so a knock there can break the wireless charging path while the watch itself is healthy. Bring your own charger to the diagnostic: a third-party puck that worked before can fail quietly, and testing on our known-good stand separates a dead charger from a dead watch in minutes. If the coil and contacts read clean and the watch still draws nothing, the fault moves to the board, and that job goes under the microscope.
Original Part or Aftermarket for Your Series 10
The component you choose decides brightness, touch feel and whether Always-On behaves as before. We show both options and let you pick before anything is fixed.
How Original and Aftermarket Parts Differ
original versus third-party display options compared| Property | Original part | Aftermarket part |
|---|
| Brightness | Original level | Often dimmer |
|---|
| Always-On | Works as designed | May not hold |
|---|
| Touch feel | Matches original | Can feel different |
|---|
| Warranty | Up to 1 year | 6 months |
|---|
Why Most Owners Pick the Original
Around 64 percent of our customers choose the original component, mainly because Always-On and screen output stay exactly as they were on day one. The third-party panel is a real option and we fit it when the budget is the deciding factor — but the difference shows up in daily use rather than in the first minute. An original display holds its rated output, so the screen stays readable in direct sun and the dimming curve feels familiar. The alternative can come in dimmer and may not keep Always-On active the way the watch was designed to run. Owners who glance at the watch constantly for notifications and workouts notice the gap fastest. If you rely on Always-On all day and read the screen in sunlight, the cheaper route rarely feels worth it after a month — the dimmer panel is what people spot first.
What Gets Written on the Receipt
Before work starts we fix the price, the component type, the turnaround and the warranty on the receipt, and that takes about two minutes. The document names the exact unit — original or third-party — so there is no ambiguity later about what sits inside the case. Along with it you receive a warranty card covering the fitted unit up to 1 year, and the old component goes back to you in the same visit. This matters most with displays, where a touch or brightness complaint months down the line is settled by reading the paperwork, not by memory. Keep that receipt — it names the exact unit fitted, so if a touch issue appears later there is no debate about what is inside your watch.
Water Resistance and Digital Crown After Service
Opening the watch changes how it seals, and the crown is the part most exposed to moisture and grit. Here is what to expect after a repair.
Will the Watch Still Be Water Resistant
We re-bond the housing with a fresh adhesive gasket, but no service can promise the original seal once the watch has been opened, so we advise against swimming afterwards. The Series 10 leaves the production line rated WR50, and that rating belongs to a device that has never been split. Once the display module lifts off, the original gasket stretches and picks up dust, so a new adhesive ring goes in on reassembly. It restores splash protection, not the pressure-tested seal. Most owners keep wearing the watch for workouts and rainy commutes without trouble, and we tell them plainly what changed. Showering and hand-washing stay fine, but pool chlorine and sea salt attack a re-bonded seam faster than fresh water, so keep it out of liquid you cannot rinse off.
A Watch That Went Into Water
After liquid contact the diagnostic can take up to two days, because corrosion on the board shows up slowly and we do not want to hand back a device that fails a week later. Moisture reaches the system board through the crown tube and the speaker port, and the damage is not visible on the first inspection. Our engineer opens the housing, dries the module and checks the board under a microscope for green deposits and lifted pads. A clean-up and a board repair are different jobs with different turnaround, and only the microscope tells them apart. Do not charge a wet watch and do not press the crown to pump liquid out — power and movement push moisture deeper inside, which is the difference between a clean-up and a board repair.
A Stuck or Grinding Digital Crown
A crown that grinds or sticks is usually packed with grit or dried salt, and we clean or replace the assembly rather than force it. The Digital Crown, the side button and the Action button share one opening in the housing, and sand from a beach or salt from sweat dries inside that gap. Forcing the crown pushes the grit against the internal seal and can tear it, which turns a cleaning job into a full assembly swap. We strip the mechanism, flush it and test rotation and click feel before the watch goes back together. Rinse the crown under warm fresh water after a beach day and rotate it — that habit prevents most of the sticking we see, and it costs nothing.
How the Visit Works and What We Check at Pickup
The whole visit is built around you watching the work. From a photo on WhatsApp to the final function check, here is the sequence and what you should do before you come.
From a WhatsApp Photo to a Fixed Receipt
Send a photo of the damage on WhatsApp and an engineer replies within five minutes with a quote and a free time slot, then the free 15-minute diagnostic confirms it in front of you. Our engineers have handled 46,000+ repairs over 11 years of work, so a picture of a cracked panel or a swollen battery usually tells them which part the job needs. Before work starts, the price, the part (original or aftermarket), the turnaround and the warranty go onto the receipt — that takes about two minutes. Most jobs then run 20–40 minutes while you wait: a screen is 40, a battery 25, camera glass 20, and board work goes under the microscope for 1–3 days. A clear photo taken in daylight gets you a more accurate quote than a dark shot.
What to Do Before You Hand the Watch Over
Unpair the watch from your iPhone before the visit, because the backup stays on the phone and the watch arrives clean for testing. Open the Watch app, tap All Watches, hit the info button and choose Unpair; the latest backup copies to the phone automatically, so nothing is lost. Unpairing also turns off Activation Lock, which is the step that stalls a repair most often — owners who skip it lose time at the counter while the engineer waits for a code. Note down any fault that appears only now and then, such as a screen that flickers in cold weather, and take the strap off if the case needs opening.
The Function Check Before You Leave
After the repair we run a 32-function check for about ten minutes, covering touch, pulse, charging, vibration, speaker, microphone and network, together with you. You test the Taptic Engine, the speaker and the microphone yourself, then we hand over the receipt, the warranty card (up to 1 year) and the old part in a bag. Our warranty covers the replaced component, so keep the card with the receipt. Test the crown and the side button yourself before you leave — those are the two controls owners notice first at home, and catching a stiff crown at the counter saves a second trip. If you cannot come in, a courier covers the city in 90 minutes, free with a repair.
Summary: Apple Watch Series 10 Repair
The points below summarise what decides the outcome of a Series 10 service, from the fault itself to the part fitted and the checks made on pickup.
- Cracked glass, clean image: the original panel often stays; lines or dead touch mean the full module is replaced.
- Swollen battery: stop charging at once, because a lifted screen can tear its own flex and add a second fault.
- No-charge faults: checked from charger to coil to board, and most sit in the first two steps of that chain.
- Original part: keeps brightness and Always-On intact, and the choice is fixed on the receipt ahead of any work.
- After opening: treat the watch as splash-resistant rather than swim-proof, and test the crown on pickup at the workshop.








 iPad
 MacBook
 iMac
 Mac mini and Studio
 AirPods
 Apple Pencil
 Apple TV
 HomePod