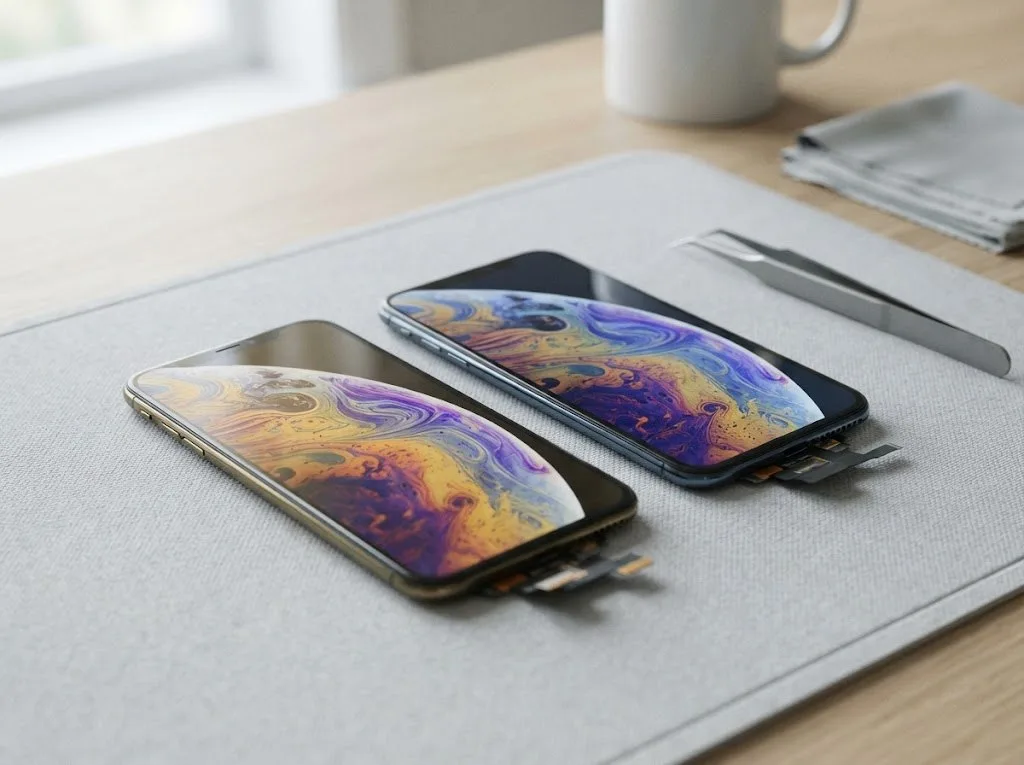
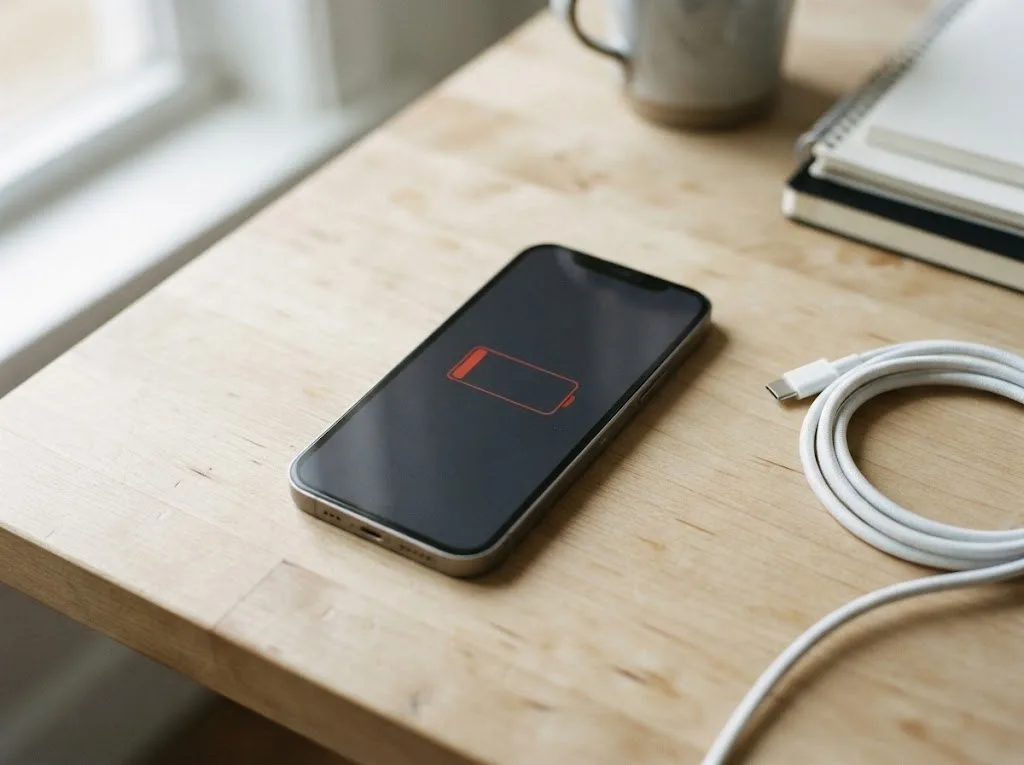
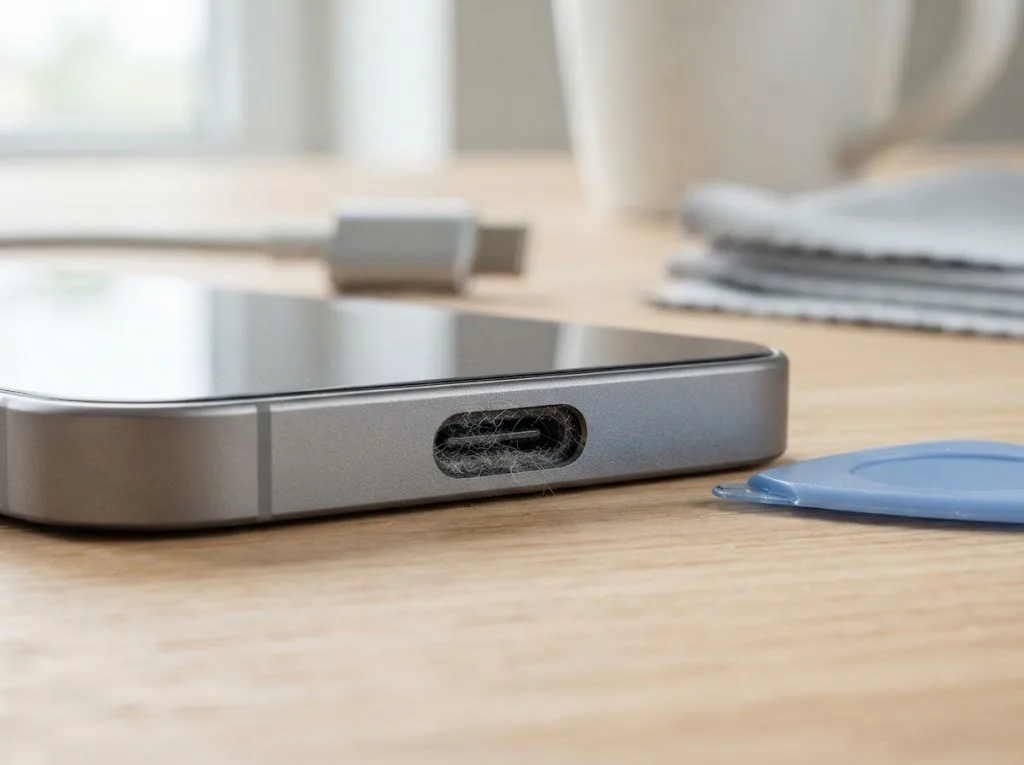
The iPhone 11 is an LCD model with two rear cameras, and its weak points differ from later OLED phones. Here is what fails most often and how each fault shows itself, so you can recognise your own case.
The Most Common iPhone 11 Faults and Their Symptoms
Symptom, cause and action for common faults| Symptom | Likely cause | What we do |
|---|
| Cracked or bleeding screen | Broken LCD panel, damaged backlight | Replace the panel or full module |
|---|
| Dies at 30–40% charge | Worn battery cell | Fit a new battery |
|---|
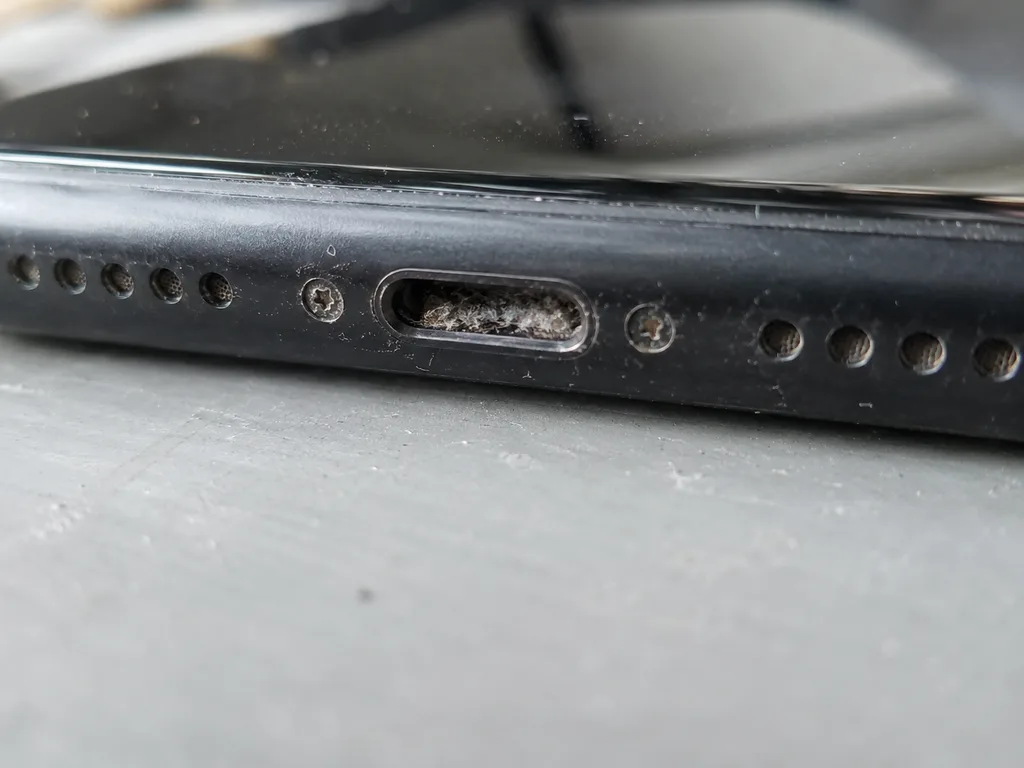
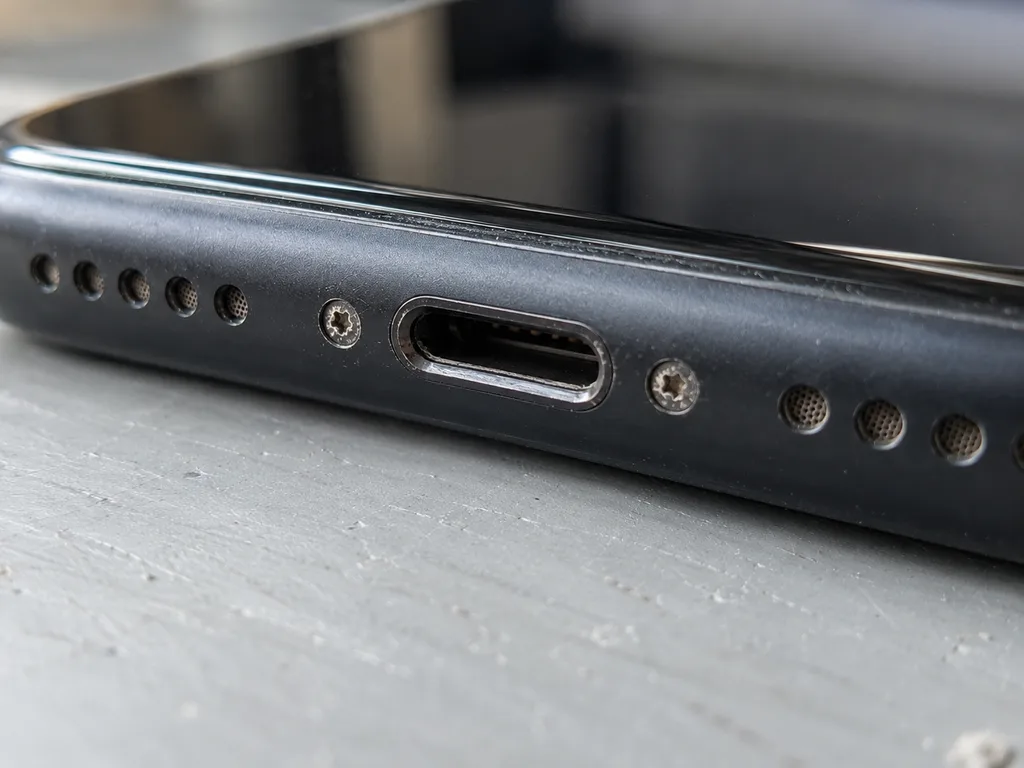
| Will not charge or charges slowly | Dirty or oxidised Lightning port | Clean or replace the port |
|---|
| Blurry photos, cracked lens | Shattered camera cover | Swap the camera cover |
|---|
| No sound on calls | Blocked mesh, faulty speaker | Clean or replace the speaker |
|---|
| Random reboots, no boot | Board-level fault | Microscope board repair |
|---|
Why the Screen Cracks Differently from OLED Models
This handset uses an LCD panel, so a hard drop usually damages the front layer and the backlight together, which is why we check both before quoting. On this panel type the liquid crystal layer sits behind a separate backlight sheet, and impact energy travels through both — a crack that looks cosmetic on the surface often leaves a bright edge or a dark patch underneath. Our engineers test touch response across the whole grid and inspect the display under light at an angle. If you are looking for iPhone 11 repair in Almaty, this is exactly the kind of damage we see most often. A hairline crack can leave the touch working while the backlight bleeds at the edges, so it is worth showing early.
Battery and Charging Problems Specific to This Model
We replace a battery in 25 minutes, and we first check whether the real culprit is the Lightning port or the charging flex rather than the cell itself. The cell connector on this model sits close to the charging flex, so a worn cable or a bent pin in the connector can imitate a dying power pack: the phone reports a low percentage, heats up near the socket, or charges only at a certain angle. Battery Health below 80% explains sudden shutdowns, but a phone that dies at 40% while plugged in points to the socket, not the power pack — the free diagnostic separates the two before any part is ordered.
Screen Repair for the iPhone 11 Glass or Full Module
A cracked front glass is the most frequent reason owners bring this model to us. Below we break down when the glass alone is enough, when the whole module has to go, and what happens to colour accuracy afterwards.
When Only the Glass Can Be Replaced
If the LCD still shows a clean image and the digitizer responds, we can replace just the glass and keep your original panel. The protective layer cracks first because it sits above the LCD matrix and the sensor layer, so a spiderweb pattern on top does not automatically mean the display underneath is dead. We separate the broken cover, clean the old adhesive and laminate a new one onto the intact assembly. Keeping the factory component also preserves its factory colour tuning, which is why a cover-only job is often the better call when the screen itself is healthy. Ask for a digitizer and image test before you agree to the cheaper option — a hairline crack in the matrix only shows up under a full-white screen.
Glass or Full Module Compared
Two repair routes side by side by damage type| Option | When it fits | What is kept |
|---|
| Glass-only replacement | Clean image, working digitizer, no dead zones | Original LCD matrix and backlight |
|---|
| Full module | Striped image, dead digitizer, black spots | Nothing from the old unit |
|---|
| Module with reused cover | Rare, front survived the drop | Original cover, new panel |
|---|
Does Face ID and True Tone Survive a Screen Repair
Face ID keeps working after a screen repair because the TrueDepth module is a separate unit from the display, and we transfer the white-balance setting to the new panel. The TrueDepth assembly sits in the top bezel and holds the dot projector, infrared camera and flood illuminator; none of that hardware touches the screen layers, so a display swap leaves facial recognition untouched. The colour temperature is different — it lives in the display pairing, and a fresh panel without adjustment comes back with a colder, bluer tint. On some aftermarket panels that tint may not hold after tuning, so if the setting matters to you, say so before we order the part. We run a colour check together with the customer at pickup, and 32 functions get verified in about ten minutes.
Original Part or Aftermarket and What You Keep
The component you pick shapes how the phone behaves afterwards and what it reports about itself. Below is the difference by component type and how we lock your choice in writing.
How Original and Aftermarket Parts Differ by Function
Comparison of how each part type behaves after installation| Part | Original | Aftermarket |
|---|
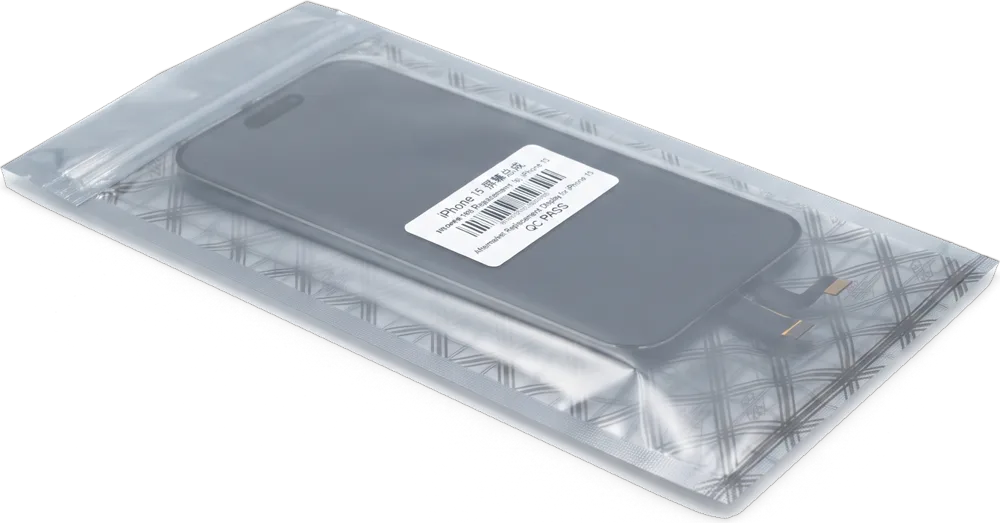
| Display | True Tone stays, clean report | True Tone may drop, warning notice possible |
|---|
| Battery | Full health reporting | Warning message likely, health may hide |
|---|
| Camera | Face ID and depth intact | Face ID fine, warning notice possible |
|---|
| Charging port | No message, stable fast charge | Works, may log a warning notice |
|---|
What the Unknown Part Message Really Means
The "unknown part" message is an indicator of the component type, not a fault, and it appears when the phone cannot verify the item against its records. It shows up in Settings under the affected item and, on the iPhone 11, most often follows a battery or display swap done with a non-original component. The hardware itself keeps working: the screen lights up, the battery charges, the camera focuses. What changes is the report — battery health may read as unavailable, and a small notice sits in the settings menu until the component is replaced again with one the phone recognises. The message does not stop the item from working, but it stays in Settings, so it is worth deciding up front whether you want a clean report or a cheaper repair.
How We Fix Your Choice on the Receipt
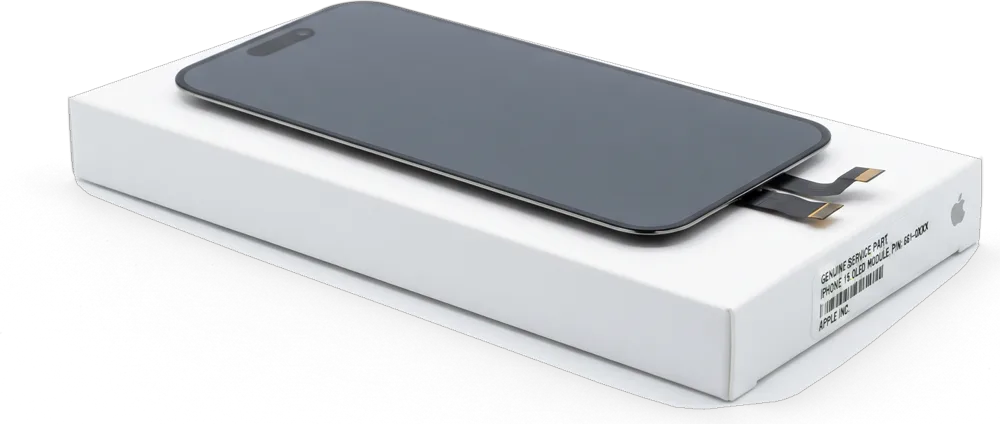
Before any work starts we fix the price, the component type, the turnaround and the warranty on the receipt in about two minutes, and we show the new item in factory packaging first. The engineer writes down whether the component is original or aftermarket, how long the job takes and the warranty term, which runs up to 1 year on the items we install. You see the sealed packaging opened in front of you, so the item that goes into the phone is the one you agreed to. Having the component type written down means there is no argument later about what was installed, and the old item goes back to you with the receipt and warranty card.
How Long iPhone 11 Repair Takes and Whether You Can Wait
Most jobs on this model finish in a single visit. Here is how long each repair takes and how the whole path runs from your first photo to pickup.
Turnaround by Job
Typical durations per repair type and whether you wait| Job | Time | Wait or leave |
|---|
| Screen module | 40 minutes | Wait on site |
|---|
| Battery | 25 minutes | Wait on site |
|---|
| Camera glass | 20 minutes | Wait on site |
|---|
| Charging port | 20–40 minutes | Wait on site |
|---|
| Board-level repair | 1–3 days | Leave the phone |
|---|
From WhatsApp Photo to Pickup
You send a photo of the damage on WhatsApp, an engineer replies within 5 minutes with a price from the photo and a free time slot, and the whole process usually takes under an hour. At the workshop the engineer runs a free diagnostic in front of you and shows what is broken, then fixes the price, the component, the turnaround and the warranty on the receipt within 2 minutes — before any work starts. The new component is shown in factory packaging before installation. Quoting from a photo lets you decide before travelling, and the free 15-minute diagnostic still runs in front of you even if you choose not to repair.
Can You Wait on Site or Send It by Courier
You can wait in the waiting area with coffee and Wi-Fi, or call a courier who covers Almaty in 90 minutes, free with a repair. Across the city the courier route works the same way: the engineer confirms the job from your photo first, then collects the phone and returns it fixed. If your day is packed, the courier option means you skip the trip entirely — the device comes back with the receipt, warranty card and the old part. Most repairs take 20–40 minutes while you wait, so the on-site route is the quicker choice when you are nearby.
Checking the Phone at Pickup and What Stays on Your Hands
After the repair, what matters is that everything works the way it did before the fault. Here is what you check together with the engineer and what leaves the workshop with you.
The 32-Point Check You Do Together with the Engineer
- Face ID: unlock the device several times and add a fresh scan to confirm the TrueDepth module reads depth correctly.
- True Tone: open Settings and toggle display warmth to see whether the ambient sensor shifts colour smoothly.
- Cameras: shoot with the wide and ultra-wide lenses, switch to the front camera and record a clip.
- Microphones and speakers: call on speaker, then send a voice note so the engineer hears both mics.
- Charging and network: plug in a cable, watch the percentage climb, then test Wi-Fi, cellular and Bluetooth.
What You Take Home After the Repair
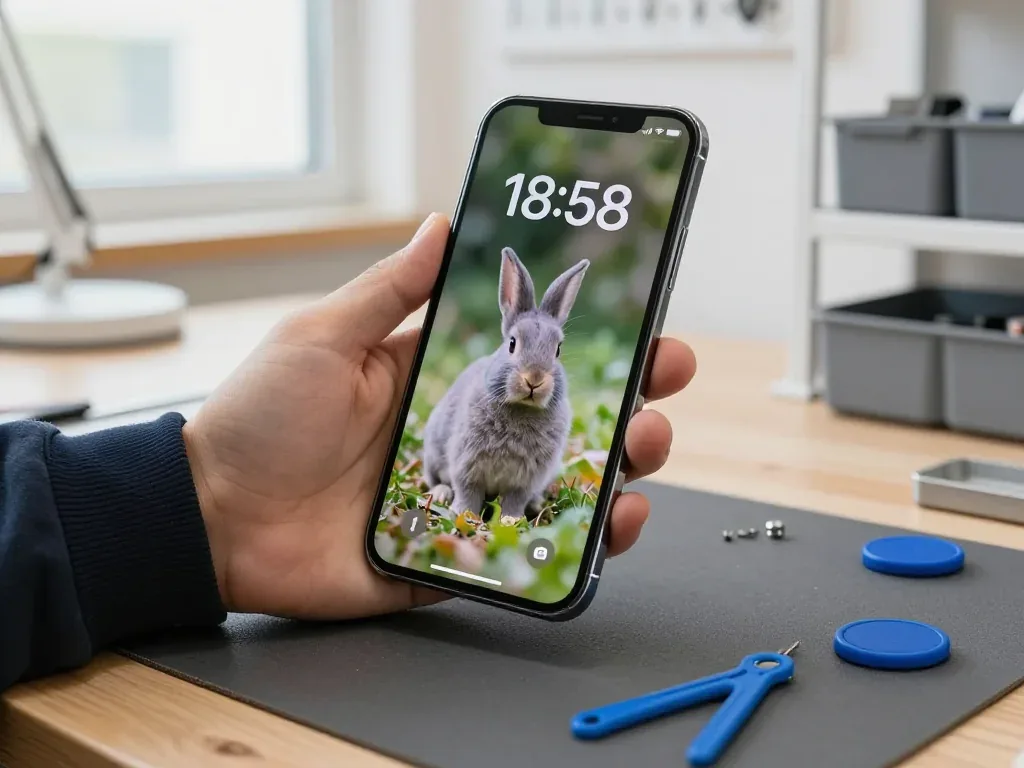
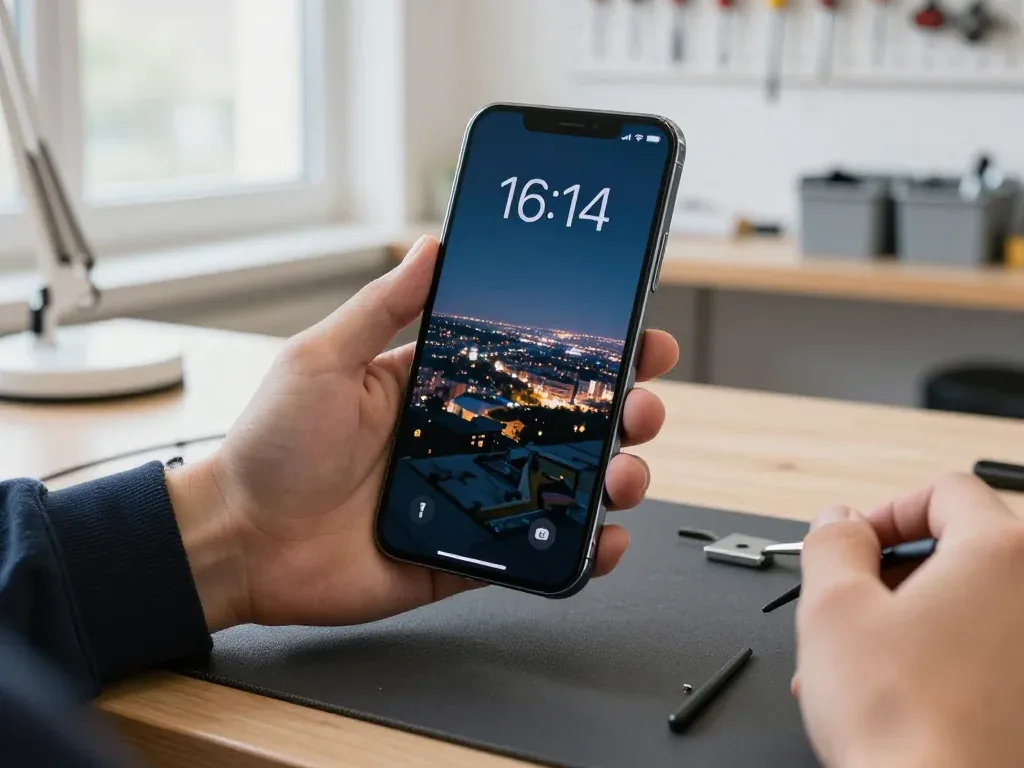
The handset comes back with the receipt, the warranty card covering the work up to 1 year, and the old component, and you can pay by Kaspi, card or cash. The receipt is not a formality: it lists what was fitted, the turnaround and the warranty terms, all fixed before work started, so nothing is renegotiated at pickup. Keep the old screen or worn battery — it is your proof of what was swapped if you ever resell the device or file an insurance claim. Engineers hand it over in a small bag by default, and you are asked to glance inside before leaving the waiting area. Most disputes start with a missing record rather than a faulty component, so a two-minute check of the paperwork saves a long conversation later.
Why a Direct Contractor Beats an Agency
iServices is a direct contractor with its own technicians and workshop, not an agency passing your device to a third party, and we have done 46,000+ repairs over 11 years. That structure changes what happens when something goes wrong: the person who quoted the job is the one whose bench the unit sits on, so there is no hand-off where the component or the timeline quietly changes. Across the city, many storefronts take the handset in and drive it to an unnamed workshop, which is why a quote given at the counter and the final bill sometimes differ. With us the price, the replacement and the warranty are written on the receipt in front of you, and the same team that diagnosed the fault runs the 32-function check at the end.
Summary: iPhone 11 Repair
Repairing an iPhone 11 comes down to a handful of decisions you make on either side of the job. Here is what to carry into the conversation with any technician.
- Diagnose the cause, not the symptom: a phone that will not charge is often a worn Lightning port or a dirty connector, not a dead battery — confirm it first.
- Glass-only screen work: an intact LCD on the iPhone 11 can take new glass alone, which keeps your original panel and its True Tone calibration untouched.
- Face ID is safe: the TrueDepth module sits apart from the display assembly, so a competent screen fix leaves facial recognition working.
- Settle the component up front: choose original or aftermarket before any work begins and have the type printed on the receipt.
- Verify together at pickup: run through Face ID, cameras, speakers and charging with the engineer, then keep the old component and warranty card.










 iPad
 MacBook
 iMac
 Mac mini and Studio
 Apple Watch
 AirPods
 Apple Pencil
 Apple TV
 HomePod