Apple TV HD and the three 4K generations differ in ports, cooling and service access, so the faults they develop are not the same. Here is what sits on your table and what tends to break.
Apple TV HD, 4K first and second generation, 4K third generation
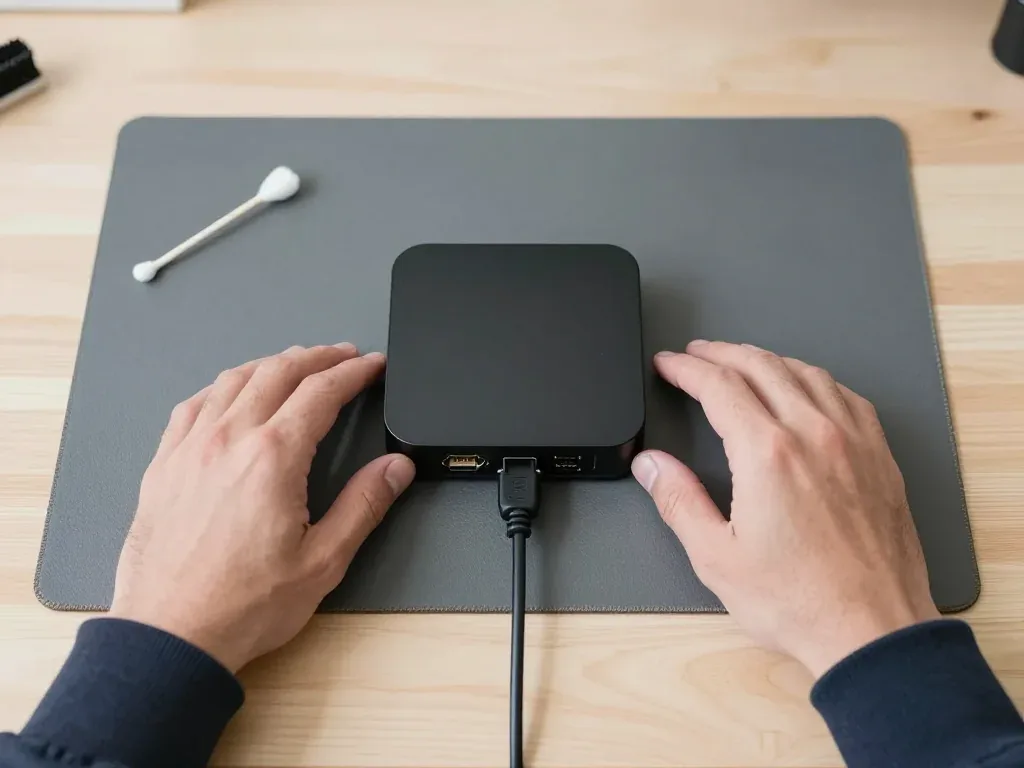
The HD carries a USB-C service port and a fan, the 4K first and second generation add Ethernet and active cooling, and the compact 4K third generation runs fanless with an Ethernet-free variant. The HD model exposes the most to a technician, because that service socket lets an engineer read the device directly when tvOS refuses to boot. The 4K first and second generation keep the fan and the Ethernet socket but drop USB-C, so a stuck update is handled through the network or a restore, not a cable. The 4K third generation removed active cooling entirely and shrank the main circuit assembly, which changes heat behaviour and makes dust build-up less relevant than on the older chassis. Knowing the exact generation before you hand the unit over saves a diagnostic step, because the layout and thermal design decide which faults are even possible.
The parts inside the box and what each one does
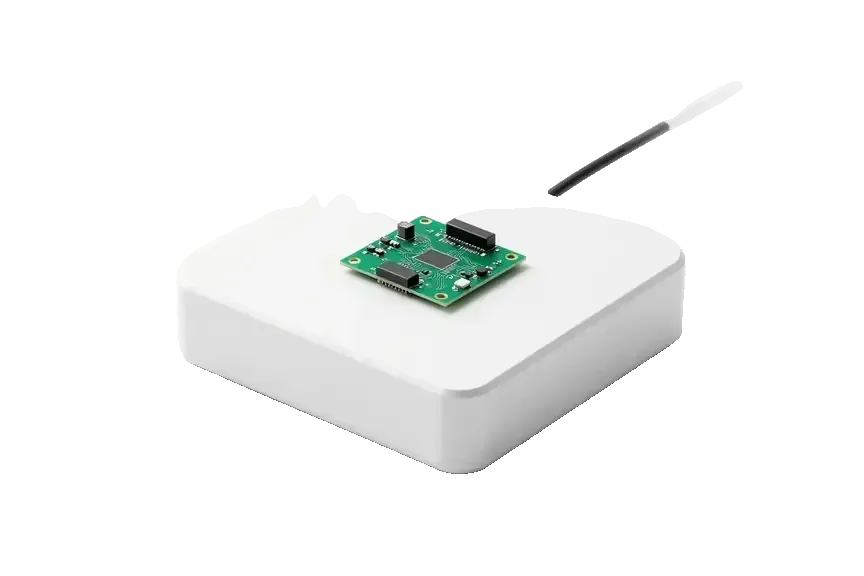
- Built-in power supply: converts mains voltage into the low voltages the unit needs and absorbs a spike arriving through the socket.
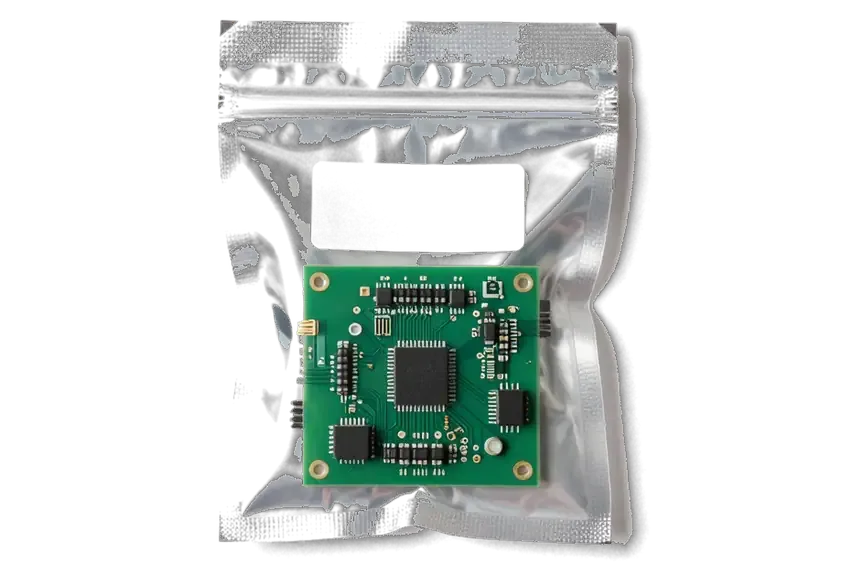
- Logic board: carries processor, memory and storage, and controls boot, video output and network.
- HDMI socket: sends picture and sound to the TV, and its solder joints crack when a cable is pulled sideways.
- Wi-Fi and Bluetooth module: handles streaming and the remote link, and weakens when the antenna contact loosens.
- Cooling fan: moves heat off the processor and clogs with dust, which shows up as noise and throttling.
- Status light and IR receiver: report boot state and accept remote commands, so their behaviour guides the first test.
Faults we see most often across the lineup
Symptoms mapped to the first part an engineer checks| Symptom | Part we test first | Typical fix |
|---|
| Light never comes on | Built-in power supply | Power supply repair |
|---|
| Light on, no picture | HDMI socket and cable | Port replacement |
|---|
| Light blinks in a loop | Main circuit and tvOS | Software restore, then component work |
|---|
| Wi-Fi drops or buffers | Wi-Fi/Bluetooth module | Module and antenna check |
|---|
| Fan noise and heat | Cooling and dust | Clean and re-paste |
|---|
When the Box Stays Dark and Apple TV Repair Never Starts
A completely dark box is the most common reason people call us, and the built-in power supply is usually where the story starts — here is how we trace it.
Why a built-in power supply fails after a voltage spike
The power supply sits inside the housing, so a voltage spike travels straight to it and takes out the components that feed the rest of the circuitry. There is no external brick to swap and no fuse you can pull from the outside — the mains input, the rectifier and the low-voltage rails share the same compact assembly as the logic chipset. A spike that lasts a fraction of a second pushes the switching controller past its rating, and the device goes silent instead of simply rebooting. The same surge often arrives through the HDMI cable from the television, which is why a dead port and a dead module can appear together. A surge protector on the same outlet is cheaper than a second repair, and it shields the device even when the spike comes in through that cable.
How we confirm the power board is the culprit
We run free diagnostics in front of you for 15 minutes, and the engineer shows on the bench whether the supply delivers voltage or the fault sits further down the circuitry. A multimeter on the rails and a look at the indicator give the answer before anything is opened. Experienced technicians carry the same meter readings through the whole Apple TV repair visit in Almaty, so the verdict rests on measured values rather than on a guess from the symptom. If the module is fine, the check moves to the logic chipset and the port. Seeing the test yourself matters because a dead module and a dead logic chipset look identical from the sofa, yet only one of them is worth repairing on a given model.
Repairing the power board versus replacing the box
A power board repair keeps your existing box and your Apple ID setup intact, while a replacement means starting over with a new device and a new pairing. We keep the housing, the storage and every app you already signed into — nothing is re-downloaded and no library is rebuilt. Where the module is repairable we work under the microscope, and component-level jobs of this kind take 1 to 3 days; simpler faults are settled faster, and 72% of all repairs finish while the customer waits in the waiting area. If the module is repairable we fix it under the microscope and return the old part with the receipt, so you can see exactly what came out of the housing.
No Picture on the TV Even Though the Box Is Running
A lit box with a blank screen sends most owners straight to a repair, but the cable or the TV input is often the real fault — we walk the ladder from the cheapest check to board-level work.
Checking the cable and the TV input before anything else
Swap the HDMI lead for a known-good one and cycle through the TV inputs before you suspect the box, because a failed lead produces exactly the same blank screen as a dead connector. Start at the source end: a loose plug behind the device or a lead kinked behind a wall mount breaks the handshake and leaves the panel black while the status light stays on. Then open the input menu on the television and select each slot in turn — owners routinely sit on a source they never use. If the picture returns, confirm the resolution the device outputs matches what the screen accepts, since forcing HDR or Dolby Vision onto an SDR-only panel can also blank the image. Test the same lead and slot with another source such as a laptop, because a television input that has quietly died will mimic a dead Apple TV every time.
When the HDMI port on the box is the problem
If the lead and television check out, we inspect the connector on the device itself, since a bent or worn socket is a common cause of a signal that cuts in and out. Under magnification the pins inside show the story: a cracked solder joint at the base, a contact pushed flat by a heavy lead, or corrosion from a spill. We test at the resolution you actually watch, because a socket that carries 1080p cleanly can still drop 4K HDR the moment the data rate climbs. Swapping it is a soldered job on the main circuit assembly, and we show the new connector in factory packaging before it goes in.
What a board-level picture fault looks like
When the connector is sound but the picture still fails, the fault moves to the main circuit assembly, and that is where our microscope work begins. The video output stage, the memory that buffers the frame and the traces between them all sit on that assembly, and a single failed component there kills the image while the device still boots and answers the remote. We trace the signal path under magnification and confirm the break before touching anything, then reflow or replace the failed part. Board-level faults are the slowest jobs we take on at 1–3 days, so it helps to know up front that this is the one repair that will not finish while you wait.
Endless Rebooting, a Stuck Update and a Frozen tvOS
A unit that restarts in a loop or freezes mid-update is usually a software problem rather than a hardware one, so we try the least invasive fix first.
Reading the blinking light as a boot failure
A light that blinks in a steady loop points to a boot failure, where the device cannot finish loading tvOS and restarts before it ever reaches the home screen. The indicator sits on the front edge of the unit and reports the boot stage, not the charge level or the network state, so it keeps cycling as long as the firmware fails to hand over to the system. A single slow blink and a rapid repeating blink are different signals, so note the rhythm prior to unplugging anything, as it tells the engineer where to start. Count the blinks between pauses and film them on your phone if the pattern is fast — a short clip saves a round of guesswork at the counter.
Restoring tvOS without a service port
On models without a service port we recover tvOS over the network and a paired device, and only the HD generation gives us the USB-C port for a direct reinstall. The newer 4K units carry no exposed connector, so the recovery runs through a computer on the same network and a forced restart sequence that puts the device into recovery mode. Because there is no physical port to attach a cable to, the whole procedure depends on the device and the computer staying connected to that shared network throughout, and on the restart sequence being carried out in the correct order so the unit actually enters recovery mode. A reinstall wipes local settings but leaves your Apple ID purchases in the cloud, so the account and the films you bought survive the process intact.
When a restore does not stop the reboot loop
If the loop returns right after a clean reinstall, the fault has moved from software to the main circuit assembly, and we test it under the microscope. A failed memory chip or a cracked solder joint on the power rail produces the same restart pattern as corrupted firmware, which is why a second recovery changes nothing. Component-level repair at iServices takes one to three days, since the work happens under magnification and each rail is checked before the unit goes back together. A device that reboots only when warm is telling you the fault is thermal, so let it cool prior to the test or the board may pass and hide the real problem.
The Siri Remote That Will Not Charge or Click
The controller fails on its own schedule and does not need the media player to come in with it, so we treat the Siri Remote as a separate repair with its own parts.
Battery, charging port and why the remote dies
The Siri Remote charges over a cable, and when it stops holding power the cause is usually the battery or the charging port rather than the buttons. First and second generation units take a Lightning cable, while the aluminium third generation moved to USB-C, so the port we replace depends on which one you own. A cell that has cycled for years loses capacity quietly: it still shows a full bar, then drops to nothing in an hour of use. The socket wears differently — lint packs into the opening, the pins bend, and the cable stops seating with a click. We test both on the bench and replace only the failed component. A unit that charges but drains overnight points to the battery, while one that will not charge at all points to the port, and the two need different parts.
Touch surface, clickpad and stuck buttons
A touch surface that drifts or a clickpad that stops clicking is a mechanical fault we repair on the unit itself, without touching the media player. The glass trackpad on the first two generations sits above a thin capacitive layer, and once that layer wears the cursor jumps by itself even with a clean surface. Click failure is separate — the dome switch under the pad collapses after heavy use, and the click you feel disappears while the controller still sends commands. Buttons stick for a simpler reason: sugar, sweat and dust build a film along the edge of the key. We open the device, replace the touch layer or the dome, clean the key channels and reseat the membrane. A unit that scrolls on its own is often a worn touch layer rather than dirt, so cleaning it will not fix the drift and the surface needs replacing.
Pairing the remote again after a repair
After a remote repair we pair it back to your set-top unit and test the buttons, the touch surface and the Siri microphone before you leave. Pairing takes seconds: hold the Back and TV buttons until the player confirms, then we walk through volume control over IR, the clickpad and a voice query so the microphone is proven, not assumed. We keep the old part and hand it over with the receipt. If the controller still will not pair after a fresh battery, the fault may be the Bluetooth module inside the player rather than the remote, so bring both in and we test them together.
Repair or Replace, and How a Visit Works
The last question most owners ask is whether the box is worth fixing at all, and the answer depends on the model and the fault — here is how we decide and how the visit runs.
When a repair makes sense and when it does not
A repairable power supply or HDMI port usually makes a repair worthwhile, while a main circuit fault on an older HD device can cost more than the hardware is worth. The PSU and the HDMI connector are separate, replaceable modules, so a dead unit with a healthy main chip comes back to life without touching the main circuit assembly. A failed main chip is a different story: on an HD set the component-level work outweighs the value of the device, whereas on a newer 4K model it still pays off. Bring yours in before you write it off — a free check tells you in 15 minutes which situation you are in.
Free diagnostics, the receipt and the warranty
We run free diagnostics in front of you for 15 minutes, fix the price, the part, the turnaround and the warranty on the receipt in 2 minutes, and back the job with a warranty up to 1 year. The engineer opens the device at the counter and shows you the failed PSU or HDMI connector before anything is unscrewed. You choose between an original component and an aftermarket one, and the new part is shown in factory packaging prior to installation. The receipt is written before any work starts, so the number you agree to at the counter is the number you pay, and the old component comes back with the box. Keep that slip with the warranty card — it is the document that covers the job if anything misbehaves later.
Waiting in the branch or sending the box by courier
Most jobs finish while you wait in the seating area with coffee and Wi-Fi, and if you cannot come in, a courier across Almaty takes 90 minutes and is free with a repair. Our branches in Almaty and Astana work Mon–Fri 10:00–19:00 and 11:00–18:00 at weekends and on holidays, so a Saturday drop-off is realistic. Send a photo of the damage on WhatsApp first, because an engineer replies within 5 minutes and quotes from the picture, so you know before the courier leaves whether the set is worth sending. Payment is by Kaspi, card or cash once the job is done and you have checked the ports and the remote pairing with the engineer.
Summary: Apple TV repair
A dark box, a blank screen and a reboot loop are three separate faults, each pointing to a different part inside the Apple TV. The five points below are the short version worth keeping.
- A dead light: a set that never powers on usually points to the built-in power board, especially after a voltage spike.
- Lit but no picture: start with the HDMI cable and the TV input, then suspect the HDMI socket itself.
- A blinking light: treat it as a boot failure and try a tvOS restore first, before agreeing to work on the main circuit.
- The Siri Remote: it repairs on its own, and its battery and charging connector tend to fail ahead of the buttons.
- Repair or replace: a repairable connector or power supply is worth fixing, while an HD main circuit fault on an old device may not be.









 iPad
 MacBook
 iMac
 Mac mini and Studio
 Apple Watch
 AirPods
 Apple Pencil
 HomePod