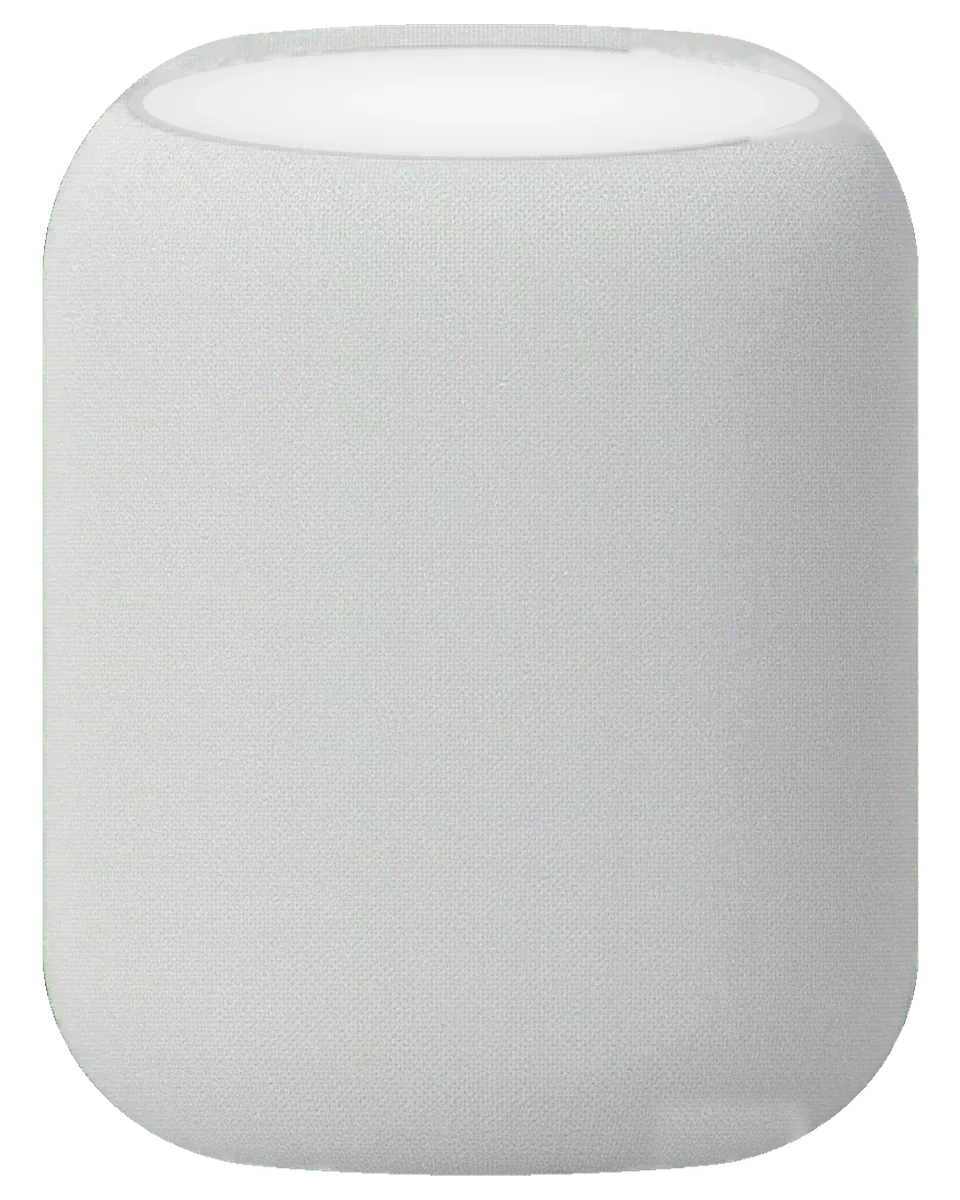
The first HomePod is built differently from later models, and that difference decides what actually fails and how HomePod 1 repair in Almaty is approached once the unit is on the bench.
What Is Inside the First-Generation HomePod
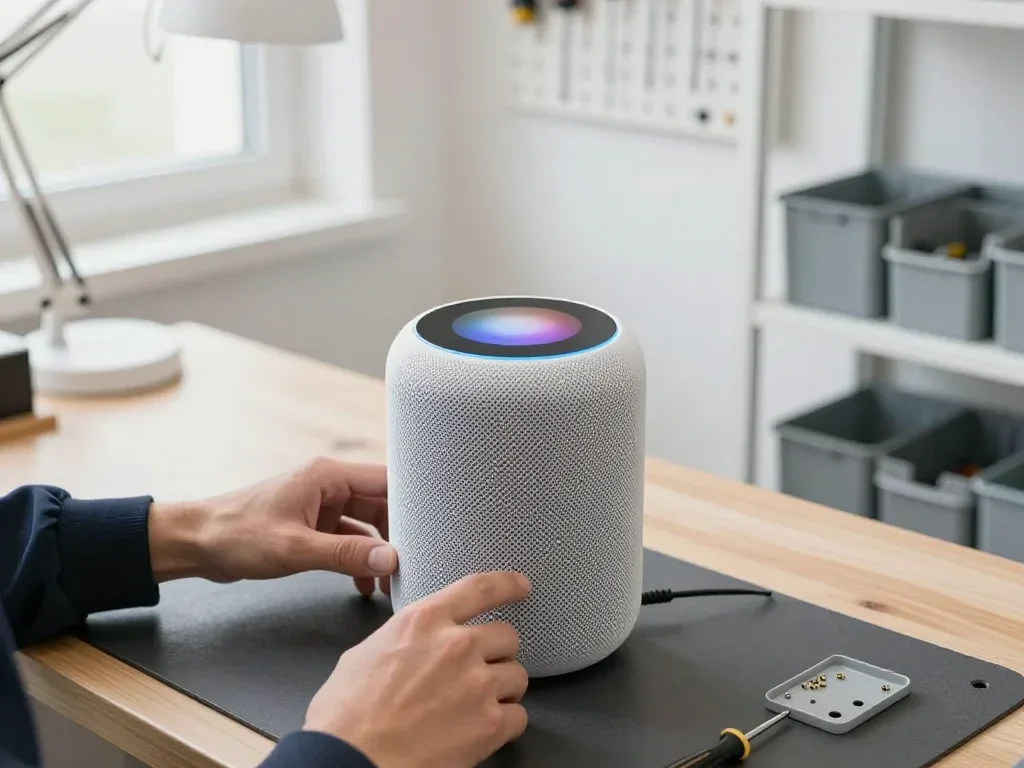
The first-generation unit packs a woofer, seven tweeters, a microphone array, a touch panel on top and an internal power supply into one sealed shell. The woofer handles the low end, the seven-tweeter ring shapes the mid and high frequencies in a circle, and six microphones listen for commands and room reflections. A single system board ties the audio path, the network chip and the touch panel together, and the supply converts mains power inside the housing rather than in an external brick. Because that supply sits inside the shell, a failed supply looks exactly like a dead speaker, and only a power check separates the two before any part is ordered.
The Non-Removable Cable and Why It Matters
On the first-generation model the power cable is fixed into the body, so a damaged cable is a repair job rather than a swap, while the second-generation model and the mini differ here. The HomePod 2 and the mini both use a detachable cord, which on those units turns a chewed or frayed lead into a one-minute replacement. On this device the lead runs straight into the internal supply, and a pinched or heat-damaged cable often takes the supply with it. That is why we test the cord and the supply as a pair before quoting a single part — replacing only the visible damage leaves a dead speaker behind.
Symptom to Fault Map
matching visible symptoms to the part that usually causes them| Symptom | Likely node | What we do |
|---|
| No light, no reaction | Power cable or internal supply | Test cable, then supply |
|---|
| Lights up, no sound | Woofer or tweeter array | Sound test at several volumes |
|---|
| Cuts out under load | Power supply or board | Load test, board inspection |
|---|
| Touch panel dead | Top panel or board | Panel and board check |
|---|
Sound Problems and What Causes Them in HomePod 1 Repair
Distortion on a HomePod rarely means the entire speaker has failed. The difference between a blown driver and a loose element inside the shell decides which repair path the device takes.
Distortion and Rattle at High Volume
A damaged woofer or a loosened element inside the shell produces the rattle you hear on bass, and the two are told apart on the bench rather than by ear alone. The woofer handles low frequencies, while the tweeters carry the upper range, so a buzz that appears only on bass usually points at the low-frequency unit or at the shell vibrating against the fabric mesh. A loose screw, a shifted internal bracket or a component that has started to separate from its mount all sound similar to a listener. On the bench we isolate the source by driving each range separately. Pushing output to maximum to test a rattle usually worsens a failing unit, so we run a stepped sweep instead of a single loud burst.
Cleaning Versus Replacing a Driver
Dust and debris on the moving parts or in the mesh cause a surprising share of sound complaints and clear up with cleaning, while a torn cone or coil damage needs a replacement. The fabric mesh traps fine dust over months of use, and that layer muffles output and adds a buzz that mimics a failing speaker. We remove the mesh, clean the cone and the shell cavity, then re-test before touching any part. A torn cone, a burnt coil or a component that scrapes when moved by hand cannot be cleaned back to health and goes to replacement. iServices is the direct contractor here, with our own technicians and workshop rather than a middleman. We clean first and re-test before recommending a part, because a replacement quoted too early is money spent on a fault that was never there.
What We Listen For During a Sound Test
- Low level: quiet passages reveal a buzzing unit that loud music masks.
- Mid level: the normal listening range where most distortion first shows.
- High level: bass-heavy tracks stress the woofer and the outer casing.
- Siri response: confirms the microphone array still hears commands.
- Touch panel: checks volume and pause gestures respond cleanly.
- Stereo pair: verifies the speaker still syncs with its partner.
Network, Siri and Touch Panel Faults in HomePod 1 Repair
A HomePod that drops off the network or ignores Siri is not always broken, and separating a router problem from a speaker fault is the first step.
Router or Speaker
If the speaker drops off one network but holds another, the router is the suspect, while a unit that loses every network points at its Wi-Fi module or board. A first-generation device connects over Wi-Fi on the 2.4 and 5 GHz bands, and older routers that split those bands into two names confuse it more often than a failed chip. We ask the owner to join a phone hotspot for ten minutes: a stable session there clears the router, a second drop shifts suspicion to the Wi-Fi and Bluetooth module on the logic board. Distance matters too, since a unit behind a thick wall shows the same symptom as a dying antenna. Testing on a second network before opening anything rules out the most common false alarm and keeps a working device out of the workshop.
When Siri Stops Hearing You
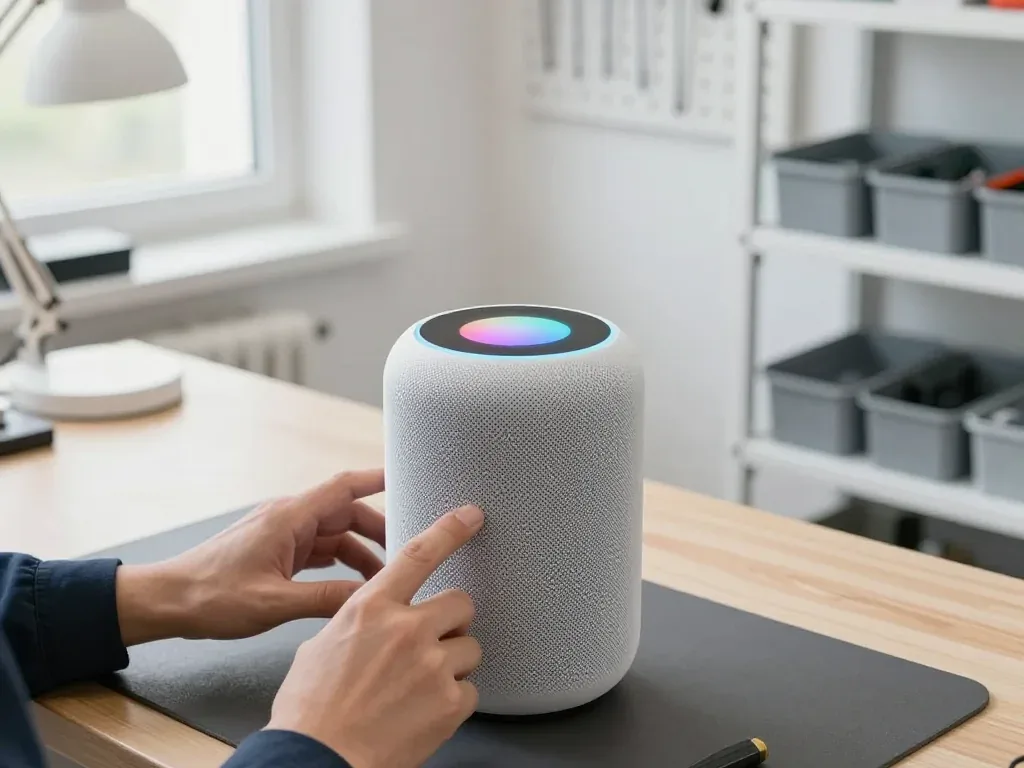
A unit that no longer reacts to its wake word usually has a microphone-array or software issue, and the two are separated by a reset and a live test. The array holds six microphones around the base, so a single dead capsule dulls pickup from one side while the rest still work. We reset the device through the Home app, listen from every direction, and check the level meter while speaking at arm's length. If the response returns after the reset, the fault was firmware, not hardware. iServices runs branches in Almaty and Astana, and the same test takes about 15 minutes during free diagnostics. Background noise and a covered microphone grille mimic a dead array, so we clear the grille and retest before quoting a part.
Stuck on an Update or a Dead Touch Panel
A speaker frozen mid-update is often recovered by a software restore, while a touch panel that ignores taps and shows no light needs a hardware check. The top surface controls volume and pause, and its LEDs sit on a separate flex from the drivers, so a dark panel with working sound narrows the fault to that flex. We restore the unit through the Home app first, since a failed update leaves the same blank panel and looks identical to a hardware failure. A restore wipes the pairing, so we note the room and stereo-pair setup before starting so it can be rebuilt afterwards. When the panel stays dark after a clean restore, the flex is replaced and the LEDs retested.
How We Run a HomePod 1 Repair in Almaty
The visit is built around showing you the fault and fixing the terms ahead of any work, so nothing about the repair comes as a surprise.
Free Diagnostics in Front of You
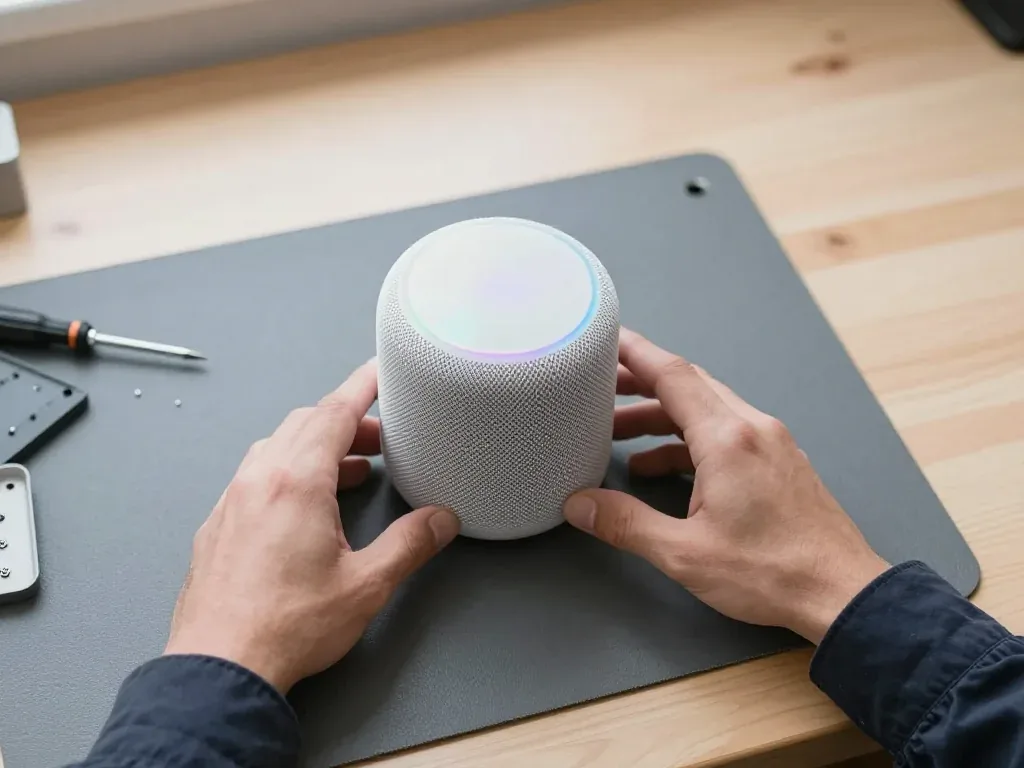
Diagnostics are free and take about 15 minutes, with the engineer checking the device in front of you even if you decide not to repair. We open the base, inspect the power supply and the amplifier board, and run the speaker through a short sound sweep so a rattle or a dropout shows up on the spot rather than in your living room. On a unit that has seen water, diagnostics can sometimes take up to two days because corrosion under the shield needs time to surface. Watching the process is what turns a vague "it doesn't work" into a named node, and it is the point where you can still walk away at no cost. Ask the engineer to point at the failed component on the board — that one gesture tells you more than any written estimate.
Fixing the Terms Before Work Starts
Price, part, turnaround and warranty are fixed on the receipt ahead of any work, and the new part is shown in its factory packaging prior to installation. You choose between an original component and an aftermarket one, and the receipt states which goes in, how long the job takes and what the warranty covers — up to 1 year on the work we do. Most jobs on this speaker finish in 20 to 40 minutes while you wait in the seating area with coffee and Wi-Fi, and 72% of our repairs are completed that way. A written receipt is what you point to if anything differs later, so it is filled in ahead of opening the shell, not after. Keep the old part and the warranty card — both leave with the speaker.
Your Home Setup and Stereo Pair After Repair
A board-level repair or software restore can clear the pairing, so the room assignment and stereo pair may need to be set up again in the Home app afterwards. The speaker itself keeps its hardware identity, but a restored unit often drops back to a default room name and loses its partner in a pair, which breaks AirPlay grouping and Intercom until you re-add it. Reconnection takes a couple of minutes once the device is back on the same Wi-Fi network as your router. Noting the room name and pair partner ahead of the repair makes the rebuild a two-minute job instead of a guessing game — photograph the Home app settings screen and hand the phone to the engineer at intake.
HomePod 1 Repair Parts, Timing and What You Get Back
The choice of component and the handover check are where a repair either holds up or quietly fails, so both are spelled out in advance.
Original Part or Aftermarket
Component options, typical use, and what the receipt confirms| Component option | What it is | Best for | Recorded on receipt |
|---|
| Original | Factory-made unit | Power supply, logic board | Yes |
|---|
| Aftermarket | Compatible unit | Cosmetic trim, some drivers | Yes |
|---|
| Mixed | Original in one node, compatible in another | Speaker plus power supply | Yes |
|---|
How Long a Repair Takes
Most jobs finish while you wait, with board-level work under the microscope taking 1 to 3 days and the whole visit usually under an hour. A driver swap or a power connector fix sits in the 20–40 minute range, and 72% of repairs are completed while the customer stays in the waiting area with coffee and Wi-Fi. Logic-level faults are the exception: we work under a microscope, and board repair takes 1 to 3 days before we quote anything. We are a direct contractor with our own technicians and workshop, not an aggregator passing the unit to a third party, so the turnaround we name is the turnaround we control. Circuit work is the one case where waiting is not realistic, so we say so up front rather than promising a quick turnaround that the fault does not allow.
The Handover Check and Warranty
At handover you check the speaker together with the engineer, and the device comes back with the receipt, warranty card and the old part, with warranty up to 1 year. The check runs through 32 functions in about 10 minutes — sound at several volume levels, microphones, Siri response, Wi-Fi and touch controls — and you listen to the result yourself rather than taking our word for it. Payment by Kaspi, card or cash is settled at the same desk. Keeping the removed piece matters, because it is the only physical record of what was actually swapped if a question arises later. Ask the engineer to point out the replaced node before you leave, so the next time the speaker misbehaves you know exactly what sits inside.
Summary: HomePod 1 repair
The picture behind a HomePod 1 fault is usually narrower than it looks: a single connection, a worn driver or a router setting, not a dead speaker. The points below are what owners most often need to know when deciding.
- Power first: a unit that stays silent usually points to the fixed cable or the internal supply, not the entire speaker.
- Sound has two causes: bass rattle traces to a damaged driver or a loose shell, and cleaning is attempted prior to swapping the part.
- Wi-Fi is not always at fault: test a second router and a different band prior to assuming a module failure.
- Setup can reset: a restore or board repair may clear the room and stereo pair, so write those settings down beforehand.
- Terms up front: part, turnaround and warranty belong on paper before any work starts.









 iPad
 MacBook
 iMac
 Mac mini and Studio
 Apple Watch
 AirPods
 Apple Pencil
 Apple TV