Face ID failures announce themselves in a handful of specific ways, and the exact wording on screen narrows down which part of the TrueDepth system stopped responding before anyone opens the phone.
Reading the three messages iOS shows
"Face ID Is Not Available" points to a hardware fault in the TrueDepth module, while "Unable to Activate Face ID on This iPhone" usually appears after a repair that disturbed the module or its ribbon cable. A third variant, a greyed-out toggle with a setup error, means iOS reached the Secure Enclave but the dot projector did not answer during enrolment. The Secure Enclave stores the face map and never releases it, so a message about activation is a signal about the sensor path, not about your saved data. On units that took a hit or a splash, the same wording can repeat for weeks before the device dies completely. A message that returns right after you re-register your face is the strongest sign the dot projector itself is failing, not the setup routine.
Matching each symptom to the node behind it
Symptoms mapped to TrueDepth nodes and fixes| What you notice | Likely node | What we check | Typical fix |
|---|
| Face ID unavailable after a drop | Dot projector | Alignment under magnification | Repair of the original unit |
|---|
| Works only in bright light | Flood illuminator | IR output during diagnostics | Ribbon or unit repair |
|---|
| No depth in portrait selfies | IR camera | Front camera and IR pairing | Ribbon restoration |
|---|
| Screen stays on at your ear | Proximity sensor | Top ribbon connector | Flex replacement |
|---|
| Nothing at all, camera also dead | Top ribbon cable | Continuity along the cable | Cable repair |
|---|
Why iPhone Face ID Repair Cannot Simply Replace the Module
The most common assumption is that a broken Face ID needs a new module. That is not how the hardware works, and understanding the pairing explains why repair is the realistic route.
The pairing between the module and the logic board
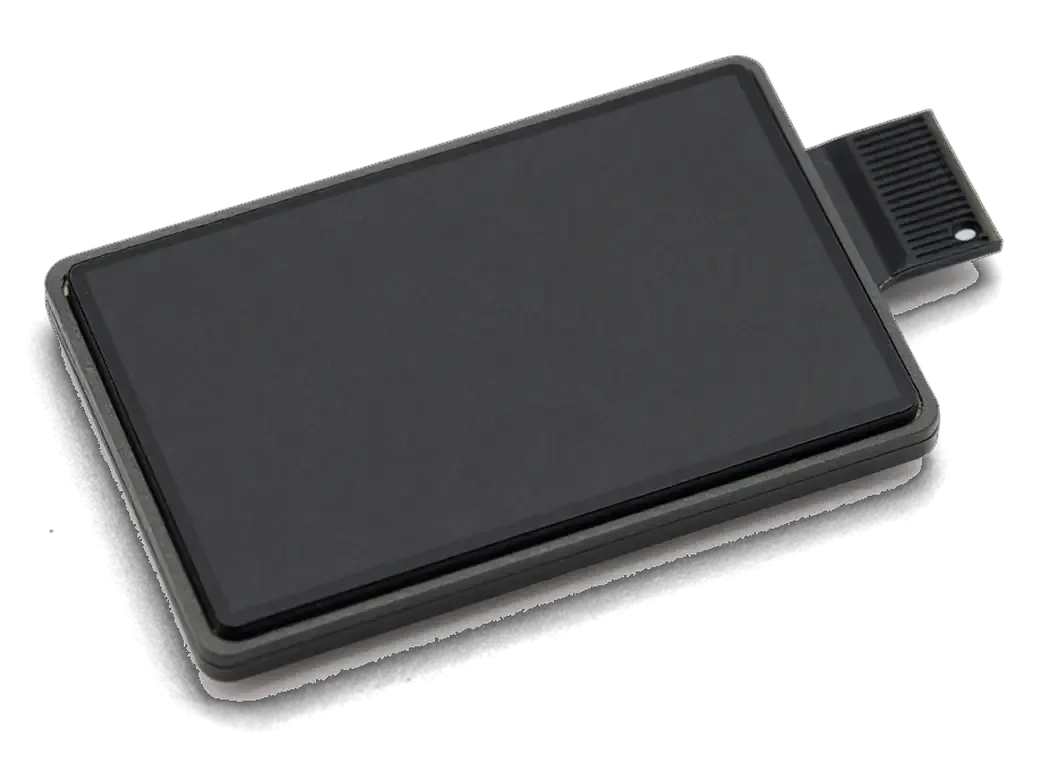
Every TrueDepth assembly is cryptographically tied to the mainboard of one specific handset through the Secure Enclave, so a unit pulled from another phone will not activate Face ID on yours. The dot projector, the infrared camera and the flood illuminator each carry identifiers that the chip reads at boot; a mismatch blocks enrolment and leaves the feature disabled. Dropping in a donor part from an identical model changes nothing, because the check runs against the board, not the casing or the model number. Because the link lives in the mainboard, a device with a swapped assembly can still boot and work normally, which is why such units sometimes reach us after a failed fix elsewhere. Ask any seller whether the part ships with its matching mainboard — a bare unit sold on its own will not restore the feature.
What we actually repair inside the module
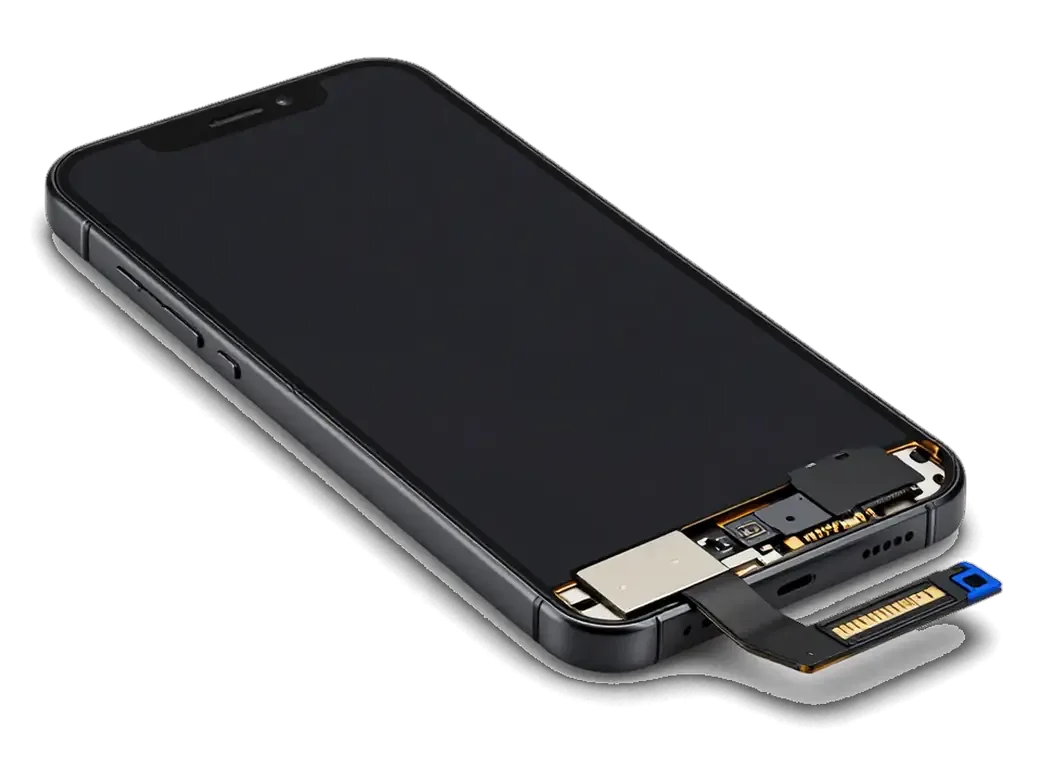
We restore the original assembly by repairing its ribbon cable, re-seating the dot projector or cleaning oxidized contacts, keeping the paired component in place. Most failures sit in the narrow top ribbon that carries the sensors: a careless screen replacement nicks it, and Face ID stops responding even though the panel looks perfect. Our technicians work under magnification with micro-soldering equipment, and the free 15-minute diagnostics in front of you show exactly which node has failed before anything is opened. A unit that has been opened before is not automatically lost, but the earlier the original ribbon is repaired the better the odds it stays functional long term. Bring the phone in before a second outside attempt — every extra layer of someone else's work narrows the room we have to restore the original part.
What Usually Breaks Face ID and How We Trace It
Most Face ID failures trace back to one of four events. Knowing which one applies to your phone tells us where to look first and how long the work will take.
Drops, water and previous repairs
A drop shifts or cracks the dot projector, water oxidizes the ribbon and connector, and a careless earlier repair damages the top cable, which together account for nearly every case we see. The projector sits in the top bezel behind the glass, so a corner impact that leaves the screen intact can still knock the emitter out of alignment and throw the whole depth map off. Liquid works slower and quieter: moisture wicks under the TrueDepth connector, corrodes the pins and gradually raises resistance until the module stops answering the board. A third pattern is a screen or camera swap done elsewhere, where that same top cable was creased, torn or glued back without the original module. After liquid contact the phone may still unlock by code for days before Face ID drops out, so a working sensor right after a spill is not proof the module escaped damage.
How our free diagnostics pinpoints the failed node
We run free diagnostics in front of you for 15 minutes, testing Face ID, the front camera and the proximity sensor so you see which node failed before any work begins. The engineer projects the dot pattern onto a target card, checks the infrared camera image, reads the connector for oxidation and, where a drop or a previous repair is suspected, inspects the board under a microscope. You watch the whole sequence on the bench rather than hearing a verdict afterwards. Most cases resolve into a clear answer within that quarter of an hour, and the price, part and turnaround go onto the receipt before we open anything. Water damage sometimes needs up to two days of diagnostics, because oxidation under the shields only shows up after the board is cleaned and re-tested.
Keeping Face ID Alive Through a Screen Replacement
A cracked screen is the moment Face ID is most often lost, not because the display matters to it, but because the sensors sit on the flex that has to be moved across.
Why the top flex has to be transferred
The proximity sensor and part of the TrueDepth assembly sit on the top flex attached to the display, so a screen replacement means moving that flex to the new panel to keep Face ID working. This flex carries the ambient light sensor, the flood illuminator wiring and the proximity emitter, and all of them talk to the logic board through the same connector. Peel it up at the wrong angle and the traces crack, which is why a working Face ID can go dark after a routine glass swap done too quickly. The flex is glued down along its length, so it has to be warmed and lifted gradually rather than pulled. On iPhone XR the LCD panel is replaced more often than the OLED on XS, which makes a careful flex transfer the single most important step in that model's screen job.
Original panel versus aftermarket for Face ID
Screen options compared by Face ID outcome| Panel option | Face ID after repair | What else to expect |
|---|
| Original | Preserved via flex transfer | True Tone and auto-brightness intact |
|---|
| Aftermarket | Preserved via flex transfer | True Tone may be limited |
|---|
| Either, careless transfer | At risk | Damaged top flex, Face ID lost |
|---|
How an iPhone Face ID Repair in Almaty Runs Step by Step
From the first WhatsApp photo to the moment you walk out with your phone, the sequence is fixed and documented, so nothing about the component, the timing or the warranty is left to guesswork.
From a WhatsApp photo to a fixed receipt
Send a photo of the damage on WhatsApp and an engineer replies within 5 minutes with a price and a free time slot, then locks the figure, the component, the turnaround and the warranty on the receipt before work starts. A courier can be called if you cannot come in, and the trip across town takes about 90 minutes, free with the repair. If you prefer to stay, the waiting area has coffee and Wi-Fi, and the replacement is shown in factory packaging before installation. Diagnostics take 15 minutes in front of you, and the whole process from first contact to pickup usually finishes in under an hour. Every iPhone Face ID repair in Almaty follows this same documented route, so you always know what happens next.
What you check together with the engineer before pickup
- Face ID: unlock and re-register your face in front of the engineer.
- True Tone and auto-brightness: confirm the display responds to light.
- Cameras: front and rear, including portrait mode depth.
- Audio: microphones and speakers on a test call.
- Charging and network: cable, wireless and cellular signal.
- Paperwork: receipt, warranty card and the old module handed over.
Summary: iPhone Face ID Repair
The realistic outcome of a Face ID repair rests on a few practical points, and each one decides how predictable the result will be once the phone is back in your hands.
- Repair the paired module: Face ID is bound to the logic board, so the workable fix is restoring the original module rather than fitting one from another phone.
- Read the message and the sensors: the exact on-screen warning plus how the front camera and proximity sensor behave narrow down which TrueDepth node failed.
- Watch the top flex: drops, liquid and careless earlier panel work cause most failures, and any display swap means transferring that flex.
- Diagnose before agreeing: a check in front of the customer exposes the failed node before any work is approved.
- Fix the terms in writing: a receipt, a verified set of functions and a warranty up to 1 year make the result predictable.









 iPad
 MacBook
 iMac
 Mac mini and Studio
 Apple Watch
 AirPods
 Apple Pencil
 Apple TV
 HomePod