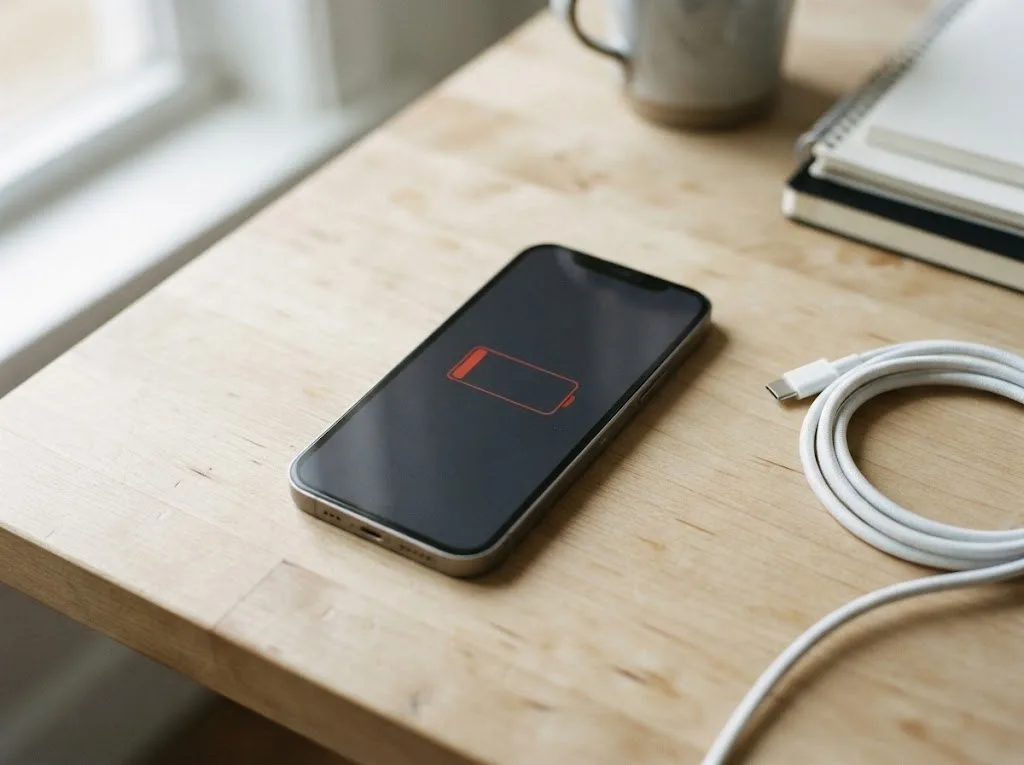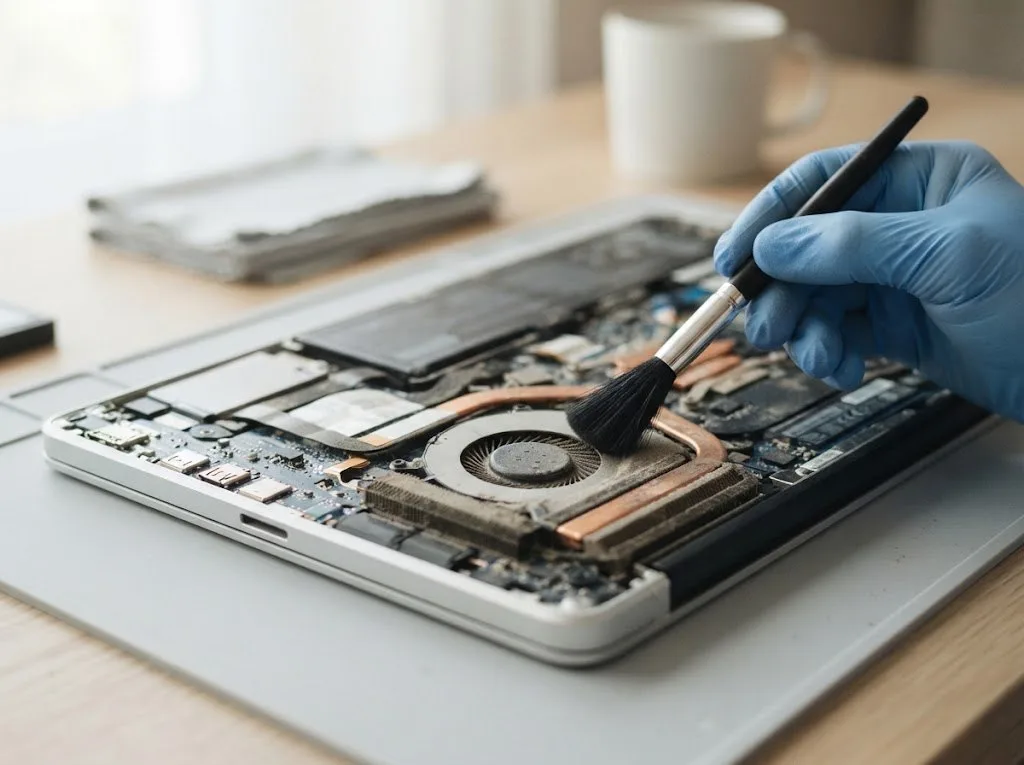
An original iPhone screen in Almaty is a factory display that keeps True Tone, full brightness and accurate colour, while an aftermarket panel can lose some of these. At iServices we show the new part in factory packaging before fitting, fix the part, turnaround and warranty on the receipt, and finish most screen swaps in about 40 minutes.
What Actually Separates an Original iPhone Screen From an Aftermarket One
A screen is one assembly — glass, matrix and flex cables bonded together. The real difference between a factory unit and an aftermarket one sits in the panel itself, not in the label on the box.
Service details: “iPhone Display Replacement”.
What an Original Display Assembly Really Is
A factory display assembly is built to the same matrix, brightness and colour spec as the panel the phone shipped with, and it keeps every display-linked function working. On OLED models that means the same emissive layer, the same peak headroom and the same factory calibration, so True Tone reads the ambient sensor and shifts the white point as designed. The part arrives as one unit: matrix, glass and flex cables already bonded, with connectors that carry touch, luminance and Face ID data. A display is replaced as a whole assembly, so judging authenticity by the glass alone tells you nothing — the panel underneath is what matters. When customers ask about an original iPhone screen in Almaty, the answer starts with the panel, not the packaging.
Where an Aftermarket Panel Differs
An aftermarket panel is built to fit and work, but its matrix (often InCell instead of OLED), peak luminance and colour calibration usually sit below the factory spec. On a copy, the emissive layer is frequently swapped for a backlit LCD-style stack, which is why blacks look grey and the picture dims hard in direct sun. Tint drifts when you tilt the phone, and touch sampling can feel softer under fast two-thumb typing. The gap is not works or doesn't work — a good aftermarket panel works; the gap shows up outdoors, at viewing angles and in how the digitiser responds to quick taps.
Original vs Aftermarket at a Glance
| Parameter | Original part | Aftermarket part |
|---|---|---|
| Matrix type | Factory OLED | Often InCell |
| True Tone | Supported | May not work |
| Peak brightness | Factory spec | Usually lower |
| Colour accuracy | Factory calibration | Can shift at angles |
| Touch response | As designed | Good, occasionally softer |
| Warranty | Up to 1 year | — |
What an Ordinary Person Notices About an Original iPhone Screen Day to Day
Most people never compare two screens side by side. They notice the difference in specific moments — direct sun on the way to work, fast typing in a chat, a dark room at night, a photo taken at an angle.
Brightness and Colour Outdoors
An aftermarket panel gives itself away outdoors first, where lower peak brightness makes the display harder to read in direct sun and colours look slightly washed out. Indoors at moderate brightness the gap is small: whites stay white, icons stay sharp, and a copy can pass for the real thing for weeks. Push the slider to maximum on a sunny balcony and the difference appears — a genuine panel holds contrast at an angle, while a cheaper one turns grey. Colour accuracy drifts the same way, most visibly in skin tones and reds. Steep viewing angles are the second test: tilt the phone away and watch whether the image dims evenly or shifts toward blue. The difference lives at the top of the brightness range, not in the middle — judge a screen at full brightness in daylight, never under warm shop lamps.
True Tone and Face ID After a Swap
True Tone can stop working on some aftermarket panels, while Face ID keeps working as long as the sensor stack is transferred correctly — and we check both together with you after fitting. True Tone shifts white balance warmer under evening light, which most owners register as eye comfort rather than image quality. When it disappears, the display looks colder at night and the missing toggle in Settings is the clearest "this is not genuine" tell. Face ID is a different system: the dot projector and infrared camera sit in the top bezel, and a careless swap that damages that stack kills unlocking outright. We run both alongside the rest of our post-repair check, because True Tone is a comfort feature while Face ID is the one you cannot live without.
Touch, Scrolling and Fast Typing
A good aftermarket panel tracks touch well, but cheaper ones can feel slightly softer on fast typing or show missed taps along the edges. The digitizer layer under the glass registers finger position, and a lower-grade sheet samples it less often — so quick two-thumb typing produces dropped letters, and swipes near the curved edge stop registering halfway. Scrolling exposes the same weakness: flick through a long feed and a weak panel stutters instead of gliding. Test touch by typing a long message and dragging an icon to every corner — edge dead zones are the most common aftermarket complaint and the easiest to catch in the first minute. Do it before you leave the counter, while the engineer is still beside you.
How to Tell an Original iPhone Screen From a Copy Before and After Fitting
You can separate a genuine display from a copy in two places: before the part is fitted, by its packaging and markings, and afterwards, by how the phone behaves. Doing both steps with the technician present is the reliable route.
Checking the Part Before It Goes In
We show the new display in its factory packaging before installation, so you can see the part, its labelling and its condition before anything is opened or fitted. The engineer breaks the seal in front of you, lays the assembly on the bench and points out the flex-cable connectors, the shielding and the printed codes on the ribbon. In our practice the packaging carries as much information as the component itself: intact seals, matching part numbers and a flex cable that has not been folded or re-taped. We then fit the screen while you watch or wait in the seating area with coffee and Wi-Fi. Ask to see the flex-cable markings and the packaging seal — a part that arrives loose or pre-opened is the first thing to question, whatever the seller claims.
Signs on the Phone After Fitting
- True Tone toggle: present and switchable in Settings on a genuine assembly, absent or greyed out on most copies.
- Brightness ceiling: the slider reaches full output without a visible cap, while copies top out noticeably lower.
- Colour at angles: whites stay neutral when you tilt the phone away from you, not green or blue.
- Touch at edges: no dead zones when you drag an icon slowly to each corner of the glass.
- Glass flush: the assembly sits level with the frame, with no lip, gap or rocking under a fingertip.
What a Copy Cannot Fake
A copy can match the shape and even the glass, but it cannot reproduce the factory matrix behaviour at the top of the brightness range or the exact colour calibration. Aftermarket units are built to a price, so the backlight and the polariser are usually a grade below the genuine article, and the difference shows up in low light and at wide viewing angles rather than straight on. The touch layer is the second giveaway: copies often register a swipe a few millimetres off, which you notice in fast typing but not in a menu tap. Compare the same photo on the old and new screen side by side in a dark room — a copy usually shows a cooler or greener tint that the eye catches only in direct comparison.
What to Check on the Phone Right After a Screen Swap
Once the new display is in, a short walk-through with the engineer separates a clean repair from a surprise the next morning. Do it while you are still at the counter.
The Function Check We Run
After the swap we put the device through a full function test that takes about 10 minutes and covers Face ID, True Tone, cameras, microphones, speakers, charging and network. The engineer opens each module one by one on the bench, and the results go onto the same sheet that already holds your part type and turnaround. Facial unlock gets a fresh scan, True Tone is toggled against a white screen, both lenses shoot a test frame, and the charging port is tried with a live cable rather than a visual glance. This walk-through happens with you present, so you watch each function pass instead of taking a report on trust — and any fault is caught while the handset is still on the bench.
What You Should Test Yourself
- Touch: type a full message and drag an icon to every corner, watching for dead spots.
- Display: tilt the screen and look for colour shift or dim edges at an angle.
- Cameras: shoot with front and rear, verify focus, flash and the switch between lenses.
- Audio: play a video with sound and make a call on speaker.
- Sensors: confirm True Tone and facial unlock in Settings, then try brightness outdoors.
- Network: load a page on mobile data and confirm the signal holds.
When to Speak Up Before Leaving
If any function fails, say so on the spot — we re-check immediately and correct it during the same visit rather than sending you away with a note. A dim corner, a tap that misses near the edge or a facial unlock that hesitates is usually a seating or connector issue, not a dead panel, and it shows up within minutes on the bench. A missed tap is far easier to fix while the handset is still open than after a week of daily use. The second pass follows the same checklist, and the corrected result is confirmed with you in the waiting area before the device goes back in your hands.
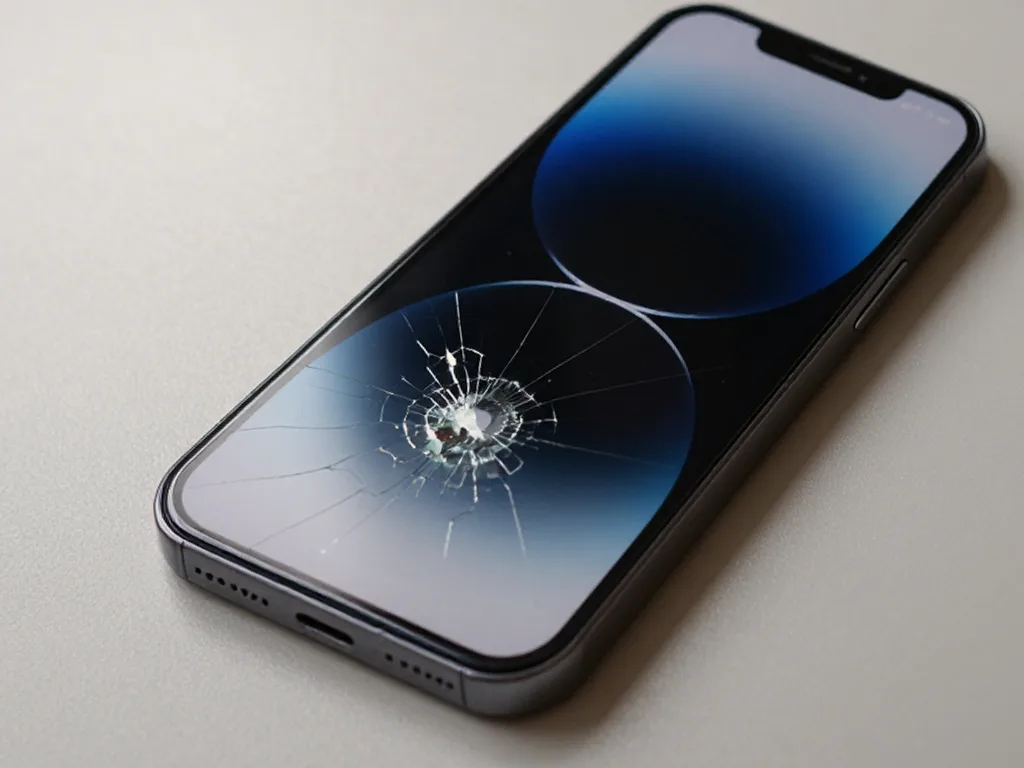 Before: the screen is broken
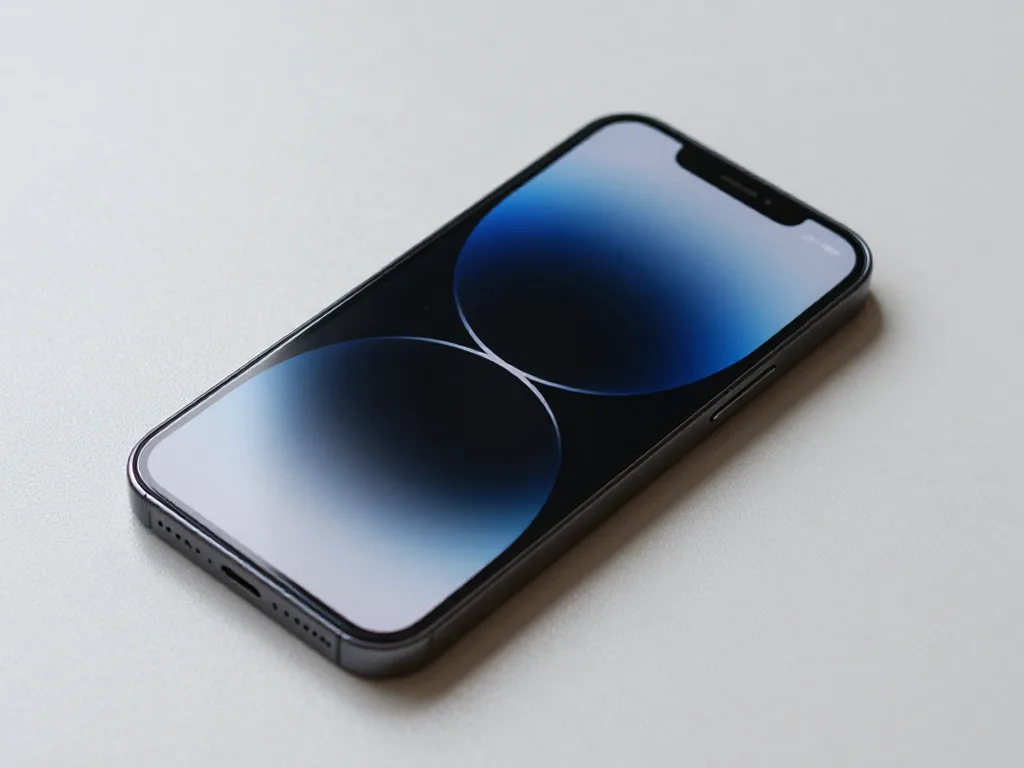 After: a new screen
How Long a Screen Replacement Takes and How to Hand the Phone In
Timing depends on the model and whether the panel is in stock, but the screen swap itself we usually do while you wait. You can hand the device in person or send it by courier.
How Long the Swap Itself Takes
An iPhone screen replacement takes about 40 minutes, and 72% of our repairs are finished while the customer waits in the waiting area with coffee and Wi-Fi. That window covers the physical swap plus the full function check we run afterwards — Face ID, True Tone, cameras, microphones, speakers, charging and network, roughly 10 minutes of it. A battery job runs 25 minutes, camera glass 20, and a speaker 30, so a display sits at the longer end of the walk-in list. Most of the time goes on the adhesive seal and the calibration pass, not on lifting the old panel. Sending a photo on WhatsApp first is what keeps it to that window rather than a full day.
Sending the Phone In or Bringing It
You can bring the phone to the workshop or call a courier across Almaty, which takes about 90 minutes and is free with a repair. We accept devices 7 days a week, with weekday hours 10:00–19:00 and weekends and holidays 11:00–18:00, so a Saturday drop-off costs you nothing extra in turnaround. The courier collects the device, and the job is handled through to pickup. Payment is by Kaspi, card or cash, whichever suits you at collection. Send a photo of the damage on WhatsApp first — an engineer replies within 5 minutes and quotes from the photo, so you know the component and slot before the handset leaves your hands.
What Happens From First Message to Pickup
- First message: send a photo on WhatsApp, get a reply within 5 minutes.
- Diagnostics: free 15-minute check in front of you, even if you decline.
- Receipt: component, turnaround and warranty fixed in 2 minutes.
- Repair: display swap in about 40 minutes while you wait.
- Pickup: device returned with receipt, warranty card and old part.
Warranty, Receipt and What Stays Transparent
Transparency starts before the phone is opened, with the part and the terms written down, and continues after you leave with the documents and the component that came out.
What the Receipt Locks In
Before work starts we fix the price, the part (original or aftermarket), the turnaround and the warranty on the receipt, so nothing changes once the phone is open. The line that matters most is the part description: it names the panel type rather than a vague promise of something good. Turnaround is stated in the same document, which is why a screen swap quoted at 40 minutes cannot quietly become an afternoon. The warranty period is written next to it, so the terms exist on paper from the first minute rather than being recalled from memory weeks later. A receipt that names the exact part is what lets you hold a workshop to its word later — "we fitted a good one" is not a specification.
How the Warranty Works on Genuine and Aftermarket
Parts we fit carry a warranty up to 1 year, and the terms are written on the warranty card you take home with the phone. Coverage applies to the component and to the workmanship behind it, which matters because most panel faults trace back to either the part itself or the way it was seated and connected. Because the card records which of the two options was installed, a claim is checked against a known starting point instead of a guess. Our technicians inspect a faulty panel, confirm the fault and follow the route written on the warranty card. The warranty covers the part and the workmanship, so a panel that develops a fault is inspected and confirmed against the card.
What You Take Home After the Repair
The phone comes back with the receipt, the warranty card and the old part, so you keep a record of what was done and the component that came out. That old display is more useful than it looks: its connector, flex and glass tell a technician exactly what was removed if a question ever arises. The receipt and card together document the part type and the warranty window, which is the pair a claim is built on. Handing the old component back is also a simple honesty check — a workshop that keeps it out of sight leaves you with nothing to compare against. Keep the old display until the warranty period ends — it is your proof of what was removed and a reference point if a claim is ever needed.
Summary: Original iPhone screen vs an aftermarket one
The choice between an original display and a copy comes down to a few checks you can run yourself, and to the paperwork you leave with.
- Original display: keeps True Tone, full brightness and factory colour, while an aftermarket panel can lose some of these.
- Where it shows: most people notice the difference outdoors, at steep angles and on fast typing rather than in everyday indoor use.
- Before fitting: check the part in its packaging, then the True Tone toggle after — those are the clearest tells.
- Test on the spot: touch, cameras, audio and sensors before leaving the workshop, not the next day.
- Paperwork: a receipt that names the part and a warranty up to 1 year are what make the choice safe either way.