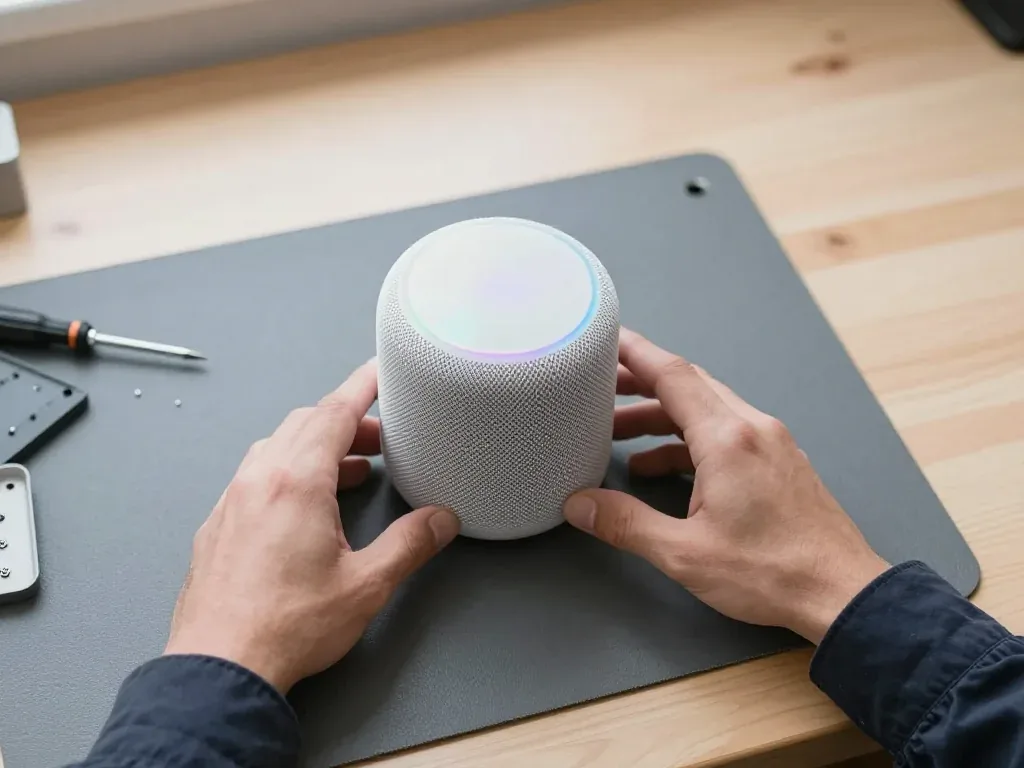
A silent speaker has three separate origins: no power, power without sound, or sound without a network response. Before swapping anything, an engineer separates a fault inside the column from a problem in the router.
Three Fault Groups Behind a Silent Speaker Explained
- No power at all: the top stays dark and the speaker never appears in the Home app, which points to the supply or its cable.
- Power but no sound: the surface lights up and responds to touch, yet the woofer stays quiet, so the driver or its internal connection is the suspect.
- Sound but no network response: music plays from a paired device while Siri and the Home app stay silent, which points to the wireless module.
- Light as the first test: a dark surface means supply, a pulsing one means software or wireless, and a lit surface with no audio means the driver.
- Why the split matters: each group needs different tools and a different turnaround, and mixing them up wastes the first diagnostic pass.
Telling a Router Problem from a Speaker Problem Apart
We first join the speaker to a second network on a phone hotspot, and if it stays connected there, the trouble sits in the router or the home connection, not in the column. A unit that keeps dropping from the Home app while a phone on the same Wi-Fi holds a stable signal is usually fine inside. We compare behaviour on 2.4 GHz and 5 GHz, watch whether the surface pulses during a dropout, and check whether a second Apple device loses the same connection at the same moment. One speaker failing alone points inward; every device failing together points at the router. A column that drops only on 5 GHz while holding steady on 2.4 GHz is a detail worth writing down before you call anyone, because it saves a pointless repair.
What the Free 15-Minute Check Covers in Practice
Our engineer runs the check in front of you and spends 15 minutes on it, free, even if you decide against a repair. The light test, the driver test and a network join are all done at the counter while you watch, and nothing goes to the bench before you agree. If the problem needs board-level work, we say so on the spot and fix the price, the part and the turnaround on the receipt in about two minutes. Ask to see the light and the driver test yourself, because a defect you watched being found is a defect you can trust the quote for.
Power Faults from Cable to Internal Supply
When the top panel stays dark, we walk the chain from socket to board link by link. That order rules out the cheap causes first.
Reading the Chain from Cable to Board
When the top panel stays dark, the fault sits somewhere between the wall socket and the board, and each link is tested in order. We start at the socket with a known-good outlet, then check the cable for continuity along its full length, then measure the output of the internal supply and compare it with the board's expected rail. The full-size unit carries its supply inside the body, so it cannot be swapped out the way an external brick can — it is tested in place. The mini and the second-generation unit route power differently, and the reading tells us which section is silent. A cable can fail inside the bend near the base, so a visual check alone never clears it. If you need HomePod repair in Almaty, this same step-by-step reading shows exactly which link has failed before any part is replaced.
When the Cable Itself Is at Fault
On HomePod 2 the cable unplugs, so we swap it and retest in minutes, while on the first model and mini the cable is fixed into the body and the case has to be opened. That difference decides the turnaround: a plug-in lead is a quick job, a fixed one adds the opening and resealing step to the same visit. The part and turnaround are confirmed on the receipt before the swap starts. The exact turnaround is fixed on the receipt, and you can wait in the waiting area with coffee and Wi-Fi. A power cable that has been pulled tight against a wall for years often fails at the strain point, so check how the speaker is placed before blaming the supply.
Board-Level Work Under the Microscope Explained
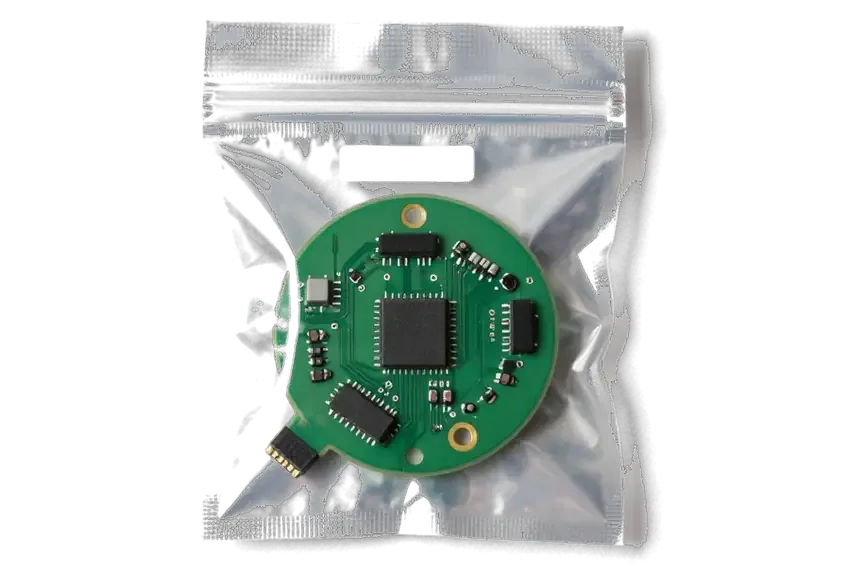
Board repair on the device is done under a microscope and takes 1 to 3 days, because the supply and network sections sit close together on a small board. At iServices the engineer works on the board itself rather than swapping the whole unit, and the extended window reflects the bench time, not a queue. We fix the part, the turnaround and the warranty on the receipt before work starts, and the new component is shown in its factory packaging first. A voltage spike from the mains is the usual cause of a dead supply section, so a surge protector at the socket is cheaper than a second board repair.
Distortion, Rattle and the Driver Behind It
A rattle on bass almost always points to one specific component, and a proper check separates a damaged speaker from a housing element that has worked loose before any part is ordered.
Driver Damage or a Loose Housing Element Compared
A buzz at high volume comes from either a damaged woofer or a housing element that has worked loose, and the two sound almost the same until the speaker is tested on its own. The woofer handles everything below roughly 200 Hz, while the tweeters carry voices and cymbals, so a fault in each produces a different kind of noise: a low hum from the bass cone, a thin crackle from the high-frequency units. The fabric mesh and the shell around it also vibrate, and a single loose screw or a warped frame can add its own noise on top of the driver's. Play a low-frequency sweep at moderate volume and listen for the distortion appearing at one exact pitch, which points to the cone rather than the shell.
Cleaning the Driver and the Fabric Cover First
We clean the speaker and its fabric cover before replacing anything, because dust packed into the mesh changes how the unit breathes and can mimic a failing component. A soft brush lifts dust from the weave, and low-pressure air clears the gap around the woofer cone without pushing debris deeper into the voice coil. A unit with a rattle may need cleaning rather than a new part, and the sound returns to normal once the weave passes air evenly again. The engineer shows the removed panel and the cleaned cone in front of you, so the difference between maintenance and a real part failure is visible. A surface that has absorbed kitchen grease stops passing air evenly, so keeping the unit away from the stove extends the life of the speaker behind it.
Symptom to Part at a Glance in One Table
Which component a given sound points to first| What you hear | Part we test first | What we do |
|---|
| Rattle on bass | Woofer | Driver test, then replace if confirmed |
|---|
| Muffled highs | High-frequency drivers | Clean mesh, test each driver |
|---|
| Buzz at any volume | Housing or fabric | Reseat housing, clean fabric |
|---|
| Crackle with no audio | Board or supply | Microscope check of the board |
|---|
Network Dropouts, Siri and the Touch Panel
A unit that vanishes from the Home app or stops hearing your voice usually has a network or microphone fault, not a power problem. We trace these symptoms in a set order.
No Response in the Home App Explained
When the Home app shows no response, we test the Wi-Fi module and the board after ruling out the router, and a module fault shows up as a unit that joins no network at all. A device that still streams AirPlay but drops out of the app points to the Bluetooth and Wi-Fi antenna path or a board joint rather than the radio chip itself. Our engineer runs the free check in front of you and shows which link fails. A unit that answers Siri but never appears in the app is usually a software state, not a dead module, so a reset is tried before any part is touched.
Siri Not Hearing and a Dead Touch Panel Together
If Siri stops reacting to your voice, we test the microphone array, and if the top panel ignores taps, we check the touch surface and its light together. The array sits on a flex that also carries the status LEDs, so a single damaged trace can kill voice pickup and leave the light ring working. The touch surface controls volume and pause through the same top assembly, and a cracked or unresponsive layer is replaced as one part with its backlight. A surface that lights up but does not react to touch is a different fault from one that stays dark, and the two lead to different parts.
Keeping Your Home Setup and Stereo Pair Intact
A repaired unit usually rejoins the Home app under its old name, but a stereo pair has to be set up again once the hardware is back. AirPlay targets, room assignment and Intercom settings live in the home profile rather than on the device, so they survive the trip to the workshop. The pair itself does not: two units that were bonded have to be re-paired after either one is serviced. Note the room name and the pairing before handing the device in, because restoring them takes a minute with that note and much longer without it. Skipping this step means reconfiguring every automation that referenced the old arrangement.
HomePod, HomePod 2 and mini in Repair
The three models differ in how the power lead is built and which sections have to be opened, and that changes the course of the repair from the first minute.
What Differs Inside Each Model Explained
The original model carries a fixed lead and a built-in supply, the second generation has a removable one and adds temperature and humidity sensors, and mini runs a single full-range driver with its cord led out of the body. On the first unit the line is moulded into the housing, so any work on the supply starts with opening the case and freeing the wiring from its channel. The newer generation separates the two: the lead unplugs from the back, which keeps the electronics sealed during a swap. The compact version sits closer to the first generation in layout — one driver, a compact board, and a cord that exits through a reinforced grommet at the base. That unpluggable cord on the second-generation unit makes an electrical fault the quickest to clear, so start any diagnosis there before opening the case.
Model, Cable and the Usual Fault Compared
Each model matched to its cord type and common problem| Model | Power cable | Typical weak point |
|---|
| HomePod (1st gen) | Fixed into the body | Supply section, woofer rattle |
|---|
| HomePod 2 | Removable | Cable strain, network module |
|---|
| HomePod mini | Led out of the body | Cable at the exit point, full-range driver |
|---|
Repair or Replace the Older Unit Deciding
We quote the repair on the older unit the same way as on any model, and the decision usually comes down to which part has failed rather than the age of the device. A dead supply block is a contained job: the board comes out, the failed components are replaced, and the housing goes back untouched. The picture changes when the fault reaches the network section of the main board, where trace damage spreads and the work needs microscope time with no guarantee of a clean result. The diagnosis decides it — some first-generation units come back to full volume after a supply repair, and the rest are better retired. A failed supply block is a contained fix, while board damage that reaches the network section is where a new speaker starts to make more sense.
Receipt, Warranty and Handover Checks
Every job here is documented: the terms go onto a receipt at the counter, and at pickup the device is tested against a function list together with you. Both steps keep the arrangement factual rather than verbal.
What the Receipt Locks In Writing
Before work starts we fix the price, the part, the turnaround and the warranty on the receipt, and it takes about 2 minutes. The document names the exact spare, whether genuine or aftermarket, the promised handover time and the coverage period, so a later conversation never depends on memory. Our engineer fills it in at the counter while you watch, before any work on the speaker itself begins. Nothing is added to it once the job begins. Keep that receipt with the old part, because the warranty card and the removed driver together are what make a later claim simple.
Original Part or Aftermarket Compared
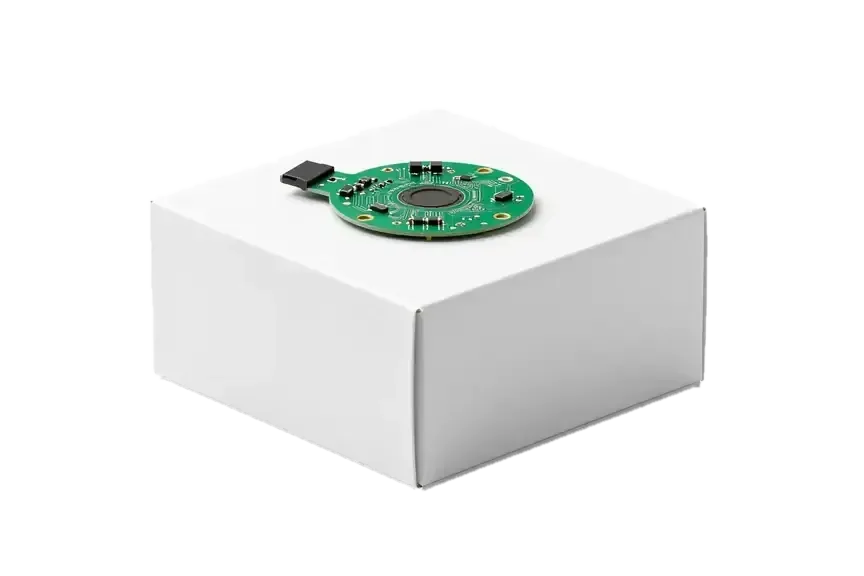
We show the new spare in its factory packaging prior to fitting it, and 64% of our customers choose a genuine part, with a warranty of up to 1 year on original parts and 6 months on aftermarket ones. The box is opened in your presence, the piece is compared with the one coming out of the housing, and only then does installation begin. On these speakers the choice matters most at the driver: coil, suspension and magnet assembly decide how the unit behaves at high volume. An aftermarket driver can match a genuine part on loudness but not always on how it handles bass at high levels, so ask to hear the device at full volume earlier than you commit.
The Handover Check List in Full
- Siri and the touch panel: we ask Siri a question and tap every zone of the top panel to confirm both respond.
- Wi-Fi and AirPlay: the speaker joins a test network and streams audio from a phone without dropouts.
- Sound at three volumes: quiet, medium and near maximum, listening for rattle, hiss or a dead channel.
- Software state: if an update stalled during the fault, we confirm the firmware is restored and the device boots cleanly.
- Waiting area test: you pair the gadget with your own phone on your network before leaving, since a fault that survived the repair is easier to settle on the spot.
Summary: HomePod repair
Sorting the symptom before opening anything is what turns a silent or distorted HomePod into a quick, predictable fix rather than a guessing game.
- Top panel light: read it first, since its colour separates a power fault from a software or network one.
- Second network: test the speaker there before assuming the Wi-Fi module has failed.
- Rattle versus buzz: a rattle at one exact pitch points to the driver, while a buzz at any volume points to the housing.
- Cable type: it decides how quickly a power fault clears, and it differs across the three models.
- Room name and stereo pair: note both before any repair so the setup returns without guesswork.









 iPad
 MacBook
 iMac
 Mac mini and Studio
 Apple Watch
 AirPods
 Apple Pencil
 Apple TV