The mini 7 pairs an A17 Pro chip with a laminated display in a compact frame, and most faults trace back to the screen, the battery or the USB-C socket. Here is how to tell these failures apart.
Cracked glass, dead touch zones and lines
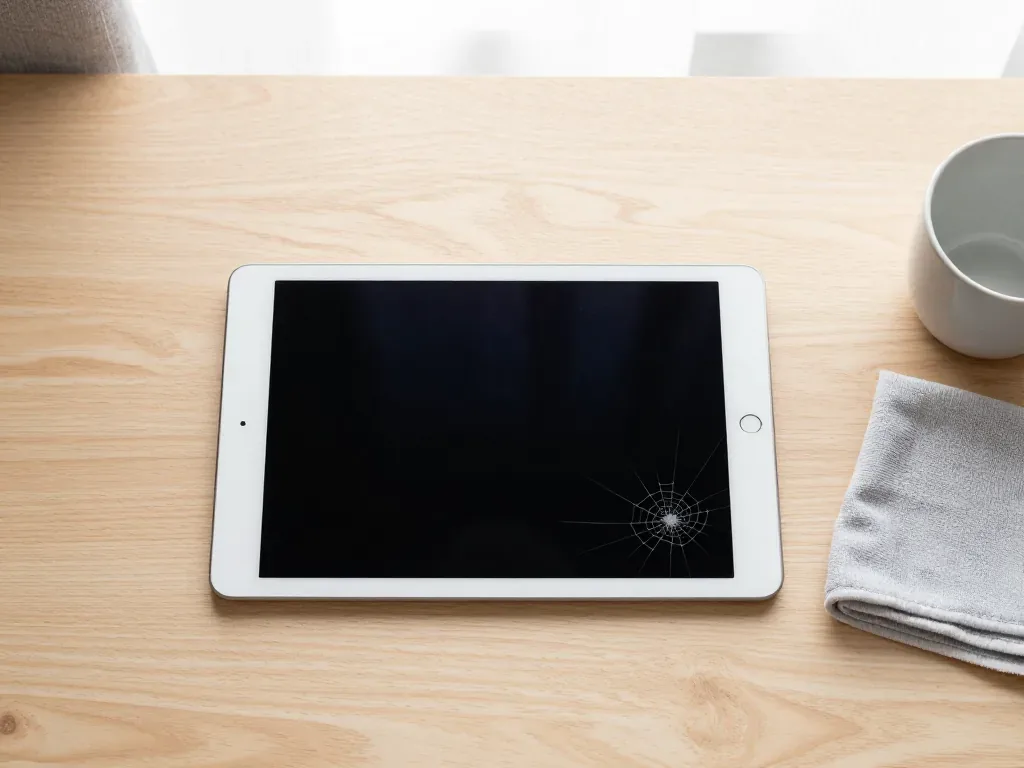
A cracked mini 7 screen usually falls into a few patterns — spiderweb glass with working touch, coloured lines or blotches, or dead zones that ignore the Apple Pencil. With spiderweb damage the LCD panel underneath still renders a clean image while the glass above it is shattered. Lines and dark patches mean pressure has reached the panel itself. Dead stripes or a dead corner signal a failed touch layer, so taps land nowhere and the Pencil Pro skips strokes. The laminated display module bonds glass, touch layer and panel into a single unit, so a crack in any layer means the whole assembly is swapped rather than a single sheet. If the image is clean but the glass is shattered, the laminated module still has to come off as a unit, so waiting rarely makes the repair cheaper and can let dust and moisture reach the panel.
Battery wear, swelling and sudden shutdowns
Owners of the mini 7 run into two distinct kinds of battery trouble — slow degradation that suddenly turns into unexpected shutdowns, and swelling that forces the display up and away from the chassis. The gradual type creeps in quietly: capacity drops month after month, the tablet powers off well before the indicator hits zero, and chilly mornings bring surprise cutouts. The physical type is visible — the sealed cell bulges, raises one edge of the panel and creates a gap where backlight leaks out. Both can be confirmed during a no-cost 15-minute check performed while you watch, when the technician reads out battery health and demonstrates the condition of the cell. A bloated cell is a safety hazard rather than an inconvenience, so avoid plugging the tablet in or squeezing it shut until a technician has inspected it.
USB-C charging faults and what they look like
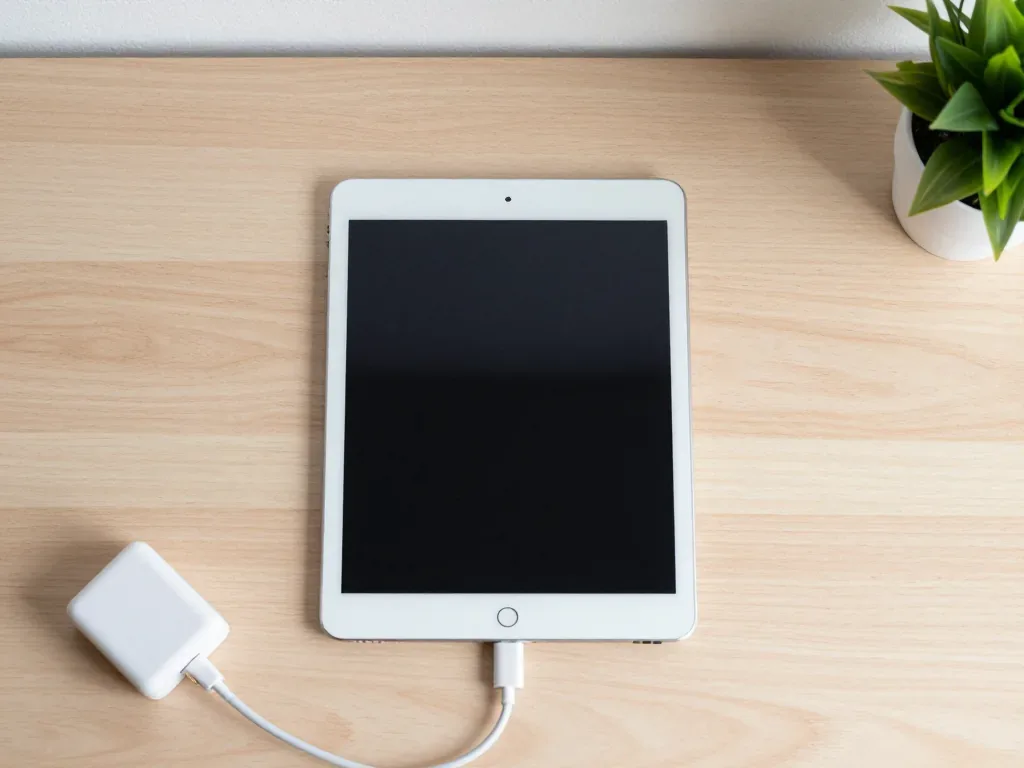
- Cable and adapter first: swap both and test a second outlet, since a worn cable fails before the socket does.
- Packed lint: compacted dust inside the USB-C port blocks the pins and mimics a dead connector.
- Flex damage: a bent or corroded port flex interrupts charging and data transfer between socket and board.
- Battery or controller: when the socket is clean and the flex intact, the fault sits in the cell or the power controller.
Display service for the fused iPad mini 7 repair assembly
The mini 7 uses a laminated 8.3-inch Liquid Retina panel, so a screen repair works differently from older split-glass models. The glass and display are one part, and the buttons around it are paired to the board.
What makes the mini 7 display a single unit swap
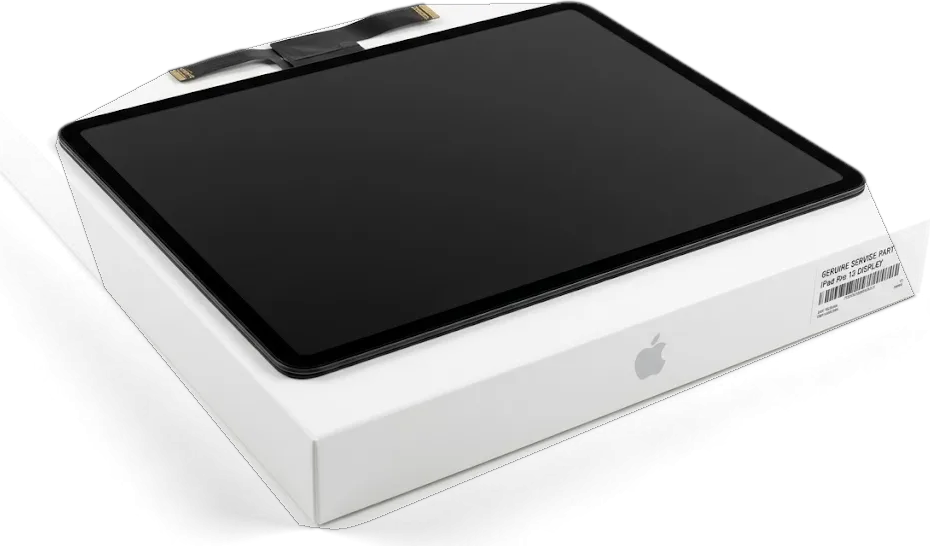
On the mini 7 the cover glass and display panel are fused into one laminated unit, so a shattered front gets swapped out as a complete module, never as plain glass on its own. Glue spreads between the cover and the panel over the entire 8.3-inch area, and that bond layer is what holds the touch sensor and the anti-reflective coating. Separating those layers while salvaging the original panel would mean slicing through set adhesive with heat and a wire, and the panel seldom comes through intact. This very lamination is what keeps reflections low and Pencil input accurate, and forcing the layers apart to reuse the panel risks a split that surfaces weeks later as hazy spots. Should a repair shop offer a glass-only fix for this model, ask them which panel they plan to reuse, and take an evasive reply as a red flag.
Preserving Touch ID and power button function
Touch ID sits in the mini 7's power key, and that key carries a cryptographic pairing with the mainboard, so the original key is carried over to the replacement part instead of a new one being fitted. The pairing is cryptographic in nature: the secure element on the board holds the key that the fingerprint reader signs against, and a key taken from another tablet has no matching key. A module installed without moving the paired key over will accept the passcode but refuse fingerprints, which is why the swap is done before the adhesive cures. This carry-over step is the one most often rushed past in a hurry. Confirm before any work starts that your own key goes back on.
What changes for Apple Pencil Pro and True Tone
A correctly fitted mini 7 module keeps Apple Pencil Pro hover, pressure and squeeze working, and True Tone stays available once the panel is recognised by the board. Hover relies on the digitizer grid embedded in the laminated stack, so a module of the right specification restores it along with tilt and palm rejection. True Tone depends on a calibration step during assembly, so a module fitted without it leaves the display stuck in a fixed colour temperature that owners notice immediately. The calibration writes the panel's colour profile to the board, and it is not something a user can redo from Settings afterwards. Test hover and True Tone in the workshop before you pay, with a Pencil in hand if you own one.
Our iPad mini 7 repair process in Astana
The flow is built so you see the fault, the part and the paperwork before any work starts, and you can wait on site while it is done.
From a WhatsApp picture to a confirmed time
Send pictures of the damage via WhatsApp and a technician responds in about five minutes with a quote and an available time, so your visit begins with everything arranged instead of standing in line. For common issues — a shattered front glass, a battery that has expanded, a USB-C port that no longer holds the cable — we price from the photo alone. Photograph the entire device, not just the break: a lifted screen edge or a warped frame tells the technician whether the body was affected too, and that detail determines which part is required. If crossing town is inconvenient, courier pickup can be set up. Showing the chassis in the shots lets us spot a bent housing before you come in, so the booking reflects the actual work. That is how iPad mini 7 repair in Astana begins without guesswork.
No-charge diagnostics while you watch, plus a receipt
The check takes roughly 15 minutes and is carried out while you watch, whether or not you go ahead with the repair, and the cost, part, timing and guarantee are printed on the receipt within about two minutes. The technician opens the tablet on the bench next to you, points out the faulty component, and explains whether a genuine or a third-party part suits your situation — 64% of clients choose the genuine one. The new part is displayed in its manufacturer box prior to fitting, and you are welcome to relax in the lounge with coffee and Wi-Fi while the job is done. A receipt that identifies the exact part makes any later warranty claim a matter of reading one line instead of debating what was installed.
What to do with your data before handing the tablet over
- iCloud backup: run a full backup the morning of the visit, so the copy reflects the apps you actually use.
- Apple ID password: confirm you can sign in, because a locked tablet cannot be tested after repair.
- Find My iPad: decide in advance whether it stays on, and switch it off yourself for a reset.
- Screen lock: note your passcode, since the 32-function check includes Touch ID and True Tone, and the engineer needs to unlock the tablet to run it.
Genuine component versus third-party component for iPad mini 7 repair
Both routes are available on the mini 7, and the honest difference sits in brightness, colour accuracy, battery behaviour and how long the part is covered.
How the two screen options differ in daily use
Side-by-side comparison of part options and their visible effects| Option | What it is | Where it shows | Warranty |
|---|
| Original module | Factory-spec laminated assembly | Brightness, colour, True Tone | Up to 1 year |
|---|
| Aftermarket module | Third-party laminated assembly | Slight brightness and angle differences | 6 months |
|---|
| Original battery | Factory-spec glued cell | Runtime and swelling resistance | Up to 1 year |
|---|
| Aftermarket battery | Third-party glued cell | Runtime may differ over time | 6 months |
|---|
Battery choice and what it means over time
An original mini 7 battery holds its rated runtime for longer and resists swelling better, while an aftermarket cell can lose capacity faster under heavy daily use. The cell is glued under a laminated screen, so any later swap means opening the same module a second time. A swelling cell pushes against that glass from behind, and on a thin tablet the pressure reaches the display before the owner notices anything wrong. Capacity itself fades gradually: an aftermarket pack may hold up well at first and then lose capacity faster under heavy daily use. Because the battery sits under a glued screen, a cheaper cell that fails early costs a second screen removal, which is the real argument for the original part.
What the warranty actually covers
Every mini 7 repair we hand over carries a warranty up to 1 year, and the warranty card travels with the device alongside the receipt and the old part. The card names the part fitted and the period covered, so a later claim needs no guesswork about what was inside the tablet. We keep the same terms for original and aftermarket parts — the difference is in the component, not in how long it is backed. The old part returned to you is the simplest proof of what was replaced, and it is worth keeping until the warranty period ends. Keep the card and the receipt together with it, because a claim is settled by matching the named part to the device in front of the engineer.
Turnaround times and the checks we run before handover
Most mini 7 jobs are completed the same day, and the handover is a shared check rather than a quick handshake at the counter. Here is what each job takes and what we verify before you leave.
Time needed for every kind of mini 7 repair
Job types against typical turnaround and on-site waiting| Job | Typical time | Can you wait on site |
|---|
| Screen module replacement | Between 1 hour and 1 day | Usually yes |
|---|
| Battery replacement | From 1 hour up to 1 day | Usually yes |
|---|
| USB-C port and flex | From 1 hour | Usually yes |
|---|
| Board-level repair | 1–3 days | No |
|---|
| Liquid damage assessment | As long as 2 days | No |
|---|
The 32-function check and what you test yourself
- Timing: once assembly is done, we perform a 32-point verification lasting roughly ten minutes before handing the tablet back.
- Biometrics and display: the engineer confirms Touch ID and True Tone respond exactly as they did before the repair, and the cameras, microphones and speakers are checked on a live call.
- Cameras and audio: both cameras, the microphones and the speakers are tested on a live call and a recording.
- Power and network: charging, the USB-C connection and the network are checked with the back still accessible.
- Your turn: you repeat the same key points with the engineer, then take the device home with the receipt.
When the fault sits on the board or the network side
A tablet that loses Wi-Fi, drops the network or overheats under light load is a board-level case, and those repairs are done under a microscope rather than at the counter. The Wi-Fi module, the network section and the power delivery sit close together on the logic board, so a single failed component can mimic three different symptoms. Heat that builds up while charging points at the power section, and continuing to charge through it can turn a component swap into a wider repair. Liquid exposure is the other common trigger, and diagnostics after it can sometimes take up to two days before we know the full picture. The sooner a board fault reaches the microscope, the smaller the final job — waiting rarely makes it cheaper.
Summary: iPad mini 7 Repair
A short recap of what decides the outcome when a mini 7 fails — the laminated front, the paired top key, the order of checks and the preparation ahead of handover.
- Screen as a module: the mini 7 front is laminated, so cracked glass is replaced as one assembly instead of bare glass glued onto the old frame.
- Touch ID in the power key: this part is cryptographically paired with the mainboard, so the original is moved over to a new screen rather than swapped out.
- Swollen battery: it pushes the display off the frame, so have the tablet inspected prior to charging it again.
- Charging faults: the check runs from cable to port to battery to the power controller on the board, cheapest cause first.
- Ahead of handover: a backup, a known Apple ID password and a clear decision on Find My iPad make any repair smoother.














 MacBook
 iMac
 Mac mini and Studio
 Apple Watch
 AirPods
 Apple Pencil
 Apple TV
 HomePod