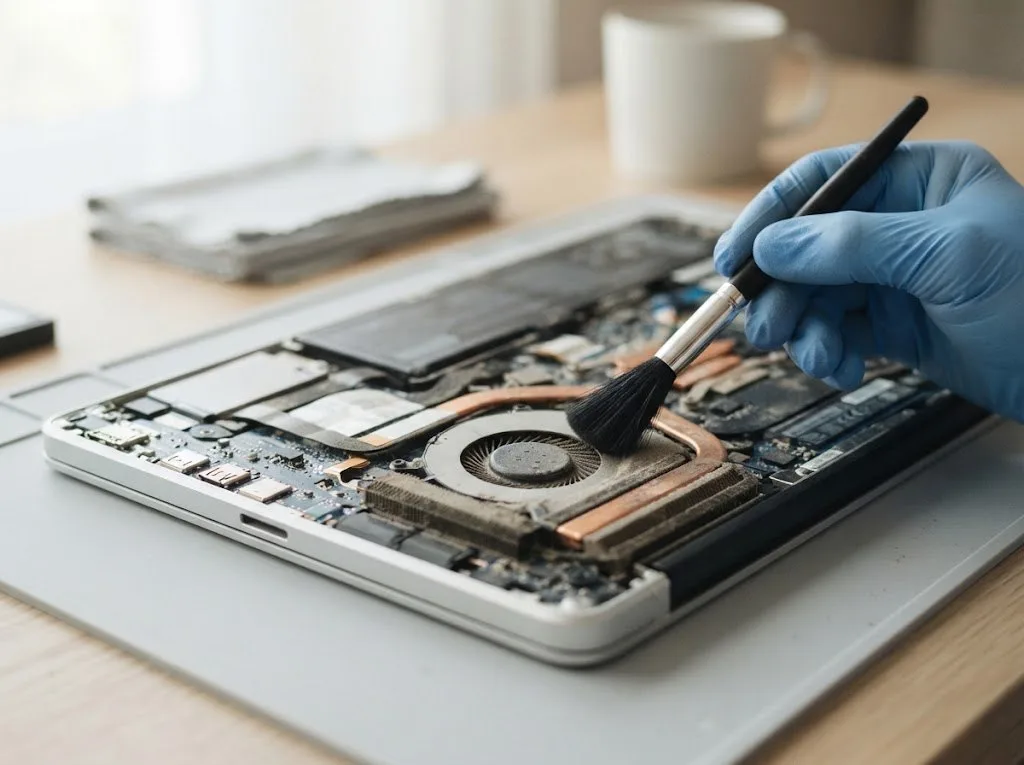
On most modern MacBook models the keyboard is physically built into the top half of the body, so the question "swap the keys" becomes "swap the top case or drill out the rivets".
How the Keyboard Is Built Into the Upper Case
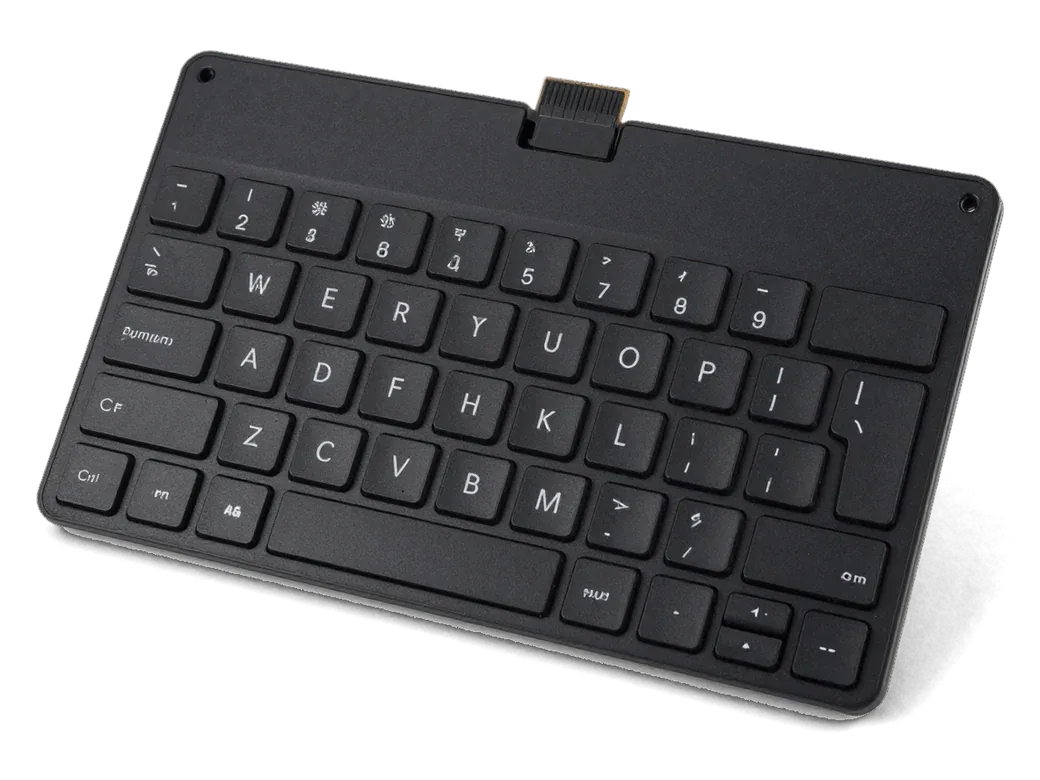
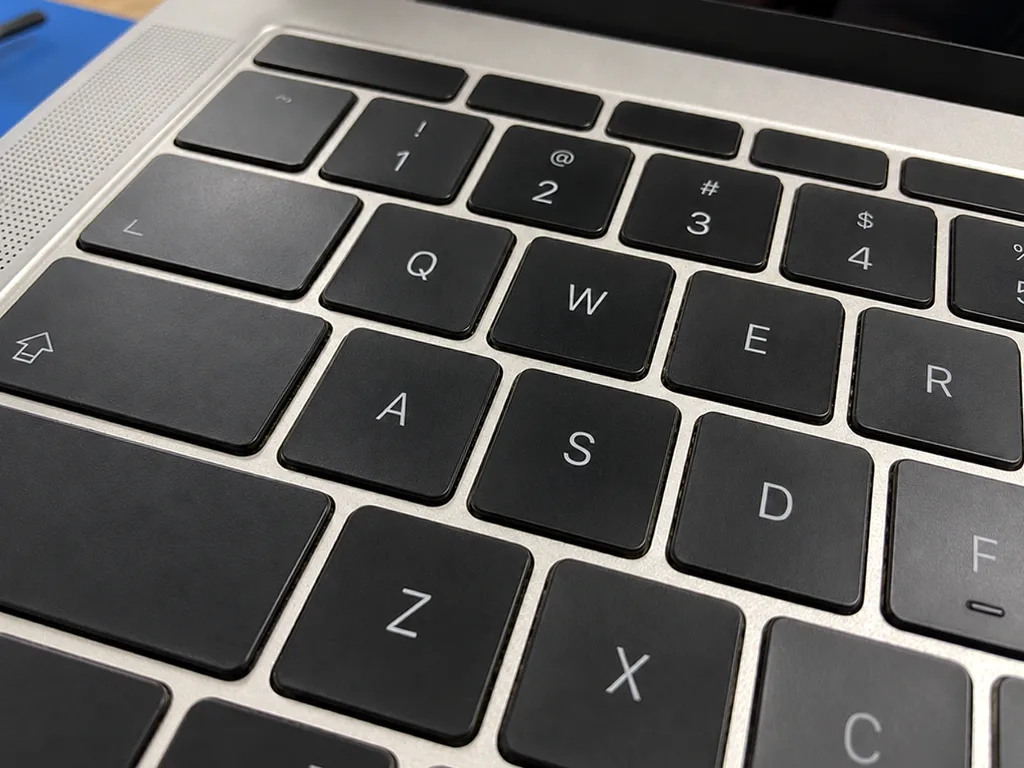
On most MacBook models the keyboard is riveted or glued into the chassis, so it is not a separate part you can simply unclip and swap. The assembly arrives as one structural unit: the key module sits on a metal plate fixed to the body with dozens of small rivets, and the backlight membrane runs directly beneath the keycaps. Because this part also carries the trackpad, the backlight layer and often the battery, the replacement is planned around the whole assembly rather than the keys alone. On the 12-inch Retina and the early butterfly generations, the rivet count runs into the dozens, which is why a single stuck key rarely gets fixed in isolation. If you are looking for MacBook keyboard replacement in Astana, the engineer first confirms whether the whole top case is involved.
Rivets, Screws and the Separate Module Option
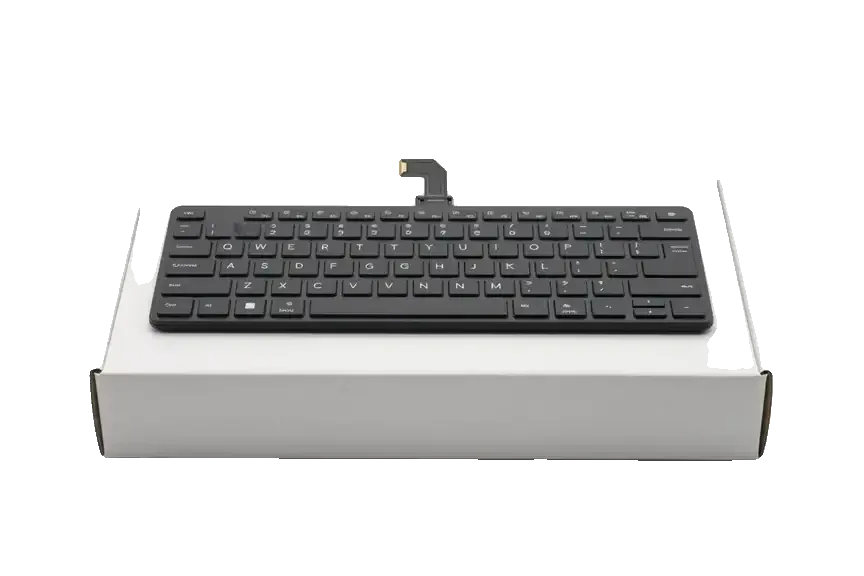
We can drill out the factory rivets and fit a standalone keyboard module, but on riveted generations the standard route is a full assembly because it keeps the fit and backlight intact. The drill-out path removes roughly thirty to sixty rivets, then the new module is seated and fixed with screws or an adhesive frame. A drilled module saves the outer housing but depends on precise rivet work, so it suits models where the body is undamaged and the customer wants to keep the original finish. The drill-out route is taken only after free diagnostics confirms the housing is straight and the backlight layer is intact; if either is compromised, the full top case is the safer call. Ask to see the old part and the factory packaging of the new one before installation — that is how you confirm which route was actually taken.
Which MacBook Generations Allow a Standalone Keyboard
The right repair depends on the generation, the key mechanism and whether the keyboard sits on screws, rivets or inside a sealed shell.
Keyboard Types and Repair Routes by Generation
How each generation is built and what moves over| Generation | Key mechanism | Keyboard separate | What transfers |
|---|
| Older aluminium Pro | Scissor | Yes, on screws | Module only |
|---|
| Retina and early Air | Scissor | Riveted, drilled out | Module or whole shell |
|---|
| Butterfly Pro and Air | Butterfly | Sealed in shell | Board, Touch ID, Touch Bar |
|---|
| Magic Keyboard models | Scissor | Sealed in shell | Board, Touch ID, battery |
|---|
Matching the Upper Case Revision and Colour
We match the replacement shell by model revision and colour before ordering, because a part from a different revision can leave gaps around the trackpad or block the backlight connector. The revision number sits on the underside of the original, and we read it together with the colour code — space grey and silver parts are not interchangeable even when the shape looks identical. The correct revision also keeps the layout consistent, so the Enter key shape and the printed characters stay exactly as they were before. A mismatched revision is a common reason a swap looks off after assembly. Before installation, we show the new part in factory packaging for the customer to compare against the old one.
Touch ID, Touch Bar and the Battery During Transfer
Moving the internals into a new top case is where most of the risk sits, because the fingerprint sensor, the OLED strip and the battery are tied to the old shell in different ways.
Why the Fingerprint Button Is Transferred and Never Swapped
We move the original fingerprint button from the old housing to the new one, because the sensor is paired with the logic board and a fresh button will not authenticate. The pairing is written into the board at manufacture, so a donor button from another device registers as foreign hardware and the fingerprint reader simply stops responding. The transfer is a routine step of every top case job, done with the same care as board work under the microscope. Only the button itself travels across, along with its flex cable and the mounting bracket, while the new shell supplies the opening it sits in. That is why the button is treated as part of the board rather than a spare part, and why we test fingerprint unlock together with the customer before the laptop leaves the bench.
OLED Strip and the Glued Battery
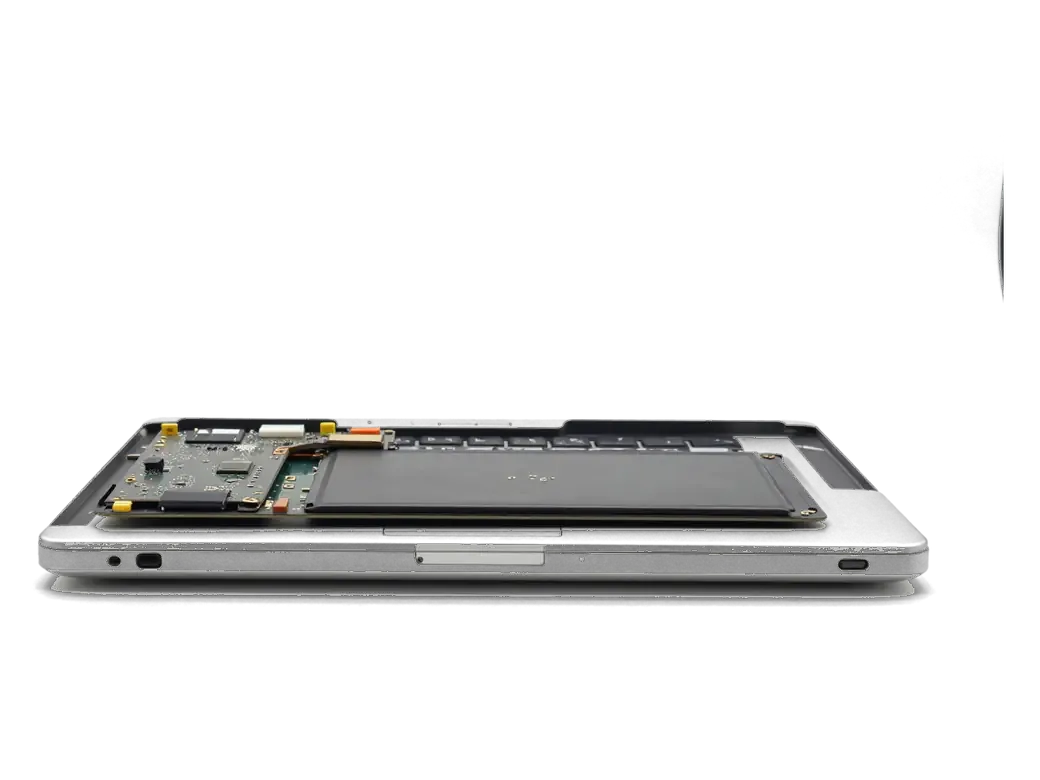
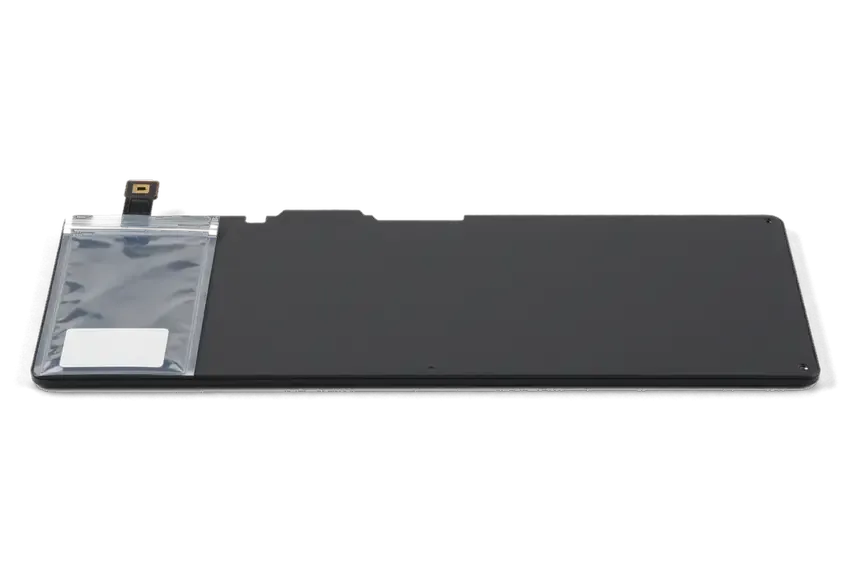
On MacBook Pro with the OLED strip we carry it over to the new housing, and where the battery is glued to the shell we either transfer it carefully or fit a new one, decided at diagnostics. The OLED strip connects through its own flex, so it moves with the display-side hardware rather than the keyboard, and the same applies to the display cable routing along the hinge. The battery is the harder part: on several generations the cells are bonded to the aluminium with strong adhesive, and lifting them without a heat mat and plastic cards risks a puncture. A battery that has already lost capacity is usually worth replacing during the same visit, since the top case is open and the extra handling costs nothing in time.
Software Fault or Hardware Damage Before You Book
Not every dead key means a new keyboard, and a few checks before you book can save a trip or point straight to the hardware.
Signs That Point to macOS Rather Than the Keyboard
If whole rows or the entire keyboard stop at once after a macOS update, or a spare peripheral plugged in behaves normally, the cause is more likely software than a broken mechanism. A single stuck letter differs from a whole column going silent, and that pattern matters more than the count. Open System Settings, review the input source and the modifier options, then type a test phrase in a text field with an external unit connected. When the separate unit types cleanly and the built-in one does not, the fault sits in the keyboard flex cable or the membrane, not in the operating system. Resetting NVRAM or reinstalling the update rarely changes a physical fault. Testing with a spare peripheral and checking the input options isolates the software layer quickly, so a genuine hardware fault is not mistaken for a configuration glitch.
Symptoms That Mean the Keyboard Itself Is Failing
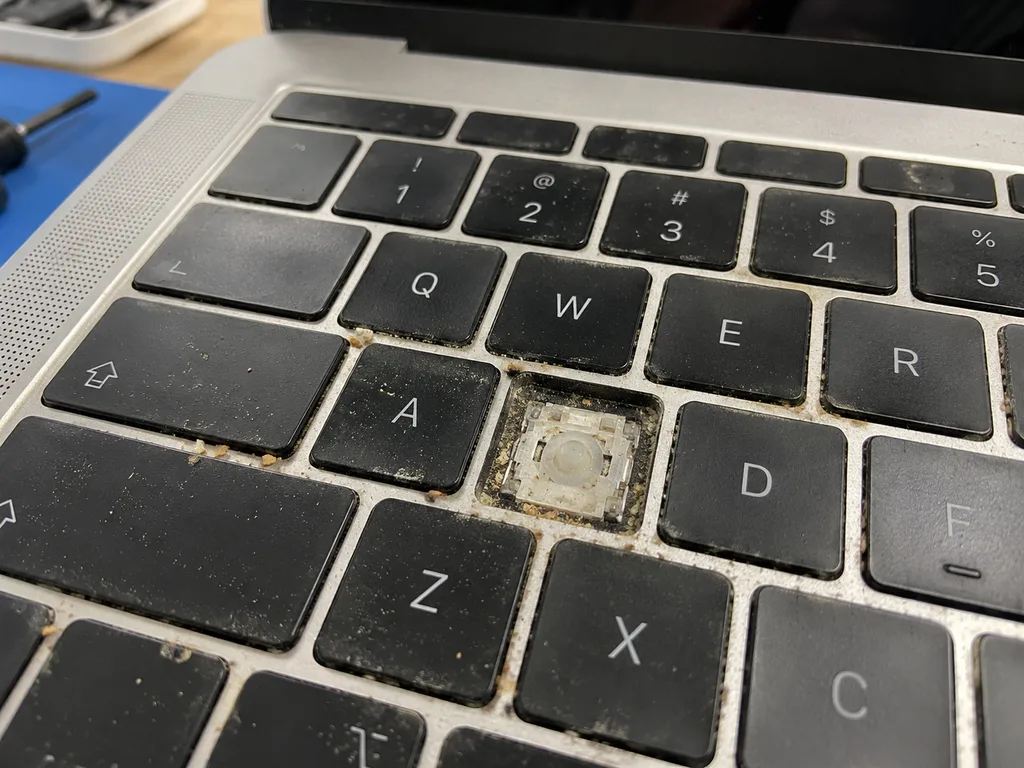
Sticky keys, double characters from a single press, a dead backlight or silent buttons after a liquid spill point to the keyboard hardware, and our free 15-minute diagnostics in front of you confirms it. We run the check while you watch, so you see which letters register and which stay silent on the tester. A character that prints twice usually means a worn dome or debris under the cap, while a dark backlight points to the flex cable. Liquid is the quiet one: it seeps under the membrane toward the logic board, and the damage grows between visits. Catching a spill early matters, because fluid under the membrane can reach the circuitry, and a keyboard job done before corrosion spreads stays a keyboard job.
How We Run the Replacement and Check the Result
The job is fixed on paper before we open the MacBook, and it ends with a hands-on check of every function the new upper assembly affects.
From WhatsApp Photo to Signed Receipt
You send a photo of the damage on WhatsApp, an engineer replies within 5 minutes with a price, and ahead of any work the price, part, turnaround and warranty are fixed on the receipt. That takes about 2 minutes. We then show you the replacement top case in factory packaging, so you compare the exact unit against what you agreed to. Turnaround for a keyboard job runs from 1 hour to 1 day, and you can wait in the seating area with coffee and Wi-Fi while it is done. Locking those four points on paper first means the part shown to you in factory packaging is precisely the one you signed off on, original or aftermarket.
The 32-Function Check and What You Get Back
- Each key: every button is pressed and checked for response and feel before the lid closes.
- Backlight: brightness levels are cycled across the whole keyboard to confirm even lighting.
- Fingerprint sensor: unlock and login are tested with you standing at the counter.
- OLED strip: each control and slider responds on Pro models, including brightness and volume.
- Trackpad: click, gesture and palm rejection are confirmed across the full surface.
- Battery: the system detects the battery and reports normal charging after the new top case goes on.
- Handover: testing with you present catches any key that feels off before the device goes home.
Summary: MacBook Keyboard Replacement
A short recap of the points that decide the outcome when a laptop goes in for keyboard work, from the part layout to the final check.
- Whole top case on modern models: on most current MacBooks the keyboard is riveted into the upper shell, so the job is planned around the full assembly rather than a single component.
- Older modules as the exception: screwed-in keyboards and drilled rivet jobs are the scenarios where a standalone unit genuinely makes sense.
- Touch ID carries over: the sensor is always moved from the old housing, and the Touch Bar follows the same route on Pro machines.
- Battery handled in the same visit: a cell glued to the frame is transferred or renewed on the spot, with the decision taken at diagnostics.
- Software ruled out first: a macOS fault is checked before anything is ordered, and a full function check closes the job prior to handover.




 iPad
 iMac
 Mac mini and Studio
 Apple Watch
 AirPods
 Apple Pencil
 Apple TV
 HomePod