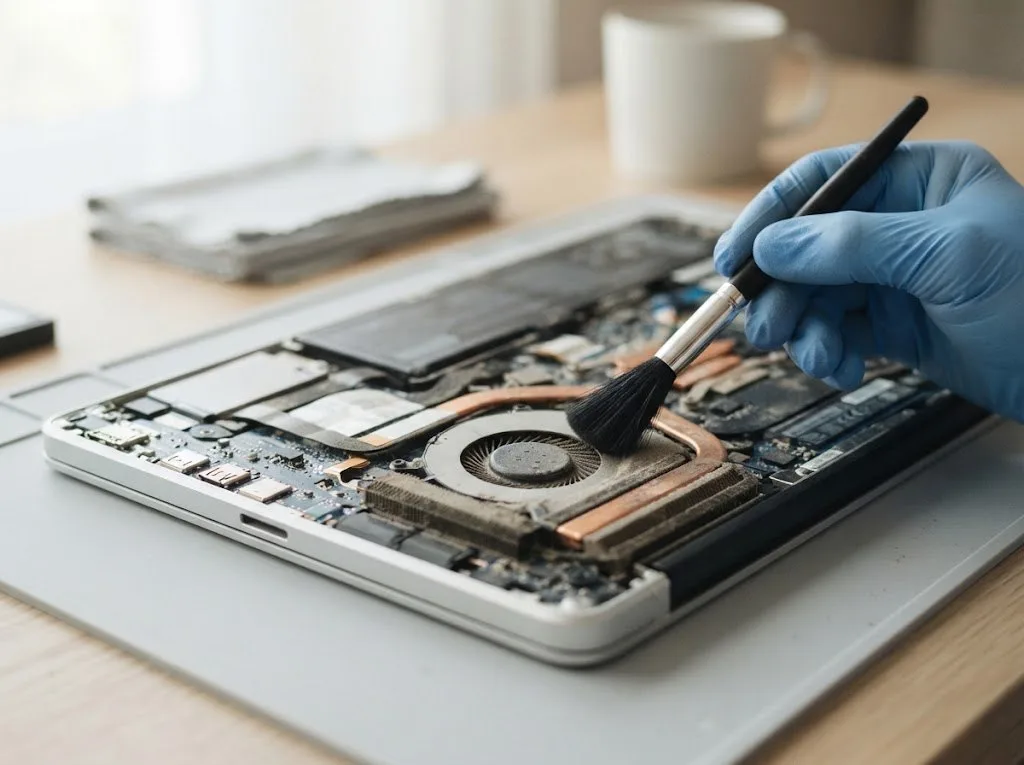
MacBook keys sticking in Almaty usually come from dust, crumbs or liquid trapped under the butterfly mechanism, and most cases can be fixed without replacing the whole keyboard. iServices diagnoses the device in front of you in 15 minutes, then confirms whether cleaning or a top-case replacement is the honest option.
Why MacBook Keys Stick and How to Tell the Cause Apart
Sticking keys are almost always a mechanical problem, but the cause decides whether cleaning will help or the input deck needs replacing. Here are the three scenarios and how to tell them apart before visiting a service.
Service details: “MacBook keyboard replacement”.
Dust, crumbs and the butterfly mechanism
The butterfly mechanism sits almost flush with the deck, so a single crumb or dust particle blocks the travel and makes the button feel sticky or unresponsive. Each keycap on this design rests on a low-profile butterfly component with very little clearance underneath, and the whole assembly was fitted to the MacBook 12-inch, MacBook Pro and MacBook Air of the butterfly generation. Debris that would sit harmlessly under a taller scissor deck gets pressed straight into the mechanism here, and the button starts to bind on the way down or fails to register a press at all. Because the gap under each cap is under a millimetre, the same debris that would be harmless on a scissor design is enough to jam a butterfly mechanism — which is why the problem returns so fast without cleaning.
One sticky key versus several keys at once
A single sticky key almost always points to local debris or a damaged keycap, while several buttons sticking together usually means liquid reached the membrane or the keyboard flex. When just one input misbehaves, the fault is confined to that spot and the fix is often local. When a whole block feels sluggish, the flex — the flat cable that carries every press to the logic board — or the membrane beneath it has been affected. If the affected buttons sit in one cluster (for example the space bar row), the cause is more likely a spill that pooled in that area than general wear — and that changes whether cleaning alone will hold.
Hardware or software, a quick check
If a key repeats characters or sticks only in one app, the cause may be software, but a button that feels physically mushy or does not click is a hardware problem. Run the same test in a second user account or at the login screen: identical behaviour in both places confirms the input deck itself, while a fault that disappears points to a setting or a background process. A full NVRAM or SMC reset takes a minute and rules out a stuck controller state before anyone opens the machine. Testing the same button in a different user account or the login screen separates software from hardware in under a minute, before any tool touches the keyboard — a step worth doing first when MacBook keys sticking in Almaty searches bring you here.
Can You Fix MacBook Keys Sticking Without Replacing the Keyboard
A sticking keyboard does not always require replacement. The outcome depends on what sits under the keycap — loose debris, a damaged membrane or a broken clip — so cleaning cases are separated from those needing the whole assembly.
When cleaning and mechanism repair are enough
We can often restore sticking keys without a replacement when the cause is dust or a loose keycap and the flex and membrane are intact. In our practice the typical candidate is a single key that clicks but drags, with crumbs or lint packed under the cap and no sign of liquid on the deck. We lift the keycap, clear the debris from the scissor clips and the membrane contact, reseat the cap and test the key against the rest of the row. Cleaning buys lasting results only if the debris is fully removed from under the keycap — a surface blow-out leaves particles behind and the key sticks again within weeks.
When the keyboard has to be replaced as a unit
On butterfly models the keyboard is riveted to the top case, so a damaged membrane or flex means we replace the whole upper assembly rather than a single key. The rivets are not serviceable in the field, and prying a key out to reach the membrane usually cracks the clips and leaves the row worse than before. Because the top case carries the keyboard, replacing it also renews the surrounding deck and battery housing — which is why the part choice (original or aftermarket) matters more than the labour. We show the new assembly in factory packaging before it goes in and note the part type on the receipt.
Cleaning versus replacement at a glance
| Symptom | Likely cause | Option | What we check |
|---|---|---|---|
| One key sticks, clicks normally | Debris under keycap | Cleaning and mechanism repair | Keycap clips, flex |
| Several keys mushy in one row | Liquid on membrane | Top case replacement | Membrane, flex, corrosion |
| Key repeats characters only | Software | Settings check first | Login screen test |
| Keycap loose or cracked | Broken clip | Keycap or top case | Clip integrity, deck |
What You Can Safely Do Yourself When MacBook Keys Sticking and Where DIY Stops
Some steps are safe and help within minutes, while others lead straight to a snapped part. The line between the two is narrower than most guides admit.
Safe first steps with compressed air
Tilting the laptop and blowing short bursts of compressed air along the rows can dislodge loose debris and is safe to try first. Hold the can upright, keep the nozzle about a centimetre from the surface, and work in three-second bursts while the machine is off. The airflow lifts crumbs, dust and fabric fibres sitting on top of the keycap and around its edges. What it cannot do is reach the butterfly mechanism underneath, where the contact plates and the silicone dome sit. Air only clears what is loose on the surface. If one button has been catching for a month, the debris is already packed against the mechanism and a blast from above will not move it — at that point the part needs to be opened, not blown.
Why removing a butterfly keycap is risky
Butterfly keycaps use thin plastic clips that snap easily, and a broken catch means the cap no longer sits flat and the key sticks worse than before. Each clip is a prong roughly a millimetre wide on every corner, and it releases only at a precise angle with a plastic spudger — a fingernail, a card edge or a screwdriver tip bends it on the first attempt. Once a corner loses its catch, the cap rocks on the remaining three, catches its neighbours and registers double presses. Those prongs are not sold as a separate spare on most models, so a snapped one turns a cleaning job into a top case replacement — the opposite of saving money. On a butterfly board the cap and the mechanism above it are matched, and pressing a fresh cap onto a deformed prong usually ends the same way.
What not to do when a key sticks
- Do not pry with a knife or card: metal and stiff plastic bend the catch and the keycap never sits flat again.
- Do not drip alcohol or water underneath: liquid reaches the membrane and turns a cleaning job into a replacement.
- Do not hold air cans upside down: propellant sprays out cold and can crack the plastic.
- Do not keep typing hard to free it: force wears the mechanism and spreads the debris.
- Do not ignore a spill: the longer liquid sits, the more corrosion reaches the flex.
What We Check Before Recommending a Keyboard Replacement
A replacement verdict should rest on testing, not on a hunch. Here is what we examine, in what order, and how the result is recorded before any work is agreed.
Free diagnostics in front of you
We run free diagnostics in front of you for about 15 minutes and show exactly which key, clip or flex is failing before any work is agreed. The engineer presses each button, watches how the cap returns, and traces the response through the keyboard flex to the board. If a single key sticks while its neighbours travel cleanly, the fault usually sits in the cap or the scissor clip; if a whole row dies together, the membrane or the flex is the suspect. You see the same thing we see, on your own machine, with the bottom case open. Seeing the fault on the spot lets you decide with full information, even if you choose not to repair — the diagnosis is not a sales step.
Keyboard, flex or top case
We separate a keyboard fault from a flex or top case fault by testing key response and checking the flex connection, because the fix and the part differ for each. A button that registers intermittently under pressure points to the membrane; a whole column that fails at once points to a cracked trace in the flex; a keyboard that works only at certain angles points to a loose connector. The top case enters the picture when the aluminium frame around the keys is bent or the clips no longer seat. A flex that is only loose can be reseated, while a corroded flex needs replacement — telling them apart avoids paying for a part you do not need.
What goes on the receipt before work starts
Before we start, the price, the part (original or aftermarket), the turnaround and the warranty are fixed on the receipt, and we show the new part in factory packaging. The engineer writes down which component is being changed, whether it is original or aftermarket, how long the job takes and what the warranty covers — up to 1 year on the part we fit. You see the sealed packaging opened before installation, not after. A written record protects both sides if the key behaves differently later, and it makes the warranty claim a matter of checking the receipt rather than a conversation.
Repair Times, Drop-Off and Courier Logistics in Almaty
How long you wait, whether it fits into one visit and how to hand the device over without travelling across town — here are the timings and the ways to get a MacBook to us.
How long a keyboard repair takes
Keyboard work usually takes from 1 hour to 1 day, and most repairs are finished while the customer waits in the waiting area. Cleaning a sticky key and repairing the butterfly mechanism fall into the 20–40 minute bracket, so most owners walk out with a working keyboard the same day. A top case replacement is the slower path: the assembly has to be matched to your model, fitted, and then the device goes through the full function check that covers the display, camera, microphones, speakers, charging and network. That check alone runs about 10 minutes. Cleaning is the fast case, while a top case replacement needs more time for the part and the full function test — so the estimate depends on which path the diagnosis picks.
Drop-off, courier and payment options
You can bring the device to us 7 days a week, call a courier across the city (free with a repair), or send a photo on WhatsApp for a quote within 5 minutes. Weekday hours are 10:00–19:00, and on Saturday, Sunday and holidays we accept devices 11:00–18:00. Payment works by Kaspi, card or cash, and the courier option saves the trip entirely — an engineer replies quickly and names a price from the photo. Sending a photo first means the engineer can tell you whether cleaning is even worth trying before the device leaves your desk.
Turnaround by job type
| Job | Typical turnaround | Where it happens |
|---|---|---|
| Keycap cleaning | 20–40 minutes | While you wait |
| Mechanism repair | 20–40 minutes | While you wait |
| Top case replacement | 1 hour to 1 day | Workshop |
| Liquid diagnostics | Longer than usual | Workshop |
| Board repair under microscope | 1–3 days | Workshop |
What to Do Right After Liquid Spills and How to Prevent Relapse
After liquid reaches the deck the clock runs in hours, not days, and prevention decides whether sticking returns. Here are the first steps and the habits that protect the keys.
First steps after a spill
Power the device off, unplug it and tilt it so liquid drains away from the keys, then get it looked at rather than waiting for symptoms. Turn the machine on its side with the lid open and let gravity pull the fluid out through the gaps between keycaps instead of pressing keys to test them. Do not shake the laptop, do not reach for a hairdryer and do not charge it while moisture may still sit inside. Liquid that reaches the membrane keeps corroding the flex even after the surface looks dry, so a unit that works today can start sticking keys weeks later. Coffee and juice carry sugars and salts deep under the keycaps, where they crystallise and stiffen the butterfly mechanism. A free diagnostic in front of you shows within 15 minutes whether fluid reached the flex, far cheaper than a replacement discovered too late.
Which models are most affected
Butterfly keyboards in the 12-inch laptop, the Pro and the Air of the butterfly generation are the most prone to sticking, while later scissor switches are far more tolerant of debris. The first butterfly generation used a thin polymer dome that trapped a single crumb and lost its click; the second added a silicone membrane that helped against dust but not against liquid; the third revised the material again without changing the underlying exposure. Scissor switches introduced from the 16-inch Pro onward sit on a taller, more open switch with more travel, so particles fall past the keycap instead of lodging under it. Knowing your generation tells you how likely cleaning is to hold, and on early butterfly models the same button often returns to sticking sooner than on the third generation.
Habits that keep keys from sticking again
- Keep food and drinks away from the deck: crumbs and sips are the top cause of sticking keys.
- Blow out the keys monthly: short bursts of compressed air clear loose debris before it packs down.
- Use a cover carefully: it blocks crumbs but traps heat and dust underneath, so clean it often.
- Close the lid when you walk away: it keeps dust and pet hair off the keys.
- Act on the first sticky button: early cleaning is faster and cheaper than a full replacement later.
Summary: MacBook keys sticking
Sticking keys on a MacBook almost always come down to what sits under the mechanism, and the right fix depends on the cause you find.
- Most sticking keys are mechanical: dust, crumbs or liquid under the low-profile mechanism, not a software fault.
- Cleaning often works, replacement is not always needed: the diagnosis decides which path is honest for your device.
- DIY has a hard limit: compressed air is safe, but prying a keycap on this design risks snapping a clip and escalating the repair.
- Liquid needs fast action: corrosion continues after the surface dries, so a spill should be checked early.
- Generation matters: older butterfly models stick more than later scissor keyboards, so prevention pays off most on early units.