The 14 Plus is a large-screen model, and its most common faults follow from that — a big panel, a big cell and a glass back. Here is what owners bring in most often and what each symptom points to.
The faults we see most often on this model
- Cracked panel: the 6.7-inch front takes the impact in most drops, and a hairline crack spreads fast.
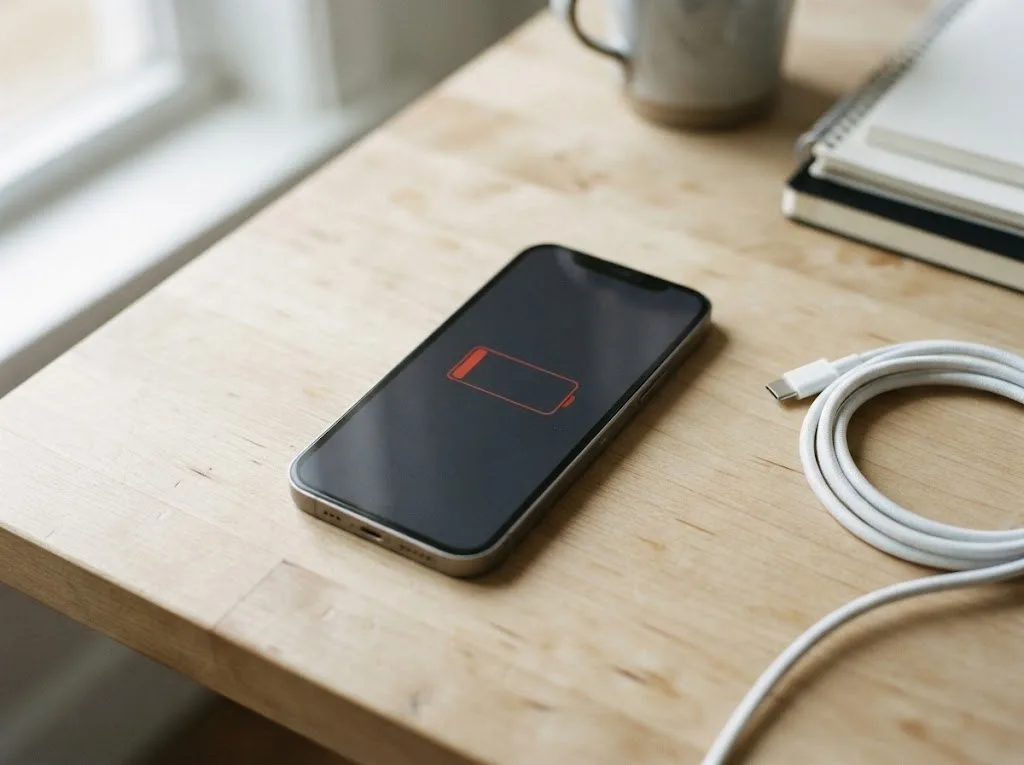
- Worn cell: after two or three years it holds noticeably less, and the handset dies before evening.
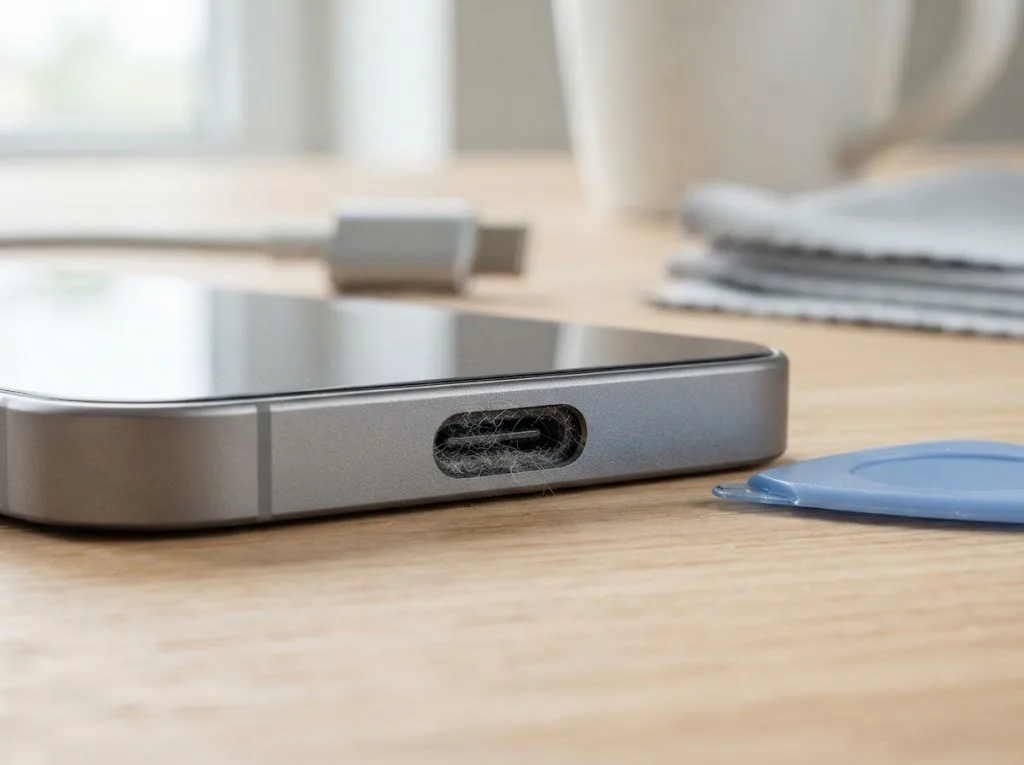
- Clogged port: pocket lint packs into the Lightning connector, so the cable seats loosely and charging slows.
- Broken lens cover: the camera glass cracks against keys and table edges, and photos come out hazy.
Symptom, likely cause and what we do
Matching visible symptoms to the part checked first| What you notice | Likely cause | What we do |
|---|
| Cracked or flickering screen | Broken glass or damaged module | Replace glass or full module |
|---|
| Battery drains before the day ends | Worn cell | Battery replacement |
|---|
| Will not charge or charges slowly | Dirty port, worn flex or board fault | Clean port, replace flex, check board |
|---|
| Blurry photos, cracked lens | Broken camera glass | Camera glass replacement |
|---|
| Shattered rear cover | Broken rear glass | Rear glass or panel replacement |
|---|
Why the 14 Plus is easier to open than older models
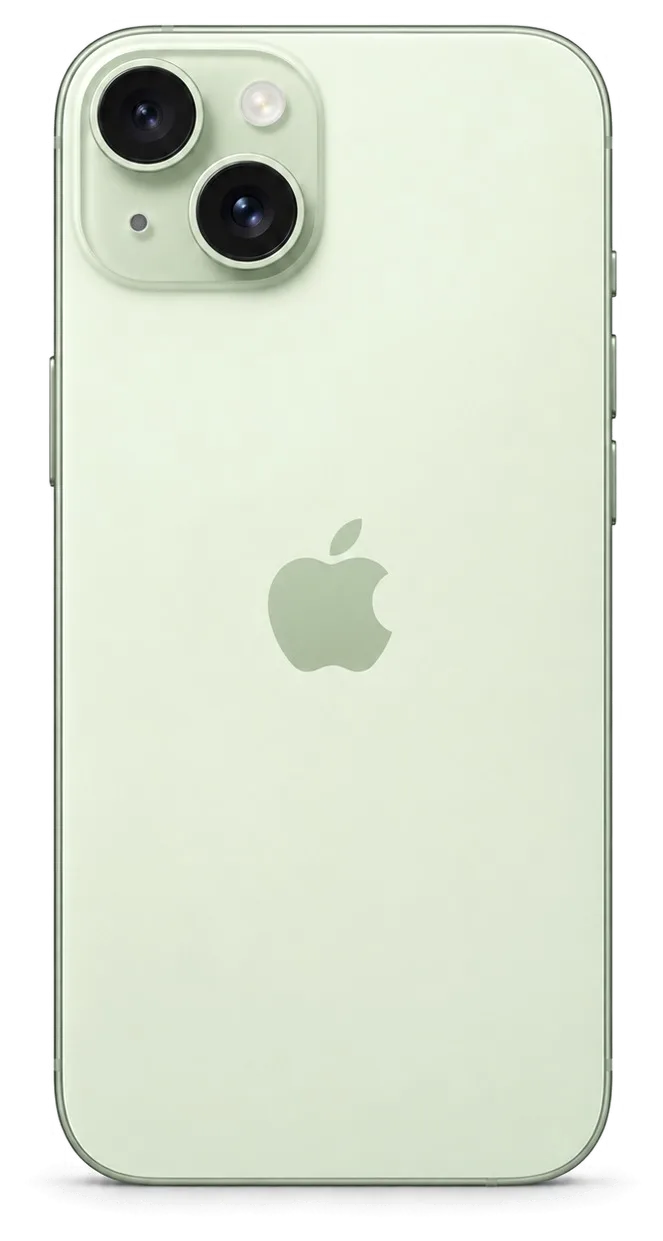
The 14 Plus is built so that both the front display and the rear cover can be removed, which shortens some repairs compared with earlier generations. On the standard 14 and the models before it, a shattered back meant lifting the screen first and working through the whole chassis to reach the rear pane from inside. On the 14 Plus that cover comes off on its own, so the job stays at the surface of the device. This is why a back replacement on this model is one of the quicker jobs, while the same fault on an older Plus takes longer. This dual-opening design means the work does not automatically require lifting the screen, so fewer internal parts are disturbed.
Screen Repair for the iPhone 14 Plus
A cracked front panel is the most common reason a 14 Plus comes in. The key question is whether the glass alone can be replaced or the whole display module has to go — and what happens to True Tone afterwards.
Glass only or the whole display module
If the OLED matrix underneath is intact and only the outer layer is cracked, we can replace just that layer; if the image, touch or True Tone is affected, the full assembly is the safer route. A glass-only job keeps the original panel, its brightness curve and its factory calibration, and it costs less than a module because the OLED and touch layer stay in place. The trade-off is skill: the cracked layer is separated under heat, and the new one is bonded and cured in a vacuum, so a single trapped speck of dust means starting over. If the picture shows green or purple lines, dead patches or missed taps, the matrix is already damaged and only a full module restores the image.
What happens to True Tone and Face ID after a screen repair
Face ID keeps working after a repair because the TrueDepth module is a separate unit, and True Tone works once its calibration is transferred to the new display. The dot projector and infrared camera sit in the top bezel and are moved across from the old panel intact — a job that swaps the whole top assembly instead of transferring it is where Face ID failures come from. True Tone relies on an ambient light sensor paired to the panel, so a replacement without that pairing shows a colder, greener picture and the toggle disappears from Settings. On some aftermarket panels the feature may not come back at all, so if that setting matters to you, say so prior to the part being chosen rather than after it is fitted.
How long a screen replacement takes
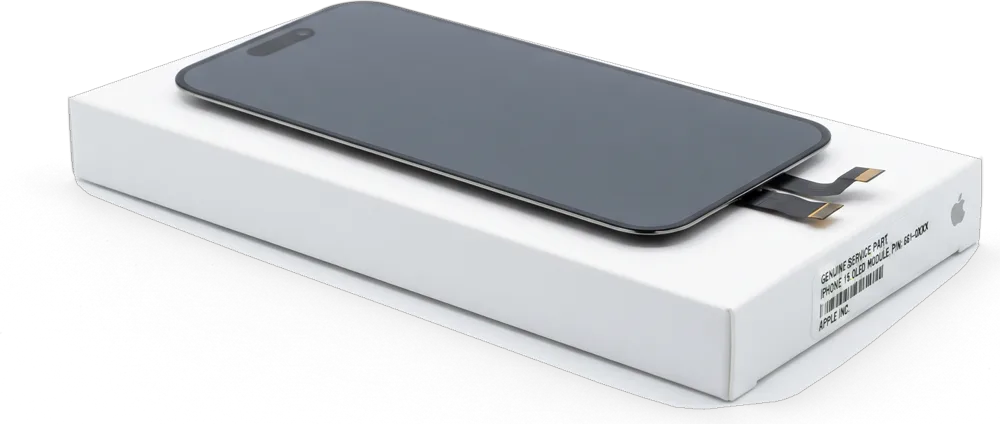
A repair of this kind takes about 40 minutes, and 72% of our repairs are finished while the customer waits in the waiting area. The front assembly is the largest single part on this model, and the adhesive gasket around the frame has to be renewed so the handset keeps its dust and splash resistance after the swap. We show the new part in its factory packaging prior to installation, and once it is fitted the engineer and the customer run through Face ID, True Tone, the cameras, the speakers and the touch along every edge. Because the panel is the biggest component here, it is worth booking a slot by photo on WhatsApp first so the correct part is already in the workshop when you arrive.
Original or Aftermarket Parts for iPhone 14 Plus Repair in Astana
The component you choose decides which functions survive the repair. Here is how factory and third-party options differ on the 14 Plus, and how your choice is locked in before any work begins.
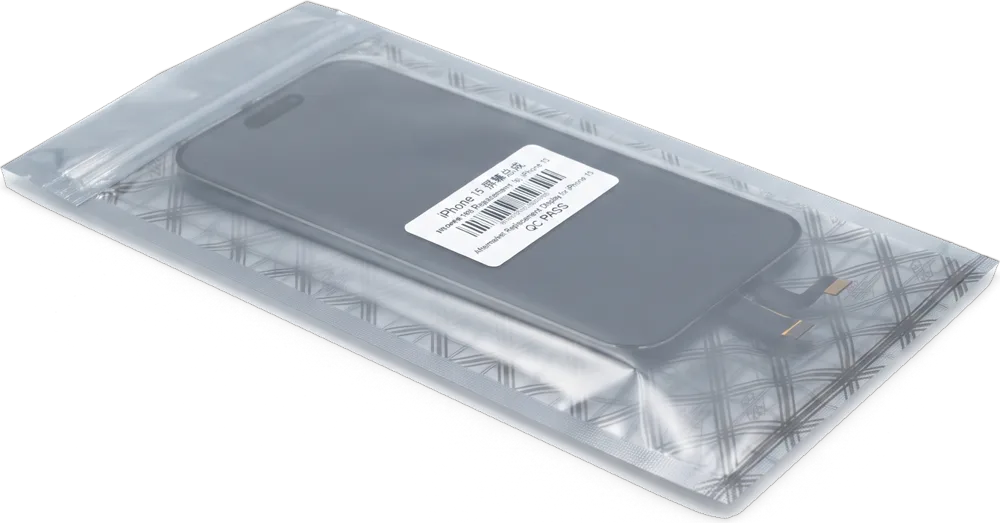
How original and aftermarket parts differ in practice
Comparison of factory and third-party components by function| Part | What it restores | What to expect |
|---|
| Original display | Image, touch, True Tone after calibration | Closest to factory behaviour |
|---|
| Aftermarket display | Image and touch | True Tone may not return |
|---|
| Original battery | Full battery health reporting | Health percentage reads correctly |
|---|
| Aftermarket battery | Normal runtime | Health reporting may be limited |
|---|
The unknown part message explained
The "unknown part" message is an indicator of which component is fitted, not a sign that the repair failed or the device is broken. The 14 Plus pairs certain components with the board by serial number, so a display or battery fitted outside that record triggers the notice on the Parts and Service screen. The hardware itself still works: the screen lights up, the touch layer responds, the battery holds a charge. What changes is the handset's ability to confirm the component's identity. A genuine component pulled from another unit can raise the same notice, which is why the message alone tells you nothing about quality. Read it as a label, not a verdict. This is why the choice of component matters so much for iPhone 14 Plus repair in Astana, where the notice can appear after any component swap.
What the receipt fixes before work starts
Before any work starts, we write the price, the component, the turnaround and the warranty on the receipt, and it takes about two minutes to complete. The document names the component as original or aftermarket, so nothing about the job is left to memory or a verbal promise. Our warranty runs up to 1 year, and the terms are printed prior to a screwdriver touching the frame. That record matters more than it looks: a receipt that names the exact component is what lets you compare two quotes fairly, because a cheaper figure often hides an aftermarket component that was never spelled out. 64% of customers choose an original component, usually because they plan to keep the device for years rather than resell it quickly.
How the Repair Visit Works
From the first WhatsApp message to the moment you walk out with a working device, the visit follows a short, predictable path. Here is each step and what to prepare prior to your visit.
From a photo on WhatsApp to a fixed phone
- Send a photo: capture the damage and describe the fault — an engineer replies within five minutes with a price.
- Book a slot: we name a free time that suits you, so you arrive to a reserved bench, not a queue.
- Free diagnostics: the engineer inspects the handset in front of you for about 15 minutes and shows what is broken.
- Fixed on the receipt: price, component, turnaround and warranty are written down in two minutes before work starts.
- Repair and handover: most jobs finish while you wait, then you check the functions together and leave with the receipt, warranty card and old component.
What to do before you hand the phone in
- Back up your data: run an iCloud or computer backup the night prior — a dead handset cannot be backed up once it is on the bench.
- Know your Apple ID password: you will need it to sign back in after board work, and a locked account stalls the handover.
- Switch off Find My when asked: for board-level repairs the engineer may ask you to disable Activation Lock so the unit can be tested.
- Bring the passcode: share the code so every function can be checked prior to and after the repair.
Waiting on site or leaving the phone
Most iPhone 14 Plus jobs — screen, battery, camera glass — are done in 20 to 40 minutes while you wait, and the waiting area has coffee and Wi-Fi. 72% of repairs are finished while the customer sits on site, with a display swap taking 40 minutes and a battery 25. Board-level work is the exception and can take one to three days, so a handset with a liquid or charging fault is better dropped off than waited on. Water damage sometimes stretches diagnostics to two days prior to us quoting anything. If a visit is awkward, a courier can be called to collect the device. The reception desk works Mon–Fri 10:00–19:00 and weekends 11:00–18:00.
Checking the Phone and What You Take Home
The repair is not finished when the part goes in. Here is what you check together with the engineer, what comes back with the phone, and who is actually responsible for the work.
The functions we test together before handover
- Face ID: unlock the handset and confirm the sensor recognises you from several angles, not just the one you normally use.
- True Tone: open Settings and watch the display shift colour under a lamp and away from it.
- Cameras: shoot one photo with each lens and switch to video to catch a faulty stabiliser.
- Microphones: record a voice note and play it back, then make a call on speaker.
- Speakers: play a track at full volume to hear any rattle or dead channel.
- Charging: plug in the cable and watch the battery indicator react within a few seconds.
- Network: check that the SIM registers and mobile data loads a page before you leave.
What comes back with your phone
The device is returned with the receipt, a warranty card covering up to 1 year, and the old component in case you want to keep it. The receipt repeats the component type, the turnaround and the warranty terms we agreed prior to work starting, so there is no gap between what was quoted and what was done. We have handled more than 46,000 repairs over eleven years, and the paperwork trail is the same whether the job was a camera glass swap or a board-level fix under the microscope. Keeping the old component matters if you ever resell the device, because a buyer can see the original component was replaced rather than lost.
Who is responsible for the repair
We are a direct contractor with our own technicians and workshop, not an aggregator or a middleman, so the person who quotes your repair is the one who does it. Payment runs through Kaspi, a card or cash at handover, and a courier can be called if you would rather not travel across the city yourself. A direct contractor can show you the new component in its factory packaging prior to installation, which a middleman passing the handset to a third party usually cannot. Ask who physically holds the screwdriver before you hand over a device — that single question separates a workshop from a call centre.
Summary: iPhone 14 Plus repair
A repair that lasts comes down to a few decisions made prior to the screwdriver touching the device. Here is what matters most when you weigh up any workshop.
- Diagnose the fault prior to choosing a part: a clogged charging port or a loose connector is not a dead board, and the fix differs completely.
- Pick glass or a full module by the matrix: if the display still shows a clean image, glass-only keeps the cost down; dead pixels or lines mean a new module.
- Weigh original against aftermarket by function: ask exactly which features each option preserves — True Tone and Face ID are the two that catch people out.
- Prepare a backup and your Apple ID password: both save time at handover, and the password is needed to test Face ID and the account after reassembly.
- Test the device with the engineer and keep the paperwork: run through the touch, cameras, speakers and charging, then hold on to the receipt and the old component.
The questions worth asking any workshop are the same — which part, what happens to True Tone and Face ID, and what is written on the receipt.









 iPad
 MacBook
 iMac
 Mac mini and Studio
 Apple Watch
 AirPods
 Apple Pencil
 Apple TV
 HomePod