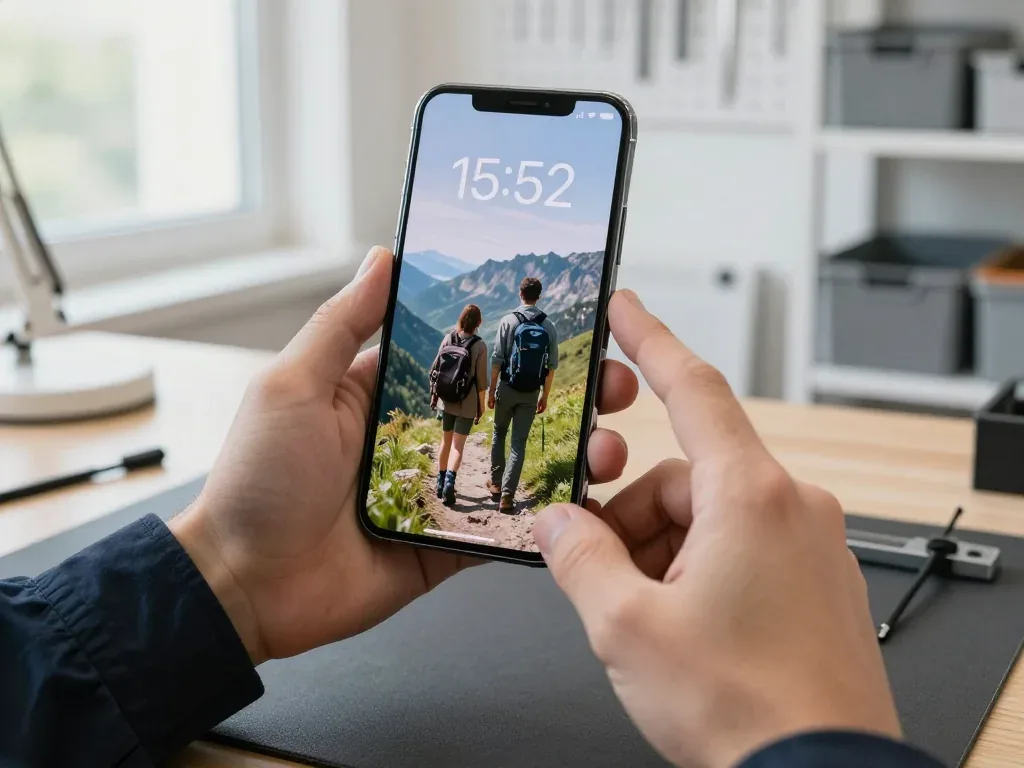
Unlike OLED flagships, the iPhone XR uses an LCD panel, has Face ID and an aluminium chassis, so its typical failures differ. Below are the problems XR owners most often report; free diagnostics confirm each before any work.
A Cracked Screen, Lines or a Dead Touch Layer
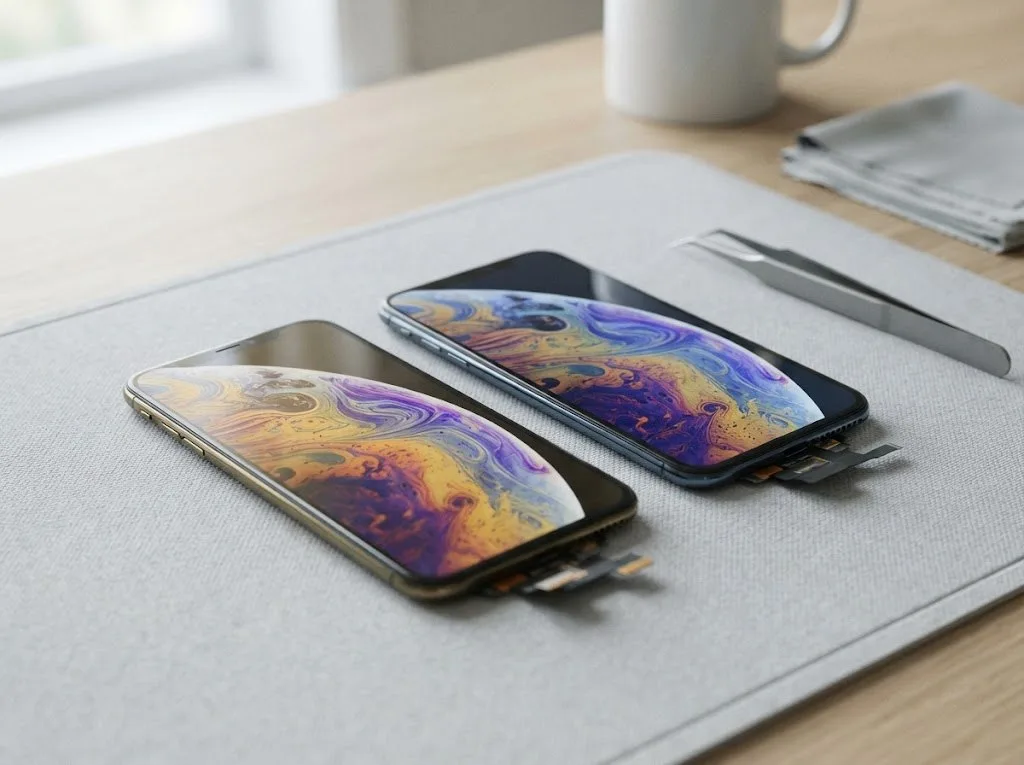
We see XR displays fail in three ways — a shattered surface with a working image, lines or discoloration on the panel, and a digitizer that stops responding — and each points to a different repair. The module here is a single assembly that carries the touch layer and the panel together, so a dead strip across the screen or a zone that ignores your finger usually means the whole unit, not just the top glass. A cracked surface with a clean, even picture is the milder case: the digitizer underneath may still be intact. A screen that shows a clear image but has a shattered face is often the cheapest case to fix, so it is worth having it looked at before the damage spreads to the panel underneath.
Battery Drain, Charging Port and Cable Problems
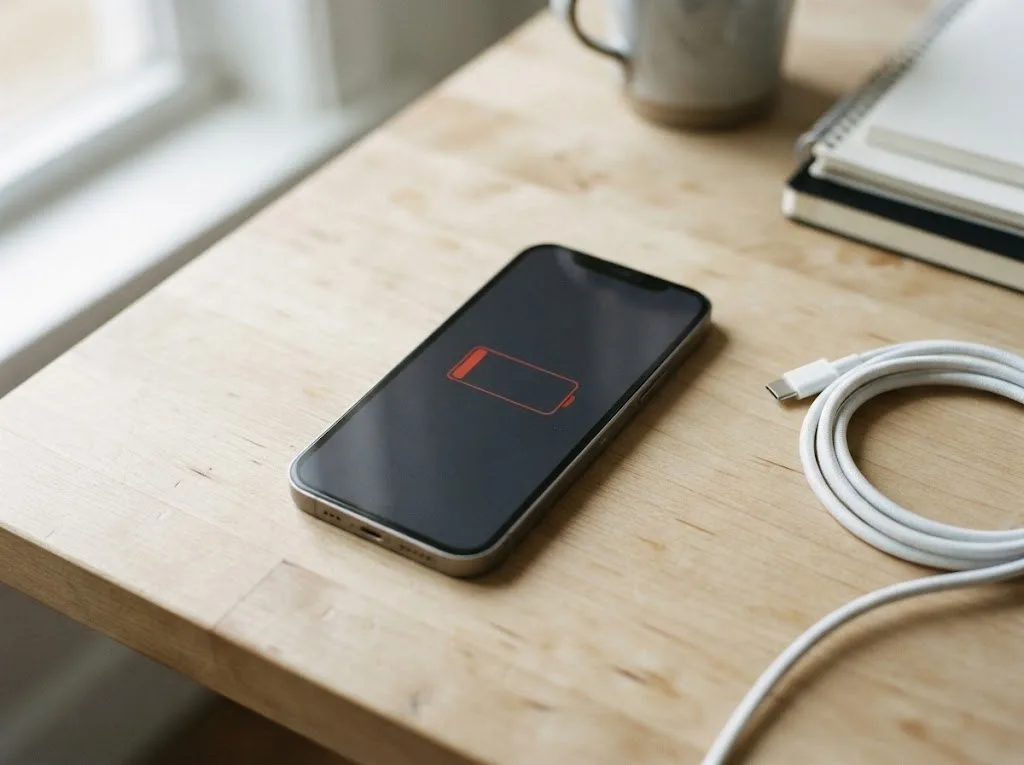
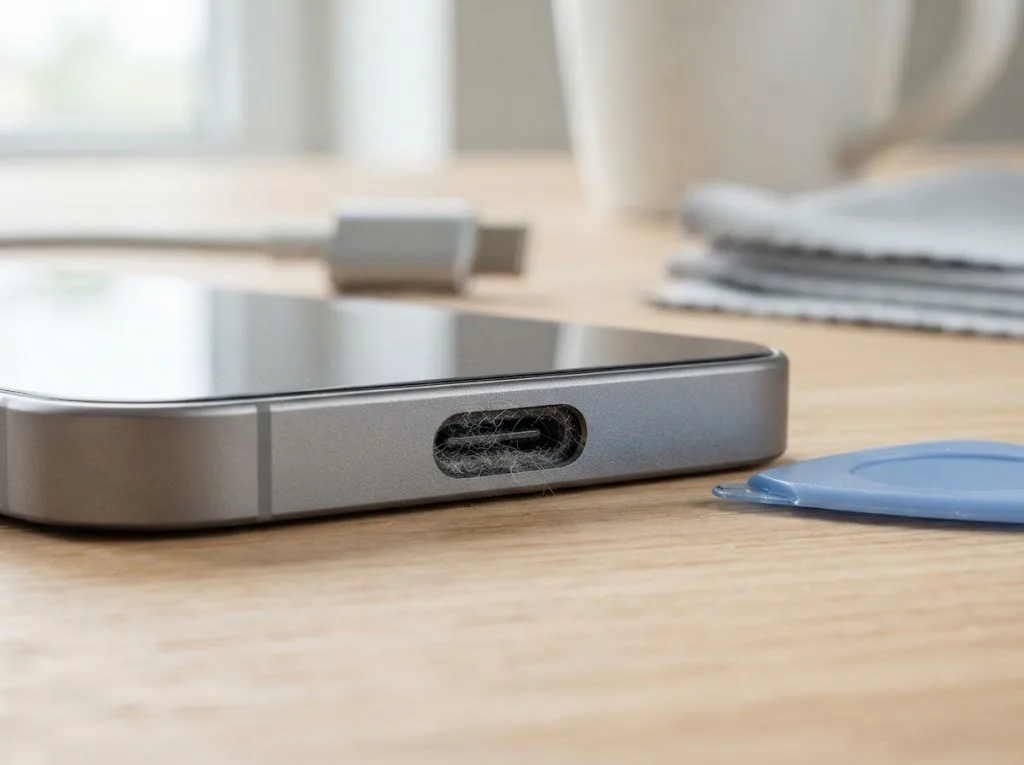
Owners of the XR most often complain, second in frequency, about a battery losing charge quickly, charging that works only at a certain angle, or a Lightning port that wiggles — we usually swap the power cell or the charging flex instead of touching the board. The connector sits on its own flex cable, so a worn inlet does not automatically mean board-level work. On older units the battery has typically been through several hundred full cycles, and capacity loss shows up as sudden shutdowns at 20–30% rather than a steady decline. Before assuming the worst, check whether the inlet is packed with lint — a large share of "won't charge" cases are dirt or oxidation on the contacts, which the engineer can see and clean during diagnostics.
Symptom, Likely Cause and What We Do
Symptoms matched to components and repair steps| Symptom | Probable reason | What we do |
|---|
| Cracked surface, image intact | Damaged top glass | Glass or full display module |
|---|
| Lines or discoloration | Failed panel | Display module replacement |
|---|
| Touch not responding | Faulty digitizer | Display module replacement |
|---|
| Fast power loss | Worn power cell | Battery replacement |
|---|
| Won't charge or loose inlet | Dirty or worn Lightning port | Clean or replace charging flex |
|---|
| Blurry photos, cracked lens | Broken camera cover | Camera cover replacement |
|---|
| Overheating, random restarts | Battery or board fault | Diagnostics, then board check |
|---|
Full Display or Just Glass — and the Fate of Face ID
A cracked XR raises one question first: is it just the surface layer, or is the panel itself gone? This section explains how to distinguish one scenario from the other and what remains functional after either repair.
When Only the Glass Can Be Replaced
On the XR, if the LCD still shows a clean image and the touch works, we can replace just the surface layer instead of the whole module, which keeps the original panel in place. That top sheet sits above the liquid-crystal matrix and the digitizer, so a crack in it alone does not harm the picture. We separate the broken layer, clean the surface underneath and bond a new one with optical adhesive. Brightness, colour and viewing angles stay as they were, because the underlying matrix is never swapped. This is the faster route for a phone that dropped face-down but still responds to every tap. Replacing only the outer layer is worth it while the picture is undamaged — once lines or dead zones appear, the full assembly has to go, so it pays to act before the crack spreads.
Will True Tone and Face ID Keep Functioning
Such a repair leaves Face ID functional, since the TrueDepth module sits apart from the screen; True Tone also returns, provided its calibration has been carried over onto the replacement assembly. The TrueDepth camera sits in the notch and is not part of the LCD, so a swap does not touch it — provided the technician moves it across carefully and does not damage the flex cable. For True Tone to work, the ambient sensor must be calibrated together with the new panel — without that step the toggle vanishes from Control Centre. On some aftermarket assemblies True Tone may not come back, so if that setting matters to you, say so before the work starts and we will tell you which option preserves it.
What the Unknown Part Message Means
A "unknown part" notice only signals which kind of component is installed rather than indicating a defect: it shows up when the display or battery isn't matched to the original, while the phone itself continues to run as usual. The XR logs the serial number of the fitted panel and cell, then compares it with the one stored on the board. An aftermarket assembly or a battery without the paired chip triggers the notice in Settings, while brightness, touch, charging and battery life continue as usual. It is a record of what is inside the phone, nothing more. The message does not affect how the phone performs, but it does tell you what was installed, so it is worth knowing before you choose between an original and an aftermarket option.
Original or Aftermarket Part for Your iPhone XR Repair
We explain how an original part differs from an aftermarket one by what keeps working after the repair, not by price, and how your choice is written down on the receipt.
Aftermarket vs Original Components and the Difference Between Them
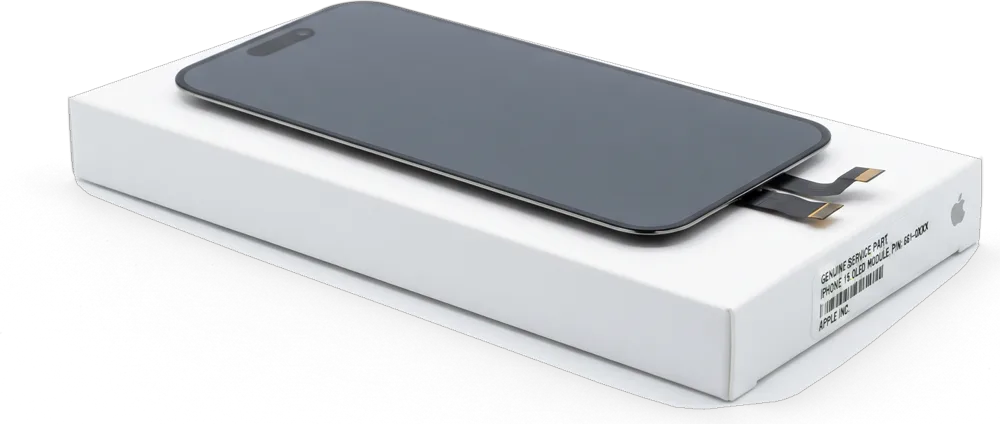
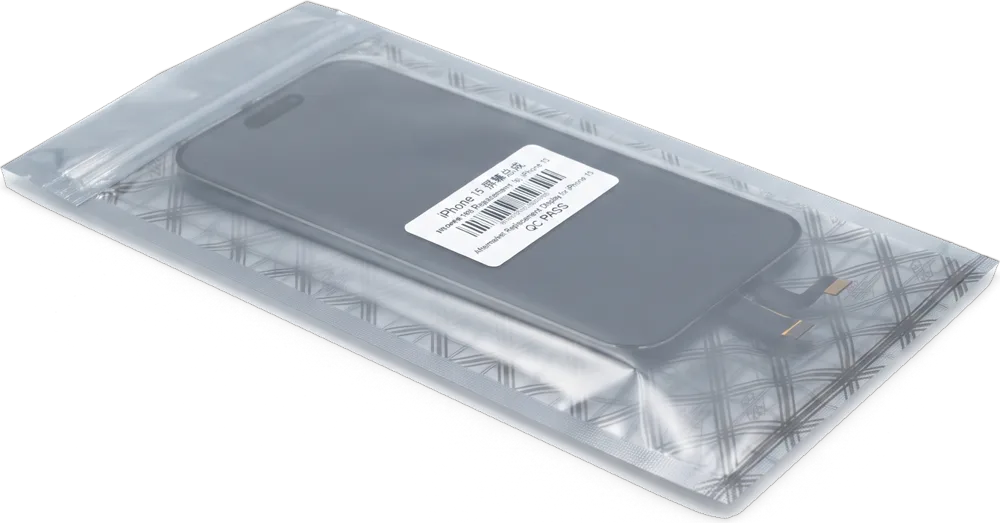
For iPhone XR repair in Astana we offer both an original part and an aftermarket one, and the difference shows up in True Tone, brightness and how the phone recognises the part rather than in how the repair is done. Both types are fitted by the same technicians with the same tools, so the work itself does not change. What changes is behaviour after assembly: an original display module keeps True Tone and factory brightness after calibration, while some aftermarket units lose True Tone or read slightly dimmer. An aftermarket display can look identical on the outside yet behave differently in settings, so ask to see both options in factory packaging before you decide.
Part Options Side by Side
What each component type keeps working after repair| Feature | Original part | Aftermarket part |
|---|
| True Tone | Works after calibration | May not work on some units |
|---|
| Face ID | Unaffected | Unaffected |
|---|
| Display brightness | Matches factory | Can differ slightly |
|---|
| Part recognition | Recognised as original | May show unknown part message |
|---|
| Warranty | Up to 1 year | 6 months |
|---|
How Your Choice Is Fixed on the Receipt
Roughly two minutes before work begins, the receipt gets the price, the component type, the turnaround and the warranty, and you are shown the replacement part still sealed in factory packaging prior to fitting. The engineer opens the box in front of you, so the module or battery you agreed to is the one that goes into the phone. Along with your warranty card and the receipt, the replaced part is returned to you — useful should you decide to sell the phone later or take it to a different workshop. A receipt that names the exact component protects you later — if a question comes up about what was installed, the document answers it without guesswork.
How Long the Repair Takes and Whether You Can Wait
This section follows the route from your first message to pickup and gives the time each stage takes, so you can plan the visit around your day.
From WhatsApp Photo to a Fixed Slot
Send a WhatsApp photo showing the problem, and an engineer will reply in 5 minutes with an estimate and an available slot, so you can come in at a convenient time. At the workshop, free diagnostics take 15 minutes in front of you, even if you decide not to repair. About 2 minutes before work begins, the receipt records price, component, turnaround and warranty. A photo taken in good light from a couple of angles gets you a more accurate estimate than a description, because the engineer can see whether it is glass, LCD or the frame. This simple step saves time for both sides and helps avoid surprises at the counter.
Repair Times for Common XR Jobs
typical turnaround per XR job type| Job | Typical time | Can you wait |
|---|
| Screen replacement | 40 minutes | Yes |
|---|
| Battery replacement | 25 minutes | Yes |
|---|
| Camera glass | 20 minutes | Yes |
|---|
| Charging port | 20–40 minutes | Usually |
|---|
| Board-level repair | 1–3 days | No |
|---|
When the Phone Has to Stay Longer
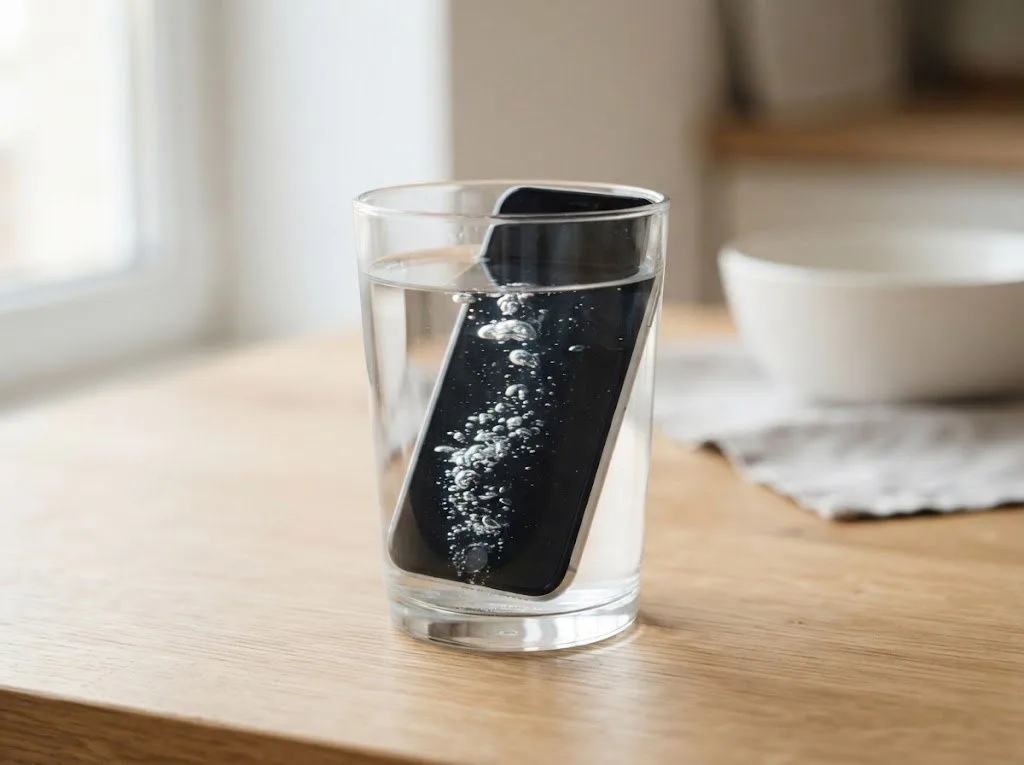
Board-level repairs take 1 to 3 days because they are done under a microscope, and a phone that has had water inside can need up to two days of diagnostics before we know the full picture. Micro-soldering on the mainboard is slow, precise work, and a liquid-damaged device sometimes hides corrosion that only shows after cleaning and testing. If your XR has been in water, do not charge it and do not dry it with a hairdryer — bring it in as it is, since heat and power can turn a recoverable board into a dead one. A courier can be called if you would rather not travel across the city yourself.
Inspecting the Device on Collection and Your Take-Home Items
What to run through with the engineer at handover, what to prepare ahead of the bench work, and what stays with you once the repair is finished.
What to Check Together Before You Leave
- Face ID: unlock the phone and confirm it recognises you as it did earlier.
- True Tone: open display settings and check the toggle responds.
- Cameras: take a photo with the front and rear camera in good light.
- Microphones and speakers: record a voice note and play it back.
- Charging: plug in the cable and confirm the phone charges.
- Network: check the signal bars and make a short call.
What to Do Ahead of Handing the Phone In
Ahead of dropping the device off, make a backup, and decide whether to sign out of your account or keep the passcode for testing — the engineer needs access to check functions after the repair. A full iCloud or computer backup captures photos, messages and app data in one pass, so nothing depends on the work going smoothly. If you keep the passcode, the technician can open the device and verify the screen, cameras and sensors without asking you to stand nearby. Turning off Find My is only necessary when the logic board or storage is involved; for a screen or battery swap it usually stays on. A backup taken the day prior is the simplest protection for your data, and it takes minutes compared with the time lost if something goes wrong.
Who Performs the Repair and What You Keep
iServices repairs directly — its own workshop and technicians, no aggregator in between — and you walk out with the old component, a warranty card valid up to 1 year and the receipt. That distinction matters when a repair turns out to be more than a cracked screen: the same engineer who quoted the work also performs it, so there is no handoff between a call centre and a third-party bench. Your paperwork records the component type, the turnaround and the warranty term, all fixed ahead of the first screw coming out. Keeping the old component matters — it is proof of what was removed and can be useful if a warranty question ever comes up, so ask for it if it is not handed to you.
Summary: iPhone XR Repair
A phone that is fixed properly the first time saves you a second trip, so the points below are the ones worth carrying into any workshop conversation.
- Diagnose first: a free check in front of you confirms whether the fault is glass, LCD, battery or board before any work starts.
- Match the component to your needs: original and aftermarket components differ in True Tone and recognition, not in how the repair is done.
- Face ID survives a screen repair: the TrueDepth module sits separate from the display, so it keeps working once the new panel is fitted.
- Most jobs are quick: screen, battery and camera glass finish in 20 to 40 minutes while you wait, and 72% of repairs never leave the bench.
- Check before you leave: together with the engineer, verify Face ID, True Tone, cameras, charging and network, then take the receipt and the old part with you.







 iPad
 MacBook
 iMac
 Mac mini and Studio
 Apple Watch
 AirPods
 Apple Pencil
 Apple TV
 HomePod