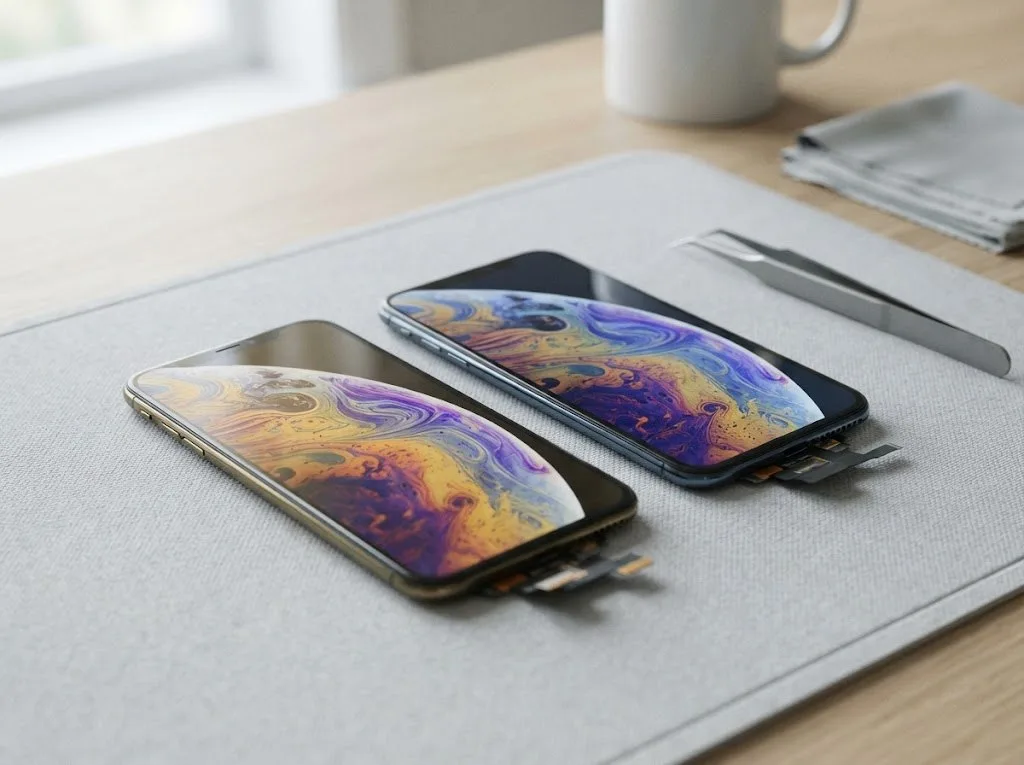
The XR uses a single liquid-crystal assembly where glass, touch layer and matrix are glued together, so most visible damage points to the whole assembly rather than one layer.
Why a cracked XR usually means a full module
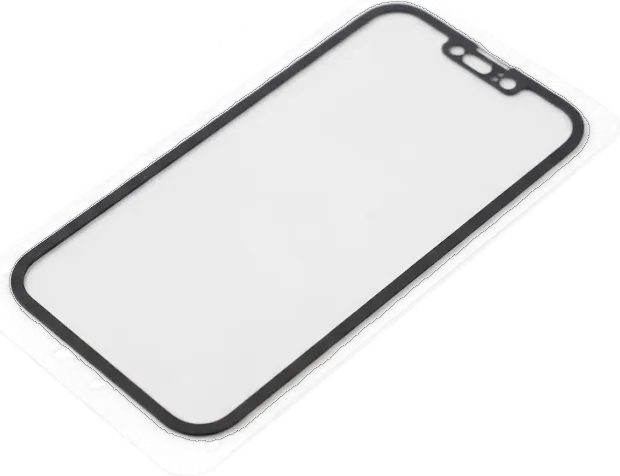
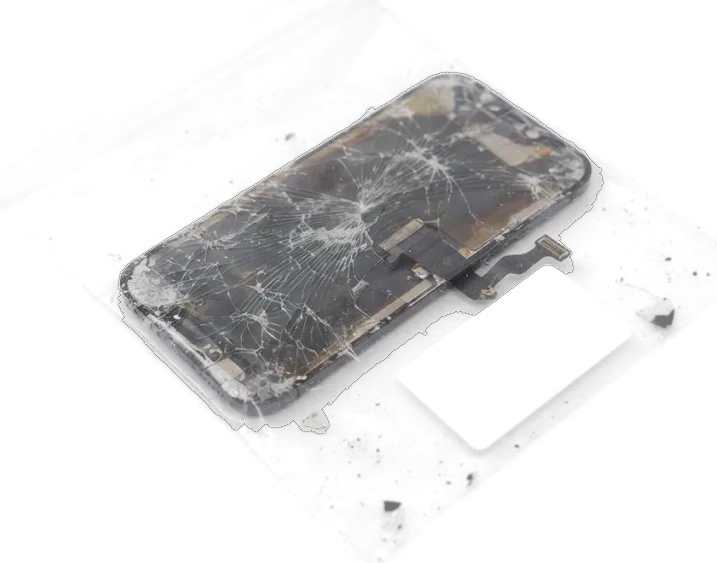
On the iPhone XR the glass, the touch sensor and the liquid-crystal matrix are laminated into one part, so a crack in the glass almost always means the whole assembly is replaced as a unit. The cover glass sits directly on the touch layer, the touch layer on the LCD, and the backlight stack underneath feeds light through all of them — there is no separate pane to swap on its own. A hairline crack that leaves touch and image intact still lets moisture and grit reach the liquid-crystal layer, and that damage shows up weeks later as bright spots along the crack line.
When the screen looks fine but stops responding
We see XR units where the glass is untouched yet the image flickers, shows vertical lines or ignores taps, and in those cases the fault often sits in the display flex or the board rather than the liquid-crystal layer itself. Water exposure is the case that needs patience, because corrosion under the shield can take up to two days of diagnostics to map before we know whether the assembly or the board is the real culprit. Our free diagnostics run for 15 minutes in front of you, and the engineer shows on the spot which layer has failed, even if you decide not to repair. Bring the phone in before the lines spread — a flex that is still readable today can tear completely after another drop.
Original module or aftermarket LCD
The XR is a liquid-crystal phone, so both options you choose between are liquid-crystal modules; the difference is in panel quality, brightness and how faithfully the touch layer behaves at the edges.
How the two XR module options compare
Two replacement panels compared by quality and behaviour| Option | Panel type | Brightness and colour | Touch response |
|---|
| Original module | Apple-spec panel | Full brightness, accurate white | Even across edges |
|---|
| Aftermarket panel | Copy panel | Dimmer, cooler tint | Slightly softer at edges |
|---|
| Typical choice | 64% of customers pick original | Budget route suits lighter use | Both tested before handover |
|---|
Why an LCD copy is not the same as an OLED copy
On OLED models an aftermarket part is often a liquid-crystal panel in disguise, which is thicker and cannot show true black, but the XR already uses a liquid-crystal matrix so a copy panel stays closer to the original in behaviour. The XR, like the iPhone 6 through 8 and the 11, relies on a liquid-crystal matrix with a backlight behind it, so a copy here swaps panel grade rather than display technology. That keeps contrast and viewing angles familiar, though a cheaper copy can look cooler in tint and dimmer at full brightness. The practical consequence on the XR is thickness and fit rather than colour technology, so check that the replacement sits flush with the frame and that the proximity sensor still reads through the glass.
What keeps working after the swap
The XR has no Home button, so the parts that matter are the top flex carrying the speaker and proximity sensor, and the display data that drives True Tone.
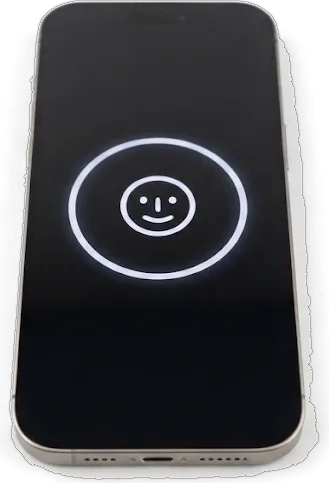
Keeping Face ID alive on an XR
Face ID on the XR depends on the original top flex, so we move the speaker, proximity sensor and front camera assembly from your old panel onto the new one instead of fitting a fresh cable. That strip also carries the ambient light sensor, and the proximity unit it feeds tells the phone when to dim during a call. A new screen arrives as a bare panel with nothing attached, which is exactly why the transfer matters more than the glass itself. The front camera sits in the same bracket and has to go back in the same orientation, or the flood illuminator and dot projector no longer line up with your face. A replacement flex that looks identical will still break Face ID enrolment, which is why the transfer is done by hand and tested with a real unlock before the phone leaves the bench.
True Tone, auto-brightness and the iOS parts notice
True Tone keeps working only when the display data from your original panel is carried over, and we confirm it is active in Settings before handover. Auto-brightness rides on the same ambient light component in the top strip, so a careless swap leaves the screen either too dim outdoors or stuck at full brightness indoors. The tint you see under warm light is the panel reading the room, not a filter you can switch on later. Newer iOS builds can show an unverified-part message in Settings even after a correct repair, and that notice reflects Apple's pairing check rather than the quality of the work, so we explain it up front instead of letting it surprise you.
How we carry out the replacement
The job runs in a fixed order so nothing is left to guesswork, from the initial look at the damage to the moment you check the device yourself.
From WhatsApp photo to a fixed receipt
You send a photo of the damage on WhatsApp, an engineer replies within 5 minutes with a price, and before any work starts the price, part, turnaround and warranty are written on the receipt. That document takes about 2 minutes to prepare and names the exact part going into your handset — original or aftermarket, whichever you picked. It also states the expected turnaround, which for an iPhone XR display replacement in Astana that owners book with us usually lands under an hour from initial contact to pickup. Fixing those four points on paper up front is what stops a quote from drifting once the device is open, so read the receipt before you hand it over.
The bench work step by step
- Free diagnostics: the engineer checks the device in front of you and shows what is broken, about 15 minutes.
- Battery disconnect: power is cut before any flex is touched, protecting the board.
- Component transfer: the original top flex with speaker, proximity sensor and camera moves to the new panel.
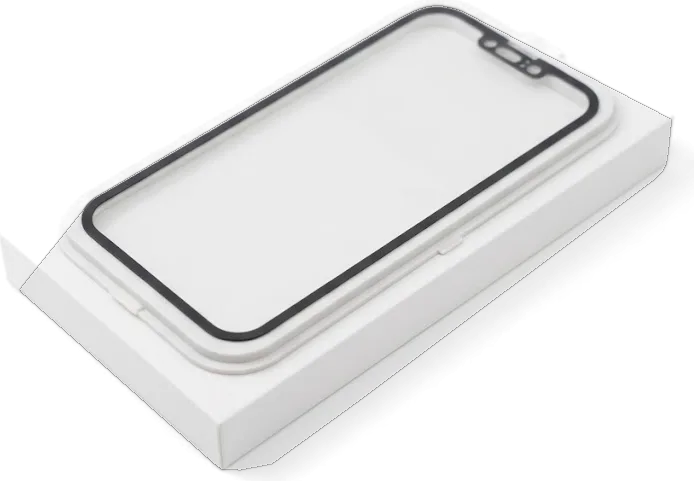
- Module fitting: the new liquid-crystal panel is seated and the frame is resealed for dust resistance.
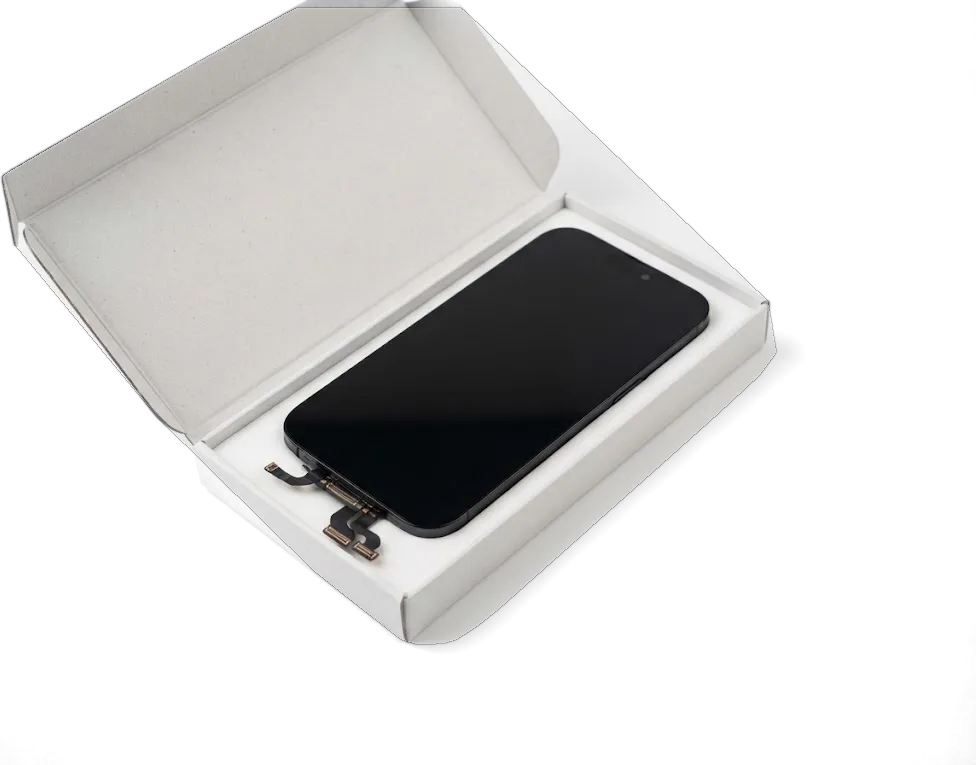
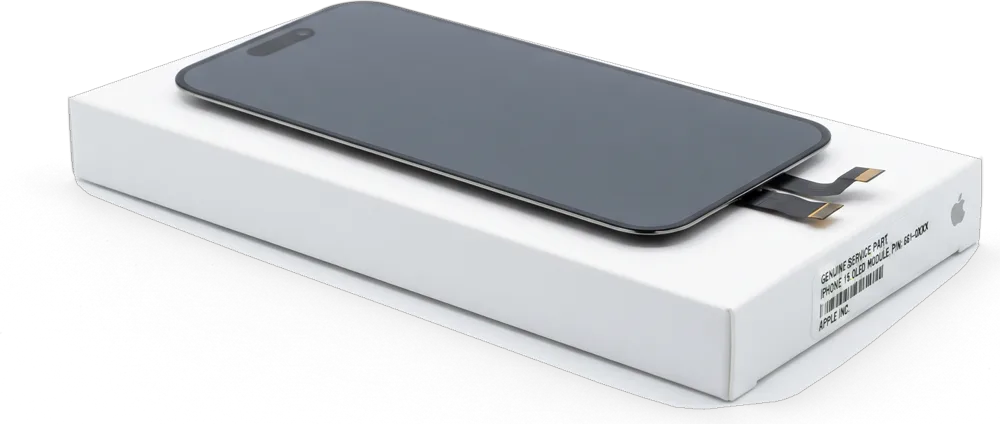
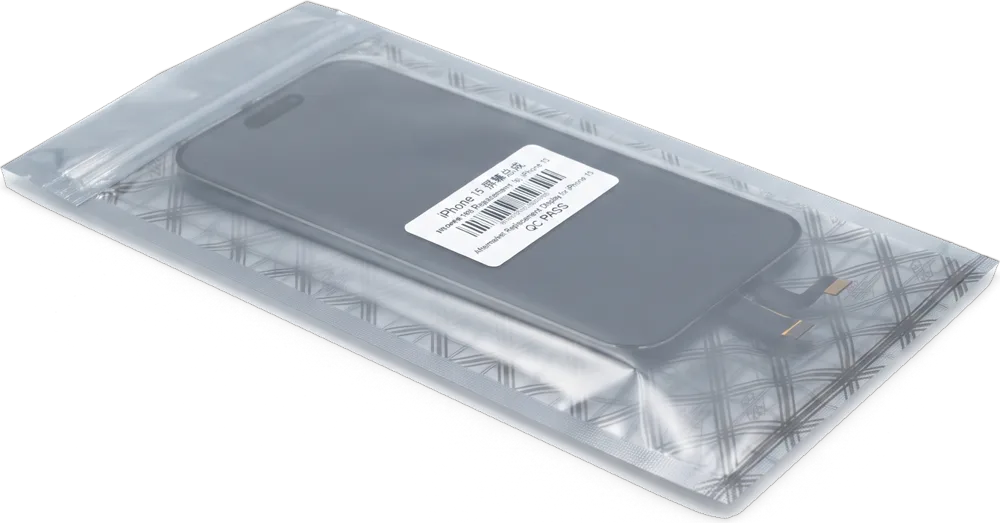
- Part shown up front: the replacement arrives in factory packaging and you see it before installation.
- Reseal check: the frame is pressed back into place so dust cannot work its way under the glass within weeks.
Timing, handover and warranty
Most XR screen jobs finish while you wait, and the last ten minutes belong to a joint check of the functions that matter most on this model.
How long the visit takes
An iPhone XR screen takes about 40 minutes, and 72% of our repairs are finished while the customer waits in the seating area with coffee and Wi-Fi. The whole path from the first WhatsApp message to pickup usually stays under an hour, so the 40-minute screen job leaves room for the free 15-minute diagnostic that comes first. We work Mon–Fri 10:00–19:00 and Sat–Sun plus holidays 11:00–18:00, which means an evening drop-off after work is realistic on weekdays. A courier can be called if you cannot come yourself. Booking a slot through WhatsApp first is what keeps the wait short, since the engineer can have the matching module ready before you arrive.
The 32-point check and what you take home
After the swap we run a 32-function check of about 10 minutes with you watching, covering Face ID, True Tone, cameras, microphones, speakers, charging and network. The engineer hands the device back with the receipt, the warranty card and the old part in the box. Warranty runs up to 1 year, and the receipt already carries the part type, turnaround and warranty terms that were fixed before work started. Keep the old assembly we hand back with the receipt and warranty card, because it is your proof of what was removed and it settles any later question about the part that went in.
Summary: iPhone XR Display Replacement
A short recap of what decides the outcome of an XR screen swap — the part you pick, the flex transfer and the check afterwards.
- Cracked glass means a full assembly: glass, touch layer and LCD are bonded together, so a swap replaces all three at once.
- Both options are LCD panels: judge them on brightness, colour and edge touch rather than on screen technology.
- Face ID depends on the flex: it survives only when the original top connector is transferred to the new part.
- True Tone needs the original data: the display data has to be carried over, or the setting stays greyed out.
- Odd behaviour without cracks points elsewhere: a connector or board fault is confirmed during diagnostics before anything is ordered.
- Expect about 40 minutes of bench time: a joint function check follows, along with a written record of the component and warranty.







 iPad
 MacBook
 iMac
 Mac mini and Studio
 Apple Watch
 AirPods
 Apple Pencil
 Apple TV
 HomePod