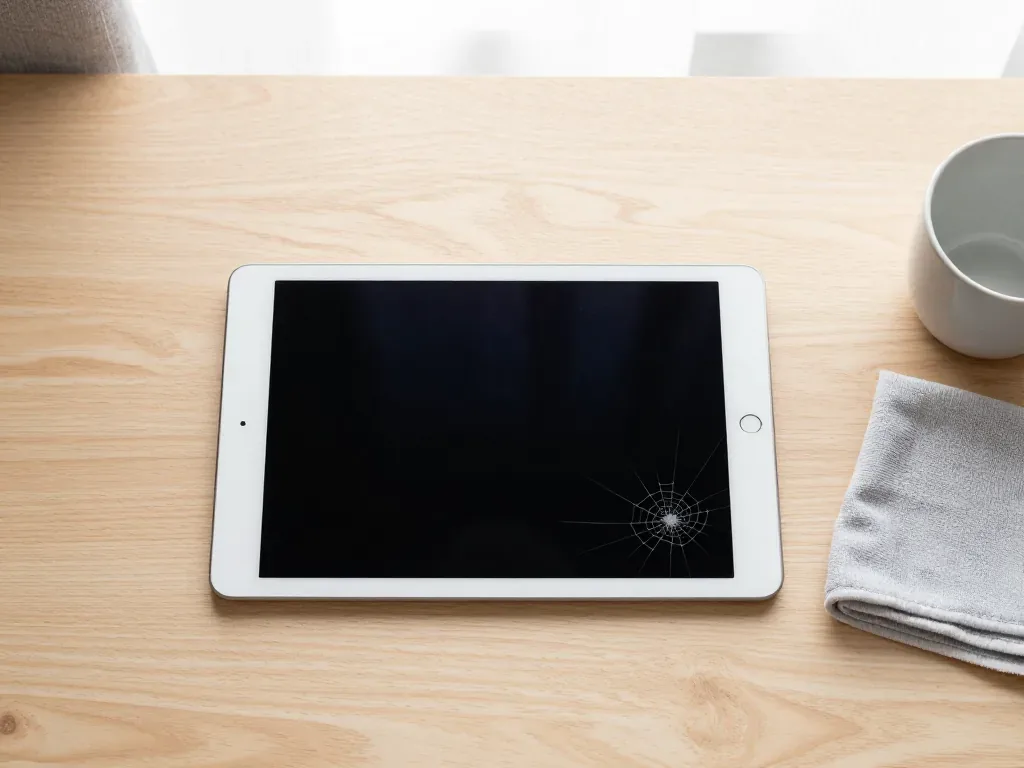
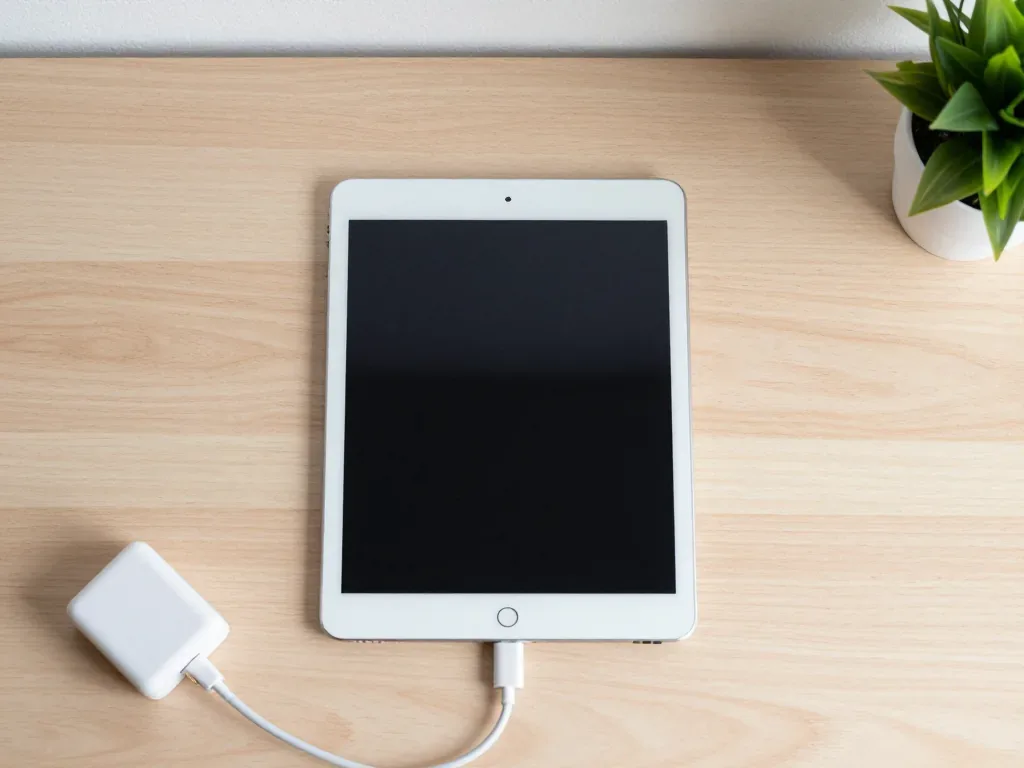
For iPad 9 repair Astana owners get a classic body: a Home button, a Lightning port and a non-laminated display. That design means fewer failure types, and almost all show up during a 15-minute check.
Cracked Glass, Dead Touch and Lines on the Screen
On this tablet the touch layer and the LCD sit separately, so a cracked top glass with a working image is the most common case we see, and the picture usually survives the fall. The digitiser handles taps, the matrix handles colour, and one drop can kill either while leaving the other intact. A clean image with patchy touch means the sensor layer is fractured; dark blotches or lines that stay after a restart point to the LCD itself. Our engineers open the device, show you the split between the two layers, and only then name the part. If the image is whole but touch works only in places, do not wait: shards under your finger work into the frame and interfere with bonding the new glass.
Battery Wear, Swelling and Sudden Shutdowns
A battery that drains in a couple of hours or shuts the tablet down while it still shows charge is worn out, and on this model the cell is glued under the display, so it is replaced in the workshop, not at home. The adhesive holds the pack against the frame, and prying it cold is how glass gets cracked a second time — we soften the glue first and lift the panel evenly. Age shows up as heat near the Home button, a charge that jumps from 40 to 15 percent, or a device that dies the moment a camera opens. If the screen has started to lift at one edge or a gap appears above the Home button, that is swelling, and the tablet should not go on the charger, because the gases keep pressing on the glass until it cracks on its own.
Why the Tablet Will Not Charge or Turn On
- Cable and adapter: swap both for a known working pair and watch for the battery icon.
- Lightning port: check for lint, bent pins or play in the connector.
- Port flex: the charging tail is a separate cable and often fails first.
- Battery: a cell below its threshold takes no charge and mimics a dead board.
- Power controller: only after the first four are cleared do we test the board under the microscope.
Glass or Full Display Module in iPad 9 Repair on This Generation
The ninth-generation screen is not laminated, so the glass-or-module question usually resolves in favour of glass when the matrix is intact. Below is how to check it and what happens to the Home button.
How to Tell Whether Only the Glass Is Broken
If the image is clean, there are no dark blotches or vertical bands and touch responds at least in parts of the screen, the LCD on an iPad 9 is intact and we replace only the top layer. A shattered top layer with a working picture is the common case on this generation, because the air gap between the layers absorbs impact that would otherwise crack the panel. Cracks that spread across the whole surface, dead strips along an edge or a picture that flickers when you press the corner point the other way. We check this during free diagnostics in front of you: the engineer switches the display to a white and then a black background and looks for ink-like spots underneath. Those spots mean pressure has already reached the panel, and then the whole unit is swapped. Ask for the test before agreeing to any work.
What Happens to Touch ID and the Home Button
The Home button with Touch ID on an iPad 9 is paired to the board, so we transfer the original component onto the new front layer instead of fitting a replacement, and the fingerprint keeps working. The pairing is cryptographic: the sensor's key is bound to the logic board at the factory and no spare part carries a matching key. That is why a "new button" offer is a warning sign — the fingerprint will not work afterwards, ever, and no software step restores it. When you hand the tablet in, ask directly whether the original is moved over from the old front layer. In our workshop the engineer lifts it with a heat pad and transfers it before the new adhesive cures, then tests the fingerprint together with you at pickup.
Glass and Module Options Side by Side
Three repair paths and when each applies| Repair option | What is replaced | When it fits | Touch and Pencil |
|---|
| Top layer only | Top touch layer, fresh adhesive | LCD clean, touch partly alive | Kept, original LCD stays |
|---|
| Top layer plus LCD | Outer layer and panel as separate parts | Dark blotches or bands underneath | Kept, new panel |
|---|
| Full display assembly | Complete front unit | Heavy damage, frame bent | Kept, factory-bonded unit |
|---|
Original Part or Aftermarket and What It Changes
On an iPad 9 the choice mostly concerns glass and battery. The difference shows up in brightness, touch response and how long charge holds, not only in what the component costs.
How an Original Screen Differs from an Aftermarket One
The genuine top layer keeps the factory brightness, colour temperature and touch response, while a copy can be slightly dimmer and feel different under the finger, which is why 64 percent of our customers pick the genuine part. The digitizer layer beneath the top surface decides how precisely the panel reads a swipe near the bezel, and a cheap replica loses that precision first at the edges. Colour temperature matters on a tablet used for photo review or design drafts, since an aftermarket panel can drift warm or cool by a few hundred kelvin. We show the new component in factory packaging before installation, so you compare the label against the receipt rather than taking a promise on trust. A copy suits a home screen for video and children; the genuine one suits documents and colour. The choice is written down before work starts.
Battery Choice and What It Means for Daily Use
A fresh battery restores the runtime the tablet had when new, and the gap between a genuine cell and a good copy shows up in how the device holds charge at low percentages and in how it behaves in the cold. The cell sits glued under the screen, so the adhesive and the connector are replaced together with it, because a reused connector is where cheap swaps fail within months. An aftermarket battery may report full capacity in settings yet fall from 20 percent to shutdown in minutes once the chemistry ages. If the unit lives in a car or outdoors through winter, choose a cell with capacity headroom, since low-grade ones sag in frost and bring back the sudden shutdowns you paid to fix. We name the type on the receipt before the housing is opened.
What the Receipt Fixes Before Work Starts
- Part type: genuine or aftermarket, named exactly as fitted to your tablet.
- Turnaround: the promised window, from an hour to a day for the device.
- Warranty: up to 1 year, written on the same slip.
- Old part: returned to you with the unit after the repair.
- Payment: Kaspi, card or cash, agreed before the work begins.
- Diagnosis: the 15-minute free check in front of you, recorded as the starting point.
How Long the Work Takes and Whether You Can Wait
On the ninth generation most jobs fit inside an hour or two, while logic board work runs past that window. Below are the real timelines and what to do while the work is underway.
Typical Timelines for an iPad 9
Expected duration and wait option per repair type| Job | Typical time | Can you wait |
|---|
| Top layer replacement | 1 to 2 hours | Yes, lounge |
|---|
| Battery replacement | 1 to 2 hours | Yes, lounge |
|---|
| Lightning port and flex | 1 to 2 hours | Yes, lounge |
|---|
| Board-level repair | 1 to 3 days | No, drop-off |
|---|
| Water damage diagnostics | Up to 2 days | No, drop-off |
|---|
When the Board or the Cellular Module Is Involved
If the tablet loses Wi-Fi or cellular signal after a fall, the cause is often a torn modem flex or a cracked joint on the circuit, and that work is done under a microscope over one to three days. We run the device through load cycles after soldering, because a connection that passes a quick test can still open under heat. The Wi-Fi module and the modem flex sit close together on this generation, so one impact frequently damages both. This is the single job where the timeline cannot be shortened: the runs take as long as they take, and skipping them sends the device home with the same symptom back within a week.
What to Do While the Tablet Is in the Workshop
- Back up first: save the device to iCloud or a computer before handover, since a deep repair can occasionally end in data loss.
- Know your Apple ID: have the password ready, because the engineer asks for it at intake to test the device after reassembly.
- Decide on Find My iPad: switching it off speeds up testing, and leaving it on can block a full diagnostic run.
- Note the symptoms: describe when the fault appears, as a precise report shortens the free 15-minute check.
How We Prove the Repair Was Done Honestly
Honesty in repair is not a promise — it is something the customer watches happen. From the sealed factory packaging to the old part handed back with the tablet, every step here is visible, documented and checkable on the spot.
From WhatsApp Photo to Signed Receipt at the Counter
You send a photo of the damage on WhatsApp, an engineer replies within five minutes with a price from the photo, and the free 15-minute diagnostics in front of you confirms what is actually broken before anything is signed. The photo saves the first trip: it already shows whether only the top layer is cracked or the whole module is gone, so you arrive knowing roughly what the job involves rather than coming in just to look. On arrival the engineer opens the device at the counter, names the fault, and fixes price, part, turnaround and warranty on the receipt in about two minutes — before a single screw comes out. Send the photo before you set off, and ask in the same message whether the part you want is in stock.
The 32-Point Check You Run Together with the Engineer
- Touch ID: unlock with the registered finger several times and confirm the sensor responds on every press.
- True Tone: toggle it on and off and watch the screen shift colour as the ambient light changes.
- Cameras: open front and rear, take a photo and record a short video in both.
- Microphones and speakers: record a voice note, then play it back at full volume.
- Charging: plug in the Lightning cable and confirm the bolt icon appears and the percentage climbs.
- Network: connect to Wi-Fi and, on the cellular model, check that the mobile signal registers.
- Old part: compare the removed component with the new one before you leave the waiting area.
Warranty, Courier and Payment Without Surprises at Pickup
Every iPad 9 repair carries a warranty of up to 1 year, the device comes back with the receipt, the warranty card and the old part, and you can pay by Kaspi, card or cash. The old component travels home with you — not into a bin — so there is a physical reference if anything feels off later. If the tablet is needed urgently and you cannot come in, a courier collects the device and returns it once the job is done; the engineer still runs the free diagnostics at handover to record the condition before work begins. Ask for the warranty card to be filled in on the spot — a stamped, dated card is what makes the one-year cover usable, not a verbal assurance at the counter.
Summary: iPad 9 Repair
A short recap of what decides the outcome on this model, so you can judge any quote and any workshop against the same five points.
- Separate glass and LCD: on an iPad 9 the touch layer and the display panel are distinct parts, so a clean image after a fall usually means only the top layer needs replacing.
- Paired Home button: the button with Touch ID is tied to the board and must be transferred to the new front panel, never swapped for a fresh one, or the fingerprint function is lost.
- Swollen battery: a puffed cell pushes the screen away from the body and makes charging unsafe until it is replaced.
- Charging faults: these are traced in a fixed order — cable, port, battery, power controller — so the cause is found rather than guessed.
- Written slip: a document naming the part, the turnaround and the warranty is what makes a repair checkable months later.











 MacBook
 iMac
 Mac mini and Studio
 Apple Watch
 AirPods
 Apple Pencil
 Apple TV
 HomePod