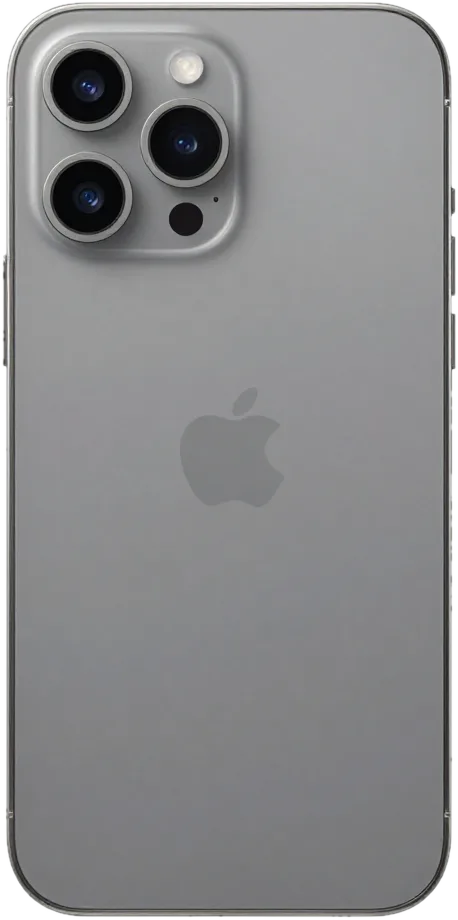
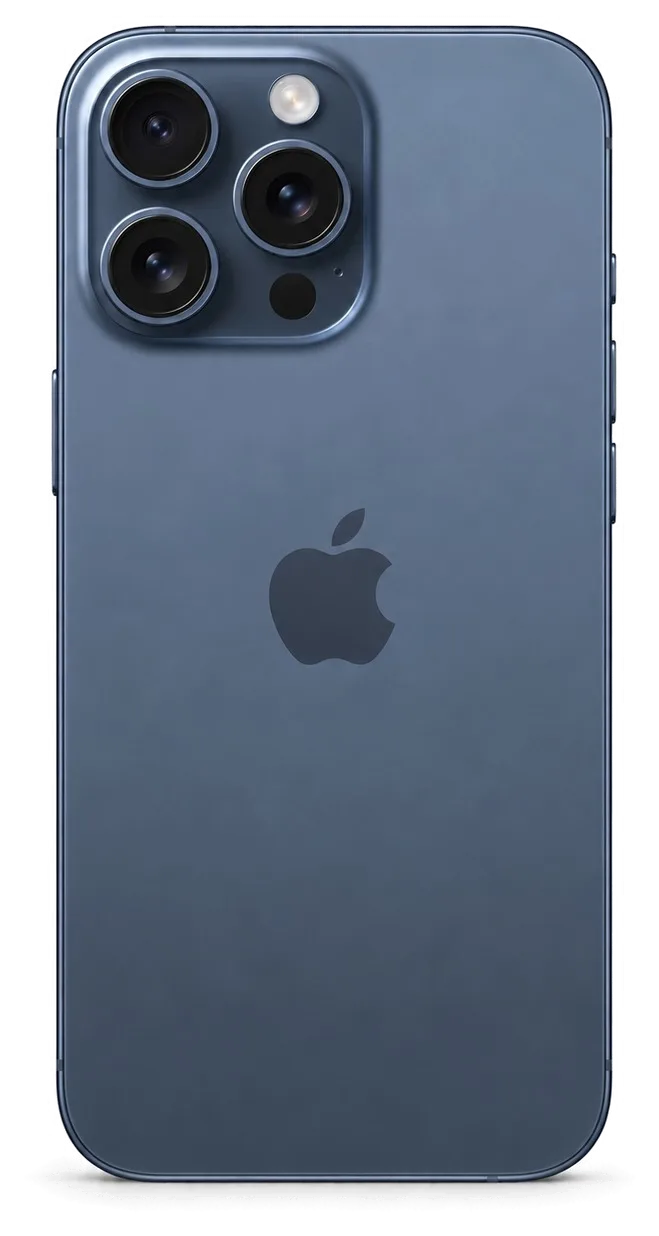
USB-C arrived with the iPhone 15, Dynamic Island now appears on every model, and Pro versions carry a titanium frame. These changes shape which faults most often bring people to iPhone 15 repair in Astana.
The Four Faults We See Most on an iPhone 15
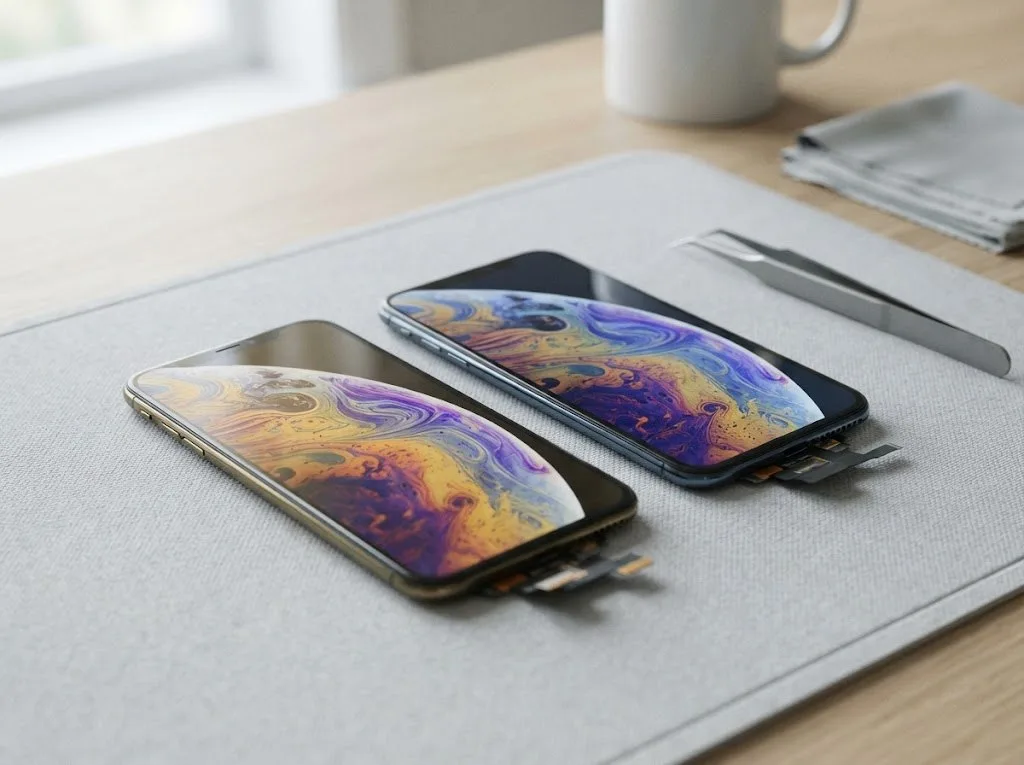
- Cracked front glass: the most common arrival, usually with a working image and touch, so the top layer alone can be swapped.
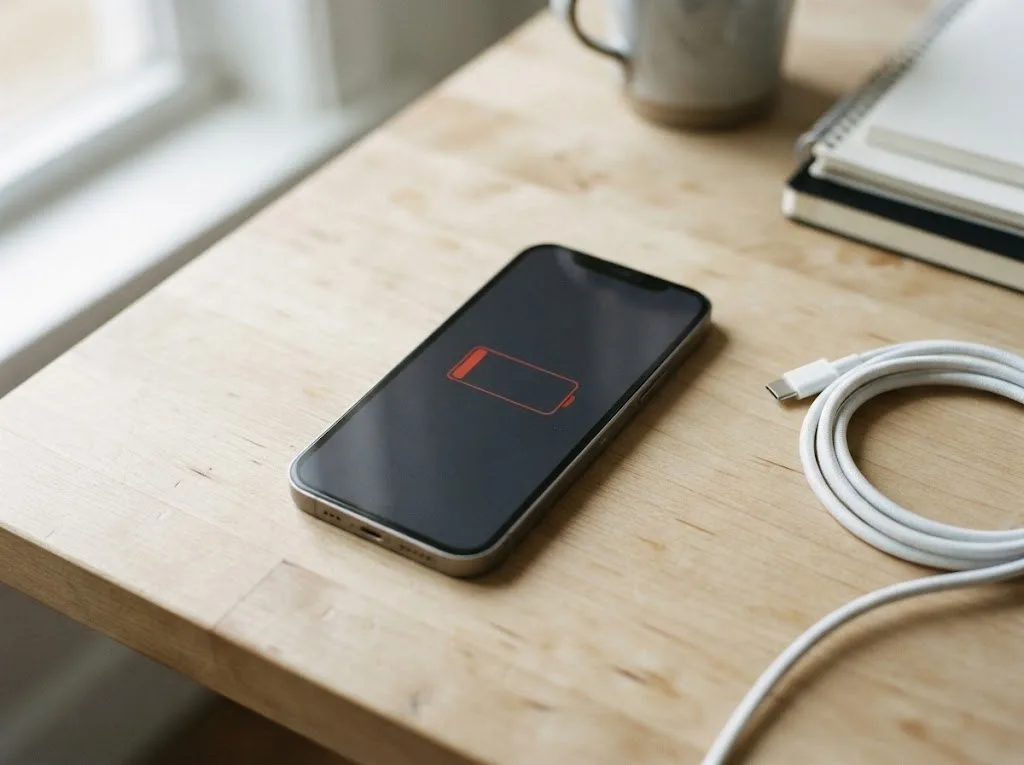
- Worn battery: a cell that drains from morning to lunch and reports reduced capacity in the settings menu.
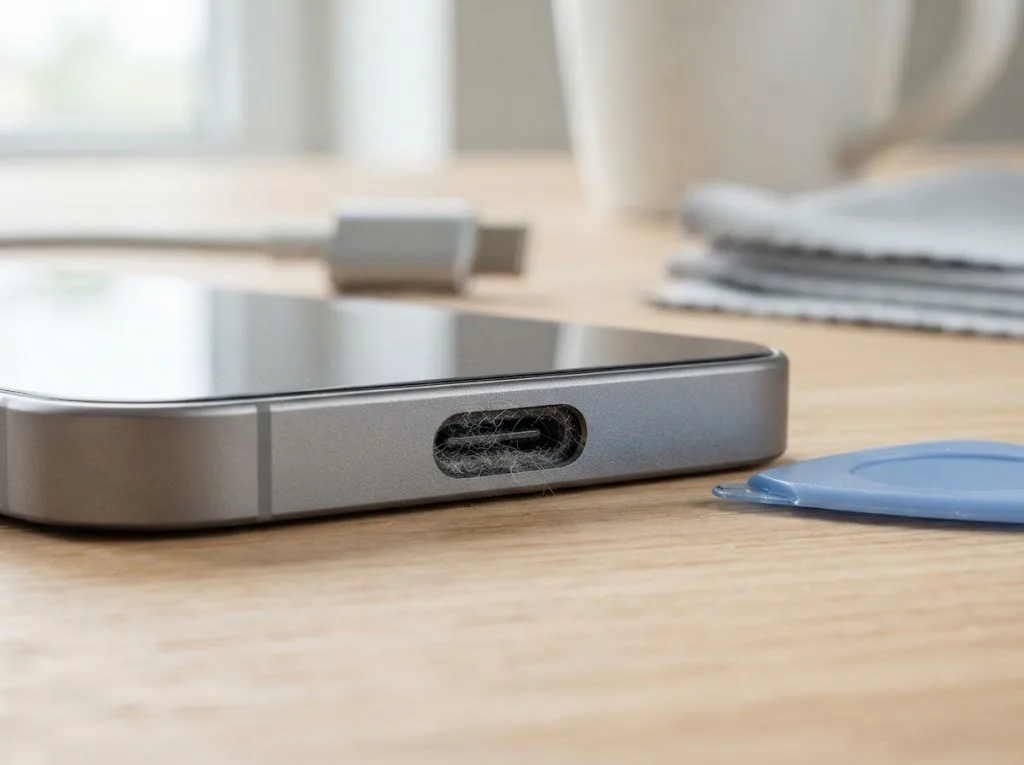
- Charging connector faults: power that drops out or needs the cable held at an angle, often from lint packed inside.
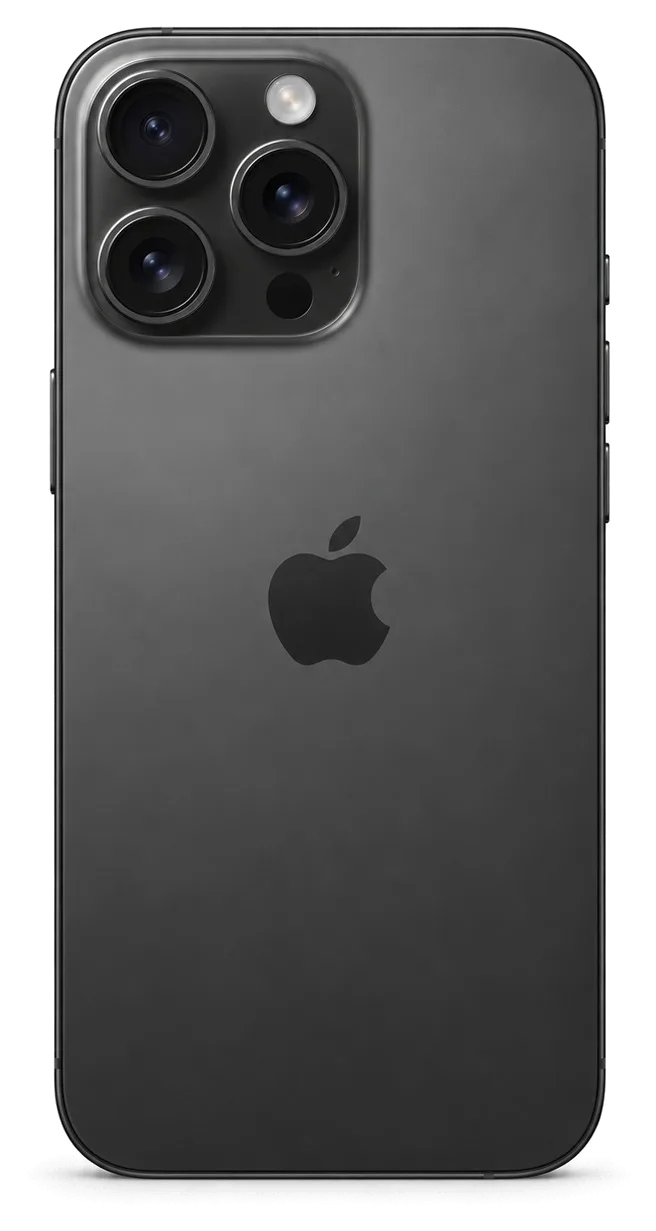
- Broken rear lens cover: a shattered camera cover that scatters light and softens every photo.
Matching Each Symptom to Its Likely Cause and Fix
Complaints matched to parts and work| Symptom | Probable reason | What we do |
|---|
| Cracked front glass, image fine | Glass layer only | Glass replacement |
|---|
| Lines or dead touch | Display module | Full module swap |
|---|
| Fast power loss | Worn cell | Battery replacement |
|---|
| Will not charge on USB-C | Connector dirt or damage | Clean or unit swap |
|---|
| Blurred photos | Cracked camera glass | Glass replacement |
|---|
Why the USB-C and Titanium Changes Matter for Repair
The iPhone 15 line moved to USB-C and the Pro models to a titanium frame, and both changes affect how a repair is approached. Because the new connector is mounted on a dedicated charging assembly, a worn socket counts as a separate unit instead of being soldered into the logic board, and that one socket handles data, audio and power for the entire device. A titanium frame flexes less than aluminium under impact, so a drop more often cracks the glass than bends the body. The Action button and Dynamic Island share the front assembly with the display, which is why a front-end job is planned around the module. A titanium body that resists bending usually turns a drop into a front-panel job rather than a frame job.
iPhone 15 Screen Repair Replacing Just the Glass or the Whole Module
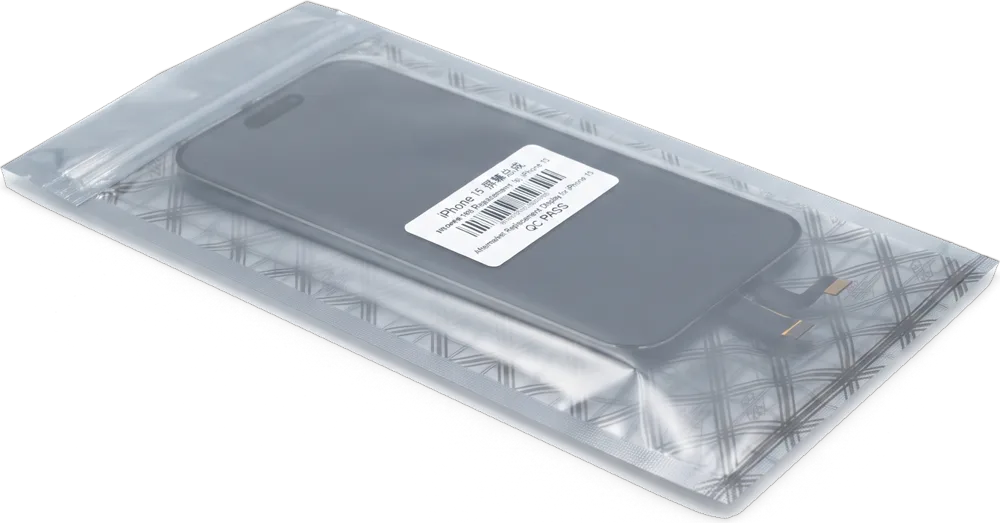
A shattered display does not automatically mean a whole module swap; replacing only the glass is possible when the matrix and the touch layer beneath it allow it.
When Only the Glass Can Be Replaced
On a device with an intact OLED matrix and working touch, we can replace just the outer layer and keep the original display. The engineer begins with a no-charge 15-minute inspection carried out right before your eyes, pressing along the crack to determine whether the touch layer still responds in every zone. If the matrix shows no dead pixels, no green lines and no dark patches, the panel stays and only the outer layer goes. An outer-layer job is the shorter route: our screen work runs about 40 minutes, and most of that is curing the adhesive and re-testing touch. Keeping the original matrix also keeps the factory colour calibration, so an outer-layer job often looks closer to the original picture than a budget module.
Glass or Full Module, Side by Side
Damage type mapped to the repair route and what survives| What is damaged | Best option | What you keep |
|---|
| Outer layer only, image fine | Layer replacement | Original matrix, True Tone |
|---|
| Matrix or touch failing | Full module | New panel, calibrated True Tone |
|---|
| Both glass and frame | Module plus frame | Straight body, new panel |
|---|
Do Face ID and True Tone Still Work After Replacing the Screen
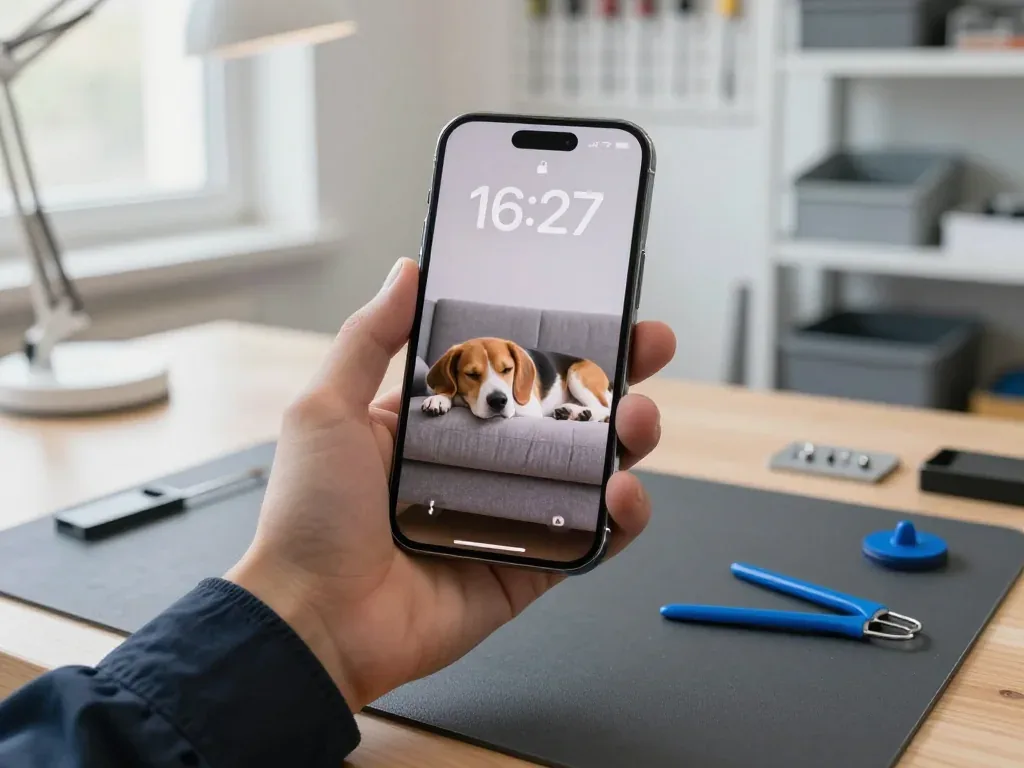
Since the TrueDepth unit is mounted separately, Face ID continues to function following a display replacement; True Tone, in turn, becomes active after its calibration data is copied onto the fresh panel. Since the TrueDepth module is mounted above the panel rather than inside it, damage to the front glass leaves it unaffected; even so, once the repair is done the technician goes through Face ID, True Tone, the cameras, microphones and speakers together with you. True Tone is the fragile one: its calibration is paired to the original panel, and on a new module we transfer that data so the display warms and cools with the room light as before. Certain aftermarket panels do not allow True Tone to be transferred at all, so if that setting matters to you, mention it before the part gets ordered.
What an Original Component and an Analog Part Each Preserve
Every part we fit is either an original or a quality analog, and the difference shows up in functions, not just in the look of the screen.
How Original and Analog Components Compare in Everyday Use
An original component keeps every function the phone shipped with, while an analog may lose True Tone or trigger the "unknown part" message. True Tone is the setting that shifts screen warmth with the room light, and it depends on a paired sensor in the display assembly — an analog screen without that pairing simply drops the option from Settings. The "unknown part" notice works differently: it appears in Settings and on the lock screen when the phone cannot verify the component, and it can show up even on a screen that fits and responds perfectly. Once both options are presented side by side, 64% of customers pick an original component. That notice indicates the part type rather than a fault — the phone keeps working, yet the message remains until an original is installed.
Choosing a Part and Locking It on the Receipt
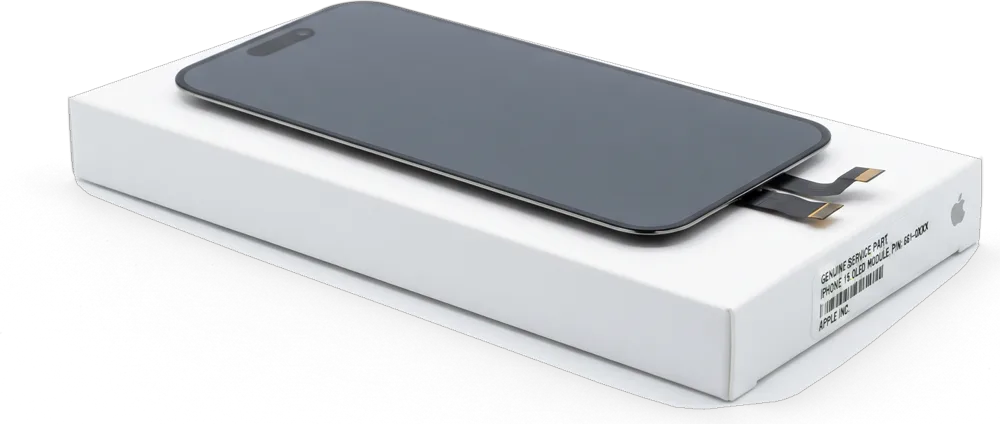
Prior to starting, the warranty terms, how long it takes, which part goes in and the cost all go onto the receipt, and confirming it takes you roughly two minutes. That short step matters more than it sounds: the receipt states whether the component is original or aftermarket, so there is no room for a swap later and no argument about what was promised. We then bring out the new component in its factory packaging and open it in front of the customer, so the part paid for is the part that goes into the phone. Nothing is installed before that check. Hold on to the receipt together with the device — it holds the warranty terms and the exact component reference, against which any future claim is verified.
What Stays on Your Hands After the Repair
- The device: your iPhone 15, wiped down and switched on, ready for the joint function check with the engineer.
- The receipt: your copy records which component was fitted, how long the job took and what warranty conditions were confirmed before the work started.
- The warranty card: coverage up to 1 year, tied to the component we fitted and the job we performed.
- The old component: the removed unit, handed back in a bag — proof of what came out of your phone.
How Much Time an iPhone 15 Repair Requires and How to Reserve a Slot
Most iPhone 15 jobs at our workshop are finished while you sit in the waiting area, and the whole visit from first contact to pickup usually takes less than an hour.
From a WhatsApp Photo to Collection in Less Than an Hour
You send a photo of the damage on WhatsApp, a technician replies within five minutes with a price and a free slot, and most repairs finish during your visit. On arrival, a technician performs a free 15-minute diagnostic right before your eyes and explains which part has failed. Before any work begins, the receipt gets the price, component, turnaround and warranty written down in roughly two minutes, and first you are shown the new unit in its factory packaging. Booking from a photo means the spare is ready when you arrive, which is why 72% of our jobs are completed in the waiting area, where there is coffee and Wi-Fi to pass the time.
Repair Times by Job
the duration of each job and whether you remain on site| Job | Typical time | Wait or leave |
|---|
| Screen replacement | 40 minutes | Wait |
|---|
| Battery replacement | 25 minutes | Wait |
|---|
| Camera glass | 20 minutes | Wait |
|---|
| Repair of board | 1–3 days | Leave |
|---|
Steps to Take Prior to Handing Over the Phone
- Back up the device: run an iCloud or computer backup the night before, so photos and messages are safe if a board fault forces a restore.
- Know your passcode: the technician needs it to test Face ID, charging and network once the work is done, and to confirm nothing else failed.
- Your account is your call: logging out of the Apple account is optional — the repair can proceed without it.
- Note the symptoms: write down what fails and when it happens, so the diagnostic starts from the right fault instead of guesswork.
- Bring the receipt if you have one: it speeds up the intake and helps confirm the model and any earlier service history on the handset.
Diagnostics, the Final Check and Who Stands Behind the Work
The repair is only half the job; the other half is proving the phone works and knowing which team is accountable if something goes wrong later.
The 32-Point Check You Do With the Engineer
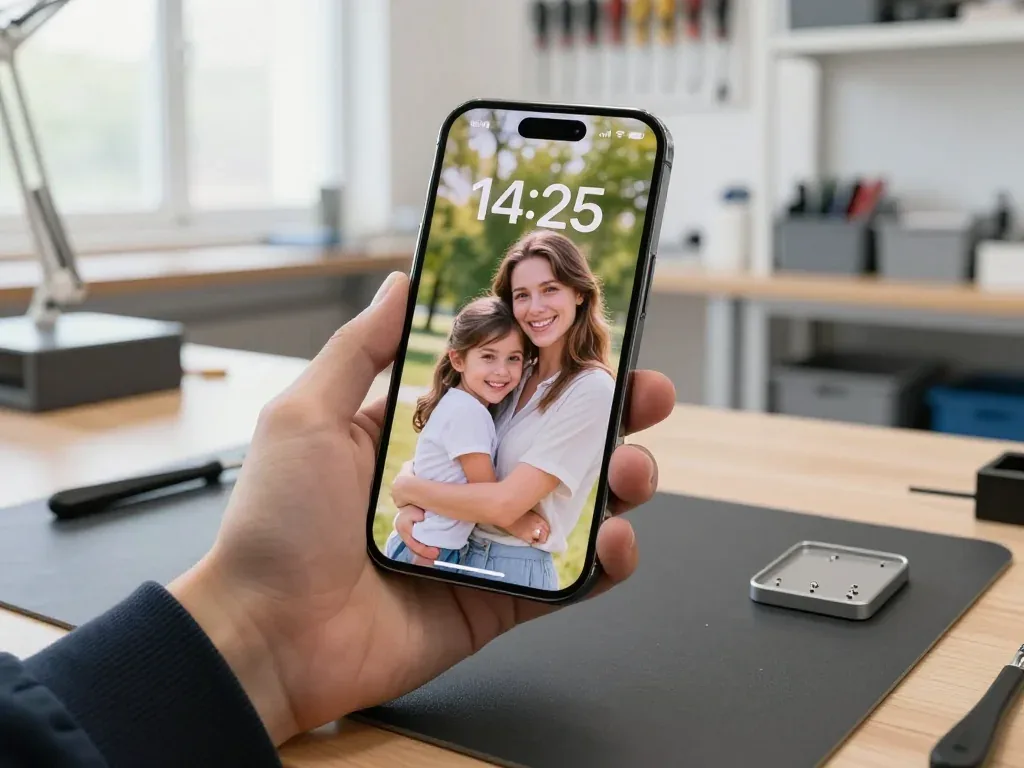
After the repair we run a 32-function check of about ten minutes, and the customer goes through the key ones with the engineer before paying. Testing happens with you watching — not behind a closed door — covering speakers, microphones, cameras, True Tone, Face ID, charging and network. The engineer hands over the device and watches the same screen as the customer, so a dead pixel or a muffled speaker shows up while the customer is still at the counter. We log every function on the check sheet, and that sheet goes into your paperwork with the receipt and warranty card. Testing all of these together catches a loose connector while you stand at the counter, not a day later. Keep that sheet — if a fault reappears, the record of what passed on pickup settles the question of cause in minutes.
Water Damage and Board Work Under the Microscope
A water-damaged phone must not be put on charge or dried using a hairdryer; the logic board needs cleaning, and such diagnostics may last up to two days. Powering a wet device forces current through corrosion, turning a short that could be cleaned into a burned component, so turn it off and bring it in unchanged. We open the device, lift the shields and inspect the circuitry for corrosion under magnification before quoting anything. Component-level repair is done under a microscope, which is what lets us trace a single damaged trace instead of replacing the entire circuit. On liquid cases we sometimes need up to two days just to see how far the corrosion spread, and we say so before any commitment. If the mainboard is sound and only a connector suffered, the fix is faster — the microscope shows which.
Why We Work as a Direct Contractor Rather Than a Middleman
iServices is a direct contractor with its own technicians and workshop, not an aggregator passing your phone to a third party. That distinction decides which team answers when a component fails in month three: the same one that quoted the work, ordered the unit and signed the receipt. There is no handoff between a front desk and an unseen bench, and no markup stacked on top of a subcontractor's rate. Being a direct contractor means one crew is accountable for the component, the work and the warranty, so there is no gap between the person quoting and the person repairing. When a customer calls about a comeback, they reach the people who had the device open — not a call centre relaying messages. One question is worth asking any workshop before handing over a phone: who actually holds the screwdriver?
Summary: iPhone 15 repair
Five things decide how an iPhone 15 repair ends: the fault, the component, the turnaround and the paperwork handed over at pickup. Here is the short version.
- Four common faults: a cracked screen, a worn battery, a damaged USB-C port and a broken rear lens cover account for almost every case, and each has a proven fix.
- Glass-only screen work: swapping just the outer layer works when the matrix and touch respond; a full module is the honest option when they do not.
- Component choice matters: original components preserve all functions, whereas an analog may cause True Tone to be lost or the unknown component message to appear.
- Time depends on the job: quick jobs finish while you wait, board work and water damage mean the phone stays a day or more.
- Protection after pickup: a written receipt, a warranty and a final function check are what the owner relies on once the device is back in hand.








 iPad
 MacBook
 iMac
 Mac mini and Studio
 Apple Watch
 AirPods
 Apple Pencil
 Apple TV
 HomePod