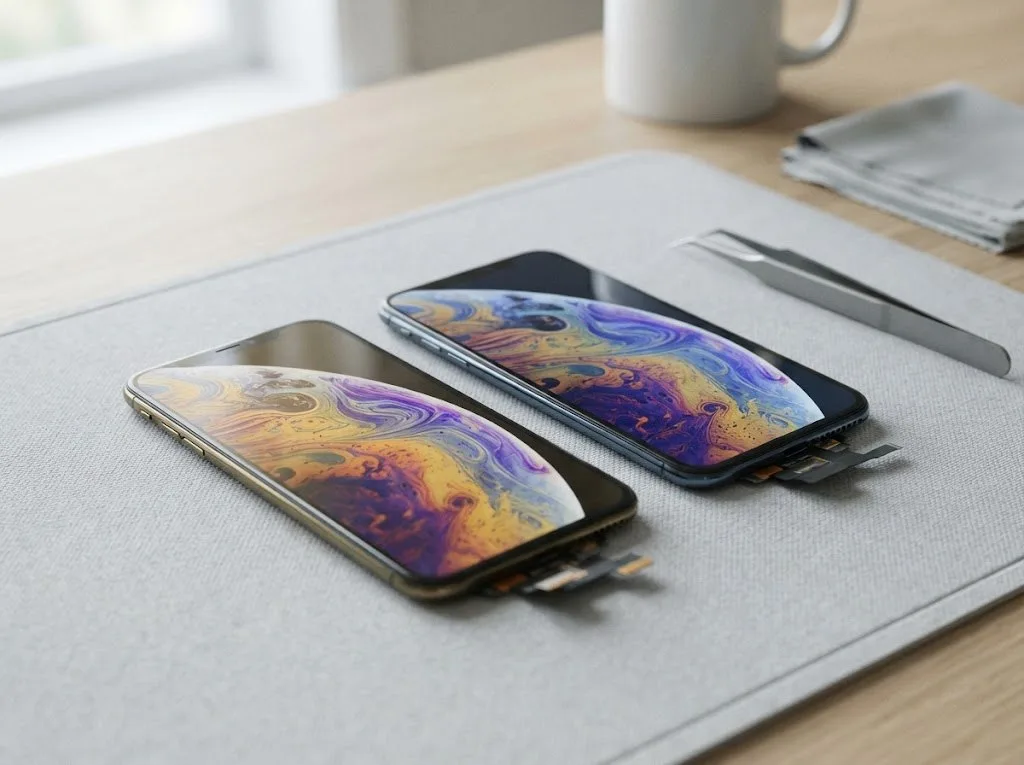
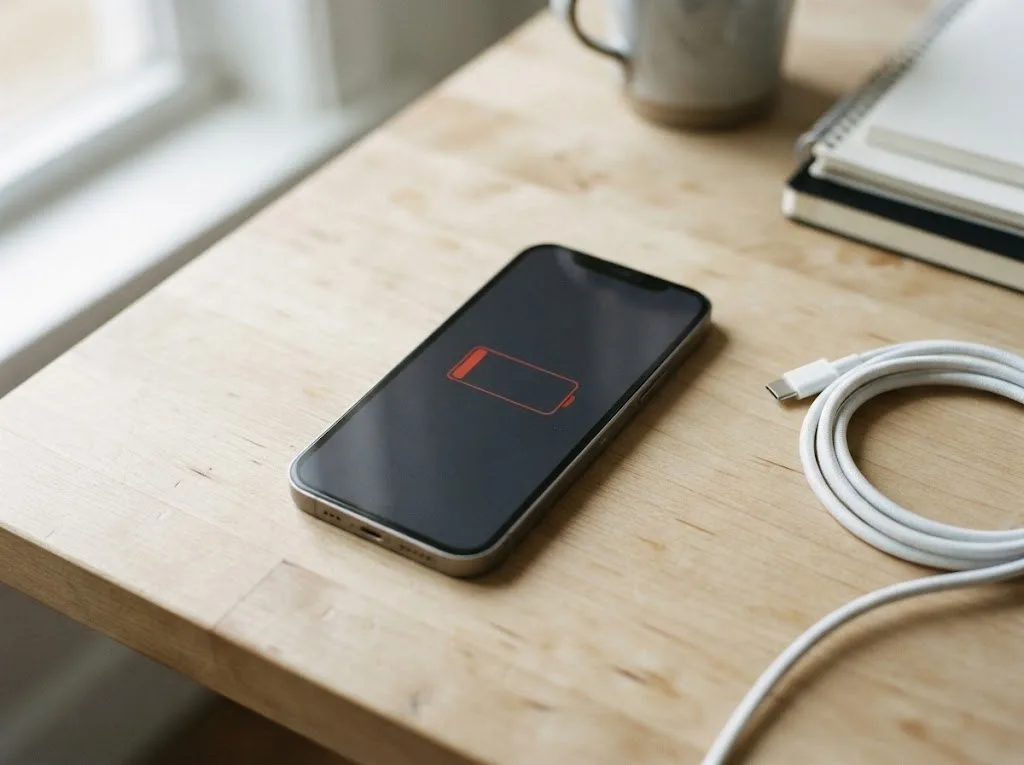
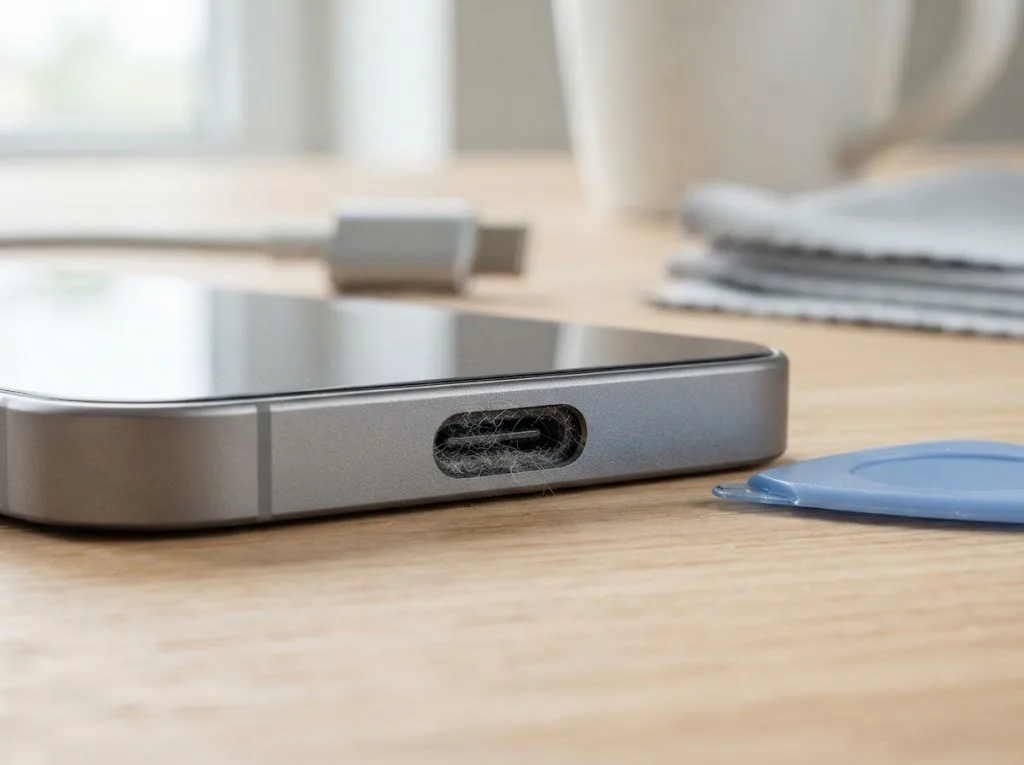
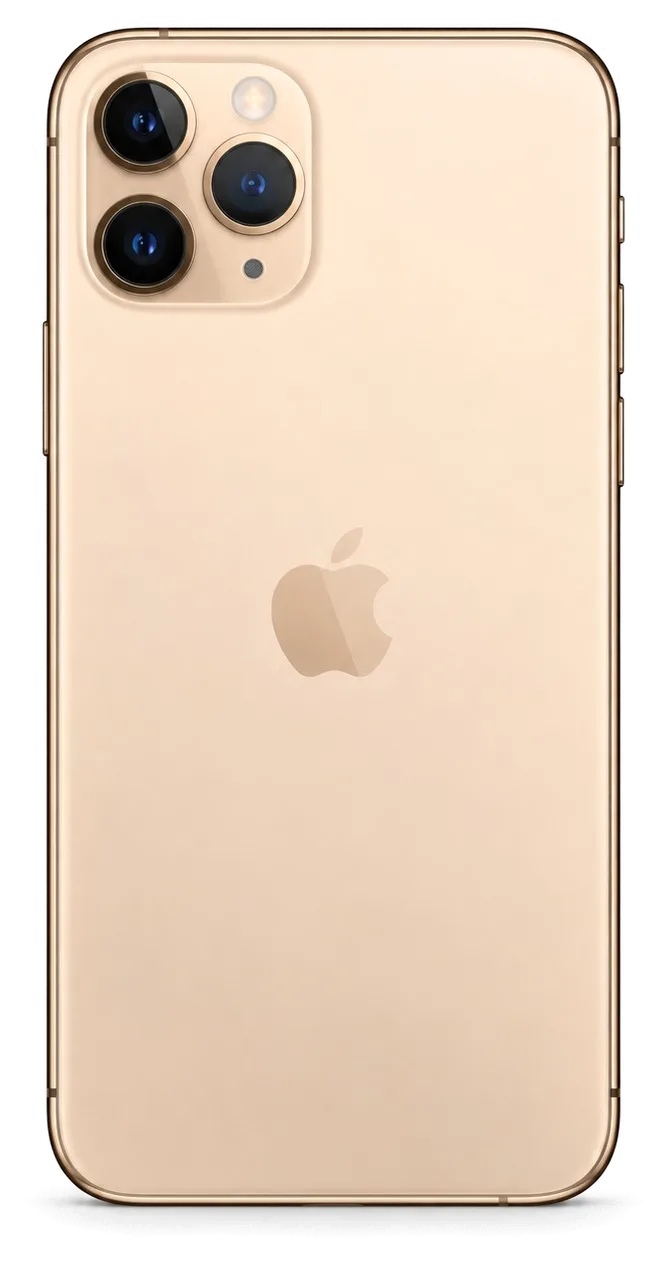
The 11 Pro is an OLED, triple-camera phone with a two-layer board, so its weak points differ from the LCD iPhone 11. Here is what owners bring us most often and what each symptom usually means.
The symptoms owners notice first
- Cracked OLED panel: a drop leaves a spiderweb, a green tint or dead touch zones on the 5.8-inch display module.
- Battery health below 80%: the phone shuts down at 20-30% charge and needs a top-up by mid-afternoon.
- Charging only at an angle: the Lightning port works when the cable is pressed, then stops again.
- Blurry photos: the camera glass cover is scratched or chipped while the lens underneath stays intact.
- No sound on calls: the earpiece speaker or the microphone mesh is blocked or failing.
- Swollen battery: the screen lifts along the frame, leaving a visible gap on one side.
Symptom, likely cause and what we do
Symptoms matched to causes and repair actions| Symptom | Likely cause | What we do |
|---|
| Lines or green tint on screen | OLED panel damage | Replace display module |
|---|
| Battery drops fast, phone shuts down | Worn battery below 80% | Replace battery |
|---|
| Charges only at an angle | Dirty or oxidized port | Clean or replace port |
|---|
| Blurry photos | Scratched camera glass | Replace camera glass |
|---|
| No sound on calls | Speaker or microphone fault | Test and replace part |
|---|
Battery and charging faults on this model
A battery replacement on the 11 Pro takes about 25 minutes at our bench, and we check the health reading with you before and after. The cell in this model is glued in with pull-tab adhesive, so we remove it without levering against the two-layer board underneath. If you are looking for iPhone 11 Pro repair in Astana, this is the kind of work we handle at the bench. Charging faults follow a different path: a port that works only at an angle usually carries dirt or oxidation on the pins, and a worn charging flex shows up as a phone that heats up around the connector. We read the cycle count and peak capacity in Settings, then load-test the port with a meter. If the health figure is fine but the phone still dies early, the fault is often the charging flex or a tired port.
Screen Repair, Glass Only or Full Display Module
A broken 11 Pro screen is not always a full module job. Whether you need glass only or the whole display depends on the OLED panel and touch layer underneath, and that changes both time and result.
When glass replacement is enough
If the OLED panel still shows a clean image and touch responds everywhere, only the outer glass is cracked and can be replaced on its own. A glass-only job means the display module stays in the phone: the technician separates the shattered top layer, cleans the OLED surface and laminates new glass onto the original panel under vacuum. You keep your factory display, its colour profile and its brightness curve, which no aftermarket module reproduces exactly. The catch is bench time — separating and re-laminating takes longer than unplugging one module and clicking in another, and the work is fiddly. Glass-only work costs less and keeps your original panel, but it takes longer at the bench than swapping a whole module, so ask which route fits your day.
When the whole display module has to go
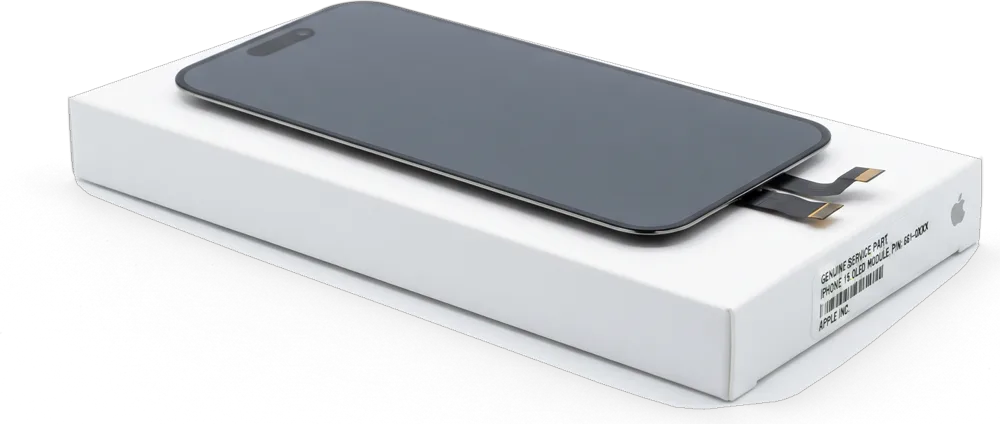
When the panel shows lines, dead zones or a green tint, the OLED itself is damaged and we replace the full display module, which takes about 40 minutes. Lines and green tint mean the organic layer or its driver circuitry is gone — new glass on top of a dead panel changes nothing. On the 11 Pro the display is a single assembly bonded to the frame, so the swap is one part out, one part in, then a calibration pass. We show the replacement module in its factory packaging before it goes in, and the component type is written on the receipt. A module swap is faster than glass-only work, so if you are short on time and the panel is already damaged, the full replacement is the quicker path.
Will True Tone and Face ID survive a new screen
Face ID keeps working after a screen swap because the TrueDepth module is a separate component, and we transfer the True Tone calibration so the display matches your original. The dot projector, infrared camera and flood illuminator sit in the notch assembly, not in the display, so they are unplugged and moved across intact. True Tone is different: its calibration data lives with the display pairing, and a new panel needs that data written back during the swap. On some aftermarket panels True Tone cannot be restored, so if that setting matters to you, choose an original display and confirm it on the receipt.
Original or Aftermarket Part and What Each Keeps
The part you pick decides which features stay intact. We lay out both options by function, not by price, and record your choice on the receipt before any screw comes out.
How original and aftermarket parts differ by function
how each part type affects phone features| Component | True Tone | Battery health | Factory packaging |
|---|
| Original display | Kept | Not affected | Yes |
|---|
| Aftermarket display | Sometimes lost | Not affected | Yes |
|---|
| Original battery | Not affected | Reads correctly | Yes |
|---|
| Aftermarket battery | Not affected | May not read | Yes |
|---|
Why we show the part before installing it
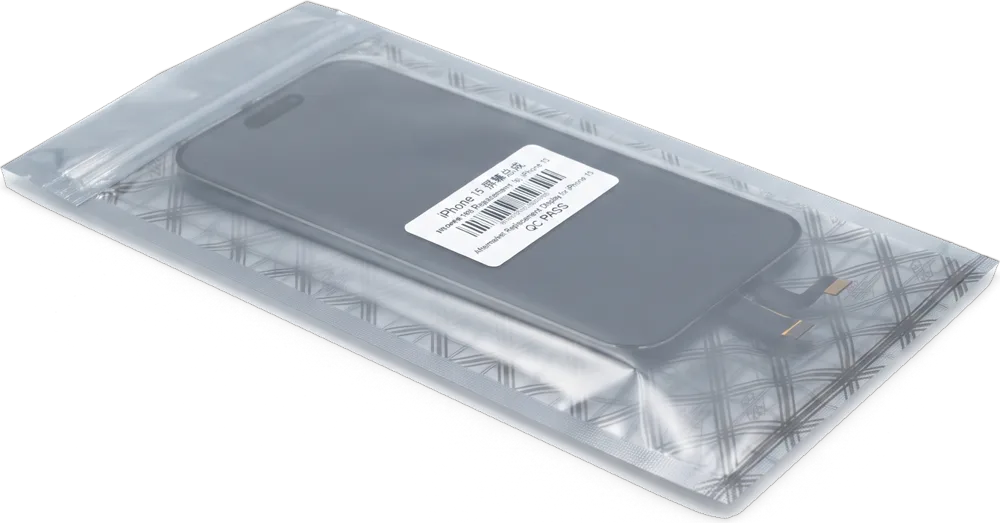
We open the new component in its factory packaging in front of you before installation, so you see exactly what goes into your phone. A sealed original display carries its own flex cable with the True Tone calibration, and an aftermarket unit often arrives with a generic cable that the board may not recognise — that is the difference you can spot with your own eyes. The engineer cuts the seal, lays the component beside the opened handset and only then starts removing the old one. Seeing the sealed unit is the simplest way to tell a real replacement from a refurbished one, and it is why we never install anything out of sight.
What the receipt locks in before work starts
Before any work begins we fix the price, the part type, the turnaround and the warranty on the receipt, which takes about two minutes. The document names the exact component — original or aftermarket — so a later dispute over True Tone or the battery health reading has a written reference, not a verbal promise. Your warranty card runs up to 1 year, and the old part travels home with you together with the receipt. A written part type is your proof if a feature like True Tone stops working later, so keep the receipt with the warranty card and the old part.
How Long the Repair Takes and Waiting on Site
Most 11 Pro jobs finish during a single visit. Here is how the process runs from your first message to pickup, and which repairs you can wait for in our lounge.
From WhatsApp photo to a fixed slot
Send a photo of the damage on WhatsApp and an engineer replies within 5 minutes with a price estimate and a free time slot. The specialist reads the shot of the cracked glass or the worn port and names the component you need before you leave home. We confirm the booking in the same thread, and the price, part, turnaround and warranty are fixed on the receipt in 2 minutes once you arrive. On the day, free diagnostics run in front of you for 15 minutes, even if you decide not to repair, and show what is actually broken inside the housing. A clear photo of the cracked area or the port lets us quote in advance, so you avoid a wasted trip for a part we would need to order.
Which repairs finish while you wait
Bench time and whether you can stay on site| Job | Time at bench | Wait on site |
|---|
| Screen module | 40 minutes | Yes |
|---|
| Battery | 25 minutes | Yes |
|---|
| Camera glass | 20 minutes | Yes |
|---|
| Board repair | 1–3 days | No |
|---|
What to do before you hand the phone over
- Back up your data: run an iCloud or Finder backup the night prior, since a screen or battery swap leaves files untouched but a board job may reset them.
- Know your Apple ID password: deeper work sometimes needs the account signed in, and a forgotten login stalls the job.
- Leave Find My on unless asked: the specialist will say if it has to come off, so you keep control of your account.
- Note your passcode: share it only for the specific repair that needs it, then change it after pickup.
- Photograph the phone: a quick shot of the frame and screen records the exact condition you handed in.
- Bring the old component home: we return it with the receipt and warranty card, keeping a record of what was swapped.
The Final Check, Warranty and Who Stands Behind the Work
A repair is only finished when the device works as it should. We check it with you at the counter, hand over the paperwork, and stand behind the job as the contractor that did it.
The functions we test together at pickup
After the repair we run through 32 functions with you in about 10 minutes, including Face ID, True Tone, cameras, microphones, speakers, charging and network. The engineer unlocks the handset with your face, compares screen tint against a reference, shoots with all three rear lenses and the front one, records a voice memo and plays it back on speaker. Then comes the cable and the charge indicator, followed by cellular and Wi-Fi reconnect, every key press and the Taptic Engine response. Testing at the counter catches a loose connector before you leave, which is far easier to fix on the spot than after a trip home.
What the warranty covers and what stays with you
Every job carries a warranty up to 1 year, and you leave with the receipt, the warranty card and your old component. The card names the replaced item and the coverage period, so a fault traced to that item is handled without argument. We hand back the original screen, battery or camera module in a small bag rather than keeping it in the workshop — it belongs to you, not to us. Keep the receipt too: it records the component fitted and the date of work, and it is what we ask for if you return with a problem. Keeping the old item matters if you ever resell the handset, since a buyer can see the original was swapped by a workshop rather than lost.
Why a direct contractor beats an agency
We are the contractor that does the work, with our own technicians and workshop, not an agency passing your device to a third party. Over 11 years and 46,000+ repairs, our team has handled this generation of the handset often enough to know which faults are routine and which need a closer look under the microscope. Both branches — Almaty and Astana — run the same process: the engineer who diagnoses the unit is the one who repairs it and signs the warranty card. There is no handover to an outside shop, so the part you agreed to is the one installed. When the same team diagnoses, repairs and warrants the unit, there is no gap between the promise and the fix, which is where most disputes start.
Summary: iPhone 11 Pro Repair
A repair decision comes down to matching the fault to the actual cause, choosing parts by the functions you want back, and verifying the result at pickup.
- Diagnose before agreeing: confirm the real cause first, since a swollen battery can mimic a dead screen and steer you toward the wrong job.
- Match the work to the fault: pick glass-only or a full module by whether the OLED panel and touch layer still respond.
- Choose parts by function: decide original or aftermarket by what you want preserved, and get the part type written on paper.
- Prepare the handover: back up your data and know your Apple ID before the phone leaves your hands.
- Verify at pickup: test Face ID, True Tone, cameras and charging, then keep the receipt, warranty card and old component.








 iPad
 MacBook
 iMac
 Mac mini and Studio
 Apple Watch
 AirPods
 Apple Pencil
 Apple TV
 HomePod