An iPad screen is several bonded layers, and each fails differently. Ahead of discussing replacement, it helps to know which part took the hit — that decides the component and the turnaround.
Cover, Touch Layer or LCD Matrix
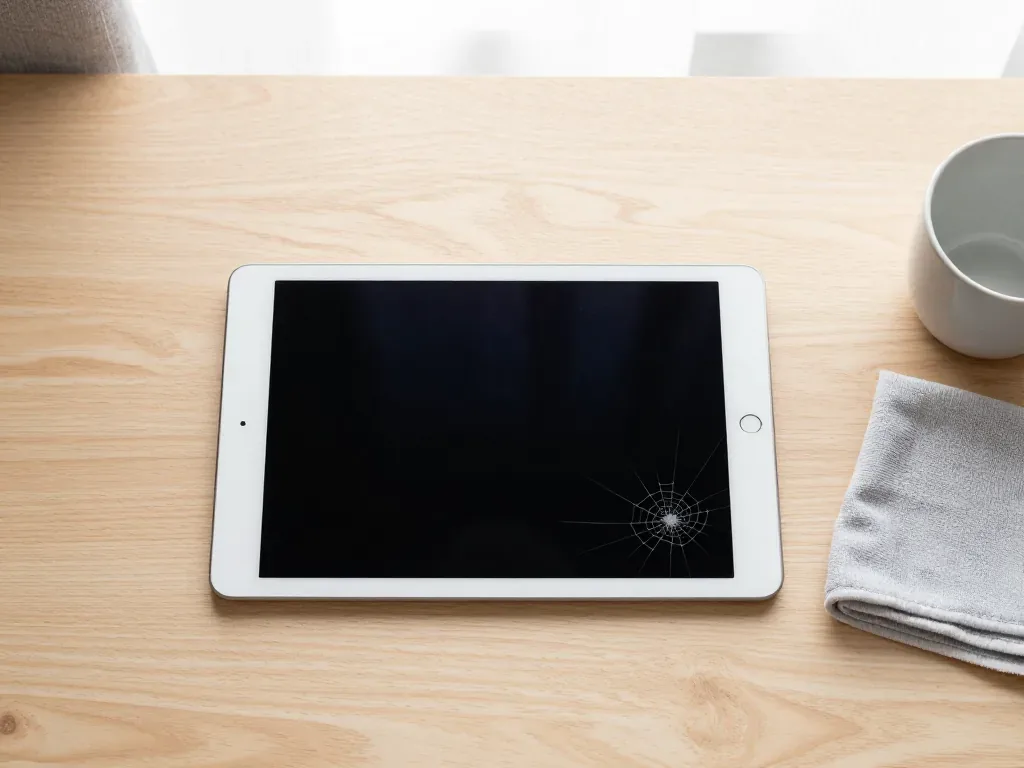
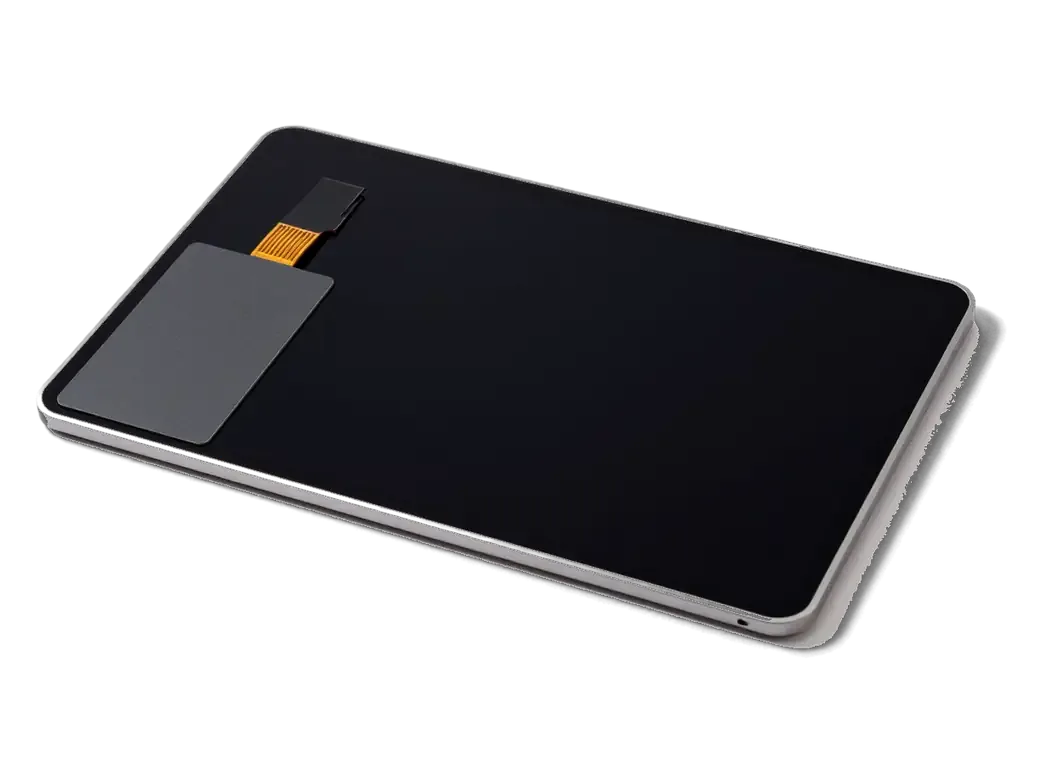
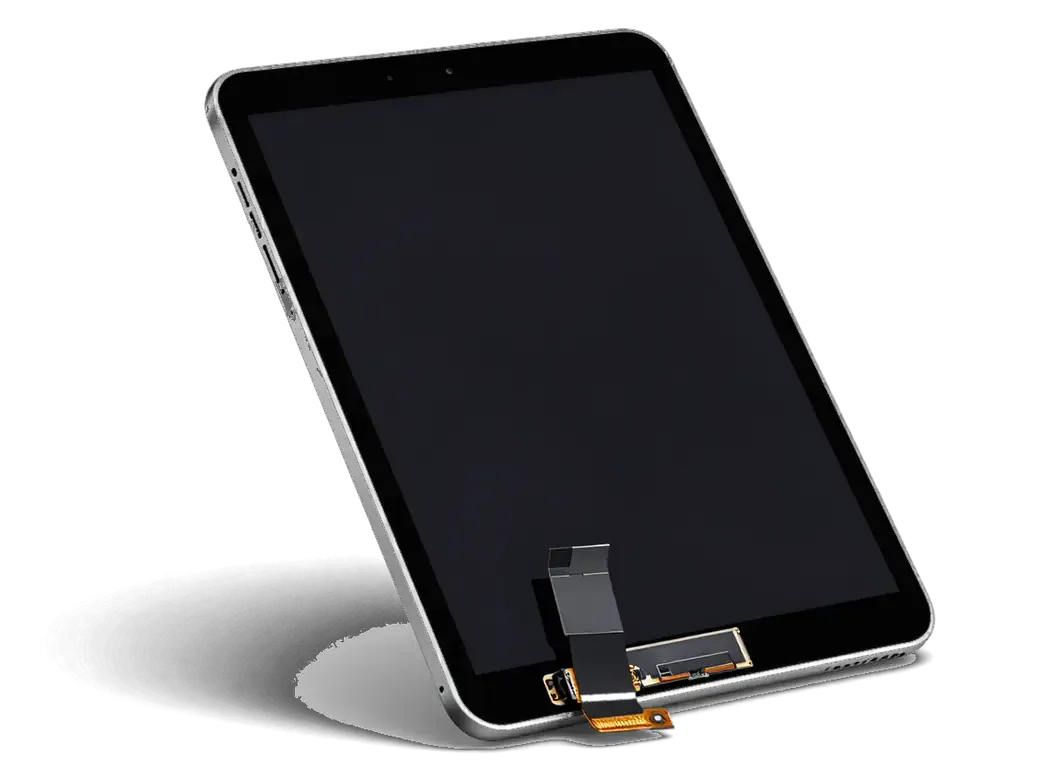
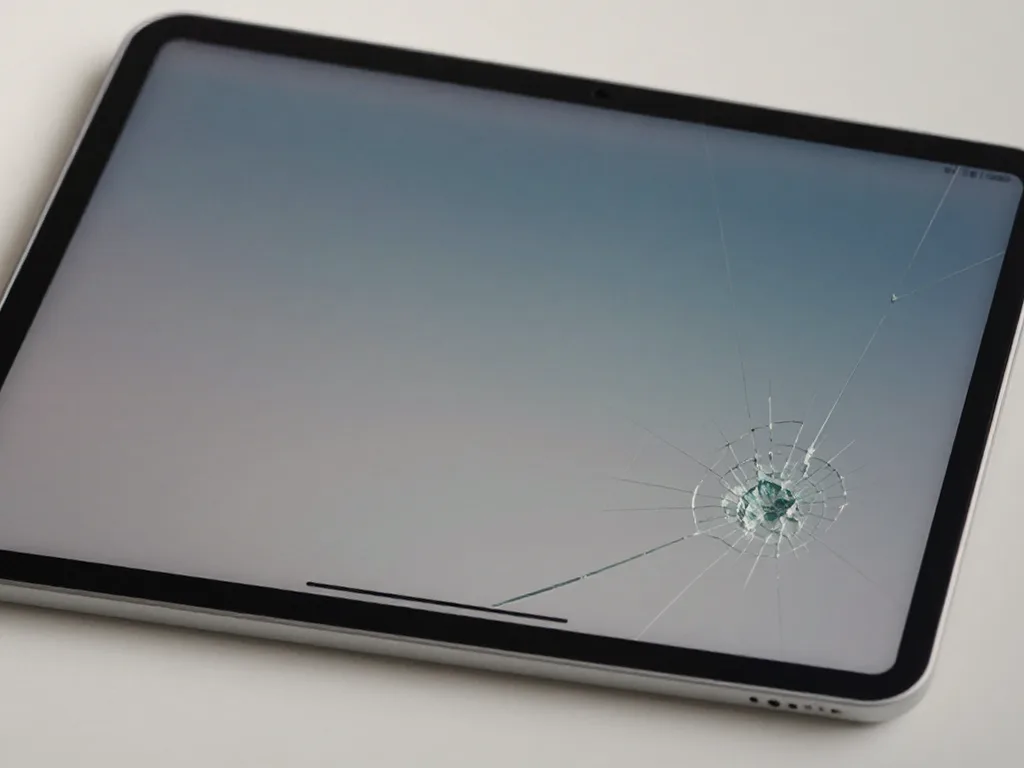
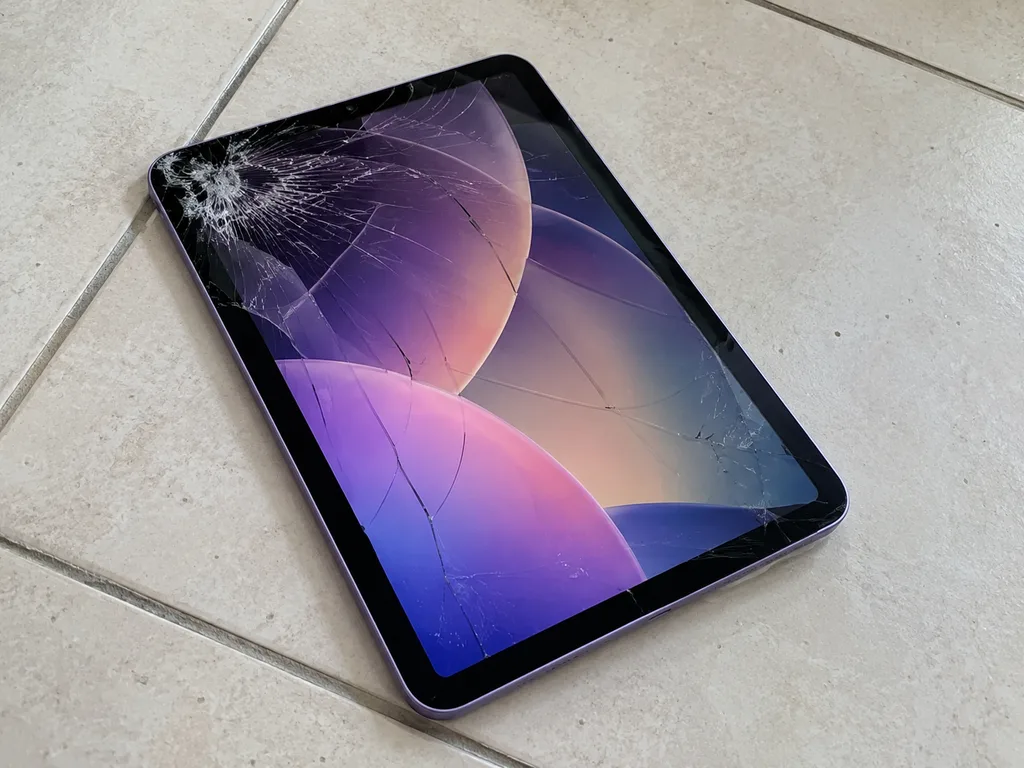
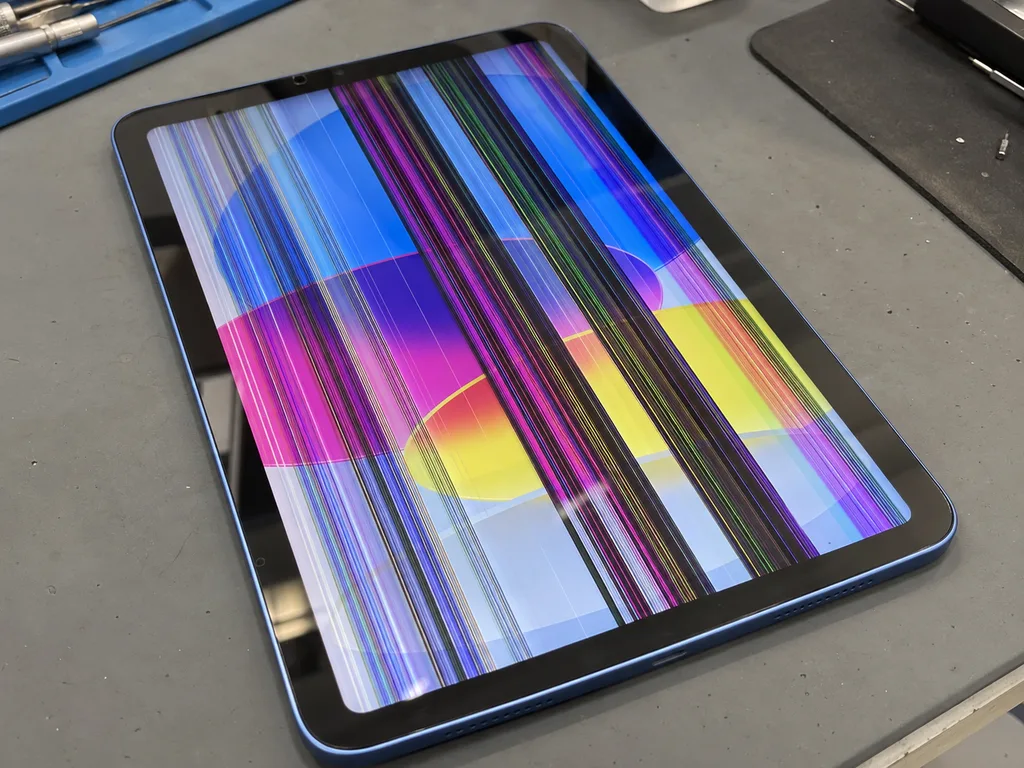
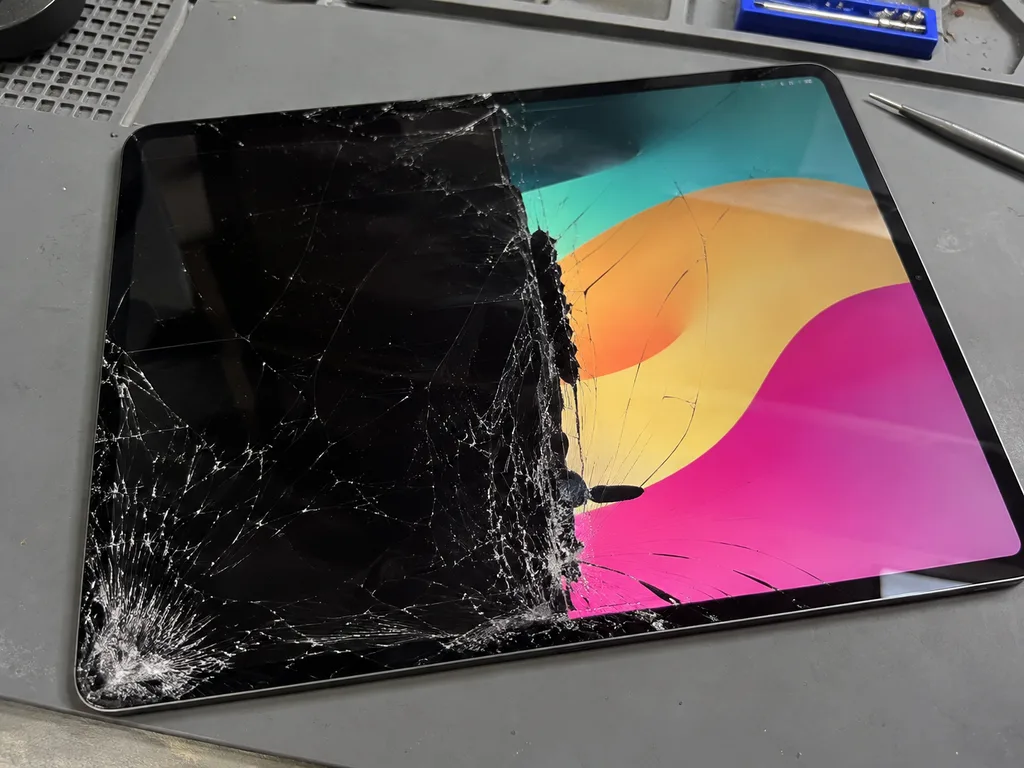
The screen of an older tablet is built from separate layers, a protective sheet with a touch sensor on top and an LCD panel underneath, and each fails in its own way. The outer sheet takes the impact first, while the LCD underneath carries the image. The digitiser handles your finger input, while the LCD matrix handles the image, so the tablet can show a perfect picture and ignore every tap. A dropped unit often keeps a sharp display but loses finger response in one corner because the digitiser flex cable cracked, whereas a pressure mark from a backpack can leave the outer sheet unbroken and the image blotchy. On Retina models these sheets are fused into a single module, so a hairline crack on top can spread into the panel beneath within days.
Symptom to Part Match
Which layer a given symptom points to before opening| What you see | Likely part | What it means |
|---|
| Cracks or a spiderweb pattern, image still sharp | Outer sheet with touch layer | Panel intact, glass-only swap possible |
|---|
| Touch dead in spots or ghost taps | Touch layer or its flex | Sensor needs replacement |
|---|
| Stripes, blotches, no backlight | LCD panel or its flex | Panel or connector damaged |
|---|
| Black screen but sound works | Panel, flex or board | Needs bench diagnostics |
|---|
Which iPad Models Take a Separate Glass and Which Need a Full Module
Screen construction changed from generation to generation, and that single detail decides whether the glass comes off on its own or the whole display assembly has to be swapped.
Older iPads With a Detachable Cover Layer
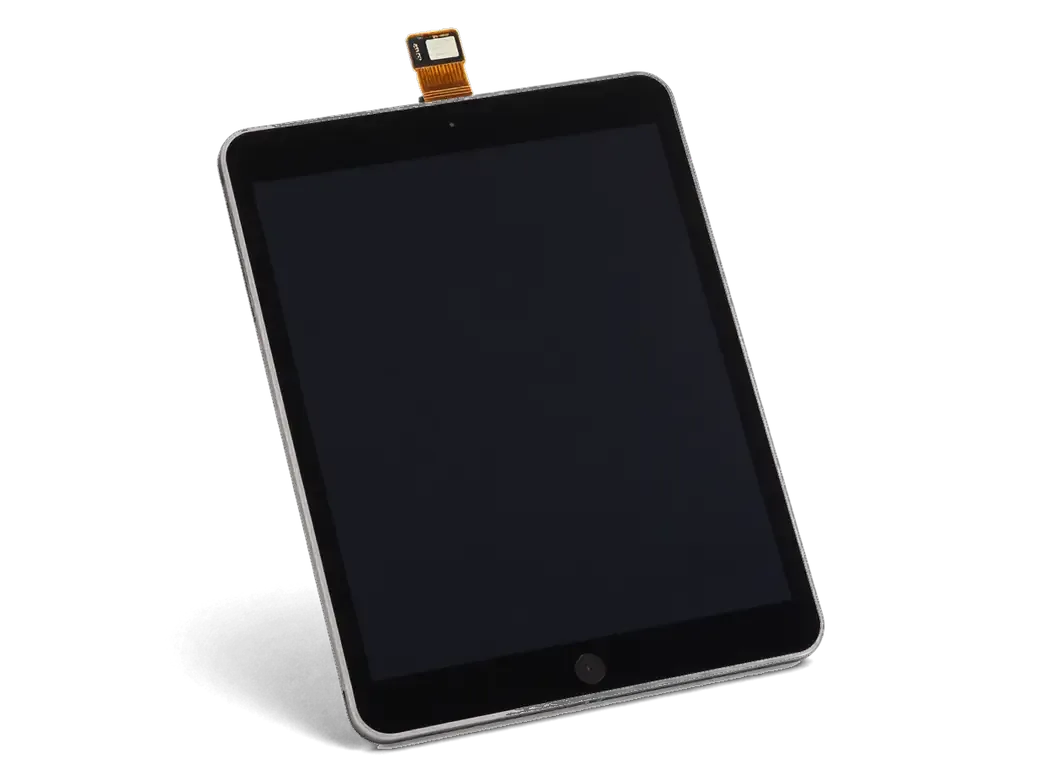
On iPad 2, iPad 3 and iPad 4 the outer sheet and the LCD matrix are separate parts, so when the matrix survives we replace only the glass, which is faster and keeps the original display. On these three generations the touch layer sits on the outer sheet itself, and the LCD underneath stays untouched as long as it shows no dead pixels or pressure marks. Our technicians have handled this layout for 11 years, and 64% of customers choose an original part. The Retina panel of iPad 3 and iPad 4 is not interchangeable with the non-Retina panel of iPad 2, so a component pulled from another model will not fit even if the surface looks identical.
Laminated Screens and Full Module Swaps
From iPad Air 2 onward the glass is bonded to the matrix as one laminated assembly, so a cracked surface means the whole module is replaced rather than the top sheet alone. The same applies to iPad mini 4 and every iPad Pro, where the air gap is gone and an optical adhesive holds the layers together. Input and image quality depend on that bond, so a module swap restores both at once instead of leaving a faint grid or rainbow marks. Trying to separate a laminated screen usually damages the panel, turning a surface-level problem into a full module job. If a workshop offers to split a laminated screen, treat it as a warning sign. An iPad display replacement in Astana starts with confirming which construction your model uses, so the estimate matches the actual job.
Original Part or Aftermarket Glass and What Changes for You
Both options fit and function, but the difference appears in touch response, clarity and how the edges sit against the frame, so the choice deserves a deliberate look, not a default.
How the Two Options Differ in Daily Use
We offer an original and an aftermarket option, and 64% of our customers pick the first because touch response and colour stay closest to how the tablet left the factory. The alternative handles everyday taps, scrolling and typing without trouble, though a trained eye picks up a slight shift in tint on bright white backgrounds. Sensitivity on the cheaper option can feel marginally softer at the very edge, which shows up in fast two-thumb gestures more than in ordinary use. On laminated models the full module decides the result, so the top sheet alone does not set the final feel. An aftermarket part can sit a fraction tighter against the frame, so a case with a rigid lip may need more care when it goes back on.
What We Show You Before Installation
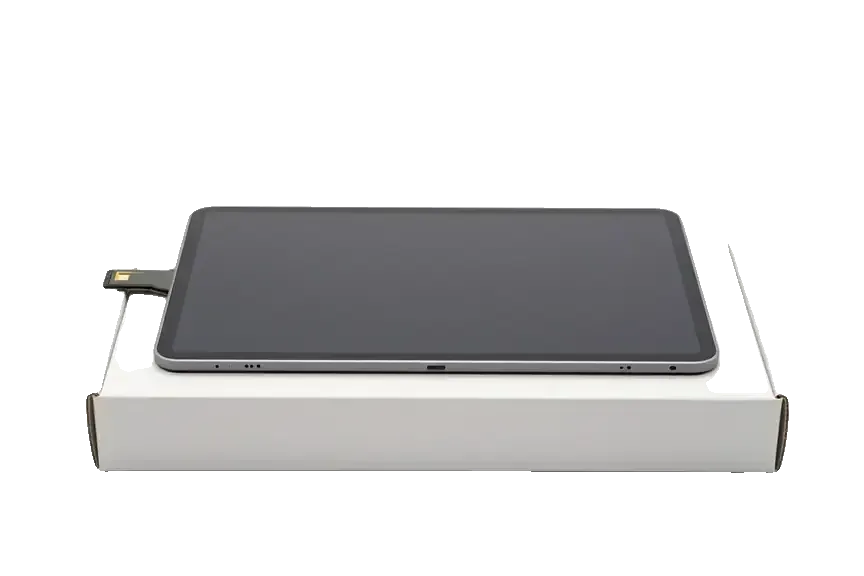
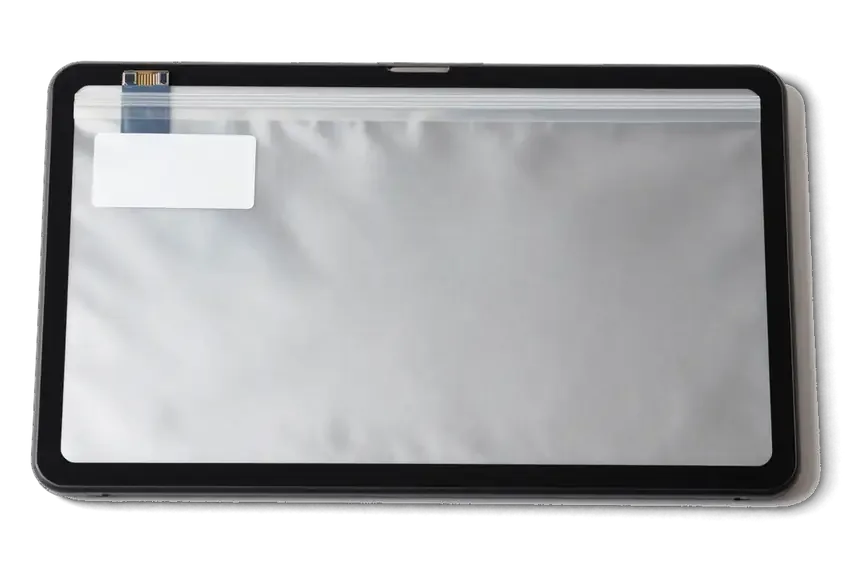
Before any work starts we show the new component in its factory packaging, so you see exactly which option is going onto the device. The receipt then fixes the type, the turnaround and the warranty in writing, and you keep the warranty card with the old component after pickup. Our technicians have handled 46,000+ repairs over 11 years, so they can point out the practical difference between the two options on your specific model. Seeing the item in its packaging also lets you confirm the model match yourself, which matters most on iPad 3 and iPad 4 where the panels look alike but are not the same.
How the Repair Runs From First Message to Pickup
From a photo of the damage to a finished device, every step is written down, so there are no surprises about the part, the turnaround or the warranty.
From WhatsApp Photo to a Fixed Receipt
Send a photo of the damage on WhatsApp and an engineer replies within 5 minutes with a quote and a free time slot, then fixes the component, turnaround and warranty on the receipt in about 2 minutes before work begins. Before that, the engineer runs a free 15-minute diagnostic in front of you and shows what is broken, even if you decide not to go ahead. We can also send a courier if bringing the device in yourself is awkward, and it helps to back up the iPad first. A written receipt protects you if the agreed component changes mid-job, because the document already names the exact display or module you approved. This is how an iPad display replacement in Astana stays predictable from the first message to pickup.
Home Button, Camera Holder and the Old Cover
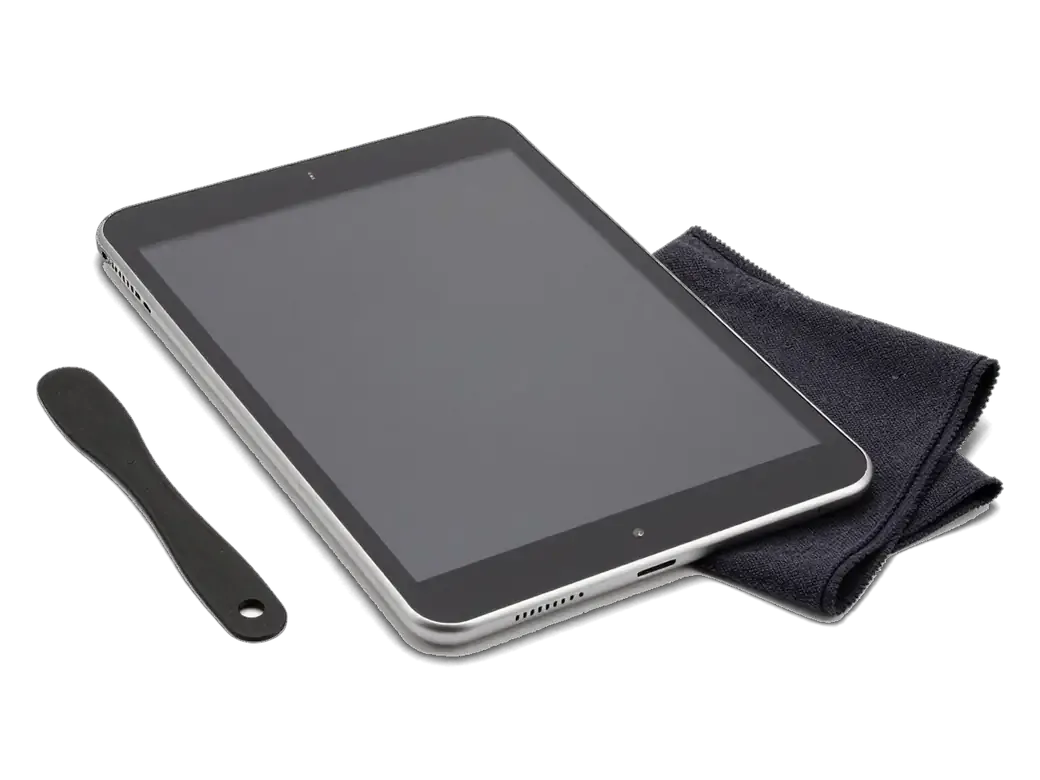
On iPad 2, iPad 3 and iPad 4 the Home button and the front camera holder are transferred onto the new cover, and the old cover is cleaned of its adhesive and returned with the device. These models use a separate top sheet held by a thin glue contour, so the technician lifts the broken cover without touching the digitizer beneath it. Aged adhesive often lets the surface crumble as it lifts, so a technician works the edge slowly rather than prying, which is why a cover-only job is not a five-minute swap. Ask for the old part back at handover and check the Home button click and the front camera before you leave.
How Long the Job Takes
Timeline of an iPad display job stage by stage| Stage | Typical time | What happens |
|---|
| Diagnostics | 15 minutes | Engineer checks the device in front of you |
|---|
| Receipt | 2 minutes | Part, turnaround and warranty fixed in writing |
|---|
| Glass or module swap | 1 hour to 1 day | Old adhesive cleaned, new part fitted |
|---|
| Function check | About 10 minutes | 32 functions tested with you |
|---|
Checking the Result and Caring for the New Screen
You leave with a device you have already tested yourself, not with a promise. A few habits after that keep the new screen clear for a long time.
What We Test Together Before You Leave
After the repair we run through 32 functions with you in about 10 minutes, including touch across the whole surface and especially at the edges, backlight evenness, cameras, speakers, charging and network. The engineer hands you the device and asks you to drag an icon into every corner, open a photo full screen and look for bright spots or uneven patches on a white background. We also check the front camera, both microphones on a voice memo and the charging port with your own cable. Edge touch is the first thing to test because a cover panel that sits slightly high at the frame shows up there ahead of anywhere else.
Protecting the New Cover Day to Day
A protector and a case with a raised lip are the two cheapest ways to keep a fresh display intact, and both are worth fitting once the adhesive has settled. Tempered film absorbs the small impacts that an iPad takes in a bag, while a folio or bumper lifts the display a millimetre above a table so grit cannot grind against it. Wait a day before applying anything sticky, then clean with a dry microfibre cloth rather than paper towels, which leave fine scratches over months of use. The film also hides the thin scuffs that older aluminium frames pick up, so the tablet keeps looking newer for longer without any extra work.
Summary: iPad glass and display replacement
Five points below summarise what decides the outcome of a screen repair, from the first symptom to the final check on the bench.
- Diagnose by symptom: cracked surface with sharp image means the outer sheet is damaged; stripes and blotches point to the panel.
- Check the model: iPad 2–4 take a separate glass; from iPad Air 2 onward the screen is laminated and replaced as a module.
- Weigh the part: original and aftermarket both work, but touch response and colour stay closest to factory with the original option.
- Get it in writing: a receipt naming the component, turnaround and warranty protects you if anything changes mid-job.
- Test at handover: checking edge touch and backlight right after the job catches most issues while still on the bench.










 MacBook
 iMac
 Mac mini and Studio
 Apple Watch
 AirPods
 Apple Pencil
 Apple TV
 HomePod