An iPad 2 still handles reading, video and the web perfectly well. The real question is not the age of the tablet but what exactly is damaged and whether the broken component can be replaced on its own.
Why an iPad 2 can still be repaired economically
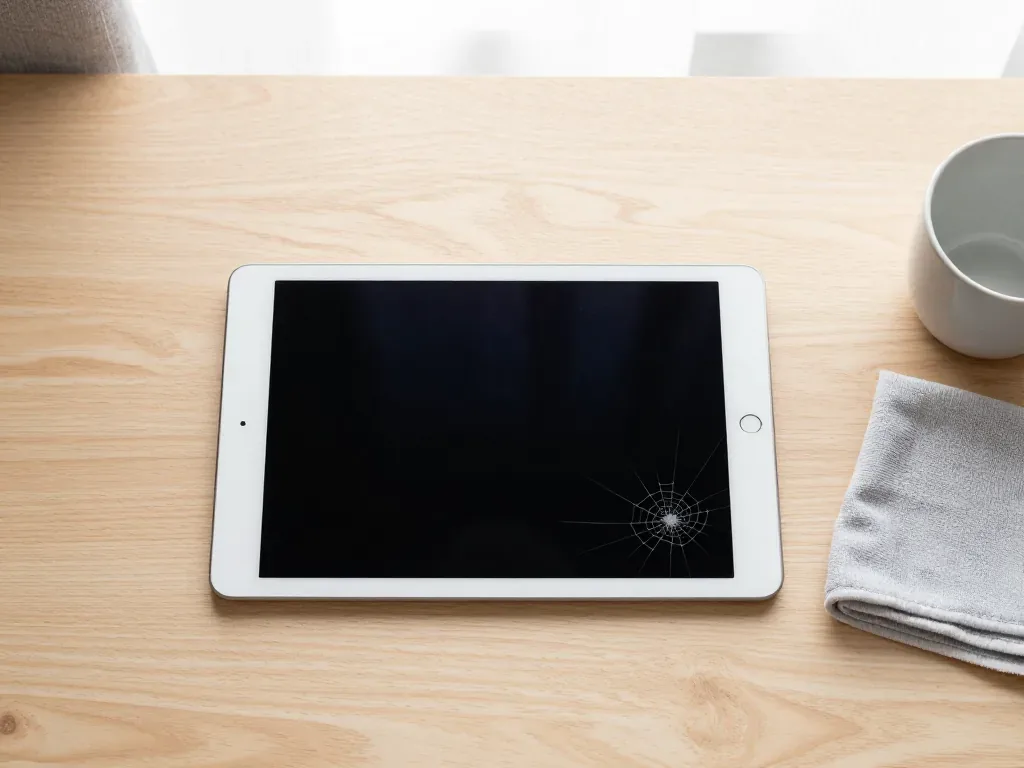
On an iPad 2 the front pane with the digitizer and the LCD are two separate parts, so a cracked surface does not automatically mean a full screen module. The outer sheet carries the touch sensor and the Home button, while the non-Retina panel underneath produces the image and stays untouched when only the top sheet fails. That split changes the economics of the job: the digitizer is lifted off, a new one goes on, and the original matrix keeps working. A display replacement in Astana for this generation is therefore a far smaller operation than on models where both sheets are fused into one unit. If the image is intact and touch still responds, the repair stays a front-layer job and the device keeps its original panel, which matters for the colour and brightness you are already used to.
When replacing the screen no longer makes sense
A repair stops making sense when the damage goes beyond the front glass, for example a dead panel, a bent frame or a swollen battery pressing on the display. Vertical lines, dark patches or a blank image that appears without any crack point to a damaged matrix rather than broken glass, and then the job grows into a full module change. A frame that no longer sits flat means a new front layer will not bond evenly and will lift again within weeks. A swollen battery is the one case where you should stop charging the tablet and bring it in, because pressure from inside can crack a freshly installed part. A technician can tell these scenarios apart during free diagnostics before any component is ordered.
Glass digitizer or LCD and what an iPad 2 display replacement fixes
Before any disassembly, not everything is visible, yet three signals — picture, touch and backlight — almost always point to a specific assembly inside the tablet.
Symptom to part, a quick reference
Fault symptoms mapped to the assembly they usually indicate| What you see | Likely part | What it means |
|---|
| Cracks, web pattern, picture fine | Glass with digitizer | Front layer only |
|---|
| Touch dead or jumping | Digitizer or its cable | Front layer or connector |
|---|
| Stripes, blotches, dim glow | LCD or its cable | Panel or connection |
|---|
| Black screen but sound works | LCD, cable or board | Needs diagnostics |
|---|
How the second-generation panel differs from Retina models
The iPad 2 uses a non-Retina LCD, while the iPad 3 and iPad 4 moved to sharper panels, and those matrices are not interchangeable between generations. The second-generation tablet carries a 30-pin dock connector and a 1024×768 screen, whereas the iPad 3 moved to a sharper matrix, and the fourth model kept that resolution while switching to Lightning. Because pixel density and the internal cable layout changed, a sharper module will not simply drop into an iPad 2 — the connectors, mounting points and driver differ. Mismatched parts are a common reason a screen swap fails. Matching the part to the exact generation is the first thing to confirm before ordering, and the model number on the back cover settles it faster than the box.
How we carry out an iPad 2 display replacement
On an iPad 2 the panel is bonded into the aluminium body, so the job involves heat, careful removal of the adhesive and moving small parts onto the new surface.
From heated edge to new adhesive
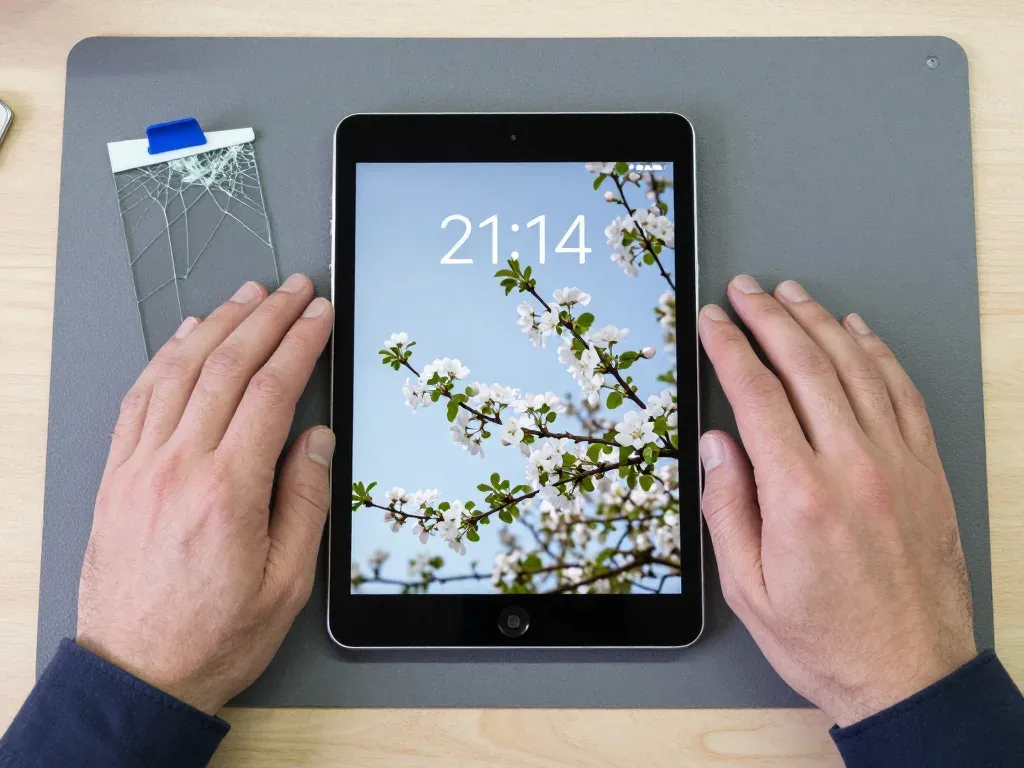
We warm the glued edge on a heating platform, lift the broken glass with plastic tools and clean the leftover adhesive from the frame before the new layer goes in. The heater softens the glue line evenly around all four sides so the part releases without bending the aluminium. Plastic paddles slide under the edge instead of metal blades, which keeps the frame and the LCD free of scratches. A solvent cleaner then strips the residue from the rim until the surface is flat. Aged glass on these tablets often crumbles as it comes off, so the technician works in small sections to keep fragments away from the LCD underneath. This is how an iPad 2 display replacement in Astana goes from the first heated edge to a fresh glue line.
What moves onto the new glass
- Home button: moved across so the original click and alignment stay the same.
- Camera holder: reseated so the front camera sits flush and stays dust-free.
- Adhesive frame: a fresh glue line replaces the worn one for a tight seal.
- Flex cables: checked and reconnected before the panel is pressed down.
- Old glass: returned to you together with the receipt and warranty card.
Timelines and how the visit runs
You send a photo of the damage on WhatsApp, an engineer replies within 5 minutes with a price and an open slot, and a tablet repair usually takes from 1 hour to 1 day. Diagnostics take 15 minutes and happen in front of you, even if you decide not to go ahead. The quote, the part, the turnaround and the warranty are fixed on the receipt in about 2 minutes, and we show the replacement panel in factory packaging before installation. You can wait in the seating area with coffee and Wi-Fi, and a courier can be called if you would rather stay home. Nothing about the job changes once the tablet is open, because every term is already on paper.
Original part or aftermarket glass
Either option is fitted and works, and the real difference lies in touch sensitivity, clarity and how evenly the panel sits at the edges.
How the two options compare
Side-by-side comparison of the two screen types we fit| Property | Original part | Aftermarket glass |
|---|
| Touch response | Closest to factory | Good, slightly different feel |
|---|
| Clarity | Matches original coating | Clear, coating may differ |
|---|
| Fit at the edges | Tight factory fit | Fits, tolerance varies |
|---|
| Warranty | Up to 1 year | 6 months |
|---|
Which one most owners pick
About 64% of our customers choose an original part, and the rest pick aftermarket glass when they want a working display at a lower entry point. We show each in factory packaging before anything is glued down, and your choice goes onto the receipt together with turnaround and warranty terms. The deciding factor is rarely the component itself — it is how evenly the panel sits under the bezel and whether the coating resists fingerprints during daily reading. Compare samples under the same lamp prior to committing, because colour temperature looks different under shop lighting than at home. On a tablet this old the honest question is how long you plan to keep using it, since a well-fitted alternative serves everyday reading and video just as well.
What to do right after a drop and how we check the result
The hours after a hard knock often decide whether the damage stays on the surface or spreads deeper, so a few simple steps keep things from getting worse until you reach us.
First steps before you reach the service
- Tape the cracks: a strip of clear tape holds fragments together and keeps shards out of the frame.
- Do not press: pushing on a broken layer can spread damage into the LCD underneath.
- Back up now: copy photos and notes while the screen still responds.
- Skip charging if swollen: a bulging body means stop, unplug and bring it in.
- Keep the pieces: bring loose fragments so nothing is lost inside the case.
The check we run together after the repair
After the new panel is fitted we verify response across the whole surface, especially the edges, together with backlight evenness, the Home button and the front camera. At iServices the engineer hands the tablet back and the two of you walk through the same 32 functions we test on every device, about 10 minutes of work. Response is verified at all four corners and along each border, where a poorly seated digitizer shows dead spots soonest. Backlight is inspected on a plain white screen for bright patches or dark clouds that point to a pinched connector. The Home button gets pressed a dozen times, and the front camera is opened to confirm the image is sharp. Edge sensitivity is where a rushed job shows up quickest, so run your finger around all four borders yourself before you leave the waiting area.
Summary: iPad 2 Display Replacement
A few practical points decide whether an iPad 2 screen repair feels straightforward or turns into a guessing game. Here is what is worth keeping in mind before and after the work.
- Two layers, one repair: the tablet keeps the front pane and LCD separate, so a cracked surface usually means a glass-only fix rather than a full panel swap.
- Read the symptoms: a clear picture under the cracks points to the top layer, while stripes and blotches point to the display module itself.
- Parts differ by generation: the assembly is not Retina and does not interchange with iPad 3 or iPad 4 matrices.
- Small parts matter: the Home button and camera holder move onto the new surface and deserve a check once the work is done.
- Check the edges: touch along all four borders and even backlight are the signs of a clean fit.









 MacBook
 iMac
 Mac mini and Studio
 Apple Watch
 AirPods
 Apple Pencil
 Apple TV
 HomePod