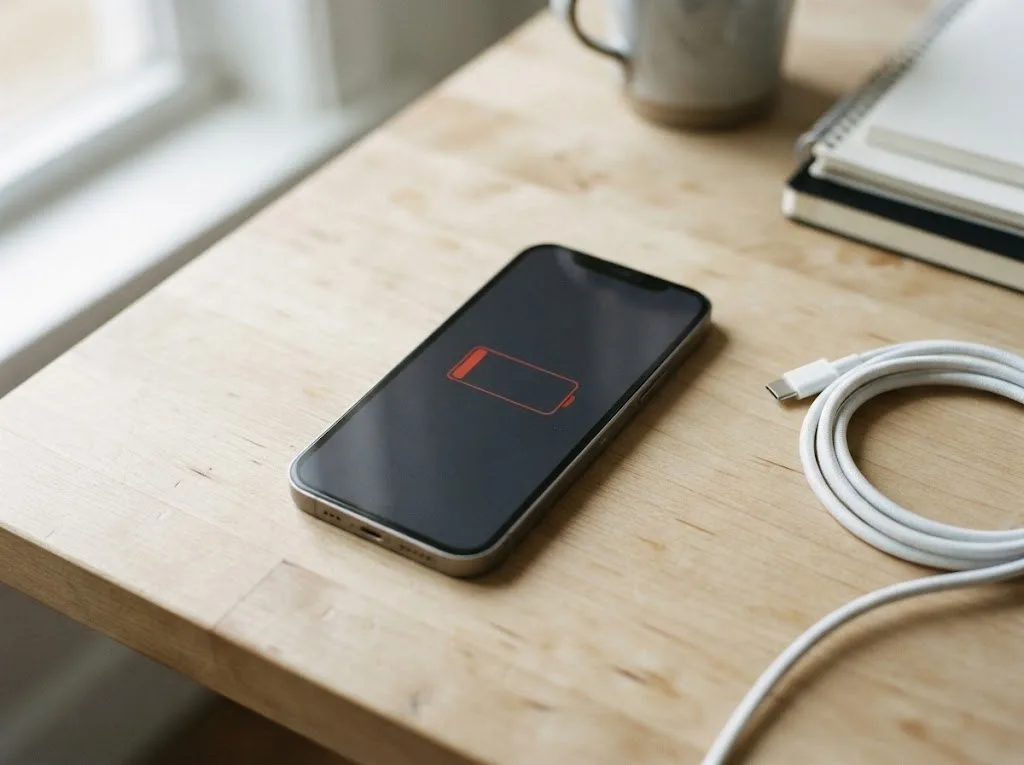
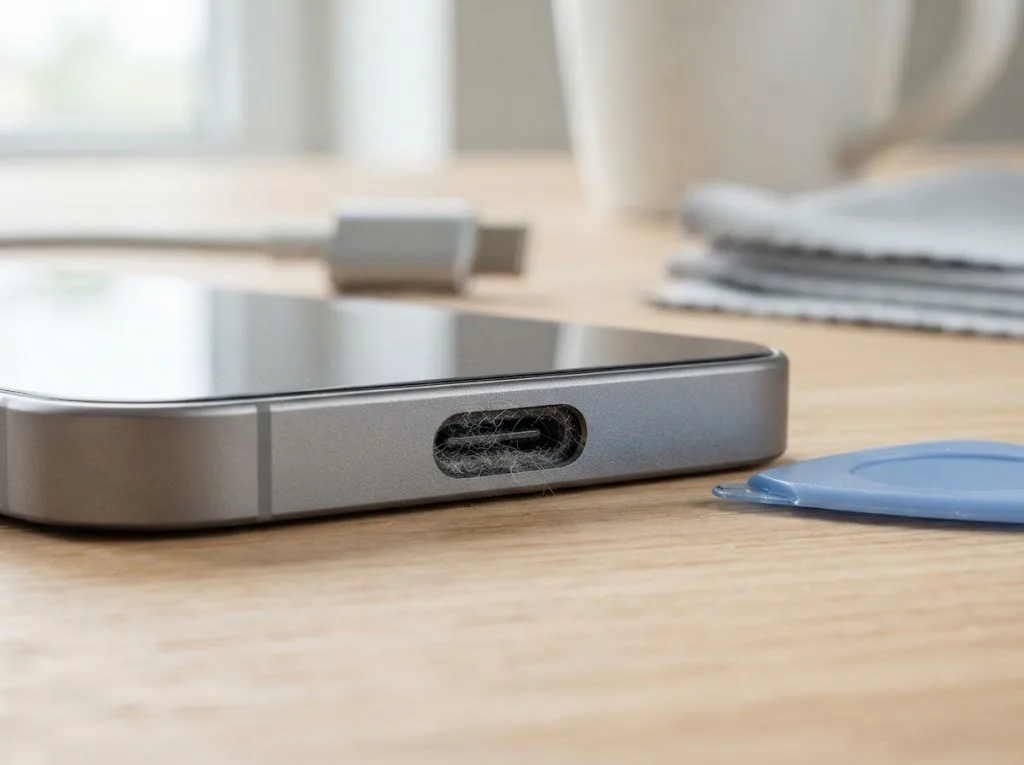
The iPhone 5 is a compact aluminium phone with a Lightning connector and a physical Home button, and its typical failures follow that design. Most arrive with a cracked screen, a tired battery or a loose charging socket.
Screen Damage, Lines and a Dead Touch Layer
A cracked screen on this model usually means the glass and digitizer are damaged together, because on this generation the touch layer is bonded to the display. The 4-inch module is a single assembly: impact spreads from the cover glass through the digitizer and into the LCD, so a phone that looks only chipped can stop responding across a whole column. Coloured lines, bright spots or an unresponsive strip after a drop point to a crack in the panel itself rather than the surface. Dust and moisture reach the flex cable through the same break and slowly kill the connection. If the digitizer drifts in patches while the image stays clean, that is no longer cosmetic — it is module delamination, and waiting lets water and grit finish off the ribbon.
Battery Wear, Fast Drain and Sudden Shutdowns
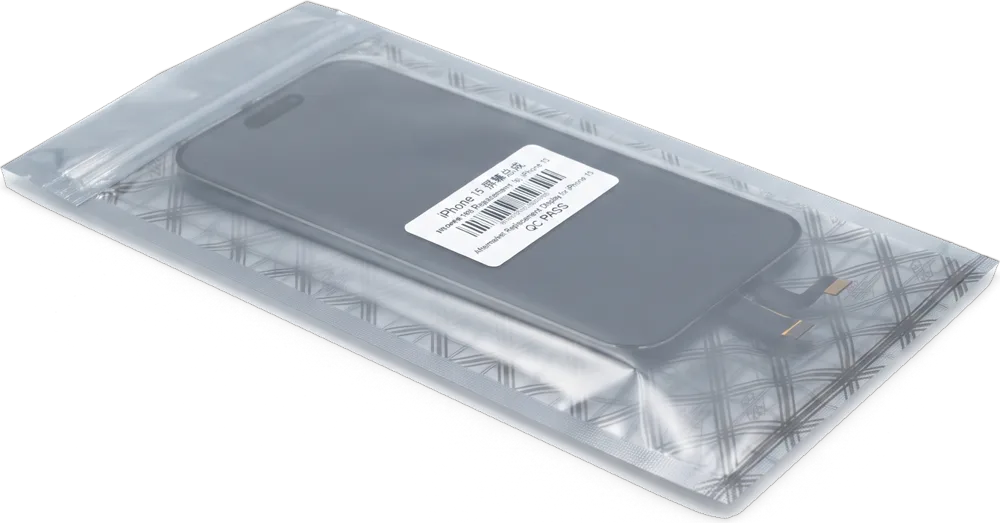
We replace the battery in about 25 minutes, and the new cell is shown in factory packaging before it goes in. The original 1440 mAh pack loses capacity after years of daily cycles, and the phone reports it poorly: the percentage jumps, the device dies at 20 percent, or the screen dims under load. Owners frequently spot a swollen battery first by a gap running along the edge, since the display gets pushed up off the frame before any other fault shows. Should the handset power off in freezing conditions at 30–40 percent, an aged cell's chemistry is typically to blame, not the power controller — replacing the battery cures this with no board work.
Charging Port, Home Button and Speaker Faults
- Loose Lightning socket: lint and oxide pack the connector, so the cable seats badly and charging drops — we clean it or swap the charging flex.
- Sticky Home button: dust around the gasket stops the click, and a worn ribbon underneath needs replacement when presses stop registering.
- Muffled speaker: pocket lint blocks the mesh, while a cracked housing distorts sound at higher volume and needs a new speaker.
- Quiet microphone: callers hear you faintly when the lower mesh is clogged; cleaning restores it, and a damaged tail ribbon is swapped out.
- Charges only at an angle: a bent pin inside the socket is the usual culprit, not the cable or the adapter.
Glass or Full Display Module for the iPhone 5
Since the iPhone 5 has its outer glass and display fused as one piece, swapping only the cover counts as a distinct re-lamination procedure. Here is when each route fits.
When Replacing Only the Glass Makes Sense
We replace only the glass when the panel underneath is intact and the damage is a clean crack or chip in the cover. During free diagnostics the engineer presses on the surface and checks the picture for dark spots, faint lines and dead touch zones — if the image stays even and the digitizer responds across the whole panel, the assembly below is still good. In that case we lift the cracked cover, clean the old adhesive and bond a new one onto the original panel, so the screen keeps its factory calibration and colour. This route suits a phone that fell face-down or took a knock to the corner without pressure on the centre. Re-lamination pays off only while the picture stays spotless — a cheap cover swap on a stressed panel turns into a repeat visit.
When the Whole Module Has to Go
- Lines or bands: vertical and horizontal stripes mean the panel itself is cracked, not just the cover.
- Dead zones: patches that ignore touch or show black cannot be re-bonded.
- Bleeding and blotches: dark or purple clouds under the surface point to pressure damage inside.
- No image at all: a blank or flickering screen after a drop usually needs a full assembly, not new glass.
- Glass plus frame damage: a bent frame is swapped together with the display so the new panel seats flat.
- After the swap: compare brightness and colour with the old panel before you leave.
Comparing the Two Screen Options
Two screen routes compared by damage and outcome| What is damaged | Work performed | What stays original | Typical time |
|---|
| Outer glass only | Glass replacement | Panel, digitizer | Same visit |
|---|
| Panel or digitizer | Full module replacement | Frame, home button | Same visit |
|---|
| Glass plus frame | Module and frame work | Internals | Same visit |
|---|
Original Part or Aftermarket and What Happens to Touch ID and the Display
The iPhone 5 has no Face ID — unlocking runs through Touch ID in the Home button, and the display is calibrated at the factory. Below we break down what survives a fix and how to choose what goes inside.
Genuine vs Aftermarket Components and What the Difference Means in Real Use
Both a genuine module and an aftermarket option are available; the genuine one is chosen by 64% of our customers, since it keeps behaviour closest to how the phone left the line. The difference shows up in the display first: a genuine panel matches the stock colour temperature and brightness curve, while a third-party unit can drift in tint and peak nits. We show the new piece in sealed packaging before installation, so you see exactly which option goes into the housing. A compatible screen may render whites slightly warmer or cooler than the stock spec. On an iPhone 5 repair in Astana, colour accuracy matters most for photo editing and reading. A lower-cost panel may vary in brightness and tint — noticeable against a white background, so check it prior to fitting rather than afterwards.
Touch ID and Water Resistance After Repair
- Touch ID: the sensor sits in the Home key and keeps working only if the original part and cable are transferred intact during a screen swap.
- Display calibration: this generation has no True Tone, so there is nothing to recalibrate or lose on the display side.
- Factory water resistance: the iPhone 5 was never rated water-resistant, so no sealing is lost that the maker ever promised.
- After any opening: the housing gasket and adhesive no longer seal as tightly as before, so keep the device away from moisture regardless of repair.
- Board-level work: repairs done under a microscope do not touch the Home flex, which is why Touch ID survives when the technician transfers the original part.
What the Receipt Locks In Before Work Starts
Prior to starting, we lock in the cost, which part type is used, how long it takes and the guarantee — all written on the receipt; this takes roughly 2 minutes. That single document names whether a genuine or aftermarket unit goes in, so there is no room for a swap mid-job. On collection you get the receipt, a guarantee card valid for up to 1 year, and the replaced component in a bag — keep it if you wish. Our engineers log 46,000+ repairs across Almaty and Astana, and the receipt discipline is the same at both branches. Treat the receipt as your argument if anything at pickup does not match — check the type written there, not what was said aloud.
How an iPhone 5 Repair in Astana Actually Runs
The route from a photo on WhatsApp to a working phone in your hand is short and predictable. Below are the steps, the timings behind them, and what you can settle without leaving home.
From a WhatsApp Photo to a Booked Slot
A repair request starts with a photo on WhatsApp, where an engineer replies within 5 minutes and quotes a price from the picture. Send one shot of the screen and one of the bottom edge — that pair tells the technician whether the glass alone is cracked or the whole display module has gone. From there we name the price and offer a free time slot, so you arrive knowing the figure rather than hearing it at the counter. Cost, timing and guarantee terms go onto the receipt before work starts, and prior to fitting you are shown the replacement in its factory packaging. Photograph the damage in daylight with the display lit — glare and shadow hide hairline cracks and make a module job look like a glass swap.
Free Diagnostics in Front of You
Checking the device costs nothing and lasts roughly 15 minutes while you watch — even when you choose against repairing — and the engineer explains what has failed. You watch the same display the technician does, so a fault in the charging port is separated from a fault on the board before anyone quotes a job — the scope of work cannot quietly grow afterwards. Our team of technicians and our own workshop make us a direct contractor rather than an aggregator that forwards the device, so whoever inspects your phone also carries out the repair. Ask the engineer to point at the failed component on the opened device; seeing the part beats any verbal description of what went wrong.
Turnaround Times and Waiting on Site
Same-day tasks versus those requiring the device to stay longer| Work | Usual turnaround | Wait on site |
|---|
| Display module | About 40 min | Yes |
|---|
| Battery | About 25 min | Yes |
|---|
| Camera glass | Around 20 minutes | Yes |
|---|
| Charging port | Same visit | Yes |
|---|
| Repair at board level | 1–3 days | No |
|---|
Checking the Device at Pickup and What You Keep
Handover is not a formality. Together with the engineer you run through the functions, take the documents and the old component, and hear exactly what the warranty covers.
The Functions We Check Together
- Touch ID: unlock with your registered finger and add a second print to confirm the sensor reads cleanly.
- Screen surface: drag an icon to every corner — dead zones appear here, not on a quick glance.
- Cameras: shoot a still and a clip with the rear lens, then check focus, colour and flash.
- Microphones and speaker: record a memo, play it back, then take a call on speaker.
- Charging: plug in the cable and watch the battery indicator respond within seconds.
- Network: insert your SIM, confirm the carrier appears and place a test call.
Warranty, Old Part and Payment
You collect the device together with the receipt, a card guaranteeing the work for up to 1 year, and the replaced component; payment is accepted via Kaspi, card or cash. Everything agreed before work began — the spare installed, how long it took and the guarantee period — is repeated on the receipt, so the paperwork matches the handset you hold. Payment takes a minute at the counter, and the engineer hands over the card together with the removed component in the same visit. Keep the old piece: it shows what was actually replaced and helps if you ever need to cross-check the job. Store the receipt in the box, since it is the document the guarantee refers to.
Why a Direct Contractor Beats a Middleman
As a direct contractor with in-house technicians and our own workshop — no aggregator or middleman — we ensure that whoever diagnoses your iPhone 5 is also the one who repairs it. That shortens the chain: with a middleman the handset travels between a front desk and an outside bench, and when something goes wrong nobody owns the result. Here one team answers for the diagnosis, the spare and the final check, and the same engineers who opened the phone hand it back to you. Eleven years in business and 46,000+ repairs sit behind that setup. Before handing your phone over, find out which person will be doing the actual work with the screwdriver — fewer links in the chain means fewer people touch the device, and responsibility stays with one party.
Summary: iPhone 5 Repair
A short recap of what shapes the result on an iPhone 5: the type of fault, the component fitted and the paperwork you take home.
- Screen cracks: glass and touch layer are bonded on the iPhone 5, so a crack is a module decision rather than a cosmetic one.
- Battery and charging: fast drain and sudden shutdowns usually point to the cell, while charging faults often start with dirt or oxidation in the Lightning port.
- Touch ID and water resistance: Touch ID can survive a repair, yet factory water resistance is not guaranteed after any opening.
- Turnaround: most jobs finish in 20–40 minutes with you waiting on site, whereas board-level work takes days under a microscope.
- Paperwork: a receipt fixing price, component, turnaround and warranty, with the old unit handed back, is what protects you after pickup.









 iPad
 MacBook
 iMac
 Mac mini and Studio
 Apple Watch
 AirPods
 Apple Pencil
 Apple TV
 HomePod