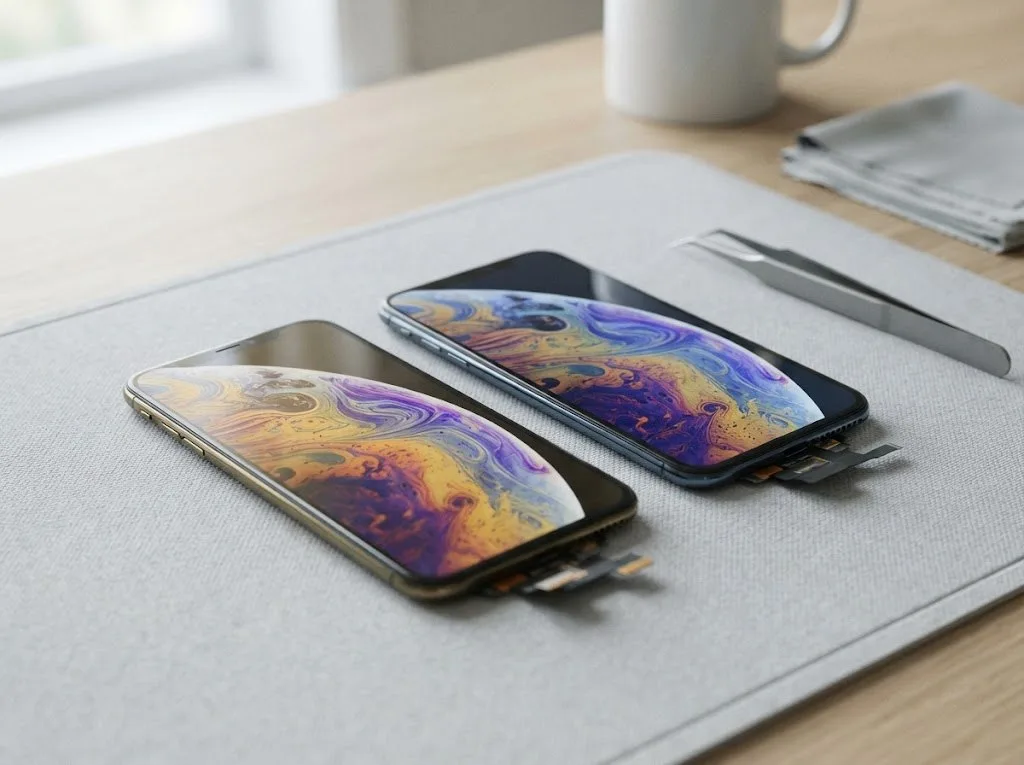
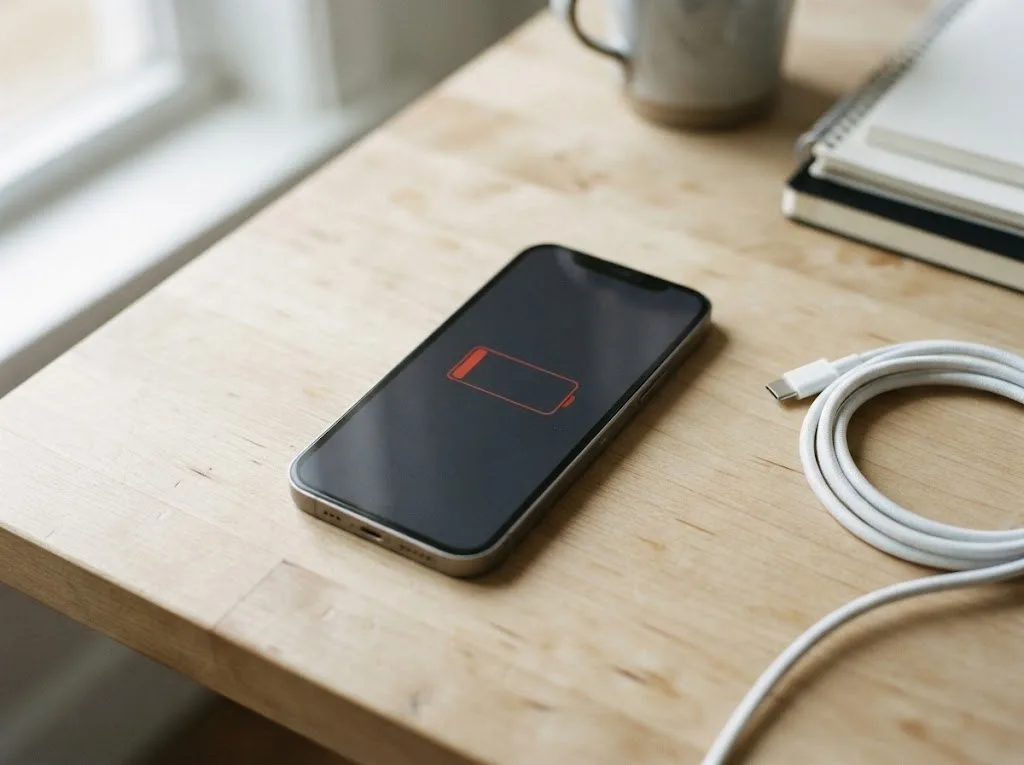
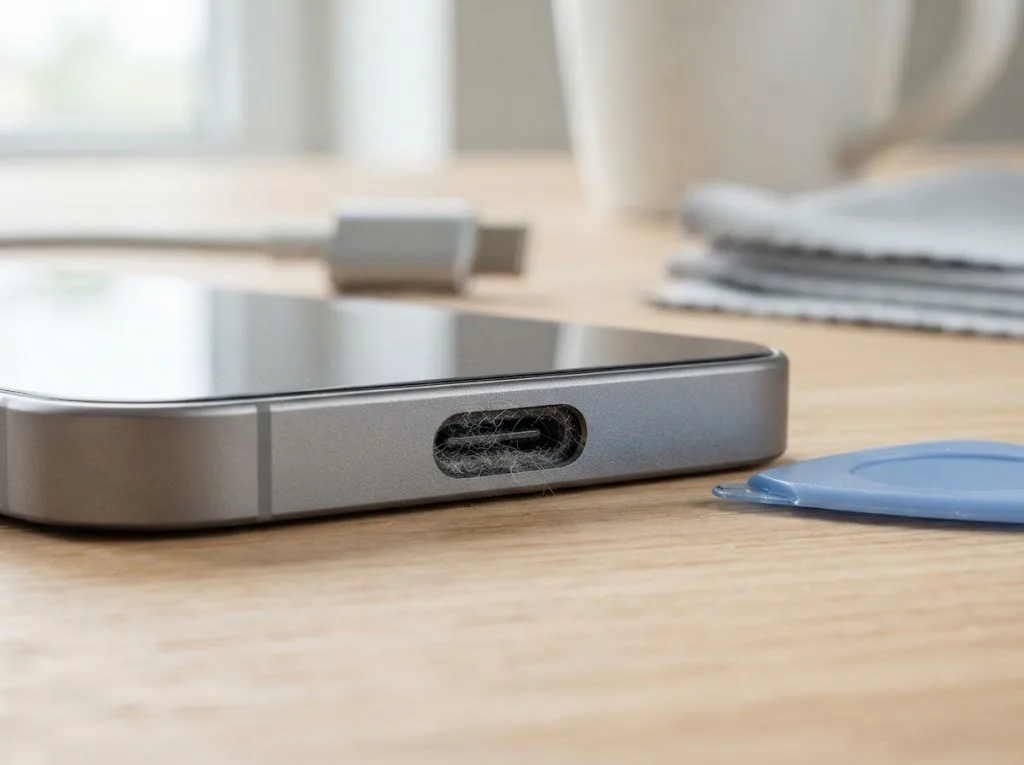
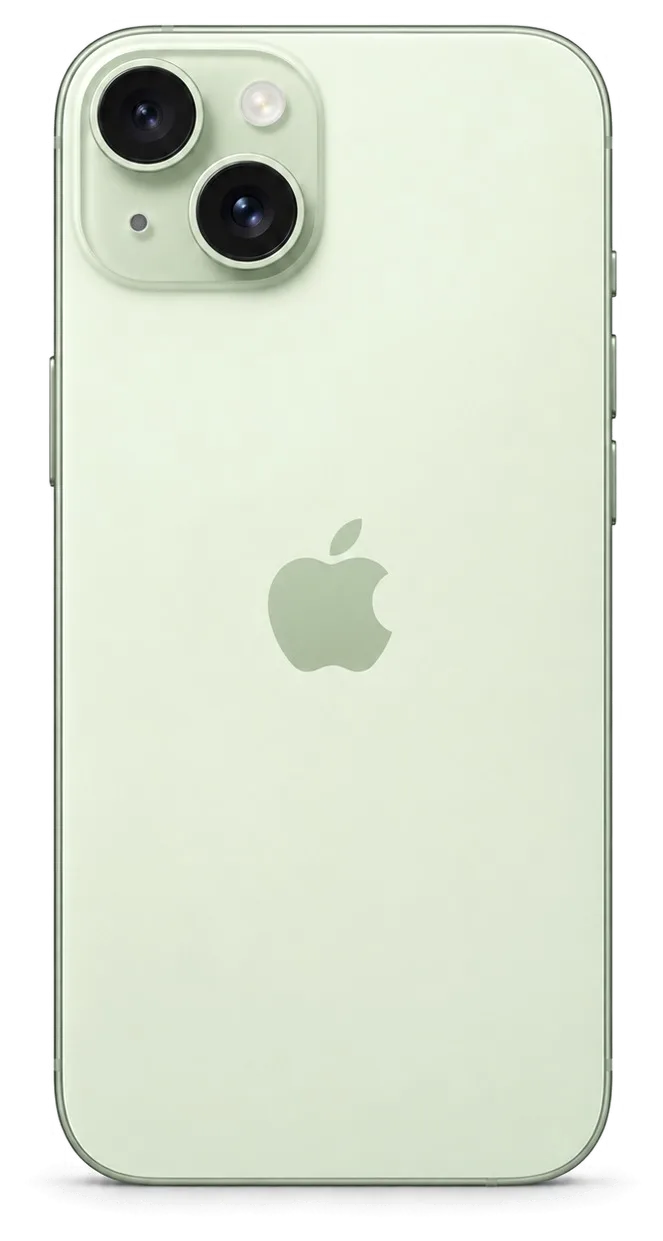
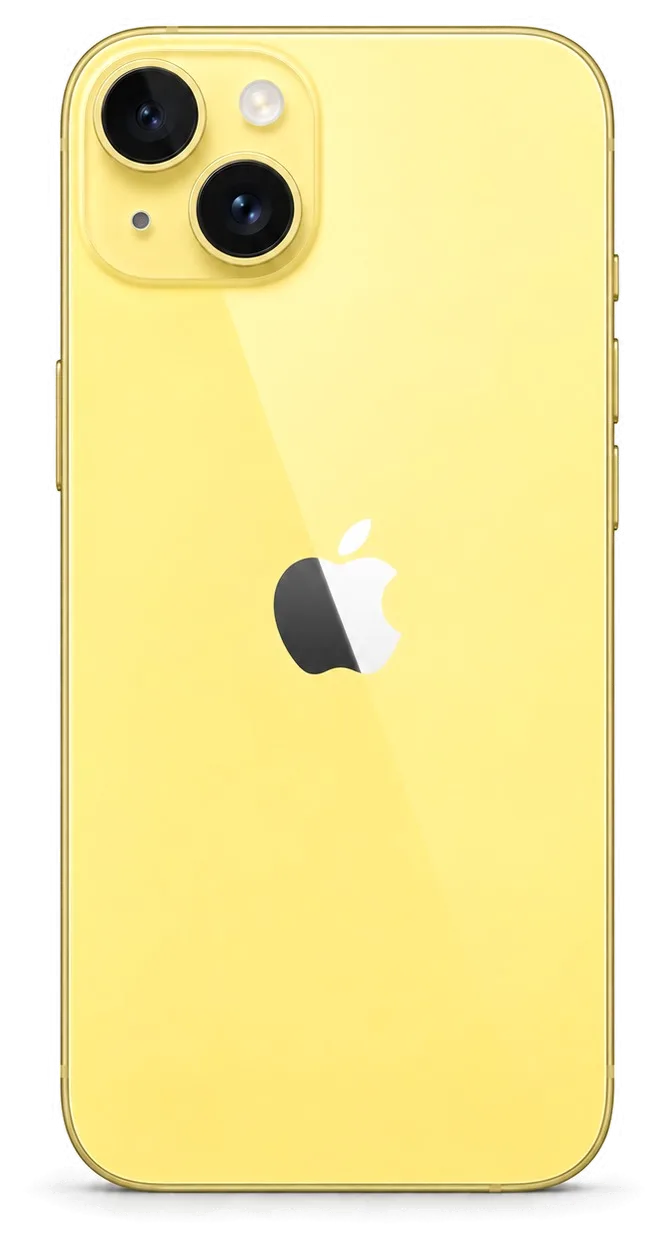
Both the front and the rear of the iPhone 14 / 14 Plus can be opened, but the usual problems remain few: shattered glass, a worn battery, a blocked Lightning port and a scuffed camera lens cover.
Matching Symptoms to the iPhone 14 / 14 Plus
Six complaints matched to the failing node| Symptom | Cause, most probably | What we do |
|---|
| Cracked front pane, image intact | Outer layer only | Outer pane swap |
|---|
| Lines or dead zones on screen | Display module | Module replacement |
|---|
| Cell drains fast | Worn cell | Cell replacement |
|---|
| Won't charge on cable | Dirty or worn Lightning socket | Socket clean or swap |
|---|
| Blurry photos | Scratched lens window | Lens window swap |
|---|
| Cracked rear cover | Rear pane | Rear pane replacement |
|---|
Charging Port Failures Versus Battery Failures
On the iPhone 14 the Lightning socket collects lint and oxidises long before the cell itself dies, and our engineers confirm this during the 15-minute diagnostic. Pocket fibre compacts into the connector until the cable barely seats, while the contact pins film over and stop passing current cleanly. A worn cell shows different signs: sudden percentage drops, shutdowns at 20–30%, swelling that lifts the display. The charging flex and the power controller sit further down the chain and fail far less often than owners expect. A socket that charges only at a certain angle is usually dirt or a worn contact, not a failing power controller, so cleaning is tried before any part is swapped.
Camera Glass and the Rear Panel on the 14 Series
We replace the lens window on its own in about 20 minutes, and the rear pane separately, because on the 14 the back cover lifts off without touching the display. The lens opening is a sapphire-covered window bonded to the frame, so a hairline scratch scatters light across every frame while the sensor underneath stays untouched. The rear pane is a separate sheet on the same removable back, which means a cracked back no longer forces a full teardown of the front assembly. A scratched lens softens every photo even when the sensor is fine, so swapping just the window restores sharpness without a full camera module.
Screen Repair on iPhone 14 Glass or Full Module
Cracked glass brings in more iPhone 14 units than anything else, yet the fix splits into two routes — swapping only the glass or fitting a complete display module — and that decision determines whether True Tone remains.
Glass-Only Replacement Cases
If the OLED matrix still shows a clean image and the touch layer responds, we replace only the outer glass and keep your original display assembly in place. The job separates the cracked cover layer from the panel underneath, then bonds a new protective sheet onto the same matrix you already have. We test the touch layer across the whole surface before starting, because a dead zone in one corner means the outer-layer-only route is off the table. Keeping the original display means True Tone and the factory calibration stay untouched, which is why this kind of job is the gentlest option when the panel itself is healthy. Ask the engineer to show you the panel test result on screen before you agree to the work.
Glass and Module Compared Side by Side
Which screen job fits which damage pattern| What is damaged | Option | What stays original |
|---|
| Outer glass only | Glass replacement | Display module, True Tone |
|---|
| Panel or touch layer | Full module | TrueDepth module, Face ID |
|---|
| Glass plus frame | Module with frame | TrueDepth module |
|---|
| Minor scratch | Polish or leave | Everything |
|---|
Face ID After a Screen Swap, Plus What to Expect from True Tone
Because the TrueDepth module sits apart from the display, Face ID continues to function once the screen is replaced, and during the swap we carry over the True Tone calibration. The dot projector and infrared camera sit in their own assembly above the panel, so a display swap does not touch them as long as the technician moves the assembly across intact. True Tone is different: it lives in the pairing between panel and logic board, and it has to be re-flashed to the new display. On some aftermarket panels True Tone may not hold after calibration, so if that setting matters to you, an original display is the safer pick. At handover, both of these are checked together with you before the phone goes back to its owner.
Original or Aftermarket Parts for Your iPhone 14
Choosing between original and aftermarket components is the main trust question in any repair. Original and aftermarket components differ not only in how they are made but in which functions of the phone keep working after installation.
Original and Aftermarket Parts by Function
How each component type affects phone functions| Feature | Original component | Aftermarket component |
|---|
| True Tone | Holds after calibration | May not hold |
|---|
| Battery health | Reports normally | May show a message |
|---|
| Parts notice | No unknown-part alert | May appear |
|---|
| Fit and finish | Factory tolerance | Varies by batch |
|---|
How the Unknown Part Message Appears
The unknown-part message is an indicator of which component type is installed, not a fault, and we explain it before you make your choice. It appears in Settings when the phone cannot confirm the component's origin, so on an aftermarket screen or battery the notice may stay visible even though the part works normally. We walk you through this during diagnostics and show how the message looks on a device with an aftermarket part already fitted. Functionality is unaffected by that notice, but it lingers in settings, so buyers who find it annoying tend to choose a genuine part.
Fixing Your Part Choice on the Receipt
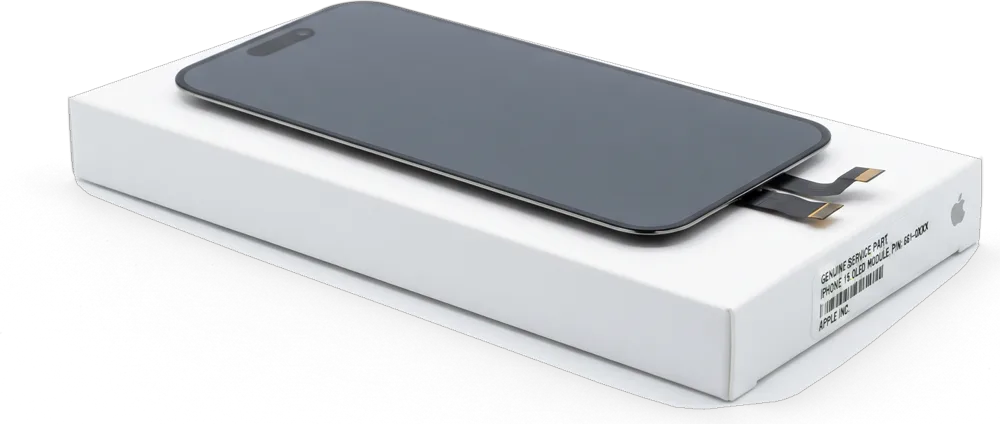
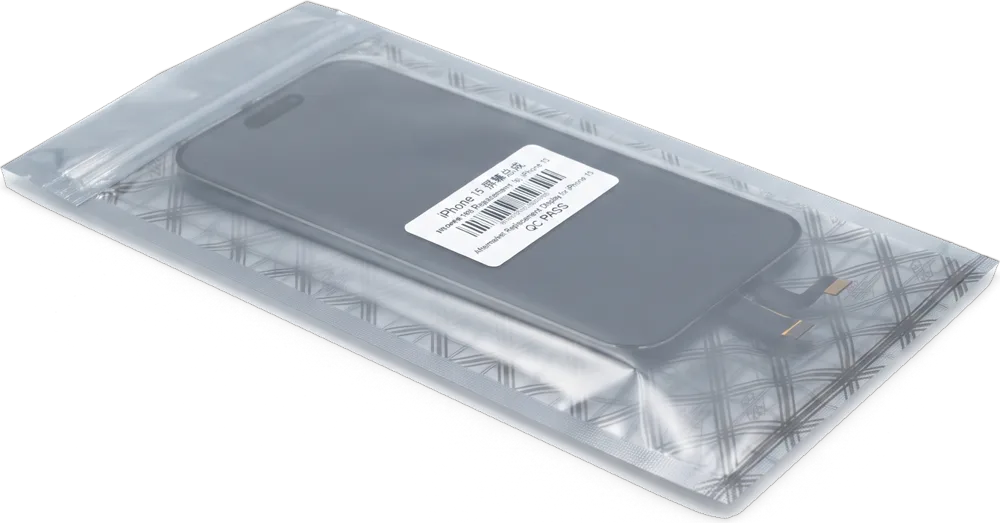
Roughly 2 minutes before anything is opened, we set down on the receipt which part type is used, how long it takes and the warranty terms, and first we present the replacement in its factory packaging. Written on the receipt: genuine or aftermarket part, duration of the work, and warranty coverage — up to 1 year for our labour. You see the sealed packaging opened in front of you, so there is no doubt about what goes into the phone. A written choice of component protects both sides, because it turns a verbal promise into something you can point to if a question comes up later.
How the Visit Works From WhatsApp Photo to Pickup
An iPhone 14 repair in Astana starts before you arrive, with a photo of the damage on WhatsApp. After that, the whole visit runs through a brief, set sequence that from first message to pickup normally fits inside an hour.
Sending a Photo to Get a Quote
A WhatsApp reply arrives in 5 minutes or less with a price based on your photo, plus an offer of a free appointment time. The photo does most of the work: a shot of a cracked screen, a swollen battery edge or a shattered camera lens tells the engineer which node is involved and which component to reserve before you leave home. If the image is unclear, we ask for a second angle in daylight rather than guessing, because a wrong quote wastes your trip. If travelling is inconvenient, you can request a courier instead. A clear photo of the damage in daylight saves a trip, because it lets the engineer identify the node before you arrive.
Preparing the Phone Before Handover
- Back up first: an iCloud or computer backup takes minutes and covers the rare case where a board-level fault appears.
- Know your passcode: the engineer needs it to test Face ID, cameras and network after the repair.
- Decide on Find My: keep it on for security, but have your account details ready if a full reset is ever needed.
- Note the symptoms: telling the engineer exactly when the fault appears speeds up the 15-minute diagnostic.
Diagnostics and Receipt On Site
You watch the 15-minute diagnostic at no charge, the receipt is drawn up in 2 minutes, and 72% of repairs are done while the client sits in our waiting area. At the counter the technician opens the phone, points out the faulty part, and only then — before starting — puts the price, part type, duration and warranty terms on the receipt. The replacement is presented in factory packaging, still sealed, so you see what goes in. Coffee and Wi-Fi are available in our waiting area; a screen swap usually needs 40 minutes, a battery replacement 25. Waiting on site means you can watch the component come out of its packaging and test the phone yourself before you leave.
Turnaround Times and the 32-Point Check at Pickup
How long an iPhone 14 repair takes depends on the node: a screen or battery is done in a single visit, while board work needs more time. Whatever is replaced, we test the phone with you before pickup.
Typical Duration by Repair Type
expected on-site duration by type of job| Repair | Typical duration |
|---|
| Screen module | 40 minutes |
|---|
| Battery | 25 minutes |
|---|
| Camera glass | 20 minutes |
|---|
| Charging port | 20–40 minutes |
|---|
| Board repair | 1–3 days |
|---|
The 32 Functions We Check Together
- True Tone plus Face ID: check that colour rendering and unlocking work the same way they did prior to the job.
- Cameras and microphones: open the camera and record a voice note to verify image and sound.
- Speakers and charging: play audio and plug in a cable to confirm both work.
- Network and calls: make a test call and check that mobile data connects.
- The old component: you leave with the replaced component, the receipt and the warranty card.
Warranty and Payment Terms
We handle repairs ourselves — in-house technicians and our own workshop, no aggregator involved — and each job is covered by a warranty of up to 1 year. You can settle the bill with Kaspi, a bank card or cash; if visiting us isn't convenient, arrange for a courier pickup. Over a decade in business, our workshop has completed more than 46,000 repairs, and every technician is fully qualified. In Astana, the same engineer who provides your iPhone 14 repair estimate also leads the team backing that warranty — no middleman sits between you and the fix. Ask for the written terms on the receipt at handover — that line, not a verbal promise, is what you rely on if a component ever misbehaves. A board-level job is the only case where we keep the device overnight, and it runs under a microscope for up to three days.
Summary: iPhone 14 repair
For an iPhone 14, the repair path rests on three straightforward steps: identify the symptom, pick the part, then confirm the outcome at the counter.
- Match the symptom to the node: cracked glass, a dead panel and a tired battery are three separate jobs with three separate fixes.
- Ask what stays original: a glass-only repair keeps your display and True Tone, while a full module replaces more of the phone.
- Weigh components by function: original and aftermarket options differ in how they hold True Tone, battery reporting and the parts message.
- Prepare ahead of the visit: a backup, a known passcode and clear symptoms make the diagnostic faster.
- Test the phone on site: Face ID, cameras, sound, charging and network are worth checking at the counter, with the old part and warranty in hand.








 iPad
 MacBook
 iMac
 Mac mini and Studio
 Apple Watch
 AirPods
 Apple Pencil
 Apple TV
 HomePod