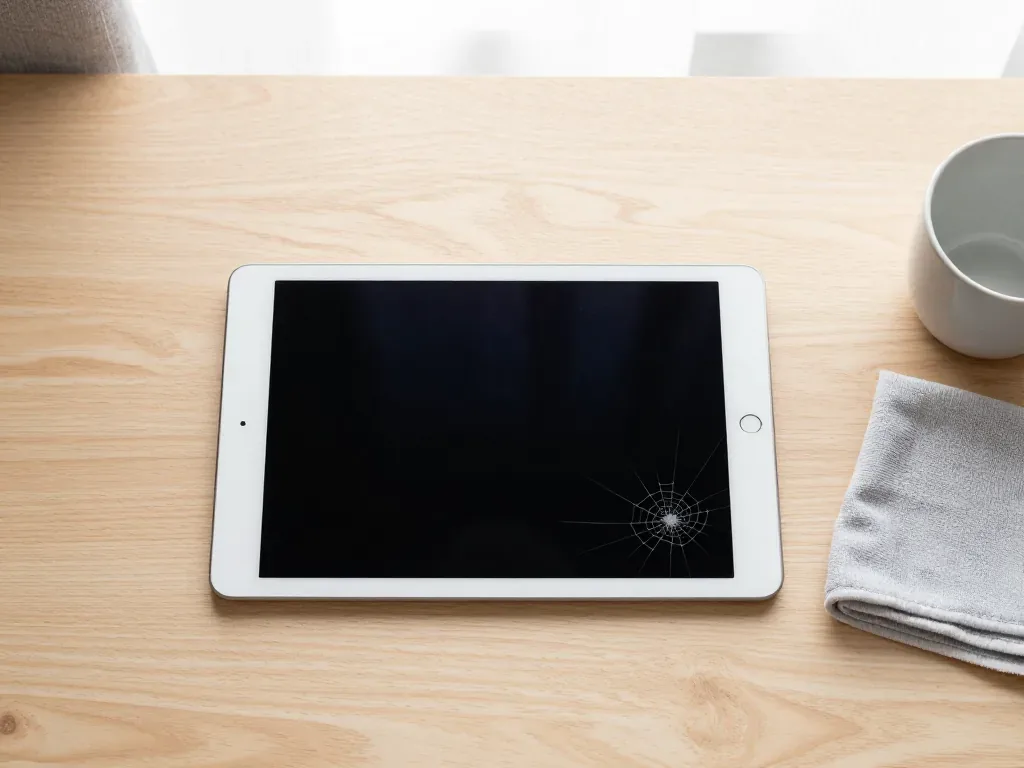
On the iPad 3 the touchscreen glass and the Retina matrix are separate parts, so the first step is to work out which one took the hit; that decides both the work and the turnaround.
Telling glass, touchscreen and matrix apart
On the iPad 3 the touchscreen digitizer and the Retina matrix are two separate layers, so a cracked surface with a sharp, even picture points to a damaged outer sheet rather than a dead display. The digitizer is the thin transparent sheet that registers your fingers, and it sits above the imaging layer that produces the picture and the backlight behind it. When the surface shatters but colours stay clean and icons stay crisp, the touchscreen layer absorbed the impact. When the image itself has gone wrong, the imaging layer or one of its flex cables is involved. Press gently on a crack before travelling in — if the picture ripples or discolours under pressure, the layer underneath is likely compromised too, and the job grows from a simple swap to a full module.
Comparing symptoms and parts
Matching visible symptoms to the faulty component| What you see | Likely part | What it means |
|---|
| Cracks or a spider web, picture still clear | Touchscreen glass | Glass swap only |
|---|
| Touch dead or firing on its own | Digitizer or its flex | Touchscreen layer |
|---|
| Vertical lines, blotches, no backlight | Retina matrix | Display module |
|---|
| Black screen but sound plays | Matrix, flex or board | Deeper diagnostics |
|---|
Why the third-generation matrix differs from the iPad 2 panel
The third-generation tablet was the first in this line to carry a Retina screen, while the iPad 2 uses a lower-resolution display, and the two are not interchangeable. The pixel density on the newer screen is roughly double that of its predecessor, which is why text and photos look noticeably sharper on this model. Connector layout and flex routing differ as well, so a screen pulled from an iPad 2 will not seat or light up correctly in a third-generation body. That resolution gap is why a donor screen from an iPad 2 will never fit an iPad 3, so when the display is genuinely dead the replacement has to come from the same generation, not from whatever sits on the shelf.
How an iPad 3 Display Replacement Works on This Model
The iPad 3 keeps the split glass-and-screen design, so the outer sheet is heated, lifted and replaced on its own while the Retina matrix stays in place — provided the module itself survived the impact.
Why the glass comes off separately on this iPad 3
We replace the touchscreen layer on the iPad 3 as a standalone part, because this generation was built with the outer sheet bonded to the frame rather than laminated to the imaging layer. The iPad 2, 3 and 4 all share that split layout, while the iPad Air 2 and every later model moved to a fully laminated screen where the outer sheet and panel arrive as one module. On your tablet the digitiser sits on its own kapton ribbon above the Retina matrix, and a heat pad softens the black adhesive contour around the aluminium edge before a plastic paddle slides underneath. That split design is why an iPad 3 display replacement in Astana is faster and lighter on the device than a full module — but it also means the old adhesive must be fully cleared, or the new sheet sits unevenly and touch drifts at the edges.
Home button, camera holder and fragile old sheet
- Home button. Transferred from your cracked surface and tested for click and return before the new one is seated.
- Front camera holder. Reused so the lens stays centred and the sensor is not disturbed.
- Adhesive contour. A fresh glue line replaces the worn one for an even seal.
- Cracked sheet. Lifted under heat in slow passes to stop shards breaking near the aluminium edge.
- Your removed part. Handed back together with the receipt and warranty card.
Choosing original parts or aftermarket glass for your iPad 3 display replacement
Both routes are on the table, and the choice comes down to how the surface feels under your finger, how it sits in the frame and how long you plan to keep the tablet.
How the two options differ in feel and seating
Response, seating and cover for each option we fit| Option | Touch response | Fit in frame | Cover |
|---|
| Original panel | Closest to factory feel | Exact seating | Up to 1 year |
|---|
| Aftermarket panel | Slightly firmer at edges | Good with fresh adhesive | 6 months |
|---|
| Adhesive layer | No effect on response | Critical for seating | Included |
|---|
What we fix on the receipt before work begins
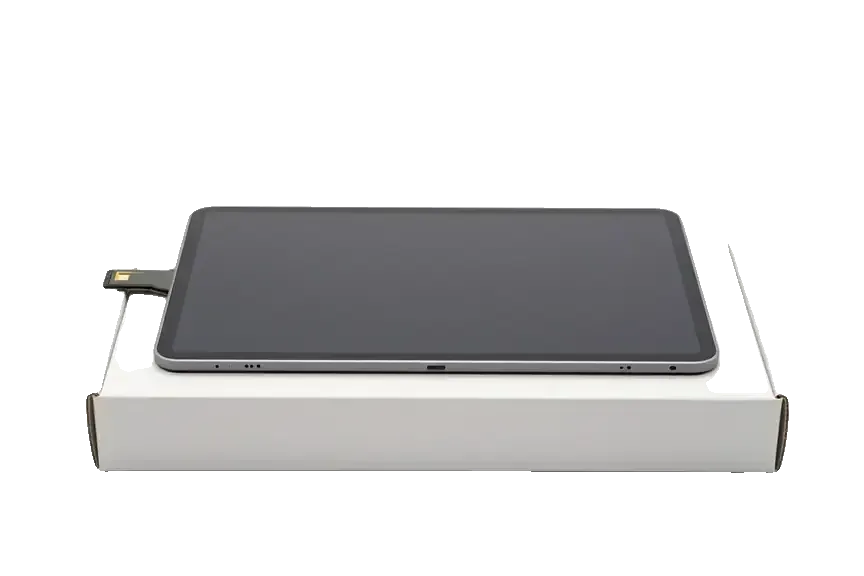
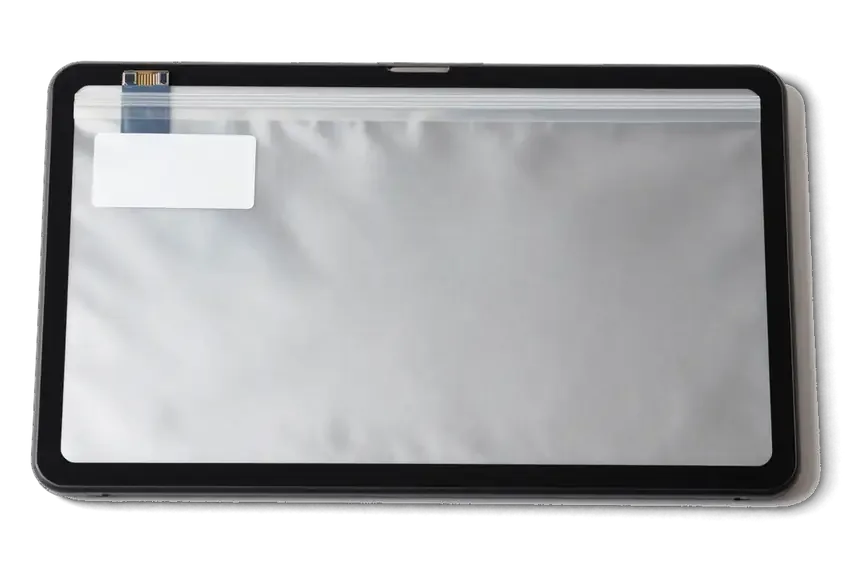
We write the part, the turnaround and the cover on the receipt before any work begins, and we show the new component in its factory packaging before it goes in. The document takes about two minutes to complete and names the exact layer going onto your tablet — original or aftermarket — so nothing about the job stays verbal. Alongside it you receive a guarantee card and the old component when you collect the device. Getting the item named on paper matters more than it seems — it is the document you hold if the digitizer ever misbehaves later, and it takes about two minutes to fix.
What Happens After a Drop and Before You Arrive
The hours between the drop and the repair decide how much survives, and a few simple moves keep splinters out of your fingers and the tablet out of deeper trouble.
First aid for a cracked iPad 3
- Tape the cracks. Clear tape holds broken pieces together and keeps splinters off your fingers until you reach the workshop.
- Stop pressing. Avoid pushing on the damaged zone, because pressure drives debris deeper toward the frame.
- Back up now. Copy photos and files while the touch still responds, in case a flex was knocked.
- Skip charging if swollen. A bulging body needs a look before it goes on a charger.
- Bring it in early. The sooner the broken layer is off, the less chance of debris grinding the matrix.
Hidden damage that a drop can leave behind
Our free 15-minute diagnostics in front of you catches what the eye misses after a drop, from a strained digitizer ribbon to a battery that shifted inside the case. The engineer opens the tablet on the counter, shows you the matrix, the display and the internal cables, and names every fault before anyone touches a screwdriver. A hard hit often leaves the picture perfect while a connector sits half-seated, so the check covers the frame, the battery seating and both display ribbons rather than the cracked surface alone. We strip the tablet down in front of you, and you decide what to fix. Tablets brought in within a day of the fall need fewer parts than ones that sat in a drawer for a week, because fragments keep cutting the connectors each time the screen is pressed.
How We Run the Repair and Check the Result
From the first photo on WhatsApp to the moment you walk out, the iPad 3 screen job follows a fixed plan, a visible component and a check you do together with the engineer.
From the first photo to pickup within an hour
- Photo first. A WhatsApp picture gets a price and a free time slot within 5 minutes.
- Free diagnostics. The engineer opens the tablet in front of you and shows what is broken, 15 minutes even if you decline.
- Fixed on paper. Component, turnaround and warranty are written down in about 2 minutes before work starts.
- Shown in packaging. The new part is opened from factory wrapping in front of you before installation.
- Wait or go. 72% of jobs finish while you wait, with coffee and Wi-Fi, and a courier can be called.
The final check you run alongside the engineer
After the new layer is seated we run a 32-point check of about 10 minutes and then hand you the tablet so you can test the touch across the whole surface, edges included. The engineer walks through True Tone, cameras, microphones, speakers, charging and network with you, and the job is not closed until every item passes. We hand you the receipt, the warranty card and the old component in a bag. Run your finger along all four borders yourself before you leave — touch that drifts only at the edge usually means the adhesive has not settled evenly, and it is far easier to reset on the spot than after a trip home.
Summary: iPad 3 Display Replacement
Five points to carry with you before booking an iPad 3 screen repair, drawn from how this model is built and what a drop usually leaves behind.
- Touch layer and matrix are separate parts. On the iPad 3 the digitizer sits above the Retina panel, so a clean image under a shattered surface usually means a glass-only job.
- Match the symptom to the part first. Lines, blotches or a black screen with sound point to the display, not the outer layer.
- The Home button and camera holder carry over. Both move to the new module, and aged adhesive must be lifted slowly to avoid shards.
- Tape the cracks and back up the tablet prior to travelling in. A drop can strain a flex cable out of sight.
- Test touch along every edge once the repair is done. Border drift is easiest to correct while you are still at the workshop.









 MacBook
 iMac
 Mac mini and Studio
 Apple Watch
 AirPods
 Apple Pencil
 Apple TV
 HomePod