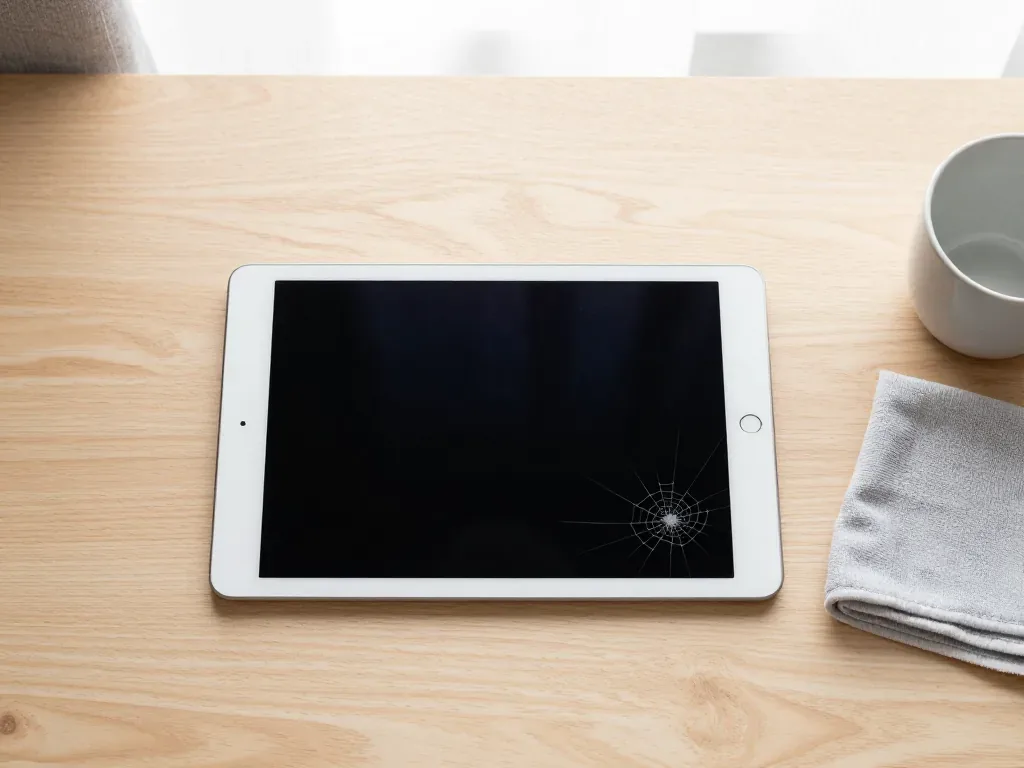
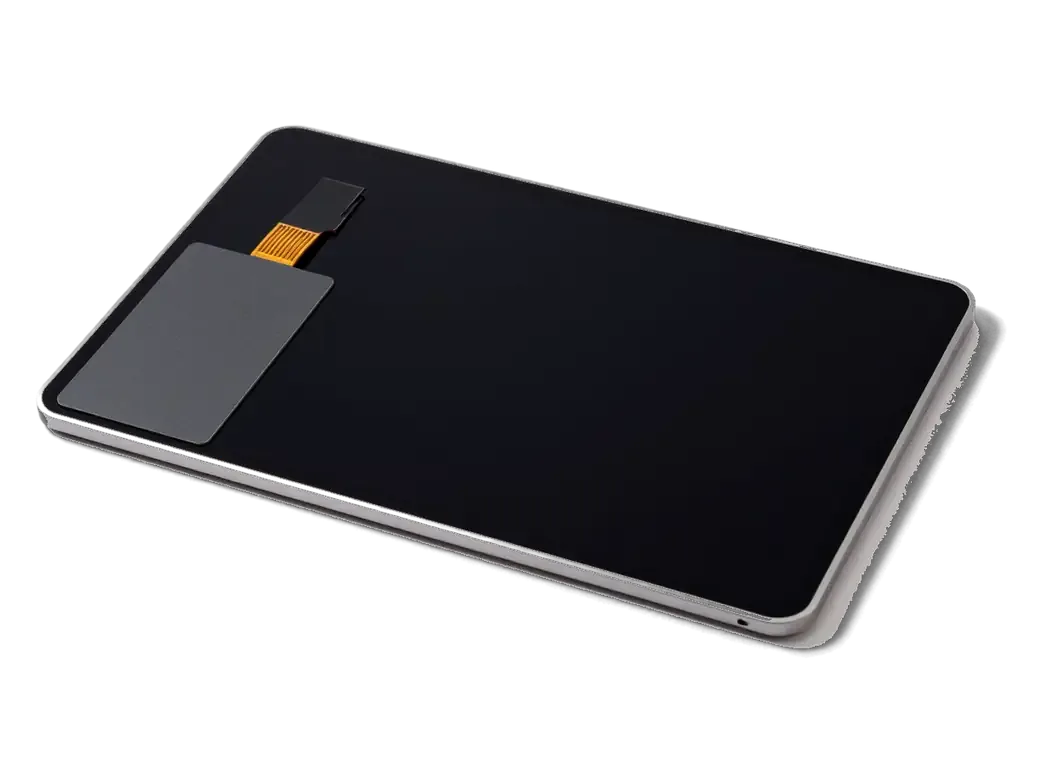
On an iPad 4 the touch glass and the Retina LCD are separate parts, so the first step is working out which one took the hit. The symptom map below narrows it down before any repair begins.
Reading the Symptoms on an iPad 4
Cracks and a spiderweb pattern over a sharp, evenly lit picture point to a damaged outer layer, while bands, blotches or a black display with sound still playing mean the LCD or its flex is hurt. A drop that leaves the surface intact but kills the image usually shears the matrix ribbon at the connector. Phantom taps or dead zones along one edge tell a different story: the digitizer still reads pressure but sends scrambled coordinates, which is a failing touch sensor rather than a cracked outer layer. Shine a torch across the surface at an angle — a faint image under it means the matrix is alive and only the light guide or the touch sensor failed.
Symptom to Part Map for iPad 4
Matching visible faults to the failed layer| What you see | Likely part | What it means for the repair |
|---|
| Cracks, spiderweb, sharp picture | Digitizer layer | Digitizer-only swap, LCD stays |
|---|
| Bands, blotches, uneven backlight | Retina LCD or its ribbon | Full display module |
|---|
| Black screen but sound works | LCD, backlight or board | Needs bench diagnostics |
|---|
| Phantom taps, dead edge zones | Digitizer ribbon | Digitizer swap with new ribbon |
|---|
| Home button loose after drop | Home button or bracket | Transferred to the new front panel |
|---|
Why the iPad 4 Panel Differs from iPad 2 and iPad 3
The fourth-generation tablet keeps the same Retina construction as the iPad 3, while the iPad 2 uses a non-Retina LCD, and the two screen types are not interchangeable. The Retina assembly packs roughly four times the pixels of the iPad 2 version into the same footprint, which is why its backlight stack and connector layout differ and why a non-Retina sheet will not line up with the touch contacts. The fourth-generation tablet also moved to a Lightning port, yet its screen architecture stayed identical to the iPad 3, so parts are shared between those two generations.
What Happens During Your iPad 4 Display Replacement Glass Swap
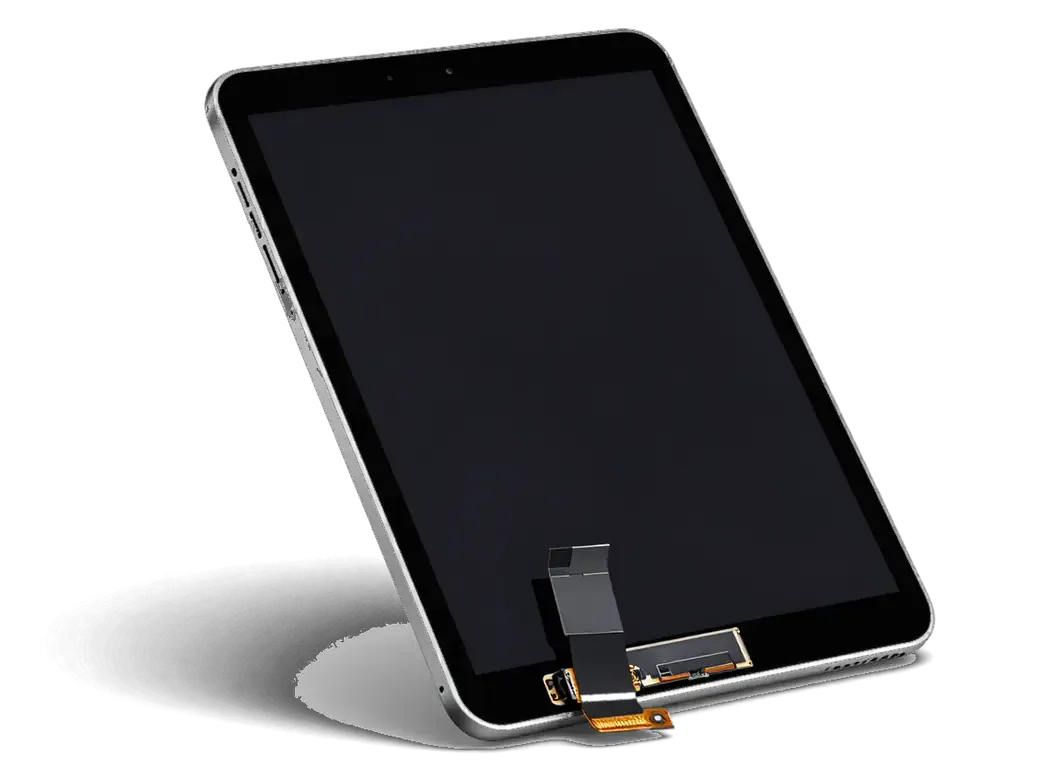
Glass replacement on an iPad 4 is work with a bonded part: the panel sits on a full ring of factory adhesive. Here is what happens to that glue, the Home button and the fragile old sheet during the swap.
Heating, Prying and Cleaning the Old Adhesive
We warm the perimeter on a heating plate to soften the factory adhesive, slide plastic picks under the top layer and lift it slowly, because the aged sheet on an iPad 4 tends to crumble at the corners. Plastic cards travel the full contour before any lift, and the LCD stays shielded the whole time. Once the top layer is off, we scrape the residual adhesive from the frame with a plastic blade, wipe the surface with cleaner and check that no shard sits near the camera opening. Skipping the heat or rushing the lift is what turns a simple glass job into a full frame repair, so the slow pass protects the aluminium body and the LCD underneath.
Moving the Home Button and Camera Holder to the New Panel
- Home button: lifted intact and reseated on the new panel with its bracket, so the click feel stays the same.
- Camera holder: realigned so the front camera sits flush and centred in its opening.
- Adhesive frame: a fresh glue ring applied for a tight, even seal along the whole edge.
- Old front panel: cleaned of residue and returned to you with the receipt and warranty card.
Hidden Damage a Drop Can Leave Behind
A fall that cracks the top sheet can also bend the aluminium frame, loosen the battery connector or nick a display flex, so we inspect those points before quoting the job. We lay a straight edge along the body to check for a bent corner, press each connector back into its seat and look at the LCD for pressure marks that a drop leaves behind. A frame that is slightly out of true will not seat a new digitizer flush, and the resulting gap lets dust under the glass within weeks, which is why we check the body before the part goes on.
Original Part or Aftermarket Glass for Your iPad 4
An iPad 4 can take either a factory digitizer or a quality aftermarket one. The difference shows up in touch feel, clarity and how precisely the part seats, so the choice is worth making deliberately.
How Original and Aftermarket Glass Differ in Use
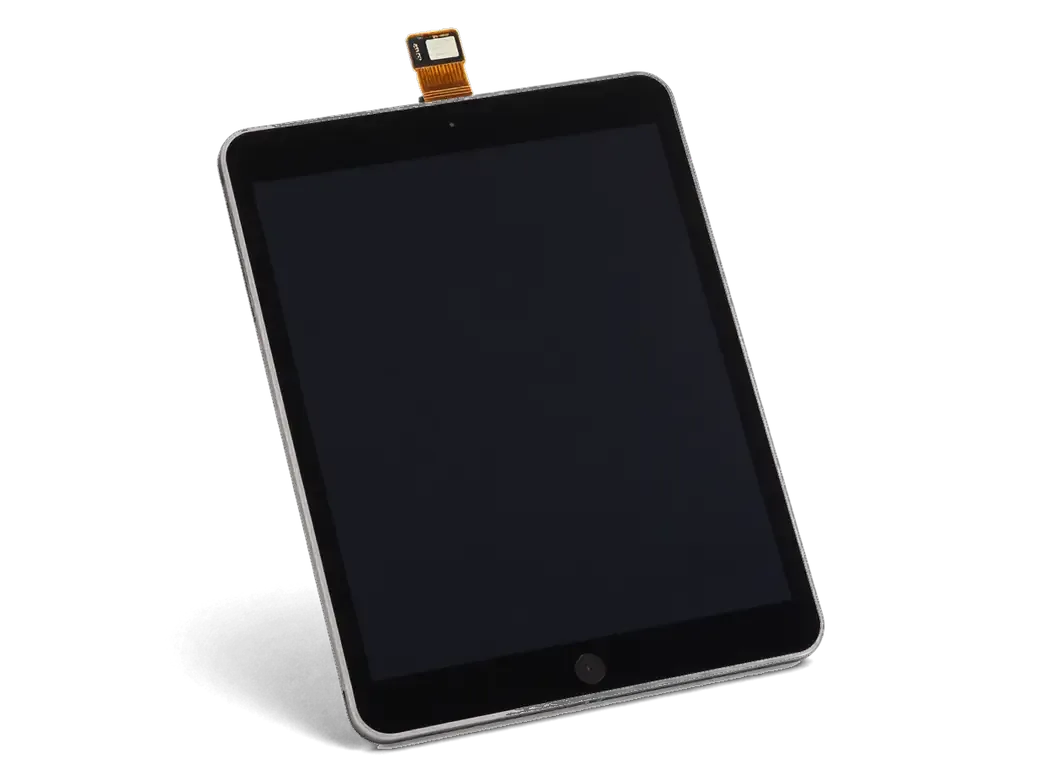
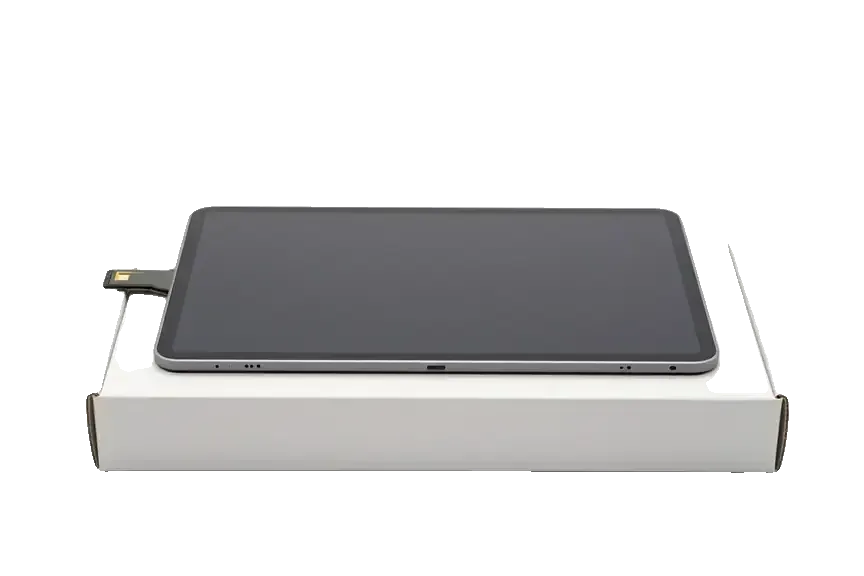
The factory digitizer keeps the touch response and clarity the tablet shipped with, while a good aftermarket one can feel slightly different at the edges, and we let you compare both before committing. On this generation the outer layer carries the touch sensor itself, so digitizer quality matters more than on a phone, where the sensor sits inside the display assembly. An aftermarket digitizer may show a minor tint shift under direct light and needs careful seating during gluing to sit flush. We show the new part in its factory packaging before installation, and 64% of customers choose an original part. If you plan to keep the tablet for years, the factory digitizer holds its touch accuracy longer under daily drawing and note-taking.
Comparing the Two Options Side by Side
Two glass options compared by property| Property | Original front panel | Aftermarket front panel |
|---|
| Touch response | Factory-matched | Close, slight edge difference |
|---|
| Clarity and tint | As shipped | Minor variation possible |
|---|
| Fit and adhesive | Exact | Good, needs careful seating |
|---|
| Warranty coverage | Up to 1 year | 6 months |
|---|
| Typical choice | 64% of customers | Budget-focused owners |
|---|
How We Handle Your iPad 4 Display Replacement in Astana
The road from a cracked screen to a working one is short and documented at every step: photo, quote, paperwork, repair, handover. Here is what that looks like when you bring the device to us.
From WhatsApp Photo to a Fixed Quote
Send a photo of the damage on WhatsApp and an engineer replies within five minutes with a price and a free time slot, then confirms everything on paper before work starts. Diagnostics take 15 minutes and happen in front of you — the technician opens the screen, shows the cracked digitizer and the LCD underneath, and explains whether the outer layer alone will do. Locking the part, turnaround and warranty in writing in two minutes removes the surprise some owners meet elsewhere, where the final bill grows after the unit is already open. You also see the replacement part in its factory packaging before anyone touches it. This is how iPad 4 display replacement in Astana stays transparent from the first message to the finished device.
Turnaround and What You Get Back
- Free check-up: 15 minutes in front of you, even if you decline the repair.
- Fixed paperwork: price, part, turnaround and warranty locked before any work.
- Waiting lounge: coffee and Wi-Fi while 72% of jobs finish on the spot.
- Courier option: a courier can be called if you cannot come in.
- Handover: device returned with warranty card, old glass and the signed sheet.
First Aid After a Drop and the Final Check
Between the moment a tablet hits the floor and the visit to a workshop, hours pass — and what you do in that window decides whether the LCD survives the wait.
What to Do Before You Reach the Service
- Cover the cracks: clear tape or a spare protector holds loose shards in place and away from fingertips.
- Stop pressing: leave the shattered zone alone so the LCD underneath is not pushed deeper.
- Back up now: a screen that answers today may stop registering input tomorrow.
- Skip charging if swollen: a warm or bulging frame means power down, since a stressed battery is the one hidden risk a top-layer swap will not fix.
- Book early: a quick visit keeps a cracked job from becoming a module job.
The Check We Run Together After the Swap
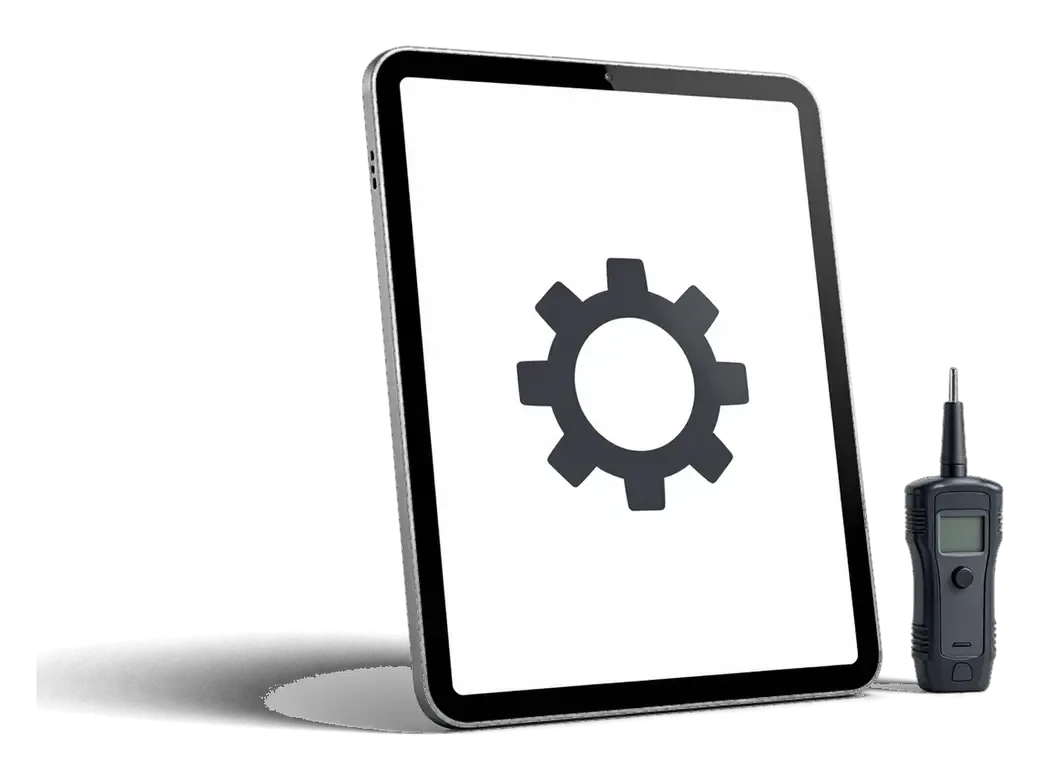
After the new front glass is set, we check 32 functions in about ten minutes, running a finger across the whole surface and the edges together with you before you leave. The engineer opens a notes app and drags along every corner, the Home button area and the strip near the selfie camera, then looks for bright spots and uneven backlight on a white background. Cameras, microphones, speakers, charging and network are tested in the same pass, and you watch the results on the screen rather than reading them off a form. Edge response is where a poorly seated digitizer shows first, so probing the corners and the Home button zone on the spot catches a seating issue while the device is still on the bench.
Summary: iPad 4 Display Replacement
A cracked iPad 4 screen is a decision point, and the right call depends on which layer failed and what you plan to do next.
- Separate parts: on the iPad 4 the digitizer and the Retina LCD are distinct parts, so a cracked surface alone rarely calls for a full display swap.
- Symptom reading: a sharp picture with cracks points to the digitizer, while bands, blotches or dead zones point to the LCD or its flex cable.
- Model matching: iPad 2, 3 and 4 screens are not interchangeable, so any replacement part must match the exact model number.
- Part choice: original and aftermarket glass differs mainly in edge touch feel and clarity, not in the warranty length you receive.
- Small job, small cost: tape the cracks, back up the tablet early and test edge touch on pickup to keep a minor repair from growing.










 MacBook
 iMac
 Mac mini and Studio
 Apple Watch
 AirPods
 Apple Pencil
 Apple TV
 HomePod