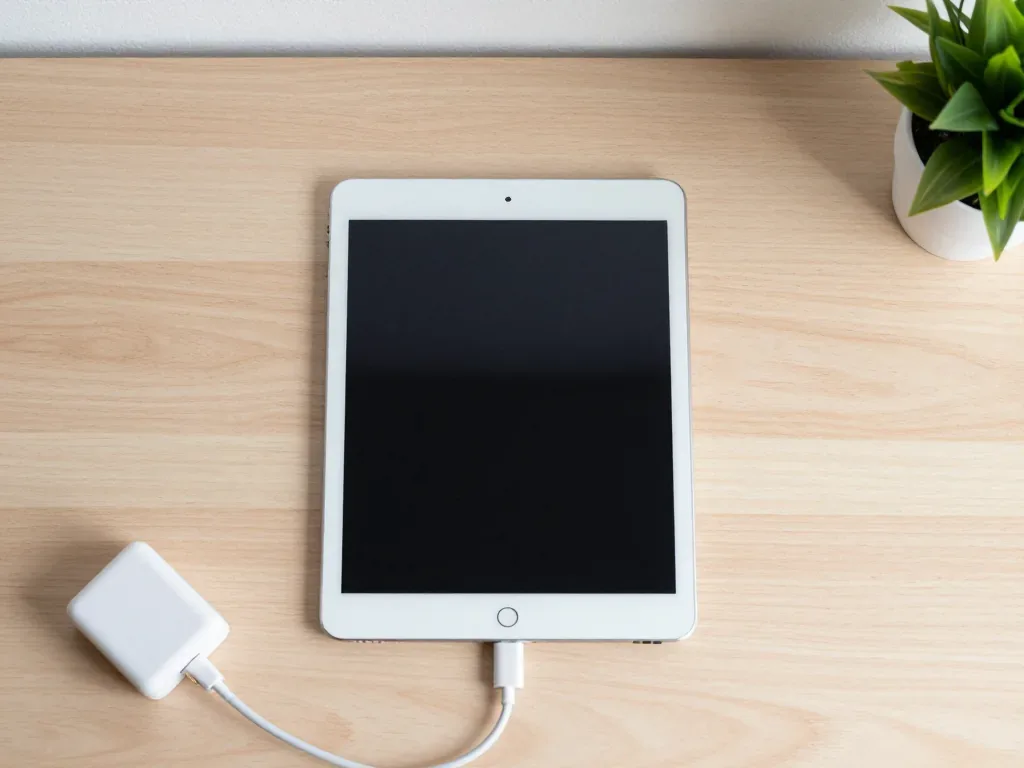
iPad Air failures cluster around the display, the glued-in battery and the charging port. Each symptom points to a specific part, and naming it early saves diagnostic time.
Cracked glass, dead touch and lines across the screen
A cracked top layer, a touch layer that ignores fingers and coloured lines usually mean three different failures inside the same display assembly. The outer glass can shatter while the LCD matrix underneath still produces a clean image, and a bright spot or a pale band along one side points to the backlight rather than the panel itself. A screen that shows a perfect picture but does not react to a finger has lost the digitiser layer, which sits between the glass and the matrix on older Air generations. Lines that spread as the tablet warms up come from a damaged flex cable at the corner of the module. If the image is clean but touch is dead, the matrix may be intact, so ask which layer actually failed before agreeing to a full module.
A battery that swells and pushes the screen up
We see swollen batteries most often on units four or more years old, and the first visible sign is a screen edge lifting away from the aluminium frame. The cell is glued into the chassis, so as the pouch expands it has nowhere to go except upward against the display module, and a gap of a millimetre at the top is already a warning. Owners also report sudden shutdowns at 30 or 40 percent charge, a back that feels warm without load, and a charge level that jumps. Our engineers treat any lifted corner as a priority case and open the tablet the same day. A swollen cell should never be charged or pressed back down, because the pouch can rupture and damage the display from underneath.
When the tablet will not charge or will not switch on
Our technicians check a non-charging unit in a fixed order, cable and adapter first, then the port, then the battery, then the power controller on the board. A third-party charger that delivers too little current is ruled out before the tablet is opened at all, and the Lightning or USB-C connector is then inspected for lint, bent pins and a worn ribbon. A deeply discharged cell refuses to take a charge, so the battery is measured under load next, and only after that does the charging circuit reach the microscope. Skipping straight to a board repair is the most common costly mistake, since a worn connector ribbon mimics a dead controller.
Glass or Full Module for Your iPad Air Generation
The Air line changed its screen construction halfway through, so the same crack can mean a glass-only swap on one generation and a full module on another. The table below maps each generation to the repair it actually allows.
Which Air models take glass only and which need the whole module
Repair scope by generation, not by crack size| Air generation | Screen construction | What we replace |
|---|
| iPad Air (1st gen) | Separate glass and matrix | Glass alone if the matrix is intact |
|---|
| iPad Air 2 | Laminated module | Whole display module |
|---|
| iPad Air 3 | Laminated module | Whole display module |
|---|
| iPad Air 4 | Laminated, edge-to-edge | Whole display module |
|---|
| iPad Air 5 | Laminated, edge-to-edge | Whole display module |
|---|
Keeping Touch ID and Apple Pencil response after a screen swap
We transfer the original Home button or top button onto the new screen, because Touch ID is paired to the logic board and a fresh button would stop fingerprint unlock. On the first-generation Air the sensor sits in the Home button; on Air 4 and Air 5 it moved to the top button, and both are matched to the board at the factory. Apple Pencil latency and palm rejection depend on the digitizer layer, so a low-grade aftermarket module can feel laggy even when the image looks fine. 64% of customers choose an original part, and that choice matters most on Pencil-heavy work — drawing, notes, markup. Ask to test Pencil strokes and fingerprint unlock on the finished unit before you leave.
Why a clean image with a dead touch layer still needs a decision
When the picture is perfect but touch does not register, the digitizer layer has failed and the fix depends on whether that layer is bonded to the glass or the matrix. On the first-generation Air the touch layer sits on separate glass, so a technician can lift it and keep the working LCD — a cheaper, faster job. On a laminated module the digitizer is fused to the matrix and the backlight, so the whole display unit is replaced as one part. Ask the technician to show you the separated layers under light, since a shop that cannot demonstrate the split is guessing at your expense. A free 15-minute diagnostic in front of you settles which case you have before any work starts.
How We Run an iPad Air Repair in Almaty
Every job follows the same fixed route, from a snapshot on WhatsApp to a signed document and a function check you watch yourself before you leave.
From a WhatsApp photo to a fixed receipt
- Snapshot first: send a picture of the damage on WhatsApp and an engineer replies within 5 minutes with a quote.
- Free diagnostics: the engineer opens the device in front of you and shows what is broken — 15 minutes, even if you decline the repair.
- The paperwork: price, part, turnaround and warranty go onto the document in about 2 minutes before work starts.
- The choice: you confirm whether the replacement is original or aftermarket, and the paper matches that decision.
- The handover: the device comes back with the signed sheet, the warranty card and the removed part.
Seeing the new part in its factory packaging
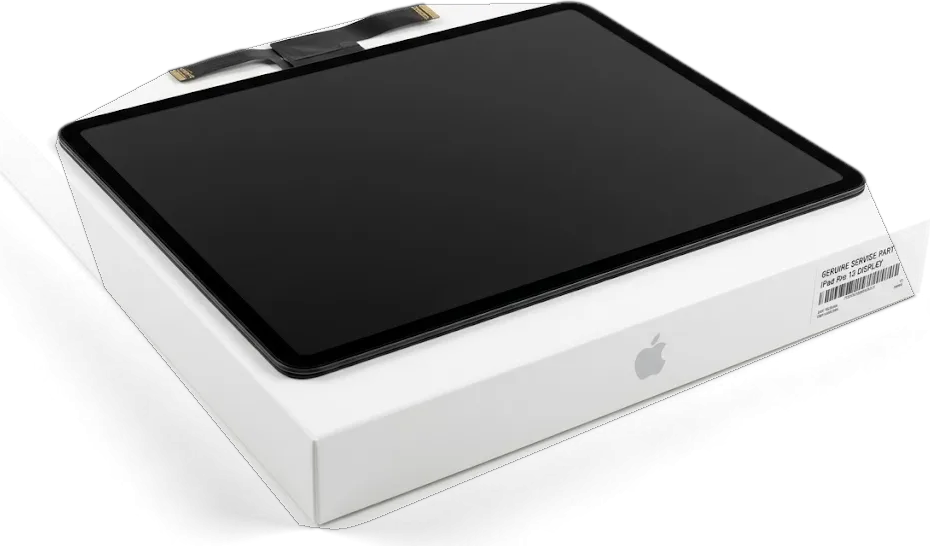
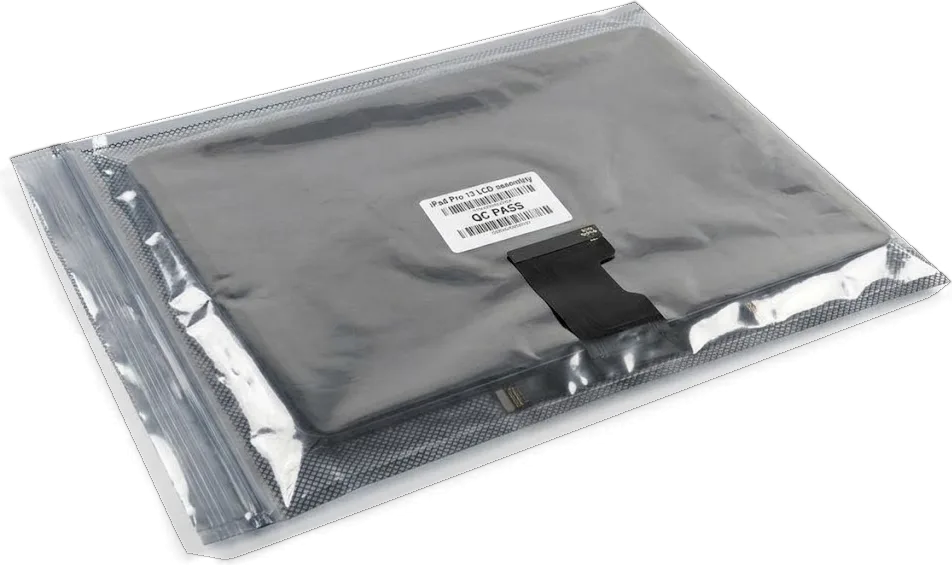
We open the replacement screen or battery in front of you in its factory packaging before installation, and the old unit goes back to you with the device. This is how an iPad Air repair in Almaty stays transparent from the first message to the final check. A display module and a cell look almost identical across suppliers once they are out of the box, so the sealed box is the one moment where you can read the label and match it to the line on your document. 64% of customers pick an original, and that decision is made here, with the spare on the bench rather than in a catalogue image. Keeping the removed item is your proof that the swap actually happened — which matters most on batteries, where wear is invisible and a swollen cell can look fine from the outside.
The 32-point check you watch before pickup
- Touch ID: unlock the tablet with your registered finger and add a new print to confirm the sensor reads correctly.
- True Tone: open Settings and watch the display shift colour under warm light.
- Cameras: shoot one image with the rear lens and one with the front, then check focus.
- Audio: record a short voice note, play it back, then run a video at full volume.
- Charging: plug in the cable and confirm the battery icon shows the level going up.
- Network: connect to Wi-Fi and check that the signal bars hold steady.
Original Part or Aftermarket and What the Warranty Covers
The choice between an original component and an aftermarket one changes brightness, battery behaviour and how long the fix holds, so it is worth deciding with the numbers in front of you.
How original and aftermarket screens and batteries differ
How the two component types compare on key traits| Property | Original part | Aftermarket part |
|---|
| Image and brightness | Factory level | Can be dimmer |
|---|
| True Tone | Works | May not work |
|---|
| Battery capacity | Rated capacity | Varies by maker |
|---|
| Warranty | Up to 1 year | 6 months |
|---|
What most customers pick and why
About 64% of our customers choose an original part, most often on newer Air models where the screen is the expensive component and resale value matters. The other 36% go for a quality aftermarket unit, usually when the budget is tight or the tablet is a second device for the kids. We lay both options on the counter and name the trade-off plainly: an original display holds factory brightness and True Tone, an aftermarket one can come in dimmer and sometimes drops True Tone altogether. On an older Air used mainly for reading and video, a good aftermarket battery often makes more sense than an original one, since the device is near the end of its useful life.
What the warranty card actually promises
Every repair carries a warranty up to 1 year, written on the card you receive with the device, and it covers the part we installed and the work we did. The card is issued at the counter together with the receipt, and both list the exact component fitted, so there is no ambiguity later about what was replaced. If a display develops dead pixels or a battery stops holding charge inside that window, the claim is handled by the same engineers who did the job. Keep the receipt and the old part together with the card, because a warranty claim is settled fastest when the original components can be matched to the job.
How Long It Takes and How to Prepare Your iPad
Most Air jobs finish while you sit in the waiting area, but deeper work and water damage run on a different clock, and a five-minute backup beforehand saves a lot of worry.
Realistic turnaround for screens, batteries and boards
- Screen module: an iPad Air display swap runs from 1 hour to 1 day depending on the generation and part availability.
- Battery: a cell replacement is the quickest of the three and is often done while you wait.
- Board-level work: micro-soldering under the microscope takes 1–3 days, and liquid diagnostics can stretch to two full days.
Backing up and switching off Find My before you hand it over
- iCloud copy: open Settings, tap your name, then iCloud Backup, and run a manual upload over Wi-Fi before leaving home.
- Computer copy: connect to a Mac or PC and save the data locally if your photo library outgrows free cloud storage.
- Apple ID password: write it down and bring it, because activation lock blocks every test we run afterwards.
- Find My iPad: switch it off in Settings only once the copy has finished, since both use the same account.
What to do in the first minutes after water contact
Power the tablet down, do not charge it and do not press the screen, then bring it in, because current through a wet logic board turns a clean-up into a component replacement. Water bridges neighbouring contacts and the battery keeps feeding the short until the circuitry is dry and clean. Rice and a warm radiator drive moisture deeper into the layers and push salts under the shields, so a sealed bag and a fast trip to the bench is the better move. Skip the urge to test the charger "just once" — that single attempt is what usually kills a display module or a power rail. Hand the device over still wet, describe the liquid and how long ago it happened, and let the engineer open it before anything is powered on.
Summary: iPad Air Repair
A repair decision on an iPad Air comes down to a handful of checks you can run before anyone touches the tablet. Here is the short version worth keeping.
- Screen construction first: confirm whether your Air generation takes glass only or a full module before agreeing to any work, since the split approach fits the first generation and not later ones.
- A swollen cell is a stop sign: when the pack lifts the display, stop charging and have it inspected instead of pressing the panel back down.
- Diagnose charging faults in order: work from cable and port to the power cell to the board, which is how an unnecessary board repair gets avoided.
- Back up and unlock: save your data and know your Apple ID password prior to handing the device over, because activation locks block testing.
- Get it in writing: ask for the part, turnaround and warranty on paper, and keep the old component, since that paperwork is what protects you later.














 MacBook
 iMac
 Mac mini and Studio
 Apple Watch
 AirPods
 Apple Pencil
 Apple TV
 HomePod