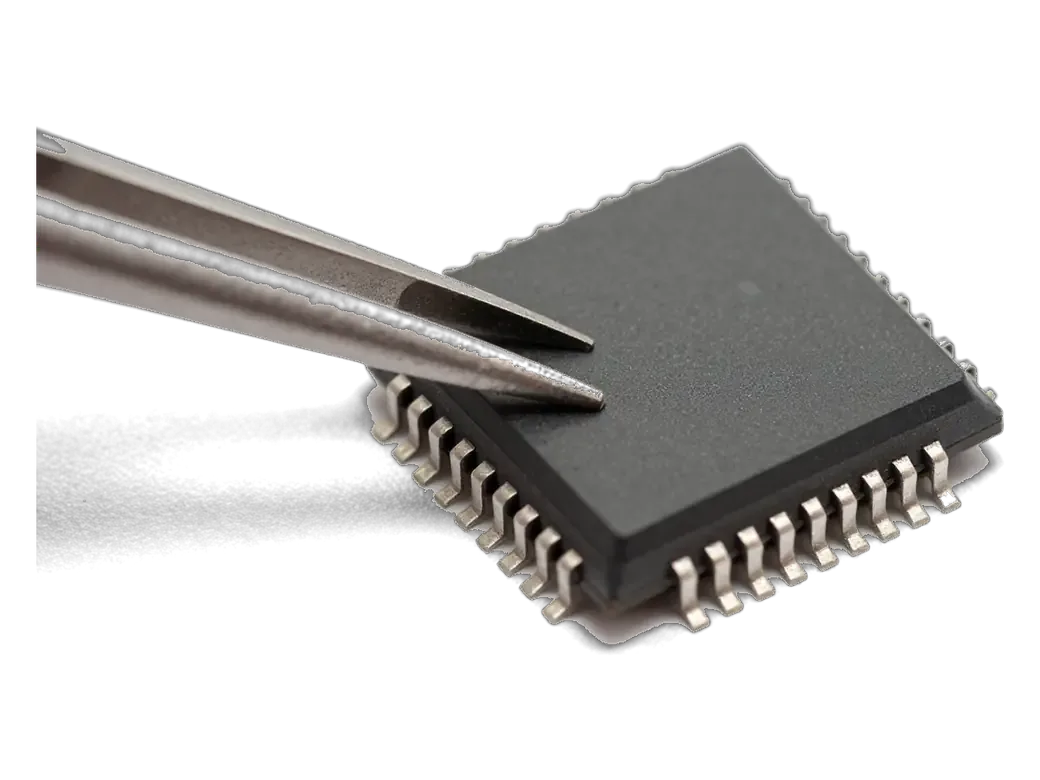
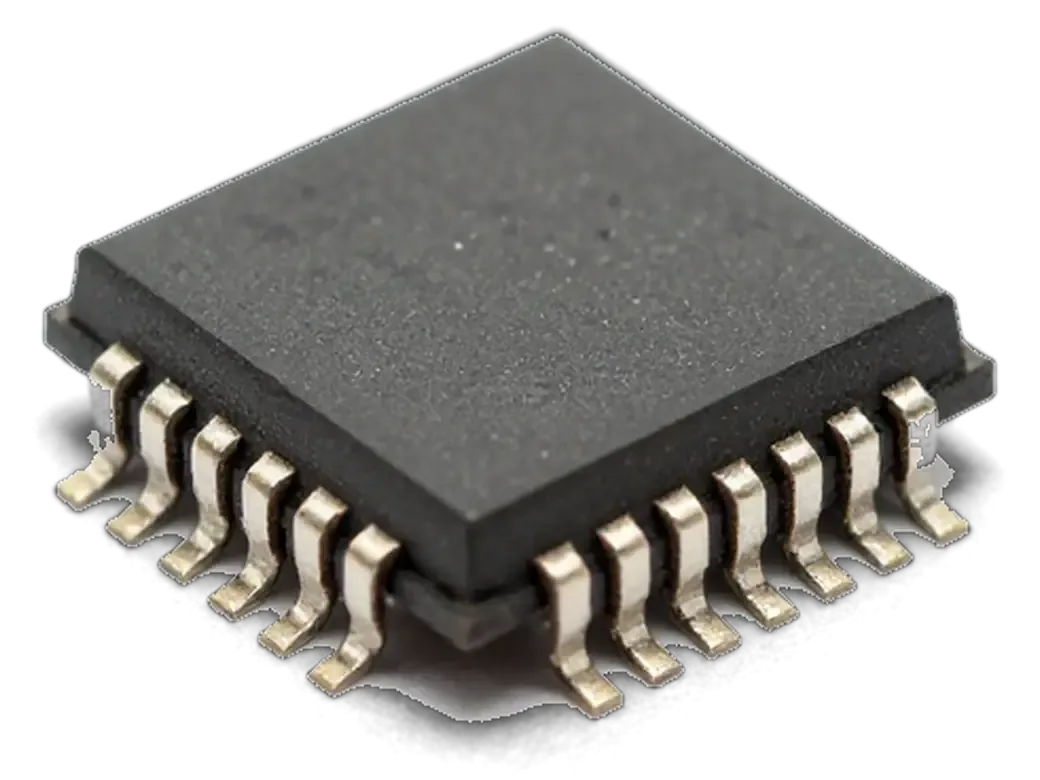
The codec is a small chip on the logic substrate that carries every sound signal. When it loses contact, the phone goes quiet even though the speakers and microphones are fine.
The chip that routes every sound on the board
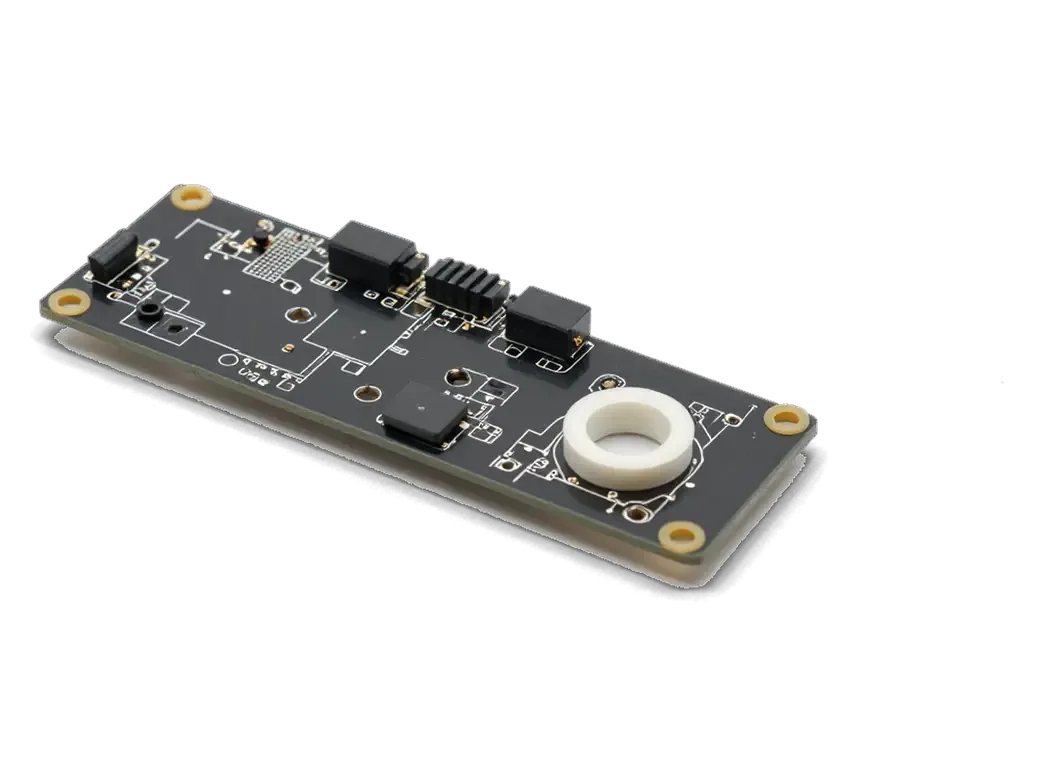
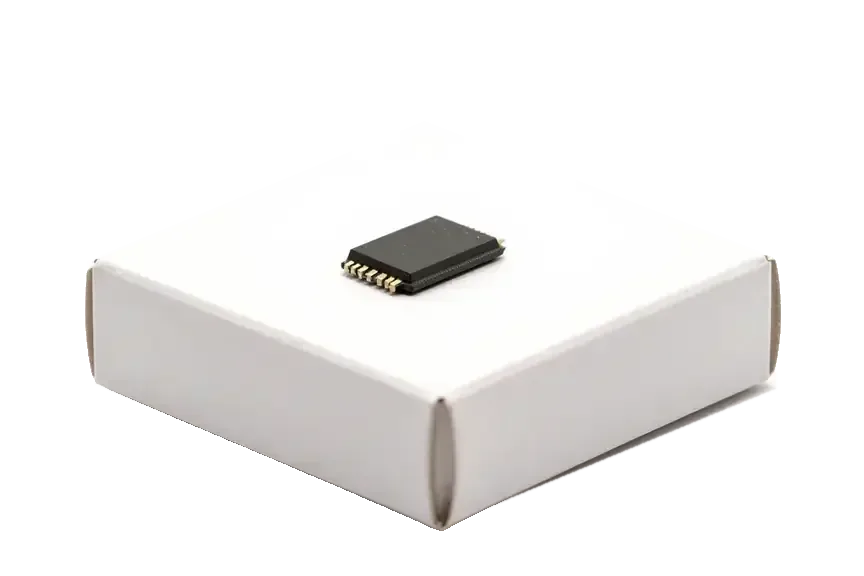
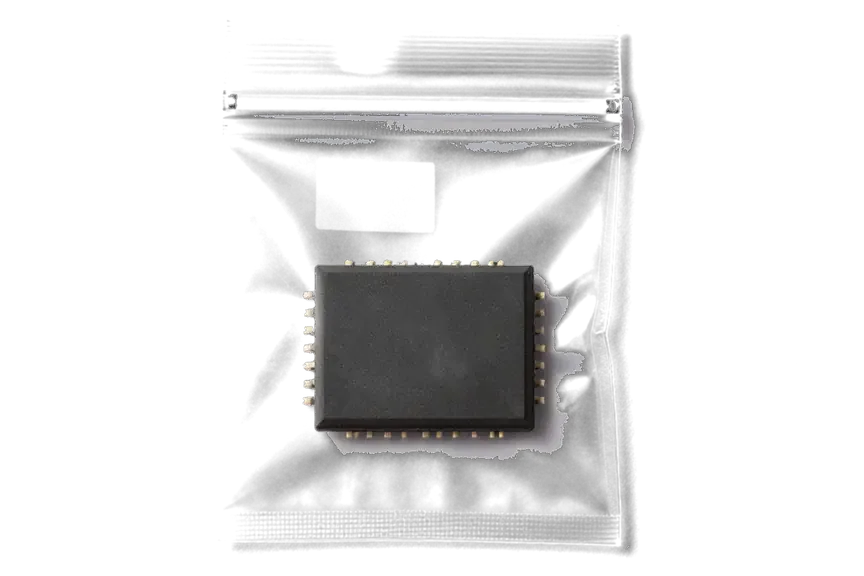
The audio codec is a microchip soldered to the iPhone 6 mainboard that converts and routes the signals of every microphone and speaker. It sits close to the charging connector flex, where two of the microphones and the loudspeaker meet the PCB, and it handles the analogue-to-digital and digital-to-analogue conversion for calls, voice memos, video recording and media playback. The same chip feeds the earpiece during a call and the loudspeaker during a video, so both paths depend on one set of solder joints. Because one chip serves the earpiece, loudspeaker, microphones and recorder at once, a single failing contact can silence several functions while the parts themselves stay healthy.
Why a new microphone or speaker does not fix it
Some iPhone 6 units still have a microphone or speaker fault after a fresh part is fitted, because the fault sits on the circuitry, not in the part. The customer hears crackling on calls, then a dead loudspeaker, then a voice memo that records silence — three symptoms, one codec. Swapping the charging connector flex helps only when the flex itself is torn; if the pads under the codec have lifted, a new flex behaves exactly like the old one. Before quoting a mainboard repair we test each microphone and speaker separately, so you never pay twice for a part that was never the problem.
Signs that point to iphone 6 audio codec replacement need
The iPhone 6 has no famous codec defect like the iPhone 7, so the signs matter more than the model. Here is how the symptoms line up against the part that usually causes them.
Symptom to cause, codec versus microphone or speaker
Matching each sound symptom to its real source| Symptom | Most likely cause | What we check |
|---|
| Speaker button greyed out in calls | Audio codec | Contact under the chip |
|---|
| Voice recorder records silence | Audio codec | Signal path from both inputs |
|---|
| Siri and voice messages hear nothing | Audio codec | Input on the board |
|---|
| No sound in video or FaceTime | Audio codec or speaker | Playback and recording separately |
|---|
| One input dead, rest fine | Microphone or flex cable | The part itself |
|---|
Slow boot and freezes that look like a software fault
A failing codec can stall the boot sequence, so we see units in Astana that hang on the logo and get mistaken for a software problem. The chip sits on the audio line of the logic board, and when it stops answering cleanly, iOS waits on it during startup — the phone crawls through the logo, freezes in apps, then recovers on its own. On the bench we watch the same handset boot twice: cold start drags past the normal mark, a second attempt runs clean. A restore rarely cures this, and wiping the device costs you data for nothing, so we test the mainboard before anyone suggests a reset.
How we carry out iPhone 6 audio codec replacement in Astana
The repair happens on the board itself, not on the outside parts. We reflow or replace the chip, rebuild any damaged pads, and do the whole job under a microscope in our own workshop.
Reball, replacement and rebuilt pads under the microscope
We first try to reball and reseat the original codec, and only replace the chip when it is dead or its pads are torn. The logic board goes under a microscope: old solder is wicked off, the contacts are cleaned and levelled, and fresh solder balls are set onto the component before it is aligned and reflowed back into place. If a pad has lifted off the laminate, we rebuild it with a copper jumper and UV mask rather than gluing the part back in. This is how the iPhone 6 audio codec replacement in Astana is done in our own workshop. Every joint is then checked for continuity before power is applied. Bending and drops crack the solder rather than killing the component, which is why a careful reball often restores sound without a new part.
What causes the fault on the 6 and how it differs from the 7
On the 6 the codec usually suffers after a drop, a bent frame or water, while the 7 is known for the same fault from everyday flexing. The 6 has a thicker aluminium shell, so a knock that dents the corner transfers straight into the logic board and hairline-cracks the joints beneath the component. Water reaches the same area through the sim tray and the speaker mesh, and corrosion eats the contacts before the part itself fails. On the 7 the audio IC sits on a thinner section that flexes with normal pocket pressure, so its failures cluster around daily handling instead of impacts. Because the 6 has no built-in weak point, a codec failure here is a stronger signal that the phone took a real impact and the board should be checked as a whole.
Stage by stage, what happens and how long it takes
What each visit stage involves and how long it takes| Stage | What happens | Time |
|---|
| Free diagnostics | Engineer checks the board in front of you | 15 minutes |
|---|
| Quote and receipt | Price, part, turnaround, warranty fixed | 2 minutes |
|---|
| Board repair | Reball or chip replacement under microscope | 1–3 days |
|---|
| Handover check | Sound functions tested with you | About 10 minutes |
|---|
Your data, your time and what to prepare
A mainboard repair touches the phone's core, so a little preparation saves stress. Here is what to do before you come in and what stays untouched during the work.
Backups, Apple ID and the passcode before you arrive
- Back up first: run a full iCloud or computer backup the day before the visit, while the phone still powers on and holds a charge.
- Know your Apple ID: the login tied to the handset, in case a test boot asks for it after the circuitry work.
- Bring the passcode: the engineer needs it to open the phone and run the sound checks after the repair.
- Note the symptoms: write down which calls, apps or recordings fail, so the diagnosis moves faster than a blind search.
- Keep the SIM: pull it out if you plan to use another phone while the handset is on the bench.
Sending a photo on WhatsApp and booking a slot
Send a photo or a short description of the fault on WhatsApp and an engineer replies within 5 minutes with a price and a free time slot. Free diagnostics take 15 minutes in front of you: the technician opens the device, shows the damaged area and explains what the codec work involves. Before any work starts, the price, the part, the turnaround and the warranty are fixed on the receipt — a step that takes 2 minutes. Most jobs finish in 20–40 minutes while you wait in the lounge with coffee and Wi-Fi. Describing which sound functions fail helps us guess whether it is the codec before you arrive, so the visit opens with a test rather than a guess.
Warranty, handover and keeping the sound alive
The repair ends with a check you watch and cover you keep. Here is what we test at handover and how to stop the same fault from coming back.
The handover check and the warranty you leave with
At handover we test the sound functions with you, then hand over the device with the receipt, the warranty card and the old part. The engineer plays a track through the speaker and the earpiece, records a voice memo through both microphones and calls the handset from a second one to confirm the other side hears you. We then run the full 32-function pass in front of you — about 10 minutes — covering cameras, charging and network alongside the audio. Coverage runs up to 1 year and is written on the receipt before any work begins, so the terms are fixed rather than agreed after the fact. Testing in front of you means any weak contact shows up before you leave the workshop, not on the drive home.
Why the fault can return and how to prevent it
- Use a rigid case: it spreads impact across the frame and limits flex when the device lands on a corner.
- Skip the rear pocket: sitting on the phone is one of the most common sources of board stress on this model.
- Avoid heat and water: both weaken the board and the contacts around the codec over time.
- Act early on new symptoms: a greyed-out speaker button that returns is easier to fix the first time.
- Keep the paperwork: the document carries the cover terms if the sound ever drops again.
Summary: iPhone 6 Audio Codec Replacement
Sound loss on this handset rarely comes from the loudspeaker or the mic. The five points below sum up what the codec is, how to recognise the fault and what keeps audio alive after mainboard-level work.
- The codec is a soldered chip: a dead loudspeaker or microphone is a separate fault, and swapping those parts will not bring the audio back.
- Three symptoms together point to the codec: a greyed speaker button, a silent recorder and slow boots on the same handset.
- Microscope work takes longer: reballing or replacing the component usually runs from one to three days, not a single visit.
- A fresh backup and your Apple ID ready: protect your data and shorten the intake on the day of the repair.
- A rigid case and fewer drops: the simplest way to keep the audio path and the rest of the circuitry intact.








 iPad
 MacBook
 iMac
 Mac mini and Studio
 Apple Watch
 AirPods
 Apple Pencil
 Apple TV
 HomePod