The 15 Plus uses a single bonded OLED module, so most visible damage is not just glass. Here is how we read the symptoms before any booking.
Why a Hairline Crack Usually Means a Whole New Module
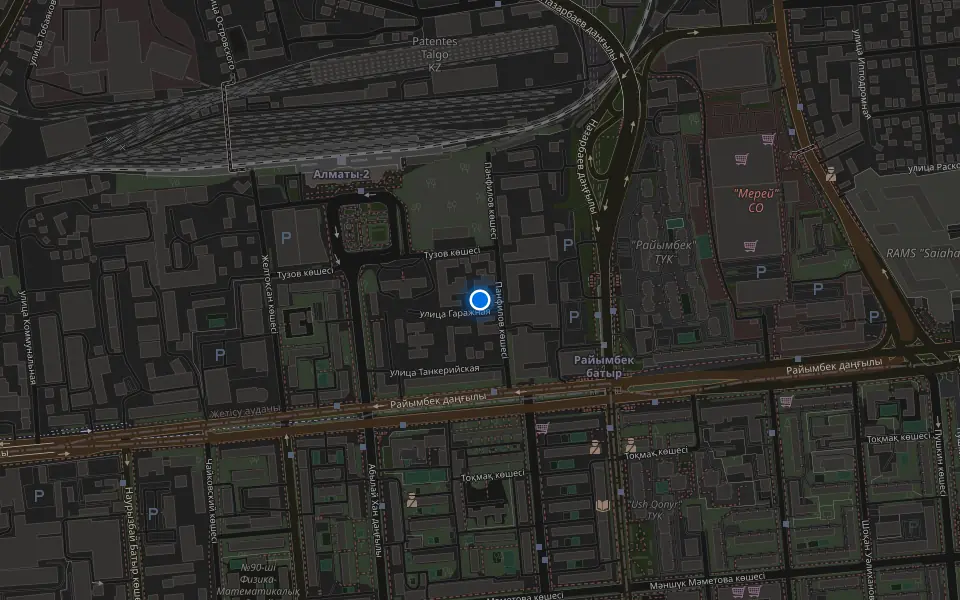
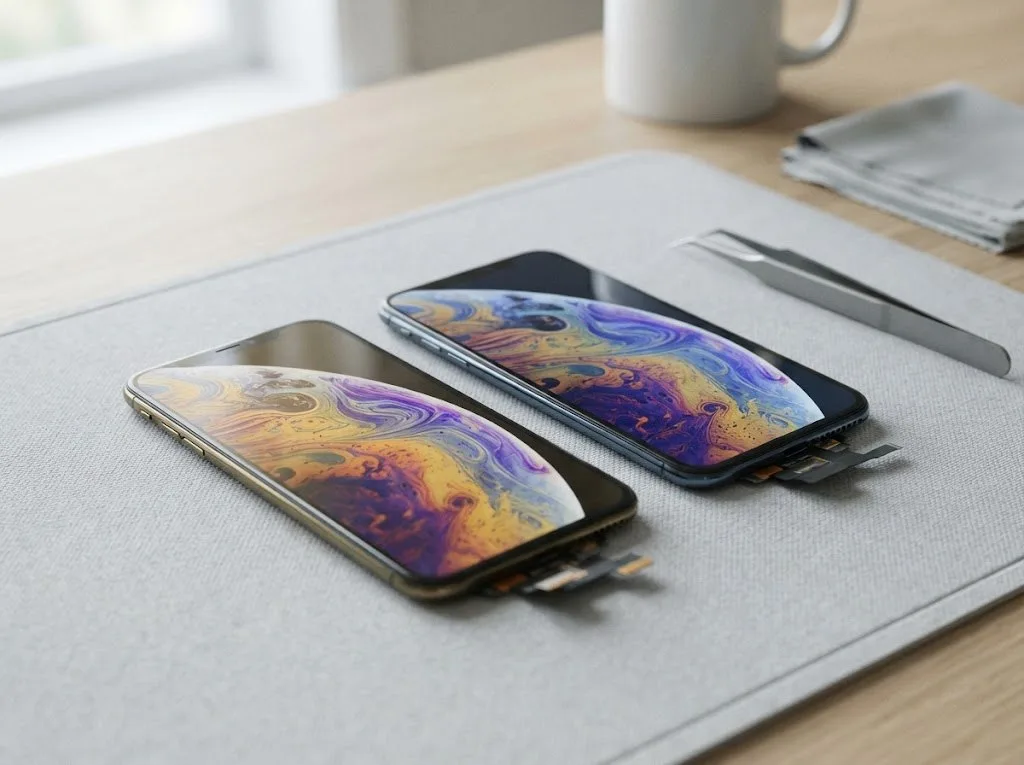
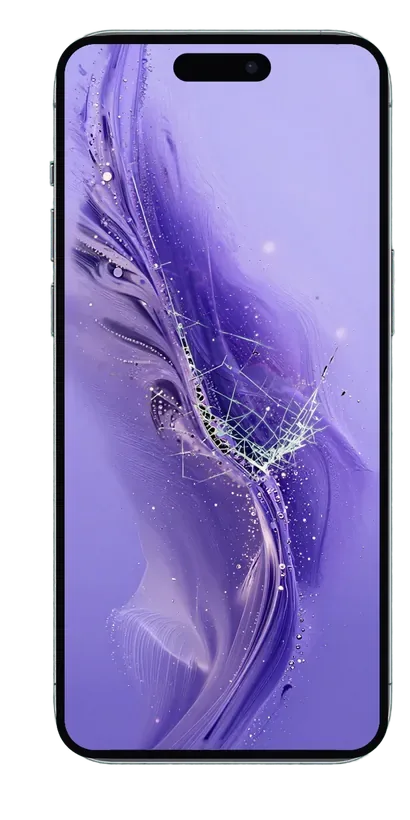
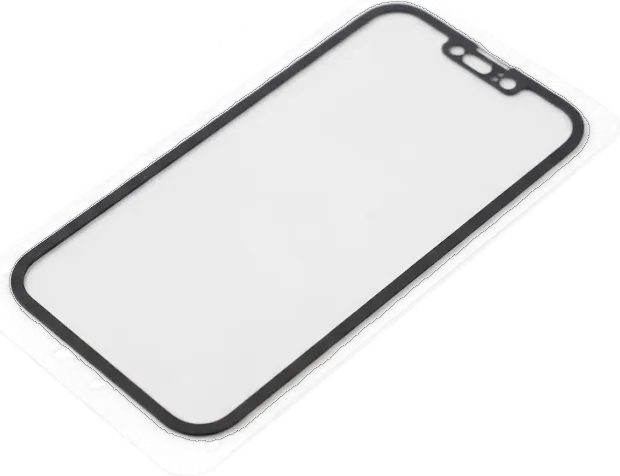
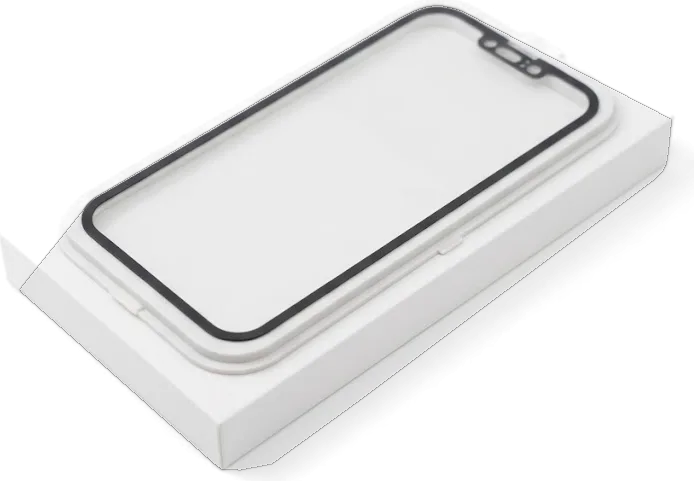
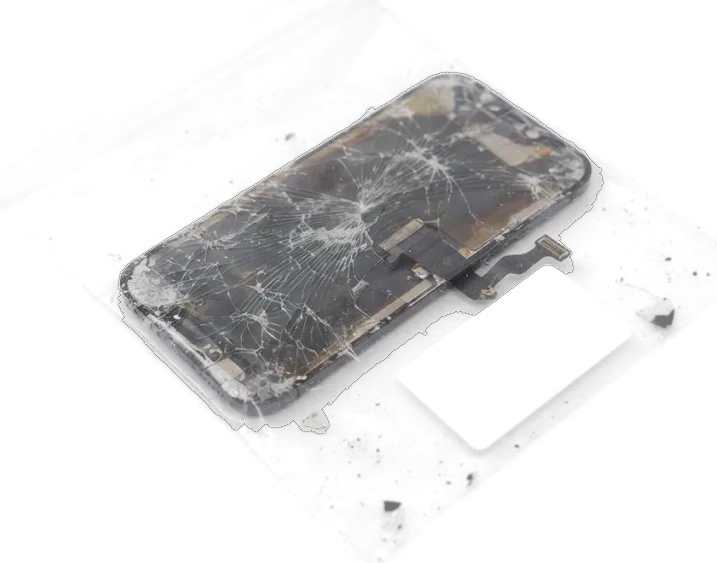
On the iPhone 15 Plus the glass, the touch layer and the OLED panel are bonded into one unit, so a cracked front almost always means replacing the full display module rather than the glass alone. That single assembly carries the digitizer, the OLED matrix and the front glass in one bonded stack, which is why a hairline crack that looks cosmetic still travels through the digitizer layer. The crack itself rarely kills pixels — the damage spreads when pressure from a drop reaches the OLED beneath. A glass-only re-lamination is possible in principle but leaves the original panel exposed to the same impact again, and on a bonded OLED the risk of trapping dust or air between layers is high enough that most workshops simply do not offer it.
When the Screen Looks Fine but Stops Responding
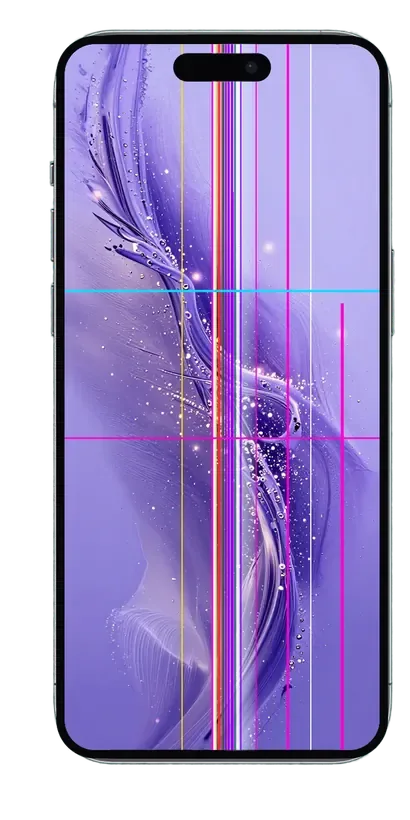
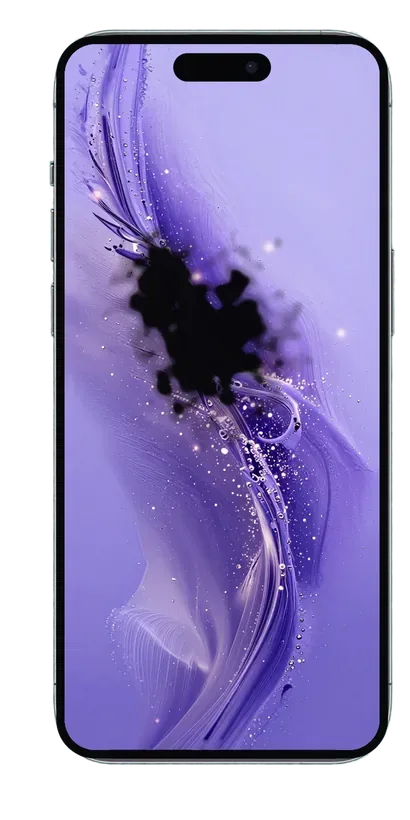
Dead digitizer, ghost taps, green lines or a black panel on an unbroken 15 Plus point to the display flex cable, the connector or the board rather than the glass, and only a hands-on check separates them. A flickering image that comes and goes often traces to a loose or pinched flex, while a horizontal band that stays put suggests the OLED driver rather than the touch layer. Liquid contact is the usual hidden cause behind flicker and blotches that appear days after the phone dried, and water-related diagnostics can take up to two days before anyone can promise a fix. If the panel stays black but the phone vibrates and rings, the board is alive and the fault sits in the display path.
Original or Aftermarket iPhone 15 Plus Display Replacement Module
Two part types are realistically available for this model, and they behave differently in daily use. The table below compares what actually changes in daily use.
Comparing the Two Module Options Side by Side
Two replacement routes compared by panel behaviour and use case| Option | Panel type | Contrast and colour | Typical fit |
|---|
| Original OLED | OLED, bonded | True black, wide colour | Daily driver, resale planned |
|---|
| Quality aftermarket | Often LCD-type | Grey-ish dark tones, narrower gamut | Backup phone, tight budget |
|---|
| Budget copy | LCD-type, thicker | Washed-out dark tones, narrow gamut | Short-term use only |
|---|
Why the Cheapest Copy Is Not the Same as an Aftermarket Part
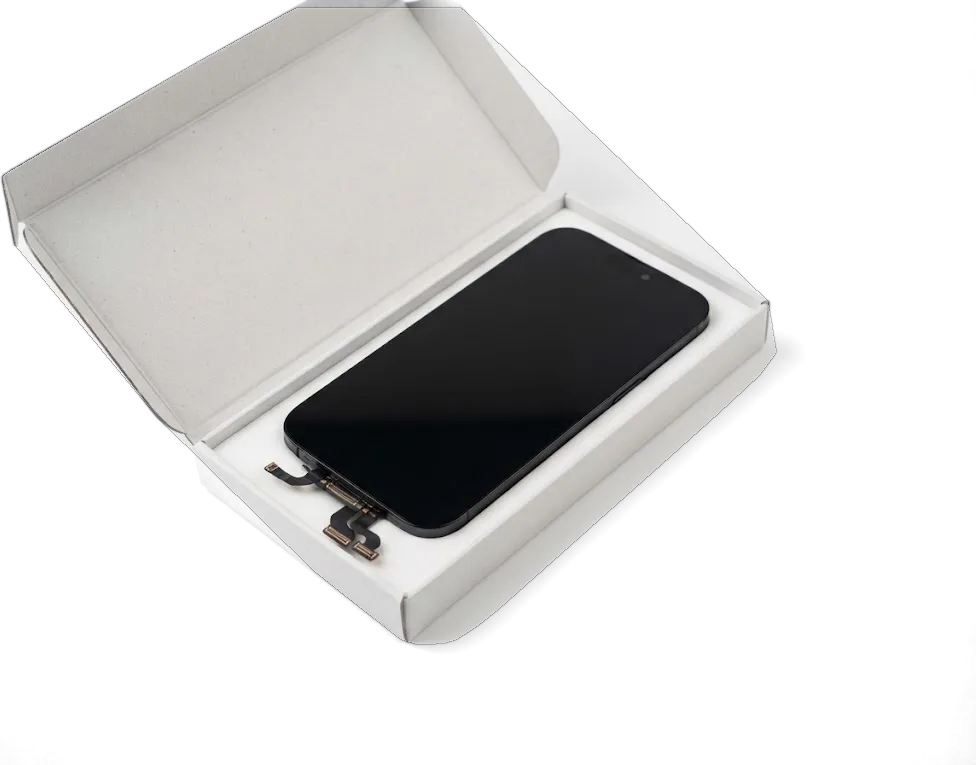
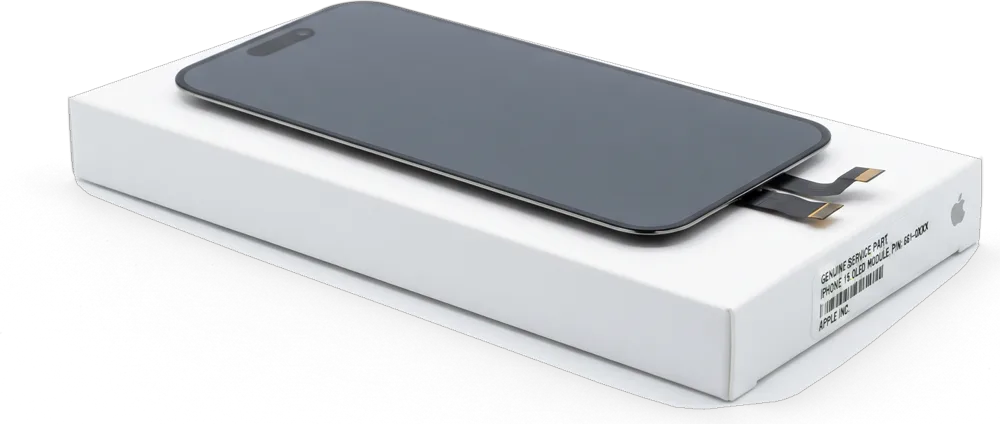
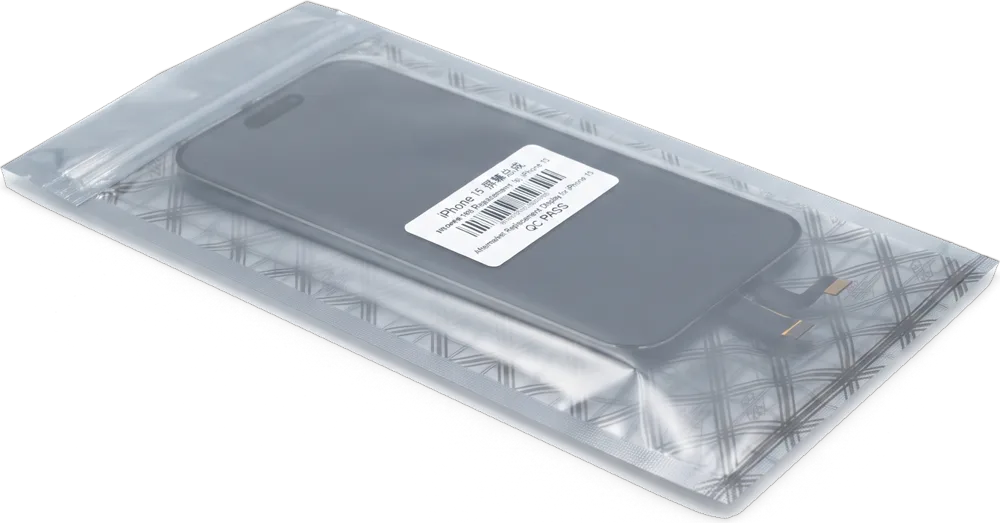
Budget copies sold as aftermarket parts vary wildly, and the thin LCD-type panels among them are visibly thicker, dimmer outdoors and weaker on contrast than the OLED panel the 15 Plus shipped with. That gap is the whole story: models from iPhone X through XS, 11 Pro and the 15 all rely on an emissive panel for deep dark tones and accurate colour, so a cheaper stack cannot match that output. Bulk shows up too — an LCD assembly sits thicker under the frame, which is felt along the edges. Ask to see the part in its factory packaging before installation, because a proper aftermarket item arrives sealed and labelled, while a loose screen in a plain bag tells you nothing about its origin or handling.
What Survives the Swap Face ID, True Tone and Touch Response
The 15 Plus carries Face ID and True Tone, and both depend on components and calibration that travel from the old module. What happens to them is settled during the swap, not after.
Keeping Face ID and True Tone Alive
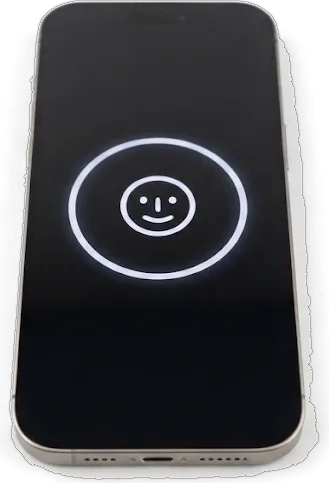
Face ID keeps working because the TrueDepth elements sit on the top flex and are transferred to the new assembly, and True Tone survives only when the original display calibration is carried over during the same procedure. That upper ribbon holds the front camera, the dot projector and the proximity sensor, so the technician has to move the whole assembly across without tearing the flex or bending the connector pins. Our engineers handle that transfer on every 15 Plus they open, and the pairing record is written back with the same tool that reads it, which is why we ask for the old screen to stay with the phone until the job is closed. True Tone is the first thing to check on pickup, since a display fitted without the pairing step looks perfectly normal until it stays cold white in a warm room.
What the Phone May Tell You About the New Part
On current iOS builds the 15 Plus can show a notice in Settings that the display is not a verified part, and this appears with some aftermarket parts even when everything works correctly. The message lives under Settings, then General, then About, and it is triggered by a mismatch between the serial stored in the replacement and the one the phone expects after the swap. Digitizer response, auto-brightness and Face ID keep functioning regardless of the notice, and the assembly does not dim or lock itself because of it. The alert is informational and does not disable touch, brightness or biometrics, but it stays in the device history, which matters before resale.
How the iPhone 15 Plus Display Replacement Works Step by Step
The work itself is short and happens in front of you. This is the sequence from the first check to the moment the module is seated and the frame is sealed again.
From Free Diagnostics to a Sealed Frame
We run free diagnostics in front of you for about 15 minutes, then disconnect the battery, lift the old panel, move the top flex and Face ID parts across, seat the new display and re-seal the frame. The engineer shows the fault before anything comes apart, so the cracked glass or the dead digitizer layer is visible at the same moment we see it. Most display replacement jobs on the 15 Plus finish in roughly 40 minutes, and the whole sequence is visible from the waiting area. For iPhone 15 Plus display replacement in Almaty, the same sequence applies whether the phone comes to the workshop or arrives by courier. The re-seal matters more than people expect: the adhesive gasket keeps dust and splashes out, and a display dropped in without it loosens within weeks.
What You Sign Before We Touch the Phone
Before any work starts, the price, the part type, the turnaround and the warranty go onto the receipt, and the new part is shown in its factory packaging. That paperwork takes about 2 minutes and covers the choice already made between an original and an aftermarket part. Send a photo of the damage on WhatsApp and an engineer replies within five minutes with a quote, which means the receipt step is mostly confirmation rather than a surprise. Every repair leaves with a warranty card valid up to 1 year, the old part in a bag and a device tested on the spot before payment.
Timing, Handover and Warranty on the Finished Repair
Most of this repair is finished while the customer waits, and the handover is where the result is actually confirmed. Here is what the last part of the visit involves.
Testing 32 Functions Together Before You Leave
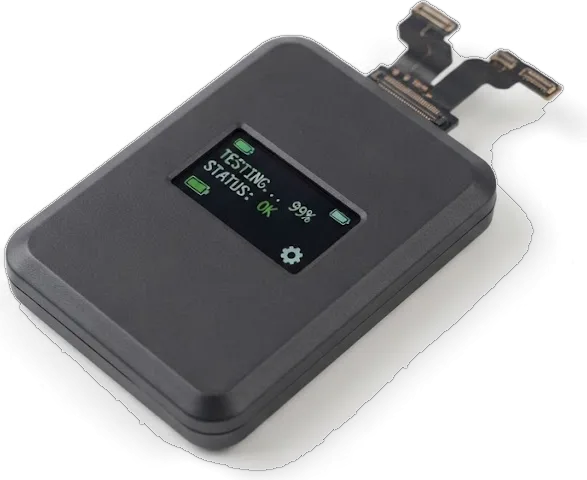
After the new display is in, we spend about 10 minutes checking 32 functions with you, including Face ID, True Tone, both cameras, microphones, speakers, charging and network. The engineer hands over the phone and walks through each item rather than running a silent test behind a counter — the customer taps, unlocks with Face ID, takes a photo and plays a track. Brightness, digitizer response at the very edges of the panel and the colour shift of True Tone all get looked at on the spot. Testing together rather than alone means the customer sees the same screen they will use at home, and anything that feels off in brightness or digitizer response at the edges gets caught before the phone leaves the bench.
Waiting Times, Courier and What Goes Home With You
A screen replacement takes about 40 minutes and the whole visit usually stays under an hour, with a waiting area, coffee and Wi-Fi for the wait. Our branches open Mon–Fri 10:00–19:00 and 11:00–18:00 at weekends and on holidays, so a drop-in before closing still gets the panel swapped the same day. If coming in is not possible, a courier crosses the city in about 90 minutes and is free with a repair. Either way the customer leaves with the receipt, the warranty card and the old part in hand, and a warranty that runs up to 1 year. Keep that old part — it is proof of what came off the phone if a question ever comes up.
Summary: iPhone 15 Plus Display Replacement
A replacement on this model comes down to three decisions — which part, who does the swap, and what gets verified before handover. The short version follows.
- Cracked front: the outer layer, touch layer and OLED panel are bonded as one unit, so a crack usually means a full display.
- Dead touch on an unbroken screen: the flex or the board is the suspect, and water exposure can stretch diagnostics to two days.
- Original versus aftermarket OLED: the two differ in black level, thickness and outdoor brightness, so match the choice to how long you keep the phone.
- Face ID and True Tone: both survive only when the top flex and the original display data are transferred during the swap.
- Time and cover: plan for about 40 minutes of work, a 10-minute joint function check, and up to 1 year of warranty.









 iPad
 MacBook
 iMac
 Mac mini and Studio
 Apple Watch
 AirPods
 Apple Pencil
 Apple TV
 HomePod