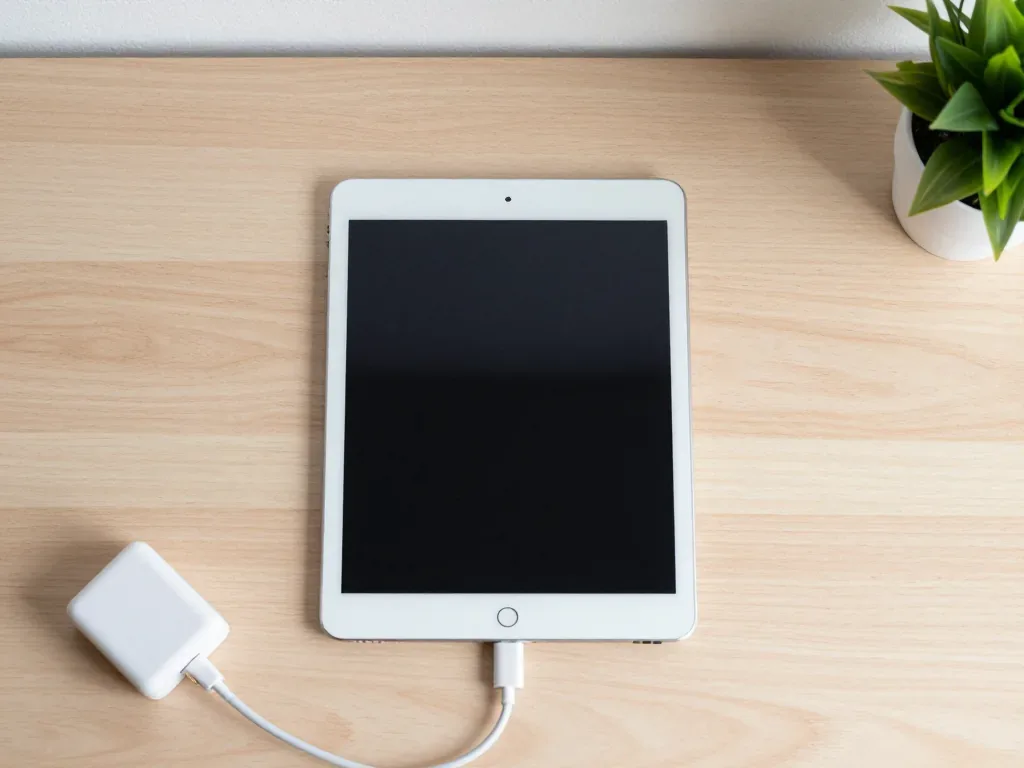
The mini 4 is a 7.9-inch tablet with a laminated screen and a battery glued under the glass, so the faults owners bring in cluster around three areas — the screen, the power path and the Lightning port.
Cracked Glass, Lines and Dead Touch Zones
On a mini 4 a cracked top layer, vertical lines or touch that stops responding in one corner all point to the same laminated assembly, because glass and LCD are bonded into one part. The digitizer sits directly on the LCD, so a hairline crack that looks cosmetic can travel across the panel within days, and a bright or dark stripe usually means the liquid crystal layer itself is damaged. Pressure marks at the corners often come from a drop in a case that left the glass intact but cracked the panel underneath. A panel that still shows a clean image but ignores touches is not automatically a cheaper fix on this model — the digitizer is fused to the panel, so the whole unit is the piece we replace.
Why the Screen Lifts Away From the Body
When the display on a mini 4 starts to bow out along one edge, the usual cause is a swollen battery pressing up from underneath, not a loose frame. The cell is glued to the aluminium body and sits directly behind the display, so as it ages and gases build up inside, the top cover pushes against the panel and the adhesive along that edge gives way first. We see this most often on tablets that have spent a long time on a charger overnight. A swollen cell keeps expanding, so a tablet in that state should not be charged or pressed back together — bring it in for diagnostics before the glass itself cracks.
Sudden Shutdowns, Fast Drain and a Warm Body
- Drops fast: charge falls sharply in standby, often a sign of a worn cell.
- Cuts out early: shutdown at 20–40 percent under light load points to a weak cell.
- Warms up: heat near the middle of the back during basic tasks suggests the power path.
- Charges slowly: a long time to full on a known-good cable hints at the port or controller.
- Cycles oddly: percentage jumps or stalls while plugged in, and settings may show low health.
- Confirmed on the bench: a glued cell's real state is measured physically, not read on screen.
Screen iPad Mini 4 Repair on a Laminated Display
The mini 4 sits on the laminated side of the line, and that single detail changes what a screen job actually is. Here is how the assembly is built, then the options side by side.
Glass and LCD Are One Part on This Model
The mini 4 was the point in the mini line where the display became laminated, so the cover and the matrix are bonded and cannot be separated without destroying the whole assembly. Between them sits a layer of optical adhesive that fuses the two into a single piece; prying them apart shears the LCD, kills the digitizer and leaves a sheet of top glass with nothing behind it. On earlier, non-laminated minis a cover-only swap was a real job, which is why so many owners still ask for it by name. That is why a quote for "just the glass" on this model is a warning sign — the honest scope of work here is the complete display, and the old part should come back to you.
What Changes for Touch, Pencil and True Tone
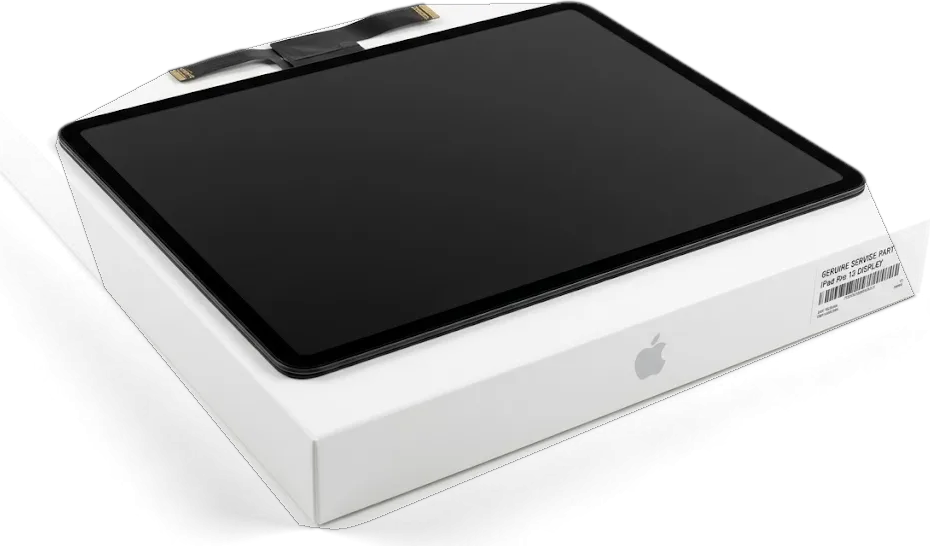
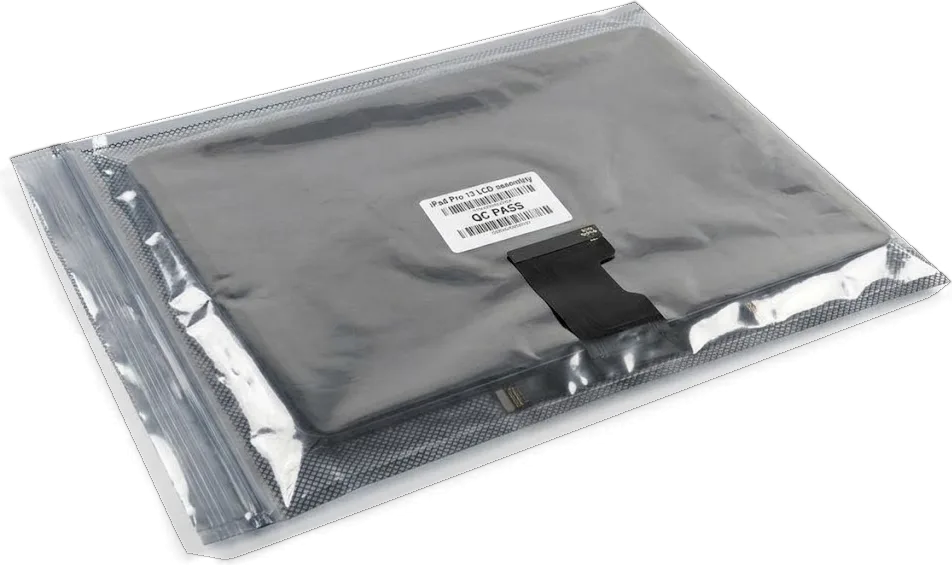
A correctly fitted display keeps multi-touch, Apple Pencil response and True Tone working, because those depend on the panel and its calibration rather than on a separate top layer. The digitizer is fused into the same stack, so a clean part restores the full tap grid in one pass, including the corners where dead zones appear after a bad drop. Before installation we show the new component in its factory packaging, so you can see what you are paying for rather than a bare board on a bench. True Tone and tap accuracy are the first things to test once everything is back together, so we run them with you at the counter instead of trusting a bench check alone.
Screen Options Side by Side
Three display choices compared by build and checks| Option | What you get | What we check before handover |
|---|
| Original module | Factory panel, closest colour and brightness match | Touch grid, True Tone, Pencil response |
|---|
| Aftermarket module | Lower-cost panel, good fit, slight tint variance | Touch grid, brightness, edge fit |
|---|
| Module plus frame | Panel pre-bonded to a new frame | Frame alignment, button travel, surface flush |
|---|
Battery, Charging and the Lightning Port
Power complaints on a mini 4 arrive as either "it won't charge" or "it dies too fast", and the two are checked in a fixed order so the real fault is not missed.
The Battery Is Glued Under the Screen
The mini 4 cell is bonded to the chassis beneath the display, so a swap starts with a controlled warm-up and careful lift of the module rather than a removable back cover. Our technicians work the adhesive loose on a heated platform, keep the display flex connected as long as possible, and only then unseat the pack. Because the power source sits directly under the glass, prying at the wrong angle transfers stress straight into the LCD layer. We test each unit on a load meter before and after the swap so a healthy one is never replaced on a guess. Because the display has to come off anyway, a worn cell is the right moment to have the module checked for hairline cracks that are invisible while it is fitted.
Checking the Charge Path in Order
- Cable and adapter: a known-good pair is tested first, because a tired Lightning cable mimics a dead connector almost perfectly.
- Connector and tail: the opening is inspected under magnification for lint, bent pins and a torn ribbon.
- Battery: cell voltage and behaviour under load are measured to see whether the pack is refusing the charge.
- Power controller: board-level check runs only if the first three come back clean.
- Software: charge level and reporting are confirmed correct after every step.
When the Port Itself Needs Replacing
A Lightning socket that is loose, corroded or has broken pins is replaced as a flex assembly, and on a mini 4 that job is done with the display lifted and the board shielded. The new tail carries the connector, the microphone and the antenna contacts, so each of those is rechecked before the device is closed. Our turnaround for this job on a tablet in Almaty runs from one hour to a day, depending on how the adhesive behaves. A socket that only charges at one angle usually means worn contacts rather than a dead board, so it is worth testing with a second cable before booking anything.
How We Handle Your iPad mini 4 Repair in Almaty
The sequence below is the same for every mini 4 that comes through the door, from the first photo message to the moment you walk out with the old component in a bag.
From a Photo on WhatsApp to a Fixed Receipt
Send a photo of the damage on WhatsApp and an engineer replies within 5 minutes with a price estimate and a free time slot, then confirms everything in person. We ask for two or three shots — the cracked corner, the lit display, the port — because the angle tells us whether the fault sits in the glass or in the laminated module beneath it. Price, component, turnaround and warranty are written on the receipt before any screw comes out, and the replacement is shown in its factory packaging before installation. The receipt takes about 2 minutes to prepare. Ask to see the packaging before the seal is broken, so what goes into the tablet matches the line on the paper. Every iPad mini 4 repair in Almaty follows this same route, so you always know what happens next.
Free Diagnostics in Front of You
Diagnostics take about 15 minutes and happen with you watching, and the engineer shows you exactly what has failed even if you decide not to go ahead with the repair. On a mini 4 the usual suspects are the laminated display module and the battery glued beneath it, so we test the touch grid zone by zone and read battery health straight from the system report. You see the same panel we do, at the same bench, with the backlight on. Seeing the fault on the bench is what separates a real diagnosis from a guess, and it is also the moment to ask which component the quote is based on.
Turnaround Times and the Final Check
Expected timelines and handover checks by job type| Work | Typical turnaround | What we check with you |
|---|
| Screen module | 1 hour to 1 day | Touch grid, True Tone, Pencil, cameras |
|---|
| Battery | 1 hour to 1 day | Charge behaviour, shutdown test, fit |
|---|
| Lightning port | 1 hour to 1 day | Charging at all angles, data link |
|---|
| Board repair | 1 to 3 days | Boot, network, charging, heat under load |
|---|
| After water | Diagnostics up to 2 days | Corrosion, board, all 32 functions |
|---|
Original Part or Aftermarket and What Stands Behind the Work
Owners hesitate most over the component decision, so it is worth spelling out what each option means for a mini 4 and what stands behind the work afterwards.
What Actually Differs Between the Two
An original mini 4 module matches factory colour, brightness and touch behaviour, while an aftermarket panel can differ slightly in tint and long-term wear but fits and works the same way. On the battery side the gap is smaller still: both an original cell and a quality aftermarket one restore the same runtime, and the difference shows up mainly in how the cell holds capacity after many charge cycles. The display is where the two options part company most visibly, because a laminated panel is looked at daily and a slight colour shift is hard to ignore once noticed. We show the new component in factory packaging before installation, so you compare a real item rather than a description. The choice matters most on the display and least on components you never look at — decide by how long you plan to keep the tablet.
Why Most Owners Pick the Original
64 percent of our customers choose an original part, and on a laminated mini 4 display that choice is usually about colour accuracy and how the panel ages. The reasoning is practical rather than sentimental: a tablet kept for a long time will spend far more time showing a slightly off-white page than sitting in a drawer, and an original module keeps True Tone and brightness behaviour consistent with the rest of the system. We handle this as a direct contractor with our own technicians and workshop, so the component is fitted by the same hands that quoted it and nobody in between decides what goes into your device. Whichever option you pick, it is shown in factory packaging before installation, so the decision is made on a real item rather than a description.
What the Warranty Covers and How It Is Documented
Every mini 4 repair carries a warranty of at least 12 months, written on the receipt and the warranty card you take home with the device and the removed component. The warranty period is tied to the replaced item itself and the workmanship around it, and both are recorded on the receipt before work starts — along with the price, the part and the turnaround. The warranty is tied to the specific unit and serial noted on your paperwork, which is why the old one travels home with you rather than staying in a bin. Keep the receipt — it is the document that ties the work to your tablet if anything needs a second look.
Summary: iPad mini 4 repair
A mini 4 is built in ways that shape every repair decision, and the notes below summarise what to keep in mind before handing the tablet over.
- Display: glass and LCD form one laminated module, so the whole assembly is the unit of service rather than a single sheet.
- Battery: glued in place and reached by lifting the display, which makes it a bench task with heat and proper tools.
- Charging: cable, port, battery and board are checked in that order, so a dead unit is not assumed to need board-level attention.
- Part choice: original or aftermarket, shown in factory packaging before fitting, with the difference explained in advance.
- Paperwork: the receipt, warranty card and the removed component travel home with you after the final check.















 MacBook
 iMac
 Mac mini and Studio
 Apple Watch
 AirPods
 Apple Pencil
 Apple TV
 HomePod