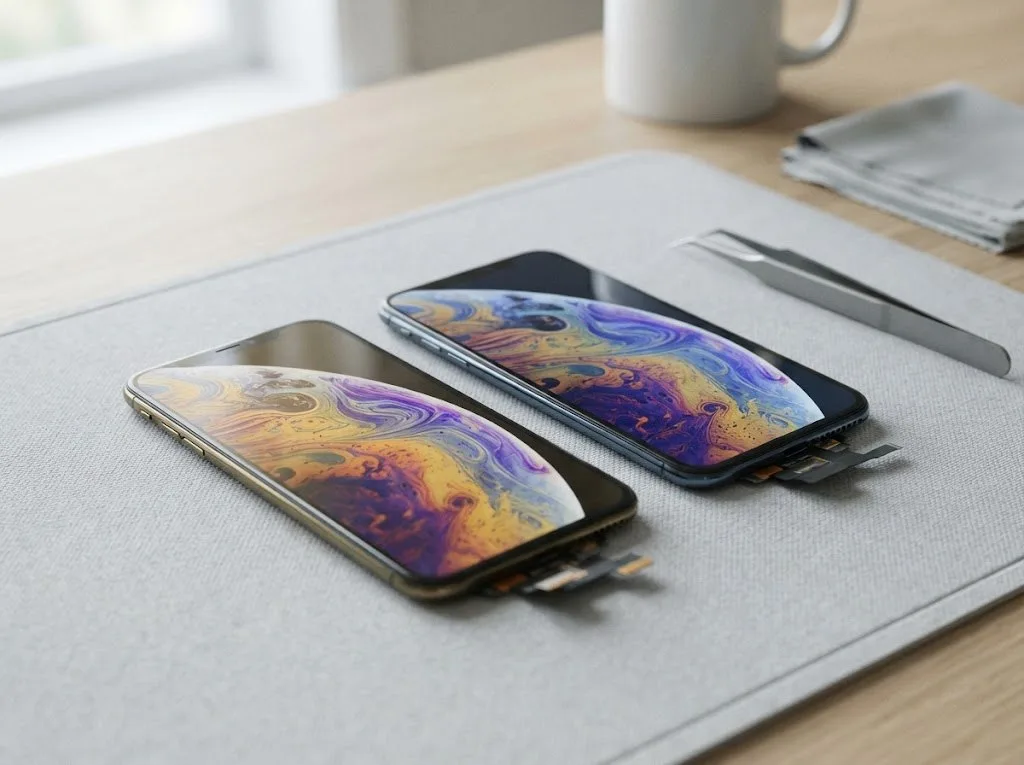
On the iPhone 7 Plus the display is a single glued assembly of cover, digitizer and LCD, so the first job is to work out which layer actually failed. That decides the part you need.
Cracked glass or a dead matrix
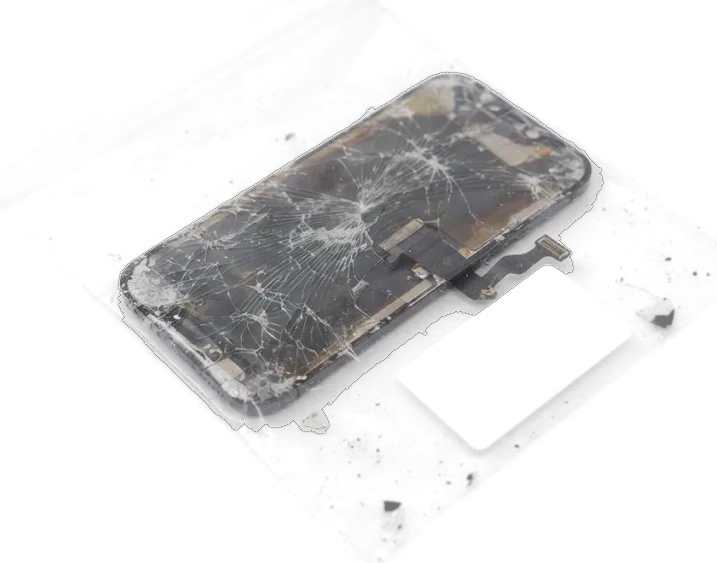
On the iPhone 7 Plus the glass, touch sensor and LCD are glued into a single module, so a cracked surface almost always means the whole unit is replaced, not just the top layer. A dead matrix looks different: the cover may be untouched while the picture turns black, keeps a bright backlight glow, or shows ink-like blotches spreading from a corner. Spider-web cracks with a clean, sharp image underneath point to broken outer glass over a healthy screen. Lines across the picture, a washed-out white image or a unit that stays dark after a hard reset point to the matrix or its backlight. A hairline crack that still shows a clean image is the cheapest moment to act, because pressure and dust work their way underneath and can take the digitizer with them.
When the picture is fine but the screen misbehaves
We see units where the outer layer is intact but the screen flickers, shows lines or ignores taps, and in those cases the fault is often the display flex or the board rather than the LCD itself. Ghost taps along an edge or a screen that freezes once the phone warms up usually trace back to a crushed flex connector or a damaged touch IC on the board. That is why we run free diagnostics in front of you for 15 minutes before quoting, so you are not sold a full assembly when a connector reseat or board fix would do. Our engineers have 11 years of practice, and the phone is opened in front of you rather than behind a closed door.
Original or aftermarket part for your iPhone 7 Plus
The 7 Plus uses a liquid-crystal display with a backlight, so the choice comes down to a factory module or a quality aftermarket one. The gap shows up in brightness, colour and touch response.
How the two part options differ
Two assemblies compared on build and image| Option | Panel and touch layer | Brightness and colour | What suits you |
|---|
| Original module | Factory LCD, matched sensor | Reference level, accurate colour | Long-term daily use |
|---|
| Quality aftermarket | Third-party LCD, separate sensor | Slightly dimmer, cooler tint | Backup phone, tighter budget |
|---|
| Shared traits | Both are LCD with backlight | Both keep the same brightness range | Both fit the same frame |
|---|
Why most owners here pick the original
About 64% of our customers choose an original module for the 7 Plus, mainly because the sensor and brightness match the rest of the phone and the panel ages more evenly. An aftermarket screen can sit a shade dimmer at the same slider position, and its tint drifts cooler next to the factory glass. On this model both variants are liquid-crystal with a separate backlight, so the gap is not in the technology but in the quality of the matrix and the sensor bond. The original assembly also holds its response more consistently along the edges after months of use. Send a photo of the damage on WhatsApp and an engineer replies within 5 minutes with a price for each option, so you can weigh the two before you come in.
What keeps working after the display is replaced
On the 7 Plus several parts live on the old module and inside the home button, so they are carried over during the swap. Skip that step and the phone loses functions you use every day.
Touch ID and the home button stay yours
We always move your original home button with its Touch ID scanner onto the new module, because the sensor is paired to the logic board and a replacement button would not unlock the phone. The fingerprint data itself never leaves the handset — the button only reads it, while the matching key sits in the secure part of the logic board. That pairing is set at the factory and cannot be re-flashed by any workshop, so a donor button from another iPhone 7 Plus recognises nothing. Our engineers lift the original button, reseat it on the new display and test the unlock before the phone goes back to you. This is also why a cheap screen swap elsewhere can leave the fingerprint unlock dead, so confirm before any work that the button is being transferred, not swapped.
3D Touch and the proximity sensor
The iPhone 7 Plus keeps 3D Touch after the swap as long as the display data and the top flex with the earpiece and proximity sensor are carried over correctly, and we check all of it with you. 3D Touch depends on a pressure layer bonded to the module, so a module built without it simply will not respond to a firm press on the app icon. Auto-brightness and the proximity sensor sit on the top flex, which is why the earpiece grille and the front camera come across with it. Before the phone goes back to you, the engineer checks the touch response, the earpiece, the microphones, the cameras, charging and network together with you, and the device is returned with the receipt, warranty card and the old part.
How the replacement goes step by step
The work happens with you present and fits into a short visit. Below is what takes place from the first inspection to the moment the device is back in your hands.
From diagnostics to a fixed receipt
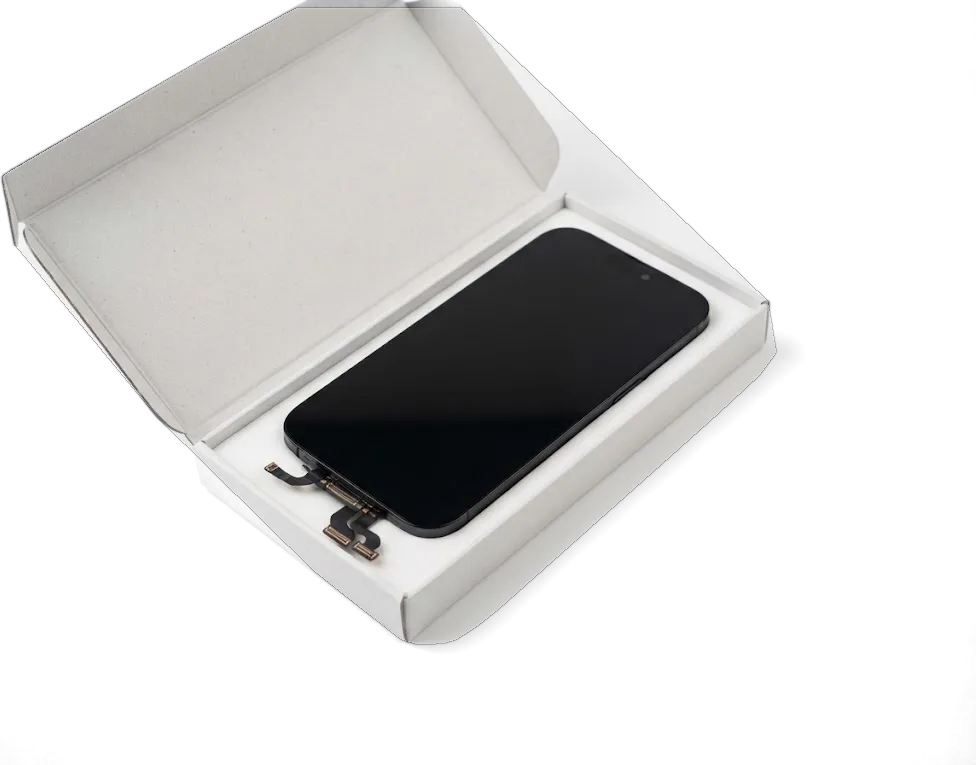
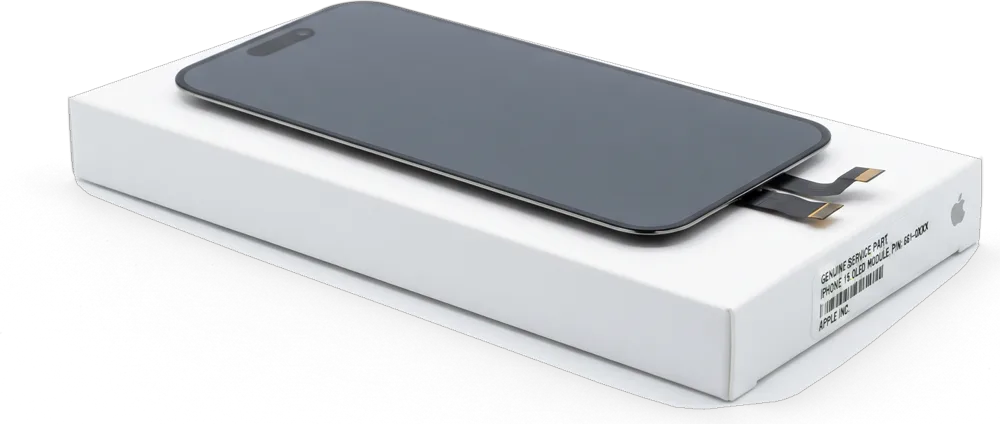
We start with free diagnostics in front of you, then fix the price, the part, the turnaround and the warranty on the receipt in about 2 minutes before any work begins. The engineer opens the iPhone 7 Plus display replacement Astana job by checking the device while you watch and showing exactly what has failed — cracked glass, a dead matrix or a failing digitizer. The inspection takes 15 minutes, and you pay nothing for it even if you walk away without a repair. The receipt step is what owners value most: everything is written down, signed and handed over, so no number changes mid-job. You see the replacement module in its factory packaging before it goes in, so there is no doubt later about which component ended up in your handset. Payment is accepted via Kaspi, by card or in cash after the checks.
Disassembly, transfer and resealing
The engineer powers the handset down, disconnects the battery, lifts the old module and moves the home button and top flex across before seating the fresh display and resealing the frame. The battery is unplugged first because a live connector under a metal pry tool is the fastest way to short a board. The home button carries your Touch ID pairing, so it stays with your device rather than travelling with the replacement panel. Fresh adhesive goes around the frame, the module is pressed into place and the screen sits flush with the housing. Resealing matters on hardware this old, because the original adhesive has usually dried out and a fresh gasket keeps dust and splashes from reaching the new screen.
Timing, warranty and what you take home
A screen swap on the 7 Plus runs about 40 minutes, and most of that time you can spend in the waiting area while the engineer finishes the function check before you get the phone back.
Waiting on site or sending the phone by courier
A display replacement takes about 40 minutes while you wait in our seating area with coffee and Wi-Fi, and the whole visit from first contact to pickup usually runs under an hour. We are open Monday to Friday 10:00–19:00 and weekends with holidays 11:00–18:00, so a lunchtime drop-off fits most schedules. Send a photo of the damage on WhatsApp and an engineer replies within 5 minutes with a price and a free slot — 72% of repairs are finished while the customer waits. If you cannot come in, a courier can be called to collect the device, and we confirm the slot on WhatsApp so you are not guessing when it will be back.
The 32-point check and the warranty you leave with
After the swap we check 32 functions with you in about 10 minutes, covering Touch ID, cameras, microphones, speakers, charging and network, and you leave with the receipt, warranty card and the old part. The warranty runs up to 1 year, and the part is shown in factory packaging before installation so you can match it to what the receipt lists. Eleven years in business and 46,000+ repairs sit behind that paperwork — the card is the document you actually rely on if anything drifts. Keep the old module until you have used the phone for a few days, since it is the quickest reference if you ever want to compare touch response or colour against the new panel.
Summary: iPhone 7 Plus Display Replacement
A reliable iPhone 7 Plus display rests on three decisions: the right panel, a clean transfer of the factory components, and a full function check before you leave.
- One module, one swap: the glass, digitizer and LCD on this model are bonded into a single unit, so cracked glass means the whole assembly is renewed.
- The panel shapes the picture: original and aftermarket assemblies differ in brightness, colour accuracy and how the digitizer layer ages over months of use.
- The home button stays yours: the factory button with Touch ID must be moved across, and the display data has to be carried over so the panel works correctly.
- No crack, still a fault: a screen that flickers or ignores taps points to the flex cable or the board, which is why diagnostics come before any component is ordered.
- Time and cover: expect around 40 minutes of work, a short function check afterwards and a warranty up to 1 year.







 iPad
 MacBook
 iMac
 Mac mini and Studio
 Apple Watch
 AirPods
 Apple Pencil
 Apple TV
 HomePod