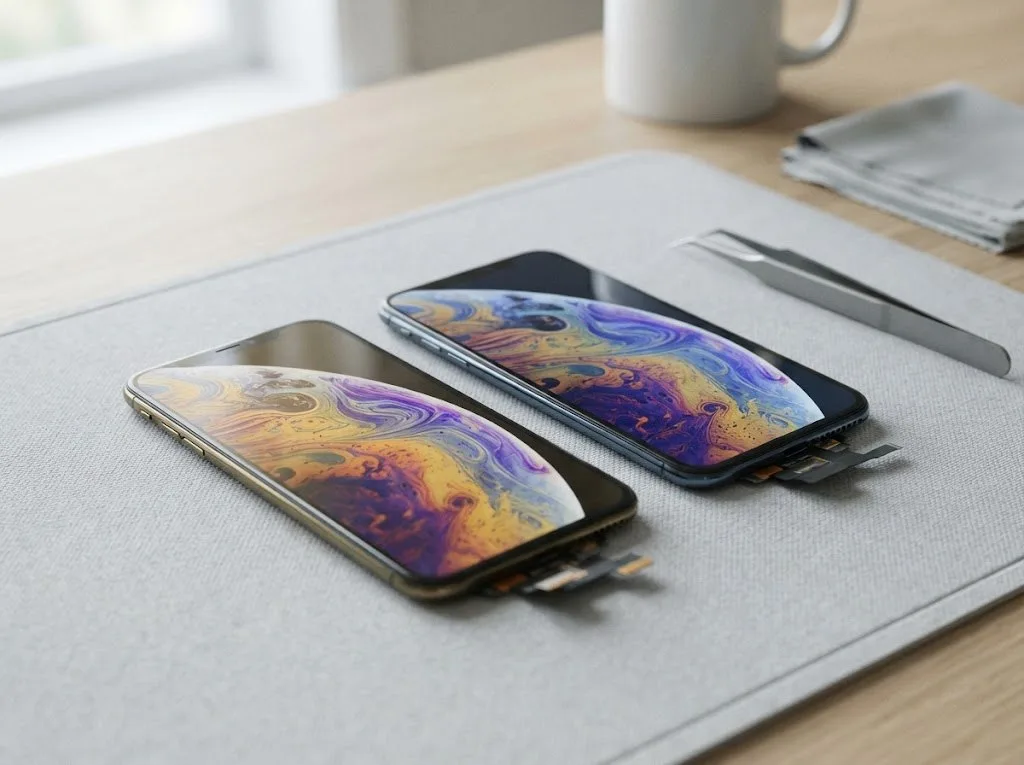
On the SE the front pane, the touch sensor and the LCD are bonded into a single unit, so a "glass-only" swap rarely holds up in practice. We first establish which layer actually failed.
Cracked Glass, Lines or a Dead Touch Layer
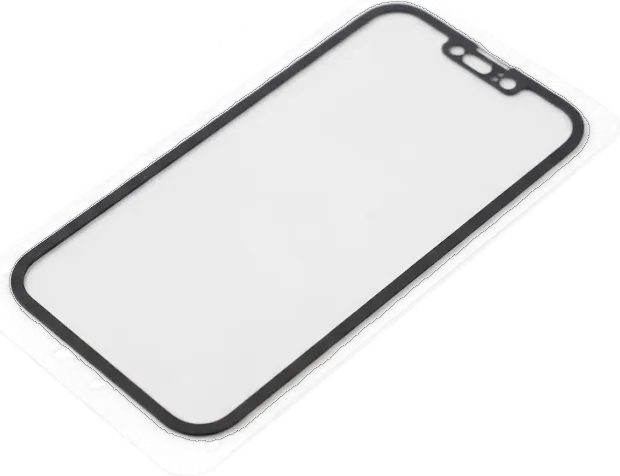
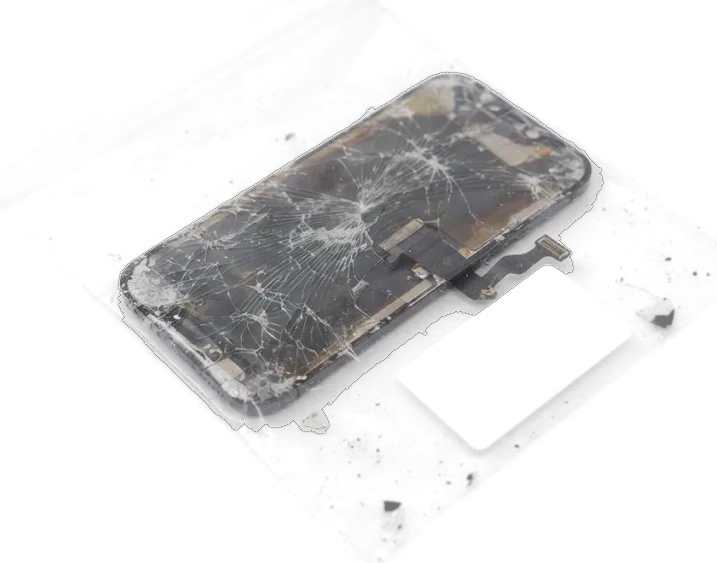
A crack, a web of lines, dark spots or a digitizer layer that ignores presses all point to the display assembly, because the front pane, sensor and panel on the SE are bonded into one unit. A hairline fracture along the edge often spreads across the panel within days once pressure reaches the LCD underneath, and a bright band or a growing dark patch means the matrix itself is compromised, not just the top layer. Phantom taps and dead zones in one corner follow the same logic: the digitizer grid is damaged and no software reset restores it. A handset that looks intact but stays black or registers taps you never made is a different story — that is a job for diagnostics of the flex cable and mainboard, not an automatic swap.
When the Screen Is Whole but Nothing Works
We start with free diagnostics in front of the customer, 15 minutes, and show what is actually broken before anyone quotes a replacement. The engineer inspects the display flex, its connector and the mainboard under magnification, because a lifted connector or a corroded trace mimics a dead panel almost perfectly. Liquid contact is the case that needs patience: corrosion creeps along the circuitry and produces flicker, faint stains behind the glass or a screen that wakes only when pressed hard. After liquid contact the check can stretch to two days, because corrosion on the circuitry shows up slowly and a rushed verdict wastes both the part and your time. On the SE specifically, the home button flex sits close to the display cable, so a careless pry there kills Touch ID along with the screen.
Original or Aftermarket Parts for Your iPhone SE Display Replacement
The SE uses an LCD panel, so the real choice is between an original module and a quality aftermarket one. The gap shows up in brightness, colour and touch response — not only in what you pay.
How the Two Options Differ in Daily Use
Comparing the two screen choices| Option | What you get | Best for |
|---|
| Original unit | Factory brightness, colour and touch response | Owners who want the SE to feel as before |
|---|
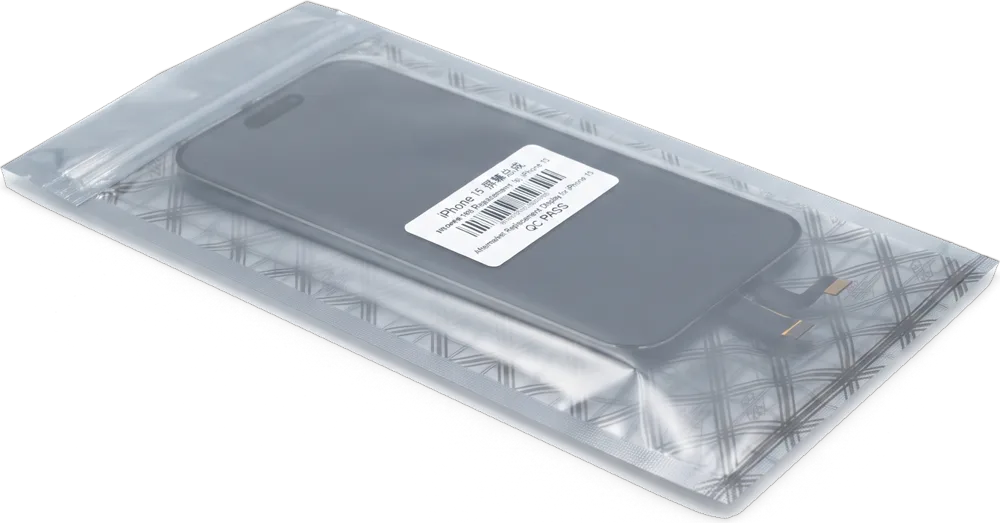
| Quality aftermarket | Same LCD type, slightly dimmer, close touch feel | Budget-minded repairs on an older SE |
|---|
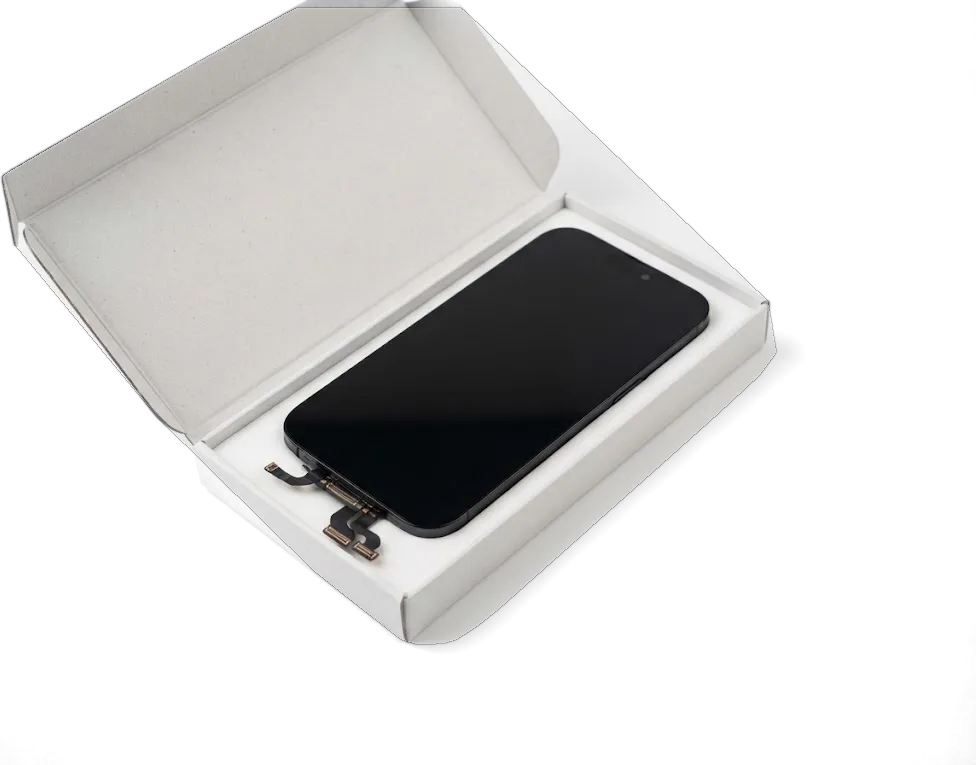
| Shown prior to fitting | New screen in factory packaging, opened in front of the customer | Anyone who wants to inspect it first |
|---|
Why the Part Is Shown Before It Goes In
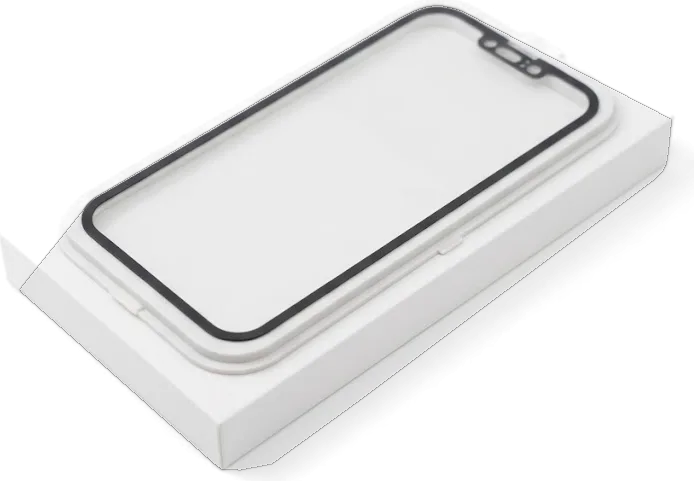
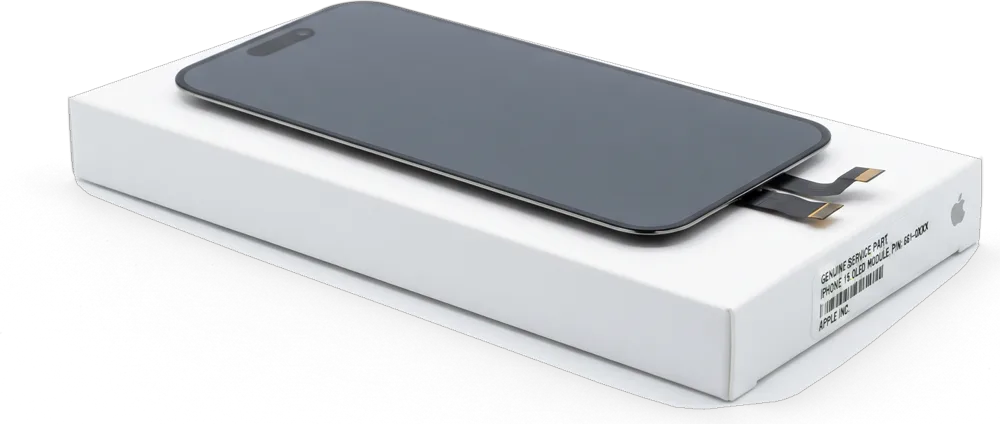
We open the new component in factory packaging in front of the customer and only then install it, so the screen agreed on is the screen fitted. That step settles most of the display replacement decision in Astana: the customer sees the panel, its flex cables and the frame edge before any screw goes back in, and the type is fixed on the receipt at the same moment. For an iPhone SE display replacement in Astana, seeing the component first removes the guesswork about what will be fitted. 64% of customers pick the original unit, the rest choose a quality aftermarket screen for older devices. Ask to inspect the flex cables and frame edge beforehand — a bent frame or a creased cable is the usual reason a fresh screen fails within weeks.
What Keeps Working After the Swap
On an SE with a Home button the main question is whether Touch ID survives. The answer depends on whether the original components were moved from the old module to the new one.
Touch ID and the Home Button
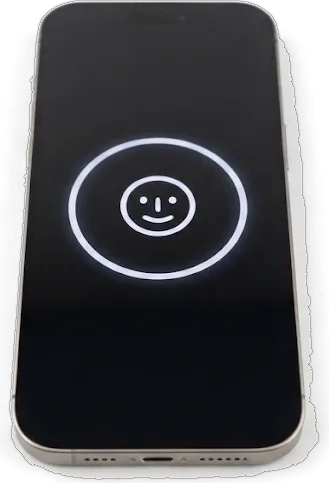
The original Home button with its Touch ID scanner is moved onto the new module, because the scanner is paired with the board and a new button would not work. We keep the button, its flex cable and the metal bracket together through the whole swap and mount them on the fresh display before anything is screwed down. The pairing lives in the logic board, not in the glass, so the sensor keeps recognising the owner's fingerprint after the module changes. On the SE the button also carries the click mechanism, and we test its travel and the haptic response by hand. That is why the button is never replaced together with the display on the SE — the component that carries the fingerprint data stays with your phone.
Brightness, the Ambient Light Sensor and the iOS Notice
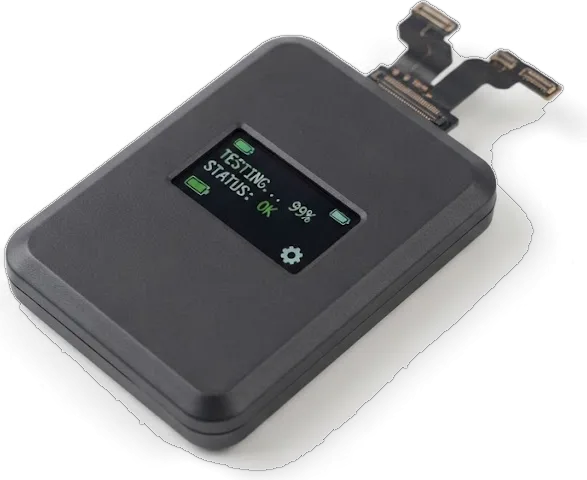
Auto-brightness keeps working only if the data of the original display is carried over, and it is checked right after installation. The transfer is done through the programmer used on the bench, and the ambient light sensor is the part that feeds the feature — if the flex is pinched during reassembly, the panel stays bright in a dark room. On newer iOS builds the phone may show a notice about an unverified part; it does not stop the display from working, and the meaning is explained before the customer leaves. The notice appears mostly with aftermarket panels, while an original part with transferred data usually clears it.
How the Replacement Runs While You Wait
An iPhone SE screen swap takes about 40 minutes, and most of that time you can spend in the waiting area while the engineer moves the components over and fits the new module.
From Photo on WhatsApp to the Waiting Area
Send a photo of the damage on WhatsApp and an engineer replies within 5 minutes with a price and a free time slot, and a courier can be called if you cannot come in. Our engineers quote from the picture alone, so you know the figure before you leave home, and payment by Kaspi, card or cash is settled at the desk. The price, part, turnaround and warranty are fixed on the receipt in about 2 minutes before work starts, so the number you heard on WhatsApp is the number you pay. Ask for the slot right after the holidays — the queue in the capital builds up on the first working day.
What the Engineer Does During Those 40 Minutes
- Diagnostics: the engineer checks the device in front of you and shows what is broken, 15 minutes, free even if you decline.
- Teardown: the frame is opened carefully, the battery is disconnected first, and the old module comes out with its cables intact.
- Component transfer: the original Home button and the top flex with the speaker and proximity sensor move onto the new module.
- Fitting and sealing: the new module goes in, the frame is resealed, and the phone is closed evenly around the edges.
- Handover check: you test the screen together with the engineer before the phone leaves the workbench.
The Check, the Paperwork and the Warranty
Once the new display is seated, we do not hand the phone over straight away. First the functions get tested together with the customer, then the documents and the removed part come back to the owner.
The 32-Point Check You Run With Us
After the repair we check 32 functions in about 10 minutes, and the customer runs through the key ones with the engineer before leaving. The list covers Touch ID and the Home button, both cameras, the microphones, the speakers, charging and the network — the areas a display swap can quietly disturb if a cable sits loose. The customer holds the unit during this pass, so the verdict is the owner's, not ours on a clipboard. The engineer watches the digitizer, the brightness ramp and the sensor stack while the customer swipes through menus and tilts the panel. The digitizer is tested along all four edges and the brightness slider at both ends — those two spots catch a poorly seated cable faster than any menu page.
Receipt, Warranty Card and the Old Part You Keep
The phone comes back with the receipt, a warranty card up to 1 year and the old display module, so you keep proof of the work and the component that came off. The receipt is not a generic invoice: price, part type (original or aftermarket), turnaround and warranty period were written into it prior to the engineer starting, and those lines match what was agreed on WhatsApp. The card names the same coverage term, and the removed module goes into the box with the handset rather than staying in a drawer at the workshop. We have handled 46,000+ repairs over 11 years, and a written paper trail is the element of the job that outlives the visit. The old display is worth keeping until the coverage period ends — if a claim ever comes up, the removed component makes the conversation with any service much shorter.
Summary: iPhone SE Display Replacement
A screen replacement on an iPhone SE comes down to a handful of points worth remembering before the device goes to any workshop.
- Module, not glass: a cracked SE front is almost always a full assembly swap, since glass, sensor and matrix are bonded into a single unit.
- Home button stays: the factory Home button travels to the new part, which is what keeps Touch ID working once the job is done.
- Display data check: the factory display data is carried over to the new module, and brightness, colour and touch response are verified right after fitting.
- Part quality shows: a genuine unit and a quality aftermarket version differ in brightness, colour and touch feel, not just in price.
- Paperwork back: a written receipt, a warranty card and the old component are the three things to take away from any display repair.







 iPad
 MacBook
 iMac
 Mac mini and Studio
 Apple Watch
 AirPods
 Apple Pencil
 Apple TV
 HomePod