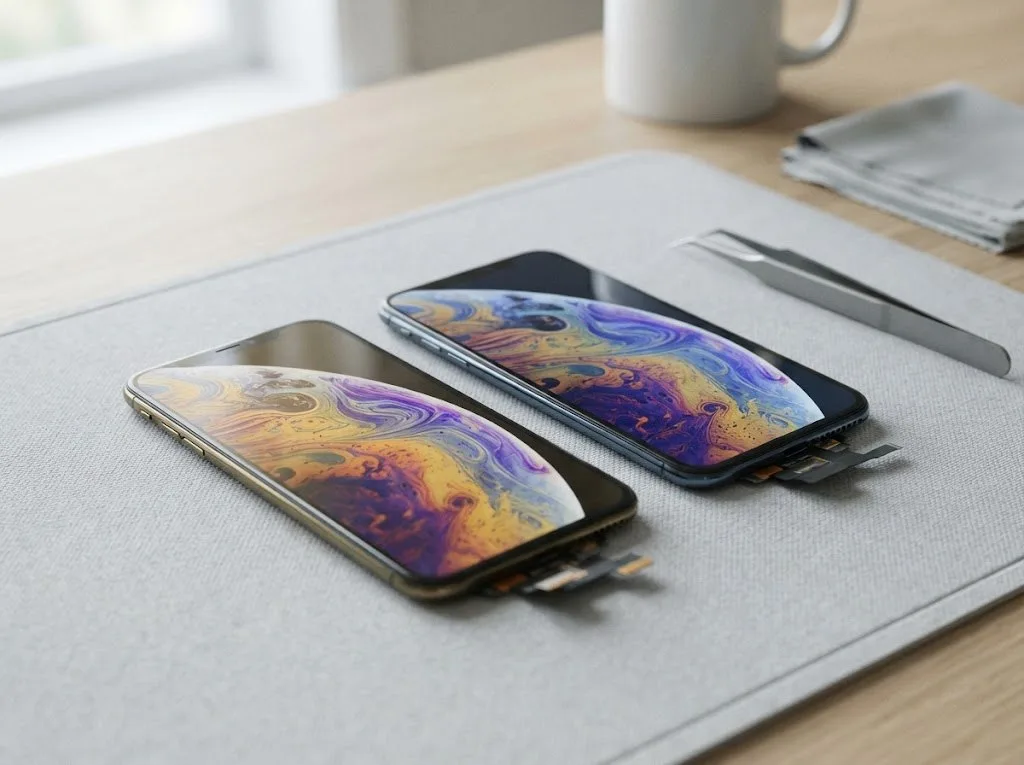
Face ID is a system of several sensors, so the message on screen points to a specific node, not to the whole phone. Reading the symptom correctly is the first step.
Reading the iOS Messages and What Each One Means
When iOS shows a Face ID problem message, the TrueDepth module has reported a hardware fault, not a badly saved face. "Face ID Is Not Available" appears when the module cannot initialise at all, usually after a drop, liquid contact or a screen swap done without moving the top flex. "Face ID Is Not Available on This iPhone" is stricter: iOS has stopped trusting the module and disables the feature until the pairing is restored, and the passcode alone will not bring it back. The dot projector, the infrared camera and the flood illuminator all sit inside that module, and any one of them failing triggers the same greyed-out switch in Settings. A face that simply stopped matching is fixed by resetting Face ID in settings, so if the reset option is greyed out, the fault is physical and a visit is worth it.
Which Sensor Failed, Symptom by Symptom
matching each symptom to the TrueDepth part behind it| Symptom | Likely node | What we check |
|---|
| Face ID unavailable, front camera works | Dot projector or IR camera | TrueDepth ribbon and projector alignment |
|---|
| Screen stays on at your ear | Proximity sensor | Top flex near the earpiece |
|---|
| Face not recognised in the dark only | Flood illuminator | IR illuminator output |
|---|
| No portrait mode on front camera | Front camera module | Camera and ribbon connection |
|---|
| Face ID greyed out after a drop | Module or board link | Connector and board under microscope |
|---|
Why We Repair the iPhone 11 Face ID Module Instead of Replacing It
A new Face ID unit from another iPhone will not work, and this single fact shapes the whole repair. Here is what is paired to your handset and what actually breaks.
The Board Pairing That Rules Out a Simple Swap
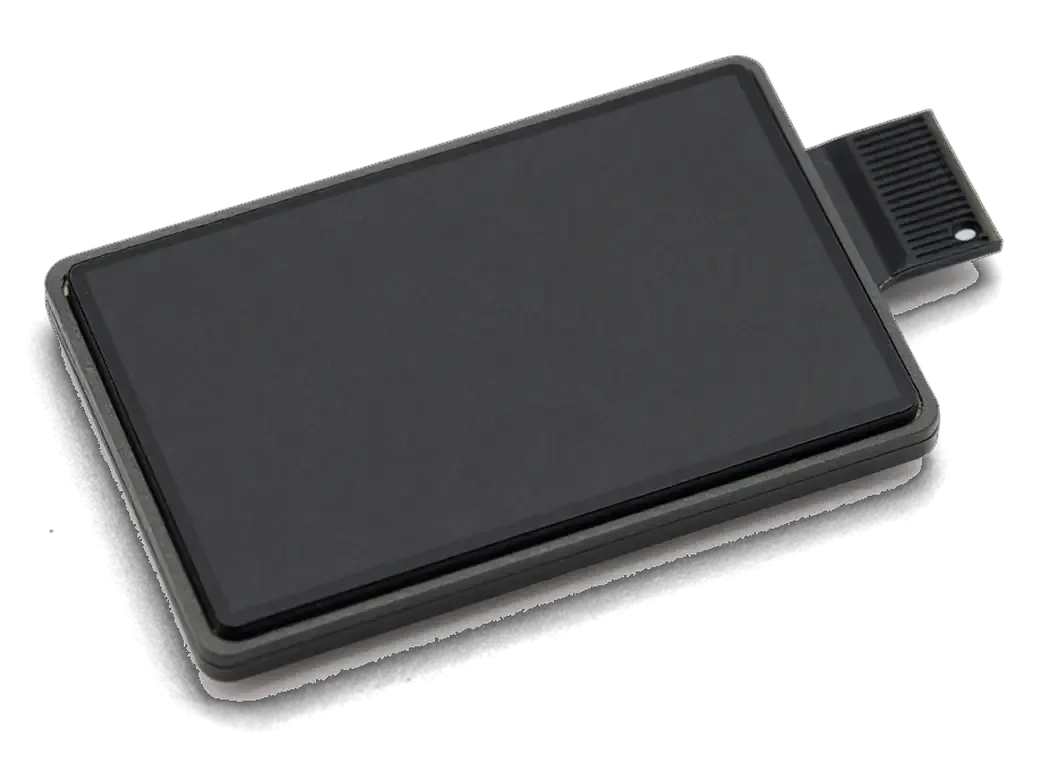
Face ID is tied to the Secure Enclave on your iPhone 11 board, so a unit from another handset cannot be activated, and we restore your own components instead. The TrueDepth assembly carries a unique identifier that the Secure Enclave reads at every unlock, and a donor part fails that handshake on the first attempt. Swapping the whole unit therefore leaves you with a device that boots normally but refuses face recognition, Apple Pay and app authentication. The only working route is to keep your original assembly and repair the specific damaged element inside it — the dot projector, the flood illuminator or the ribbon that joins them to the logic board. Because the pairing lives on the board, a repair that keeps your original assembly is the only route that preserves Apple Pay and every other Face ID feature.
The Four Causes Behind Most Face ID Failures
- Drop or impact: the dot projector shifts or cracks, and recognition stops even though the camera still works.
- Moisture: water oxidises the TrueDepth ribbon and connector, so the fault can appear days after the handset dried.
- Careless screen swap: the top ribbon with the sensors is torn when the display is lifted without disconnecting it first.
- Previous repair elsewhere: a missing or damaged sensor ribbon from an earlier job leaves Face ID permanently unavailable.
Keeping Face ID Alive Through a Screen Replacement
The display and the Face ID sensors share the top of the iPhone 11, so a screen job is where Face ID is most often lost. The transfer step is what protects it.
How the Top Flex Transfer Protects Your Sensors
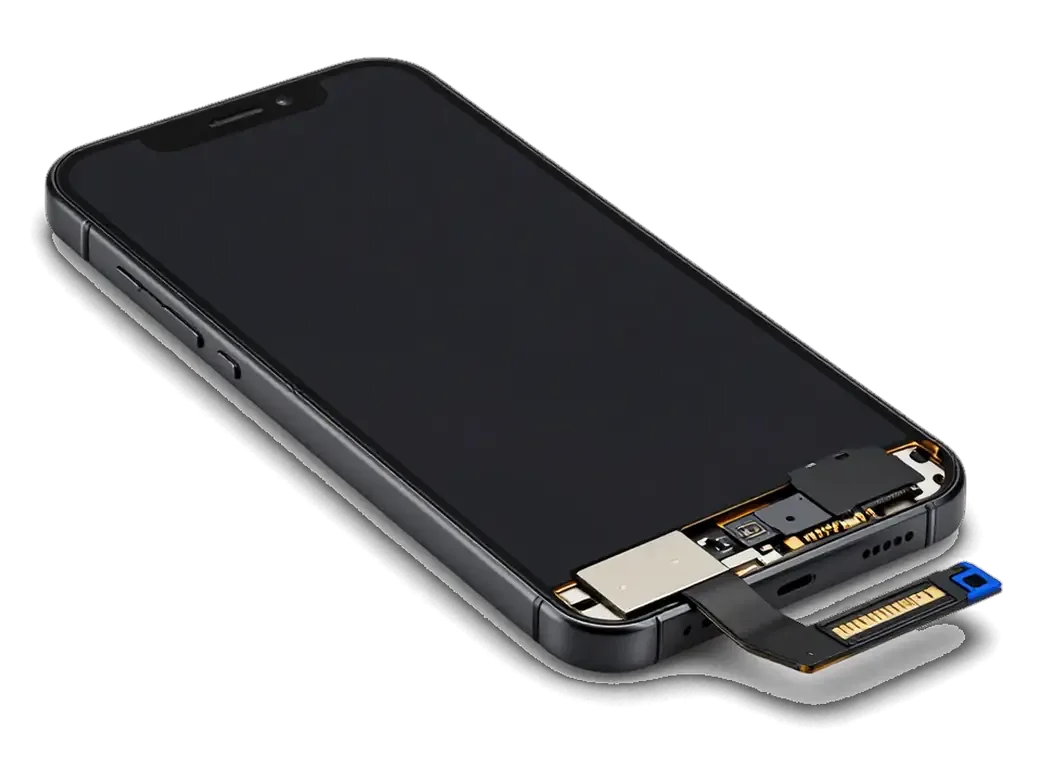
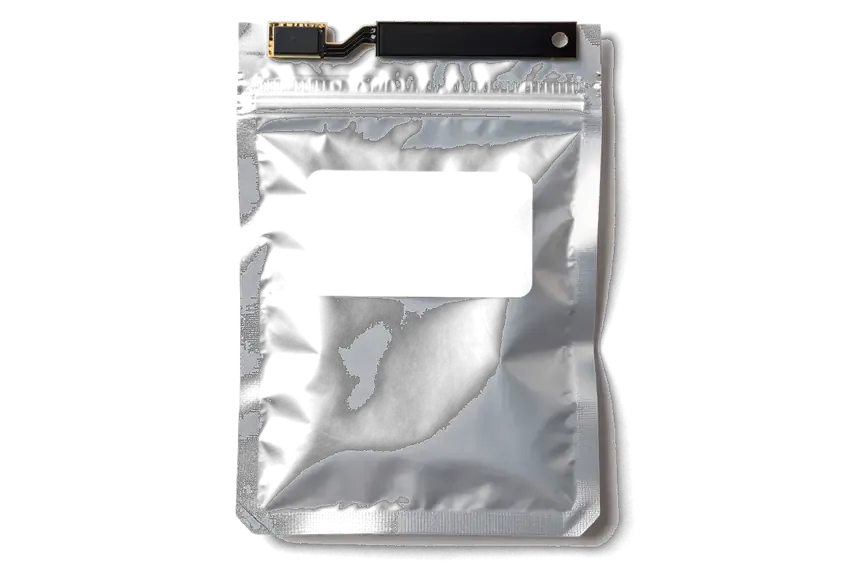
When we replace an iPhone 11 screen, we move the original top ribbon with its sensors onto the new display, so Face ID keeps working after the job. That ribbon carries the earpiece speaker, the proximity sensor and the flood illuminator, and each one has to sit in the same position on the replacement glass. We lift the ribbon with a heat mat and plastic cards rather than metal, then seat it on the new panel and test the dot projector before the screen goes back on. The transfer has to happen before the new screen is seated, because the ribbon is fragile and re-lifting a fitted display is the most common way a working Face ID is destroyed.
Original and Aftermarket Screens Side by Side
Screen types compared by sensor fit and display features| Screen option | Face ID after repair | True Tone and auto-brightness | Sensor fit |
|---|
| Original display | Works, sensors transferred | Fully supported | Exact factory cutout |
|---|
| Quality aftermarket | Works, sensors transferred | May be limited | Usually correct |
|---|
| Budget aftermarket | Works if ribbon intact | Often unavailable | Window can block sensor |
|---|
What to Check at Home Before You Book a Repair
A few minutes of testing at home tells you whether the fault is in settings or in hardware, and it saves a trip if the fix is a simple reset.
A Five-Minute Self-Test for Face ID
- Reset Face ID: delete the saved face in Settings and set it up again to rule out a software glitch.
- Test the selfie lens: open the Camera app, switch to the front lens and confirm it still records video.
- Cover the top sensor: start a call and check whether the screen goes dark when the phone reaches your ear.
- Try in low light: if recognition fails only in dim rooms while daylight works, the IR illuminator is the suspect.
- Back up first: make an iCloud or computer backup so your data stays safe whatever the repair brings.
What Still Works Without Face ID
Without Face ID you can still unlock the iPhone 11 with the passcode, but Apple Pay, Animoji and portrait selfies stop working until the module is repaired. The TrueDepth system feeds the depth map that portrait mode uses, so background blur on selfies disappears and Memoji stop tracking your expressions. Animoji and Memoji live in Messages, and both need the dot projector to animate. Bank apps that verify identity through facial recognition fall back to a password instead. Because Apple Pay relies on that same confirmation, plan to pay with a card or cash in shops until the repair is done, and set a longer auto-lock so you are not typing the passcode constantly. If recognition fails only in low light while the front lens still records video, the flood illuminator is the likely culprit, which is a workshop job rather than a settings fix.
How Our iPhone 11 Face ID Repair Works Step by Step
The repair itself is short, and the transparency around it is what most customers ask about. Here is exactly what happens from your first message to pickup.
From WhatsApp Photo to the Receipt
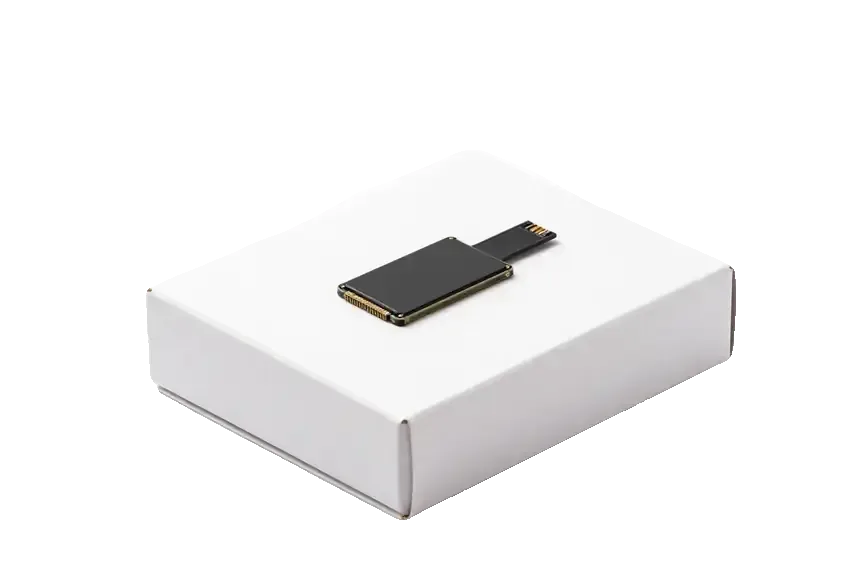
You send a photo of the damage on WhatsApp, an engineer replies within five minutes with a price, and free diagnostics in front of you takes about 15 minutes. We open the phone at the bench so you watch the engineer test the TrueDepth assembly and confirm which component failed. Price, part, turnaround and warranty are written onto the receipt in about two minutes, and the new module is shown in factory packaging before installation. 64% of customers choose an original part once they see both options side by side. The receipt is signed before any work starts, so the part, turnaround and warranty are locked in while you still have the option to walk away without paying for diagnostics.
The Final Check and What You Take Home
After the repair we check 32 functions with you in about 10 minutes, including Face ID, True Tone, cameras, microphones, speakers, charging and network. You unlock the phone yourself, set up a fresh face scan and watch it register, so nothing is left to trust alone. Most iPhone 11 Face ID repair work in Astana finishes inside that window, with 72% of jobs completed while the customer waits in the seating area with coffee and Wi-Fi. You leave with the receipt, the warranty card and the old part, and the warranty runs up to 1 year, so a sensor that fails again is covered rather than charged twice.
Summary: iPhone 11 Face ID Repair
Five points sum up what decides a successful Face ID repair on this model, from the first on-screen message to the receipt you leave with.
- Paired module: Face ID is locked to the logic board, so the TrueDepth unit is repaired in place rather than swapped for a part from another handset.
- Symptom and message: the warning on screen plus the physical symptom together identify which sensor node failed and set the scope of the work.
- Display work: biometric unlocking survives a panel replacement only when the original top ribbon is moved across with care.
- Home check: a five-minute self-test separates a software glitch from a genuine hardware fault before you make the trip.
- Written terms: a receipt stating the part, turnaround and warranty protects you before any technician opens the device.







 iPad
 MacBook
 iMac
 Mac mini and Studio
 Apple Watch
 AirPods
 Apple Pencil
 Apple TV
 HomePod