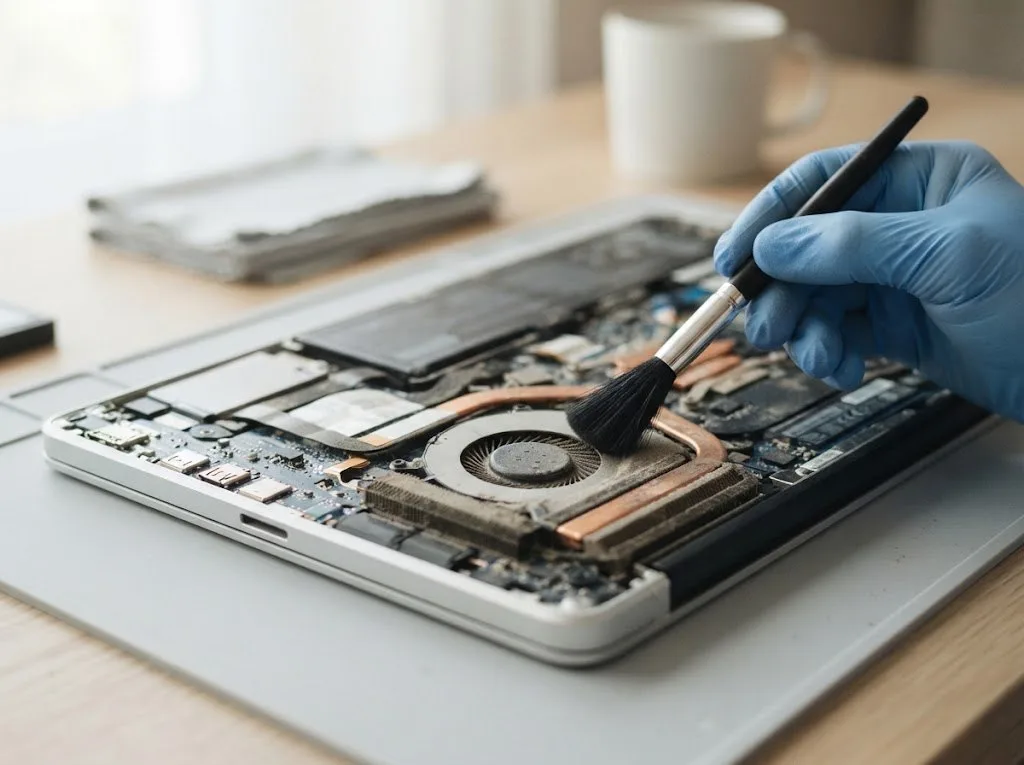
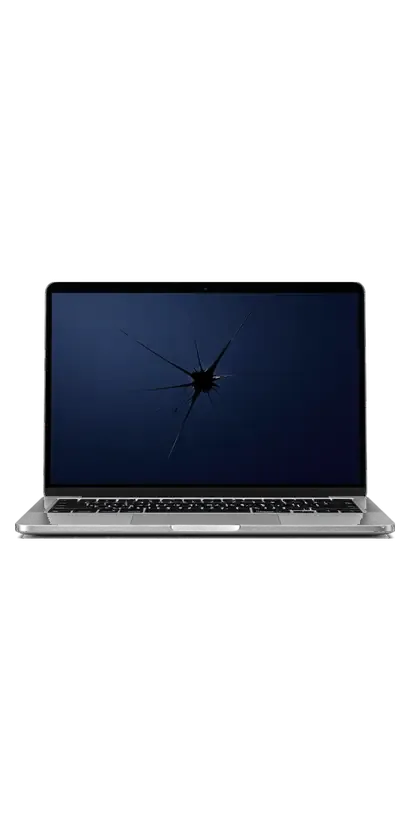
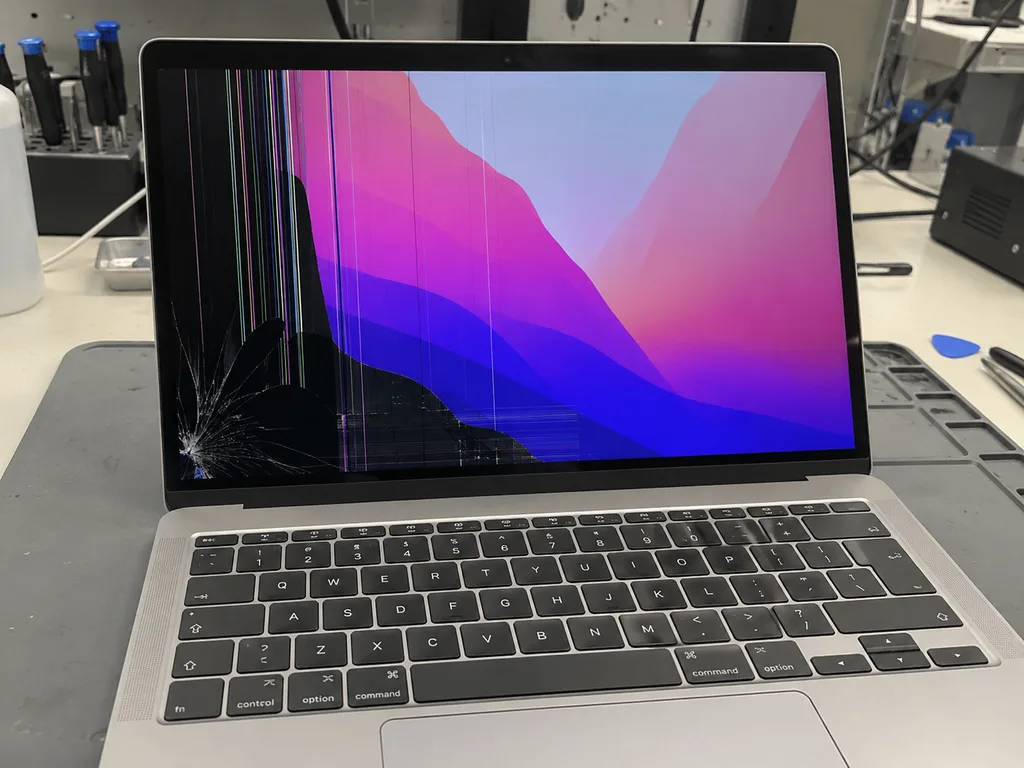
A MacBook display fails in different ways — a crack spreading from a corner, stripes across unbroken glass. The damage pattern decides whether we swap a bare panel, a whole assembly or re-bond the matrix into your own lid.
Three repair routes and how to tell which one you need
repair routes matched to lid and frame condition| Route | When it fits | What is kept |
|---|
| Panel only | Non-Retina Air, intact lid and frame | Original lid, camera, antennas |
|---|
| Full assembly | Retina and newer, bent lid or bad hinges | Nothing from the old lid |
|---|
| Re-bonded panel | Retina with a good lid and frame | Original lid, camera, antennas |
|---|
Stripes or a black screen with unbroken glass
When the glass is intact but the image is striped or black, we connect an external monitor first, because that single test separates a display fault from a board fault. A clean picture on the external monitor points to the matrix or its flex cable, and the display replacement in Astana then stays a panel-only job with no board work. If the external image is broken too, the graphics side of the logic board is involved and swapping the matrix alone will not fix it. Backlight failures behave differently again: the picture is faint but visible under a lamp, which means the LED strip has failed rather than the LCD. This check takes minutes and saves customers from paying for a part they do not need, so ask for it before anyone quotes you a new display.
Original Panel or Aftermarket and How True Tone Behaves
Both parts fit and light up, but the difference shows in colour accuracy, peak brightness and whether True Tone survives the swap. We show the new part in factory packaging before fitting so the choice is deliberate.
What actually differs between an original and an aftermarket panel
An original part matches the factory brightness and colour, while an aftermarket one can sit slightly dimmer and shift in tone, and True Tone may not work on it at all. A genuine assembly typically reaches the same peak nits the laptop shipped with, whereas the alternative glass often lands a step lower and reads cooler or greener on white backgrounds. Colour drift shows up fastest in photo editing and video work, where a neutral grey turns faintly blue. The adaptive setting relies on the ambient light sensor in the top cover talking to a screen it recognises, so on some aftermarket units the option simply disappears from Control Centre after the swap. Photographers and designers should ask to compare the two options side by side at full brightness before committing.
Which part customers pick and why
- Original assembly: factory brightness and colour, adaptive setting works, holds resale value best.
- Aftermarket option: lower cost, may be dimmer, and the adaptive setting can be missing.
- Same warranty: either variant is covered up to 1 year, with no difference in coverage.
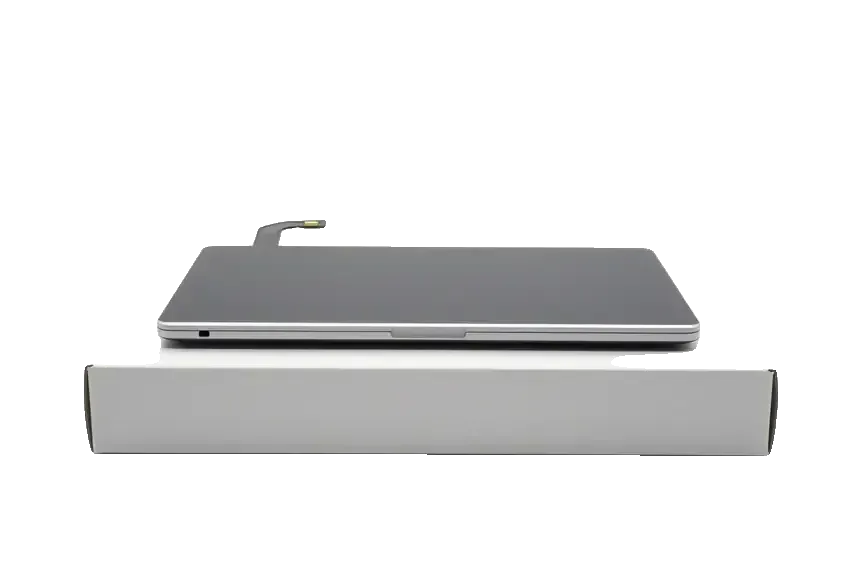
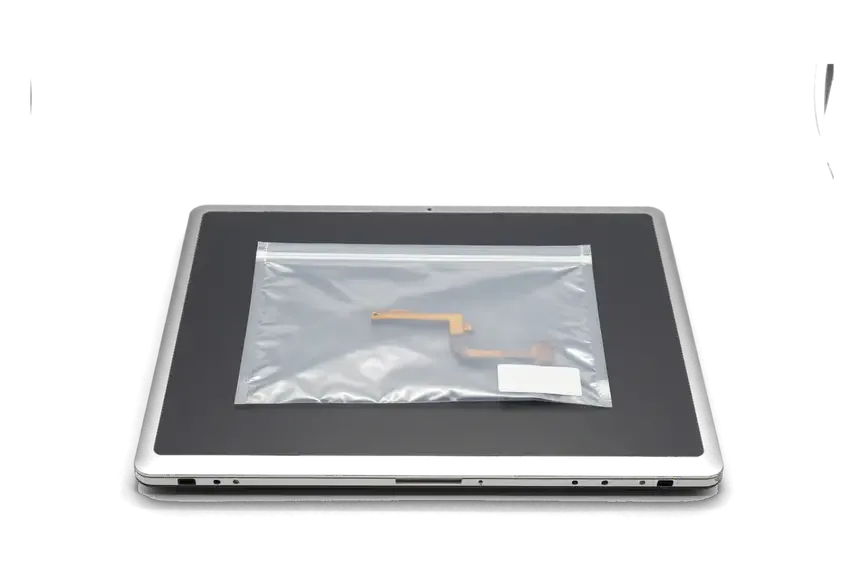
- Shown before fitting: the new part arrives in factory packaging for you to inspect.
- Our split: 64% of customers choose an original part, and each option carries the same coverage.
Touch Bar Pros, Flexgate and the New Notch and mini-LED Screens
Different generations fail in different ways: the thin backlight flex on Touch Bar Pros wears out, while notch and mini-LED models carry a sealed assembly that cannot be opened up. Here is what each one means for the repair.
Why the backlight fades when you open the lid on a Touch Bar Pro
On Touch Bar Pros the backlight flex wears with every open and close, so the display can go dark at a certain angle or show a bright band along the bottom. This ribbon runs through the hinge and bends each time the lid moves, and after thousands of cycles the copper traces inside start to crack. It is the same flexgate pattern on the 13-inch and 15-inch bodies from that generation, and it usually appears first around a specific opening angle. The fault sits in that thin strip, not the matrix, so catching it early can mean a strip-level fix instead of a full assembly. Keeping the top cover below a wide opening angle slows the wear, and an engineer can confirm the fault on a free 15-minute check before anything is ordered.
Notch and mini-LED screens on newer Air and Pro
On Air M2 and M3 and on Pro 14 and 16 the display is a single sealed unit, so the glass is never replaced on its own and the whole part is swapped. The Liquid Retina display with the notch and the Liquid Retina XDR mini-LED module both bond glass, illumination layers and sensor cutouts into one piece, which rules out a glass-only route. Pro 14 and 16 screens add ProMotion, and the assembly carries the True Tone and camera alignment that must survive the swap. After fitting, mini-LED modules are checked for even illumination and ProMotion smoothness, because a sealed unit hides any flaw until the picture is on. A dark corner or a flicker in motion is easier to spot in the first ten minutes than a week later.
How the Display Replacement Works at iServices
The job starts with a photo of the damage on WhatsApp and ends with the device checked together with the engineer. From the first message to pickup, the whole path usually takes less than an hour.
From a WhatsApp photo to a fixed price on the receipt
You send a photo of the damage on WhatsApp, an engineer replies within five minutes with a price, and the part, turnaround and warranty are fixed on the receipt before any work begins. MacBook display replacement in Astana runs through that same short chain: a photo, a quote, a free slot, then the bench. Free diagnostics take 15 minutes in front of you — the engineer opens the device, checks the screen and the hinges and shows what is broken, even if you decide not to repair. The new component arrives in factory packaging and is shown to you before installation, so the part you agreed to is the part that goes in. We write the price, type of component, turnaround and warranty onto the receipt in about two minutes, and that sheet is what both sides work from.
Turnaround and the check we run before handover
- Timing: a display job takes from one hour to one day, and 72% of our repairs finish while the customer waits.
- Picture and brightness: even backlight, no dead pixels and correct colour across the whole screen.
- Camera and sensor: the FaceTime HD camera and the ambient light sensor both respond.
- Sleep on close: the sensor puts the device to sleep as it should when you close it.
- Wi-Fi and Bluetooth: antennas routed through the hinge still connect at normal strength.
- Handover: you leave with the receipt, warranty card and the old component.
What to Do Before You Come In and How to Protect the New Screen
While the display is cracked but the machine still runs, a few simple steps reduce the risk of finishing off the matrix before your visit and extend the life of the new screen after the repair.
Living with a cracked screen until your appointment
Until the repair, lift and close the top slowly, avoid pressing on the cracked area, and back up your data in case the display fails completely. A crack that starts at a corner often spreads along the glass with every hinge movement, and once the first line of pixels dies the damaged zone grows faster. Plugging in an external monitor through HDMI or USB-C is a safe temporary workaround — and it helps tell a display fault from a board fault, since a working picture on the external display points to the matrix rather than the graphics. Keep the device on a flat surface so the damaged cover is not flexed while you type, and skip the habit of carrying it open between rooms.
Habits that keep a new screen intact
- Clear the keyboard: earbuds, pens and crumbs press into the glass the moment the computer shuts, and that pressure point is where most repeat cracks begin.
- Skip thick bezel stickers: camera covers and heavy decals add closing pressure and leave a mark on the surface over time.
- Carry it in a sleeve: a padded case guards the corners, which take the hit when a notebook slides around inside a crowded backpack.
- Open from the centre: lifting one corner twists the assembly and stresses the hinges, so use the notch in the middle every time.
Summary: MacBook Display Replacement
The route a display repair takes depends on the damage pattern and the model generation, and those two facts decide the part, the time and the result.
- Damage sets the route: an intact top cover with a dead image often means a panel-only job, whatever the model name on the case.
- Stripes with unbroken glass: an external-monitor test separates a display fault from a board fault before any part is ordered.
- Original versus aftermarket: the factory screen holds brightness and True Tone, while a cheaper one can read dimmer and drop the setting.
- Generation matters: Touch Bar Pros wear through their backlight cable, and notch or mini-LED models take a sealed module rather than glass alone.
- Closing habit: clearing the keyboard before the top cover shuts is the simplest way to avoid a second crack.





 iPad
 iMac
 Mac mini and Studio
 Apple Watch
 AirPods
 Apple Pencil
 Apple TV
 HomePod