Your iPhone 6s Plus has three microphones, and "nobody can hear me" can mean any of them has failed. A short check at home tells you which unit is silent ahead of your visit.
Three Microphones and What Each One Does
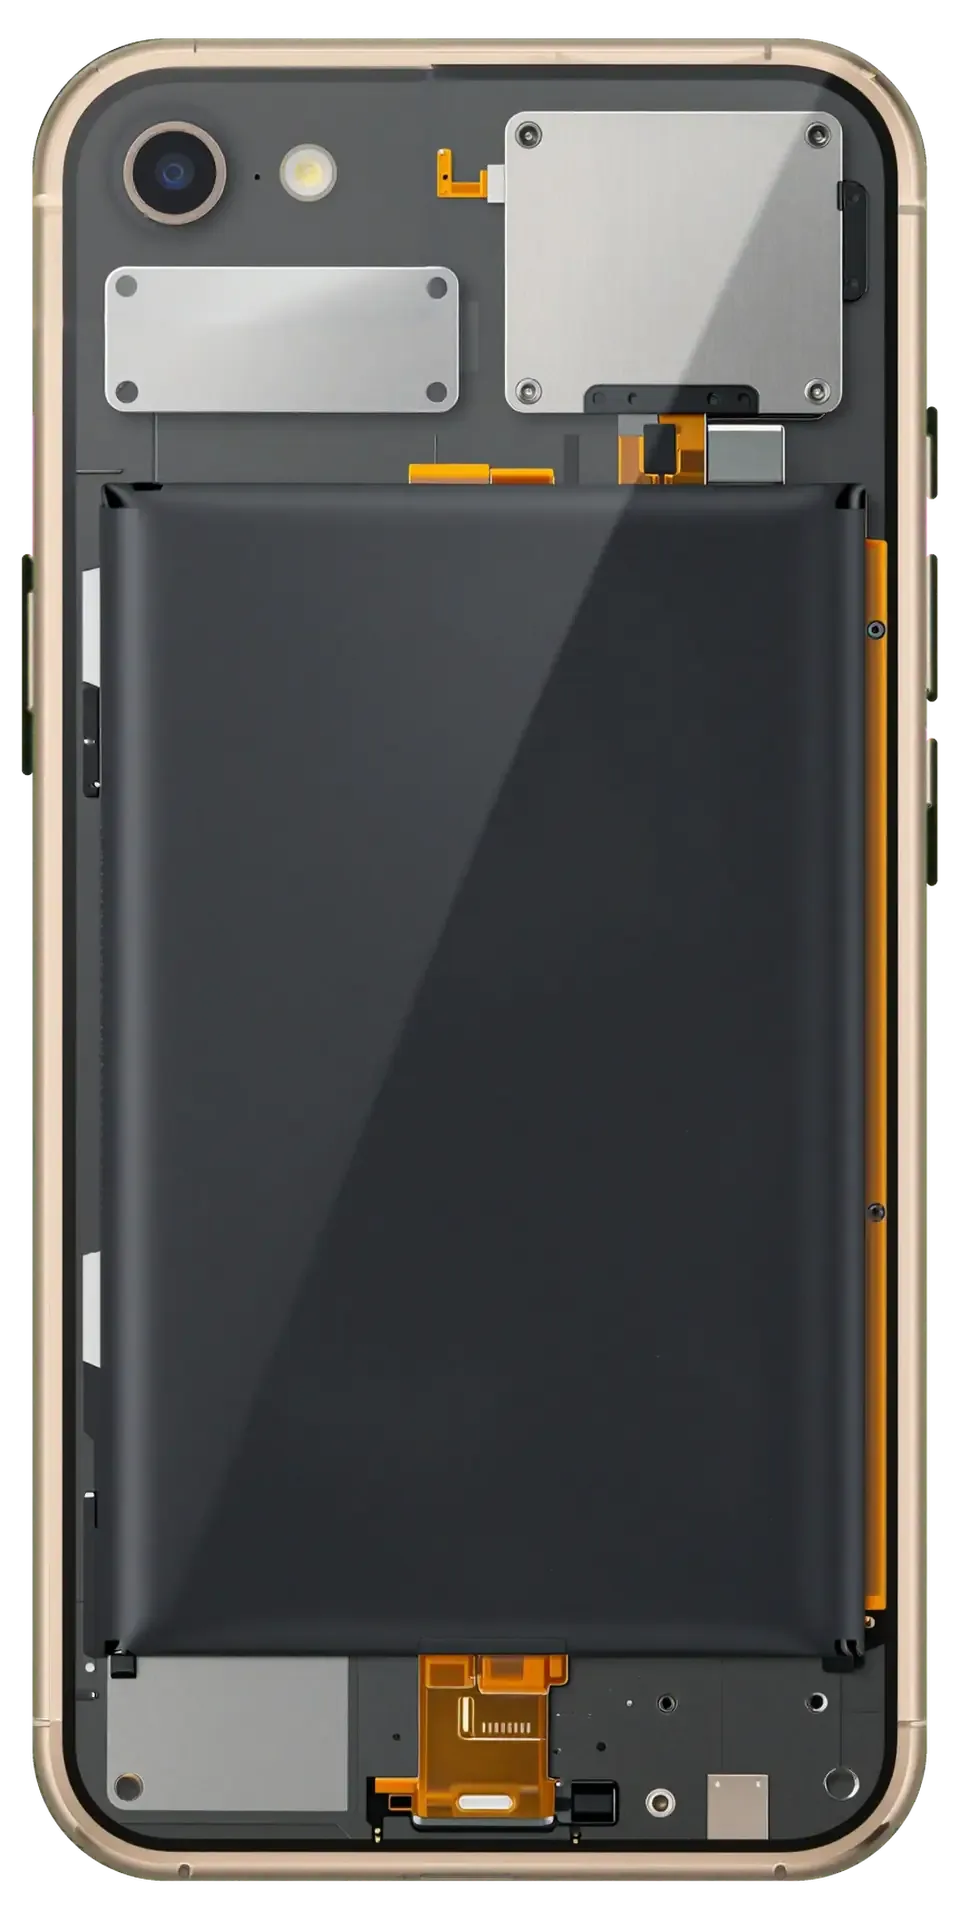
Positions of the three units and the functions they feed| Microphone | Where it sits | What it feeds |
|---|
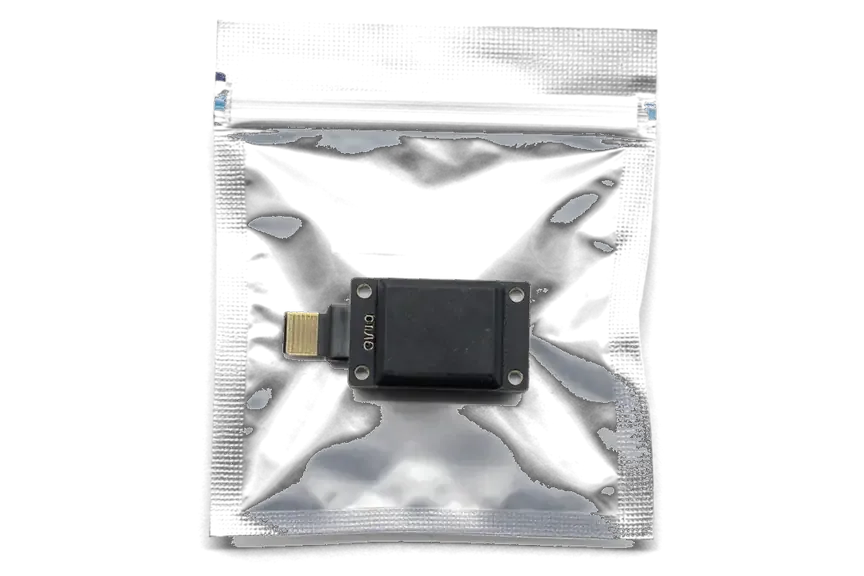
| Bottom | On the charging ribbon, next to Lightning and the 3.5 mm jack | Voice calls, Siri, Voice Memos |
|---|
| Top (front) | Near the earpiece | Speakerphone, noise cancelling, front-camera video |
|---|
| Rear | Beside the main camera | Rear-camera video sound |
|---|
A One-Minute Self-Test Before You Book Anything
We ask every customer to run four checks ahead of the visit, and they usually reveal the failing unit on their own. Record a Voice Memo and play it back, then shoot a short clip with the front camera and another with the rear one. Next, make an ordinary call and ask the other side how you sound, then switch to speakerphone and repeat. Finally, hold the home button for Siri and see whether it picks up your voice from arm's length. Write down which of the four passed. If the Voice Memos recording is clear but callers still cannot hear you, the problem is rarely the bottom unit itself and worth a closer look at the network and the earpiece mesh. If you are already thinking about an iPhone 6s Plus microphone replacement in Astana, this test helps you describe the fault accurately.
Reading the Results of Your Self-Test
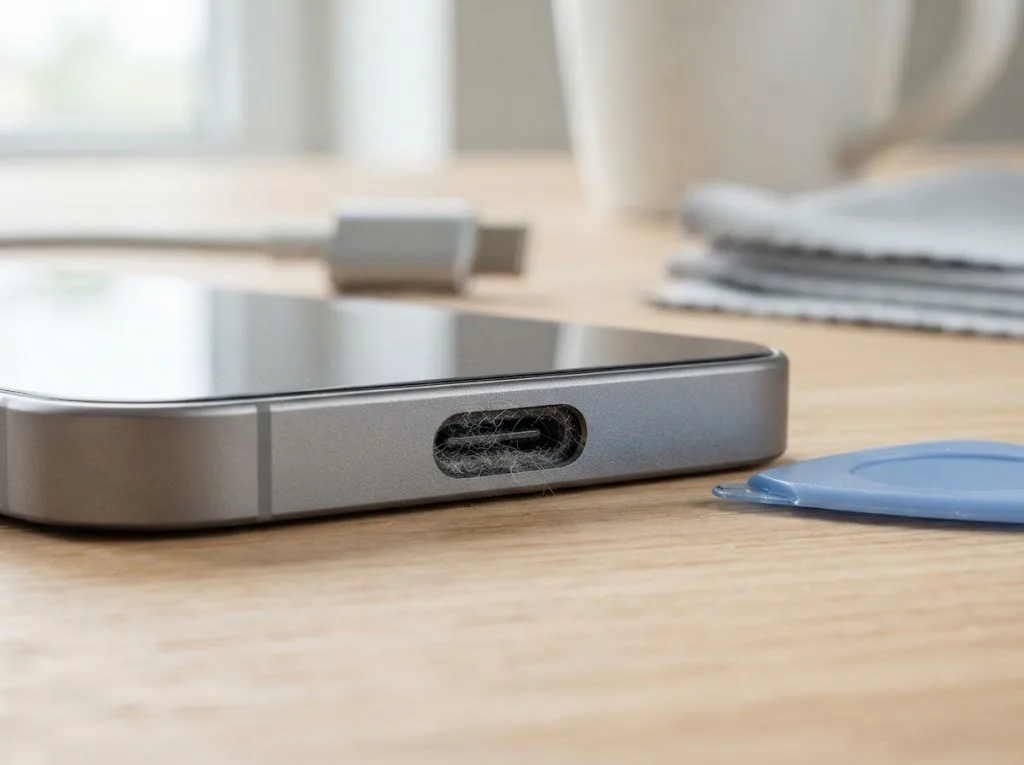
The pattern of which checks pass and which fail tells you more than any single result, because each unit covers a different set of functions. Clear Voice Memos with a dead speakerphone point to the top unit near the earpiece; clean calls with silent rear-camera video point to the unit beside the lens. When all four checks fail at once, the charging ribbon under the bottom unit is the usual suspect, since its connector carries the signal for that part. A test that fails once and passes on a second try usually points to a loose connector rather than a dead unit, so repeat the check prior to ordering any part. Dust packed into the protective mesh over the bottom opening can also mimic a failed part — a soft brush and a careful listen often settle it.
Matching the symptom to the failing iPhone 6s Plus microphone replacement
Owners almost always describe a symptom, not the part behind it. Below we translate "muffled", "echo" and "drops out" into the specific microphone that is failing and the action that follows.
From "Muffled" and "Echo" to the Part We Replace
maps each complaint to a part| Symptom | Likely cause | What we do |
|---|
| Callers cannot hear you, speakerphone is fine | Bottom microphone | Swap the charging ribbon |
|---|
| Muffled or hollow voice on every call | Blocked mesh or dirt | Clean the opening first |
|---|
| Speakerphone and front video are silent | Top microphone | Swap the top ribbon |
|---|
| Video has no sound from the rear camera | Rear microphone | Swap the rear ribbon |
|---|
| Voice drops in and out after water | Oxidation on the ribbon | Diagnose, then swap if needed |
|---|
When Cleaning Is Enough and When Water Means Replacement
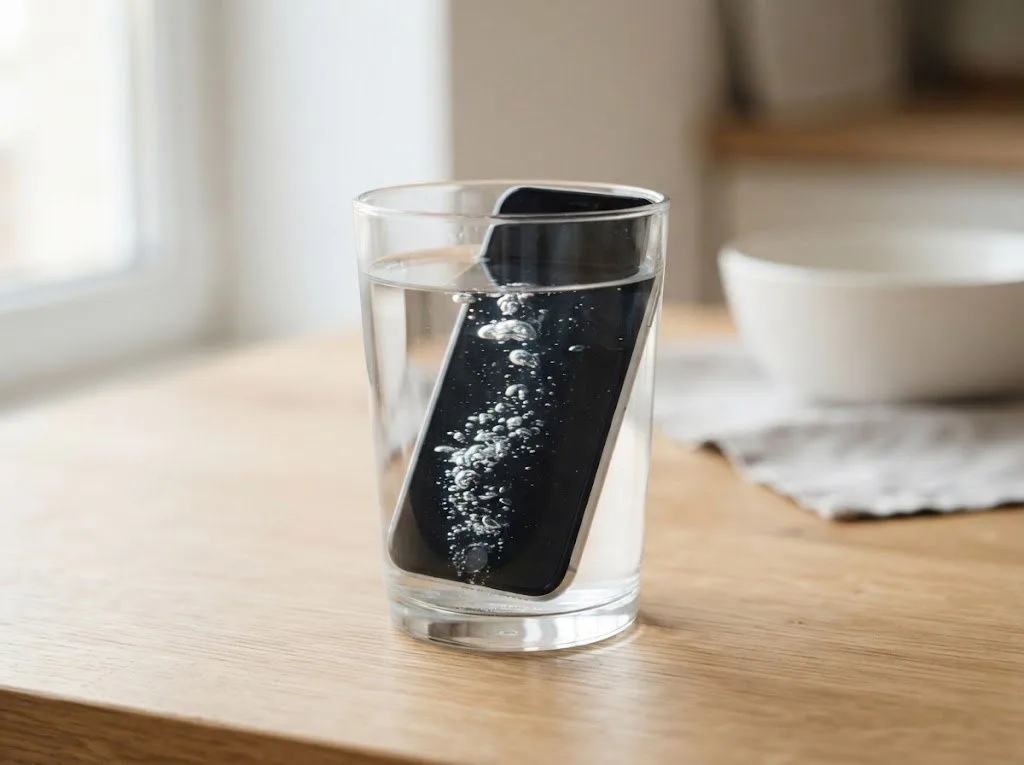
We clean the opening and mesh first, and only move to a replacement when the microphone stays quiet after cleaning or the ribbon shows oxidation from liquid. Dirt and lint pack the mesh over years of pocket carry, and a blocked opening makes the voice sound hollow without any electronic fault at all. Liquid is a different story: the 6s Plus has no factory water protection, so a single splash can travel through the Lightning opening and settle on the bottom ribbon, where it slowly corrodes the contacts. A phone that dried out and worked for a week can return with a fading microphone, which is why we inspect the part under magnification before signing off. Diagnostics after liquid sometimes take up to two days to show the full picture, so we tell owners to expect a second look rather than a same-day verdict.
Why the Charging Flex Comes Into a Microphone Job
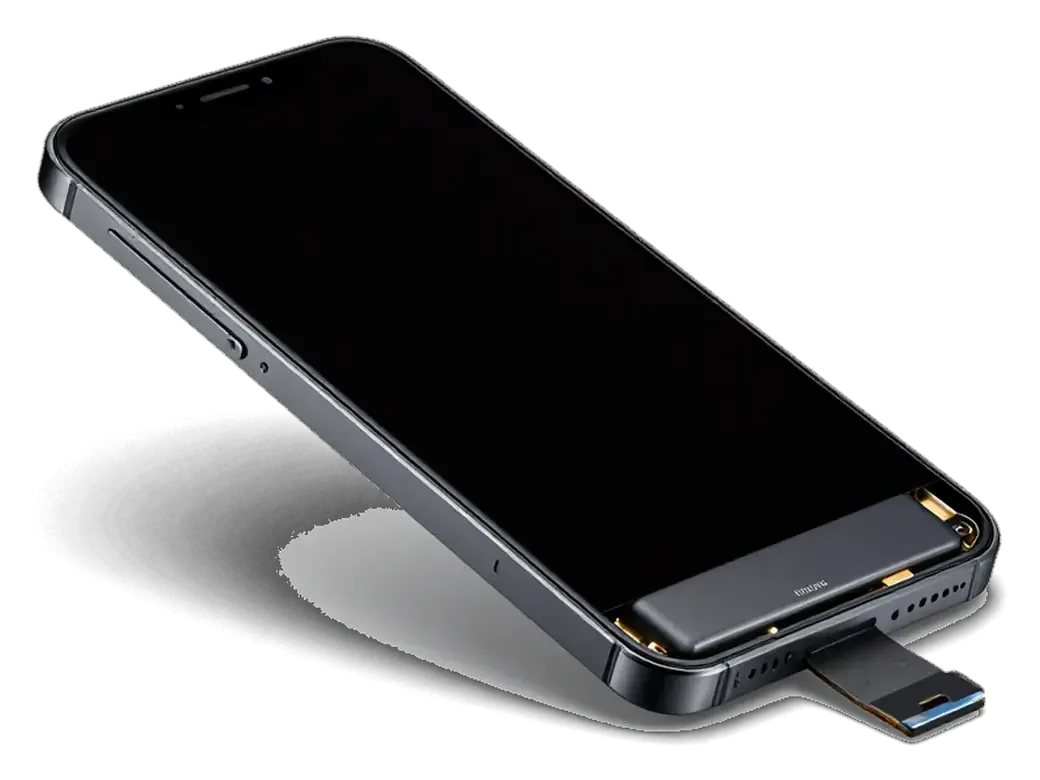
Owners are often surprised that a microphone job on the iPhone 6s Plus ends with a new charging ribbon. On this model the two are one physical assembly, and here is everything else that assembly carries.
One Ribbon, Several Functions
- Bottom microphone: the part that carries your voice on ordinary calls and voice memos.
- Lightning port: charging and data transfer run through the same ribbon cable.
- 3.5 mm headphone jack: still present on the 6s Plus and mounted directly on this flex.
- Antenna contact: the lower ribbon also links the cellular antenna to the board.
- Home button cable routing: sits alongside the assembly, so the technician checks it during the swap.
What Else Starts Working After the Swap
After we replace the lower ribbon, customers often notice that charging, headphone audio and call quality all improve together, because they share the same cable. The Lightning port stops needing a precise angle to connect, the 3.5 mm jack picks up headphones without crackle, and the bottom microphone captures speech at normal volume again. We fit either an original part or a tested aftermarket one, and the choice is written on the receipt before work starts, so you know which cable is going in. A phone that charged only at a certain angle before the repair is a strong sign the cable was already failing and the microphone was simply the first function to drop out. That is why we check the whole lower assembly rather than swapping one small component.
Microphone, Software or Logic Board
Prior to swapping a part, it is worth ruling out what has nothing to do with the microphone itself: settings, accessories and, on some units, the board.
Settings and Accessories That Mimic a Dead Microphone
- Bluetooth devices: a paired headset can take over the microphone even when it sits in another room, so unpair it and test the call again.
- App permissions: check that the microphone is allowed for the calling and recording apps you actually use, because a blocked permission looks exactly like a dead part.
- Case and protector: remove anything covering the bottom opening and test again, since a screen protector that slips over the grille can halve the volume.
- Restart and update: a fresh restart clears stuck audio services ahead of assuming hardware damage, and it costs nothing to try.
When the Logic Board Is the Real Culprit
If the microphones test fine but calls stay silent and the phone boots slowly, the fault can sit on the logic board rather than in any microphone. The audio codec that converts sound into a signal is soldered to that board, and when it fails, all three microphones go quiet at once while recordings made earlier still play back normally. A single dead microphone points to the ribbon; a silent trio plus a slow boot points to the board. We confirm this with a free 15-minute check in front of you prior to ordering anything. Board-level audio faults are repaired under a microscope, and they are worth confirming prior to ordering any part, because a new cable will not fix a board problem.
How We Run the Replacement and What You Get Back
The swap itself takes less time than most owners expect. What matters more is what gets fixed on paper before we open the device and what we test with you at handover.
From WhatsApp Photo to Finished Repair
You send a photo of the phone on WhatsApp, an engineer replies within five minutes with a price, and most microphone jobs are done in 20–40 minutes while you wait. We book a free slot, show the new component in factory packaging ahead of installation, and let you choose between an original and an aftermarket unit — 64% of customers pick the original. The price, the component, the turnaround and the warranty are written on the receipt prior to work starting, so nothing about the job changes once the case is open. You can sit in the waiting area with coffee and Wi-Fi, or leave the device and collect it later the same day. Ask for the receipt copy by message if a courier is bringing your handset in — it is the document you show if anything needs revisiting.
The Handover Check We Do With You
- Full function pass: we run 32 checks over about 10 minutes, covering microphones, speakers, cameras, charging and network.
- Call test: place a real call and confirm the person on the other end hears you clearly.
- Speakerphone and Siri: both exercise the top unit in one pass.
- Voice Memos and video: record on both cameras to confirm all three units.
- Paperwork: take the receipt, the warranty card and the old component with you.
Summary: iPhone 6s Plus Microphone Replacement
The points below sum up what the self-test tells you, which component usually fails, and what a complete handover should include.
- Three microphones, one check: Voice Memos plus a short video from each camera reveals which of the three is silent ahead of booking anything.
- Bottom microphone and charging flex: the microphone, Lightning port and 3.5 mm jack share one cable, so a dead bottom mic usually means the flex gets swapped.
- Dirt versus a failed component: muffled sound that clears once the mesh is cleaned is debris, not a broken unit.
- Logic board warning signs: a slow boot together with silent calls points past the microphones to the board itself.
- Complete handover: a live call test, the old unit in the box and a written warranty card are what a finished job should leave you with.







 iPad
 MacBook
 iMac
 Mac mini and Studio
 Apple Watch
 AirPods
 Apple Pencil
 Apple TV
 HomePod