The mini 2 pairs a thin body with a screen built from separate layers, so its list of typical faults is narrow and predictable. Here is what people bring in most often and what each symptom actually means.
Cracked glass while the picture still works
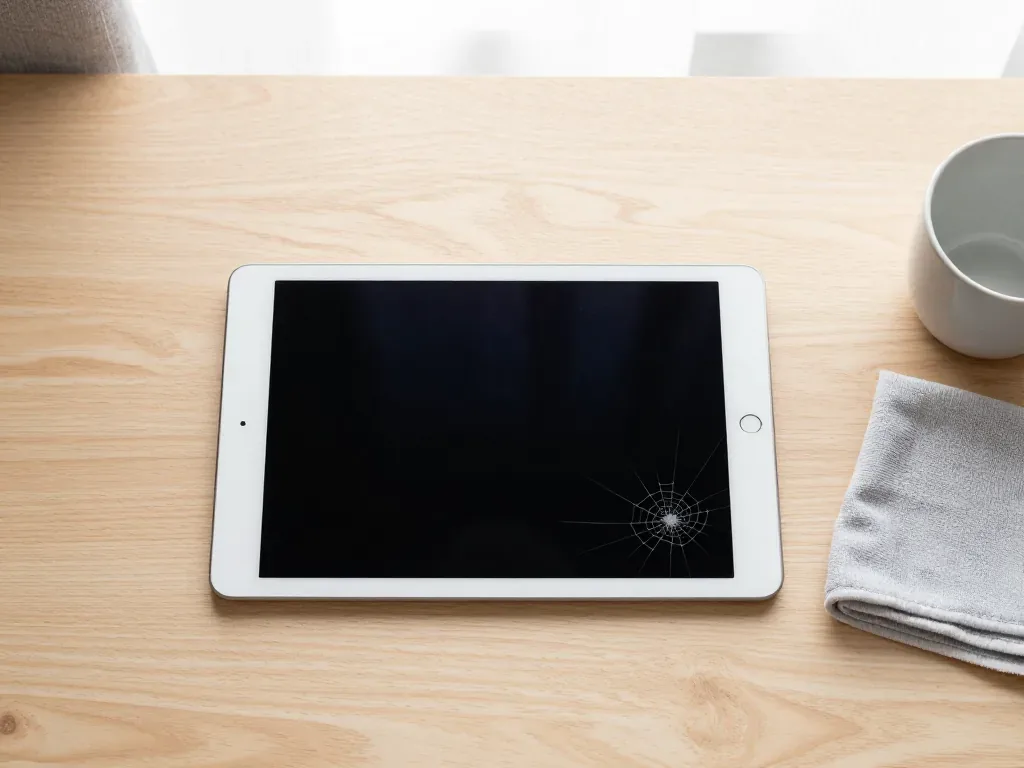
A cracked outer layer over a clean, sharp image is the most common fault on this tablet, and on this generation the touch panel sits above the LCD as a separate part. The picture keeps rendering because the matrix underneath is untouched — only the outer digitizer sheet has taken the hit. Hairline cracks spreading from a corner are the usual pattern after a short drop onto tile or pavement. The panel may still register taps everywhere, or it may go patchy along the fracture line, and that difference decides whether a top-layer-only job is enough. Keep using the tablet only with a screen protector laid over the crack: loose splinters work their way into the digitizer layer and turn a top-layer-only job into a full assembly swap.
Lines, blotches and dead touch zones
Vertical lines, dark blotches or patches that ignore touch point to the matrix or the digitizer rather than the outer layer, and they rarely clear up on their own. On a laminated module the whole display is replaced as one unit; on this generation the layers are separate, so an engineer can sometimes save the healthy half. A failing backlight shows as uneven brightness or a dim band along one edge, while a dead strip that ignores taps usually means the digitizer flex has torn or oxidized. A pressure mark that appears after the tablet was sat on or squeezed in a bag often shows as a purple spot first — photograph it before the spot spreads, since the picture helps the engineer pick the right part.
Why a mini 2 stays dark or loses charge overnight
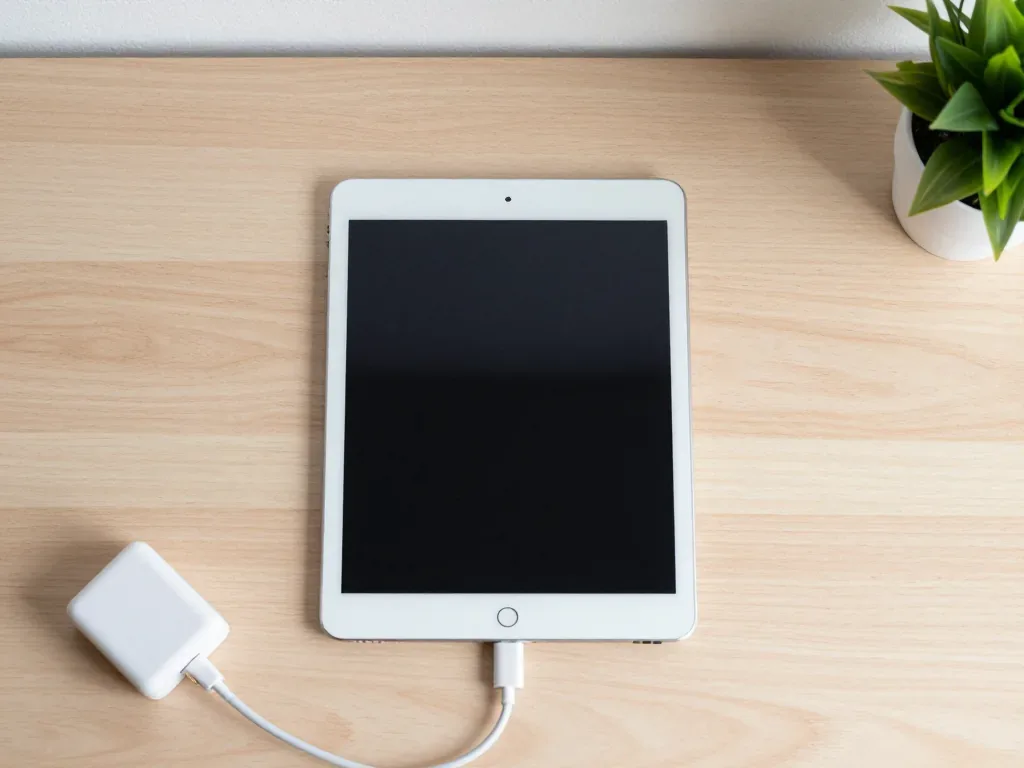
The mini 2 shares the 30-pin connector family with the iPad 2 and iPad 3, so a charging fault on this tablet is traced in a fixed order: cable and adapter first, then the 30-pin slot and its flex, then the battery, then the power controller on the board. A tired adapter mimics a dead port, and a bent pin or green corrosion inside the slot is often mistaken for a failed cell. A battery that falls from full to empty overnight with the screen off is genuinely failing, while a board-level fault needs a microscope and a bench check before anything is ordered. A swollen cell pushes the screen away from the frame before it ever fails to hold charge, so a gap along the edge is a stop-charging signal, not a cosmetic flaw.
Glass or Full Display Assembly and iPad mini 2 Repair on This Generation
The mini 2 belongs to the last group of tablets with a non-laminated screen, and that single fact decides whether you pay for glass alone or a whole assembly.
Why the mini 2 allows a glass-only replacement
We can replace just the outer glass on a mini 2 because the digitizer and the LCD are separate layers, so a healthy matrix stays in place. Apple built the mini 1, mini 2 and mini 3 this way: the digitizer sits above an air gap, and the matrix below it is a distinct component. When only the outer layer cracks and the picture is still clean, the technician heats the perimeter to soften the adhesive, lifts the digitizer off the aluminium frame and scrapes the old glue away. A new digitizer goes on with fresh adhesive. The digitizer is glued into the frame, not onto the matrix, so the job is controlled heat and a clean re-glue — a cold pry is what cracks the LCD underneath and turns a top-layer job into a full assembly replacement.
When the whole display assembly has to go
If the matrix is cracked, bleeding or half-dark, we fit a complete display assembly, because a damaged LCD cannot be repaired by swapping the top layer. Lines that spread from a pressure point, black blotches in a corner and a backlight that lights only half the panel are all matrix faults — the liquid crystal layer itself is broken. On the mini 2 the assembly also carries the Home button, and this generation has no Touch ID, so the button is a plain mechanical part with no fingerprint sensor to migrate or re-pair. Ask for the old assembly back — comparing the dead part with the new one is the simplest way to confirm the matrix really was beyond saving, and we return it with the tablet anyway.
Matching the repair to the part of the screen that failed
symptom-to-part map for screen faults| Symptom you see | Part that usually fails | What we replace |
|---|
| Cracks, image and taps fine | Outer layer | Top layer only, matrix kept |
|---|
| Lines, blotches, dead zones | LCD matrix | Full display assembly |
|---|
| No touch, image perfect | Digitizer layer | Glass with digitizer |
|---|
| Screen lifting at the edge | Swollen battery | Battery, then re-seat screen |
|---|
| Dark, no charge light | Connector or power rail | Flex or board-level repair |
|---|
Battery, Charging and the 30-pin Connector
On a device this old the power supply and the charging path cause more visits than the display, and both are reached from the same direction — through the front panel.
A glued-in battery that is reached through the screen
The mini 2 power cell is glued under the display, so we lift the front panel to reach it and re-glue it on reassembly — this is not a home job. The part sits in an aluminium tray with adhesive strips along both long edges, and the display flex runs directly over it, so a pry in the wrong place cuts the digitizer before the pack is even free. We warm the panel to soften the glue, work opening picks around the frame, and lay in fresh adhesive so everything sits flush again. Because the front panel comes off anyway, a worn pack and a chipped corner are handled in one visit rather than two. A unit that shuts down at 30–40 % is already worn past the point where calibration helps; the tell is sudden shutdowns under load rather than a slow, even decline.
Swelling you can see before the battery dies
A swollen pack pushes the display up along one edge, and that gap is visible long before the device stops holding charge. The pouch expands as it ages, the aluminium back has no give, so the pressure goes into the panel and the frame separates by a millimetre or two near the home button. Owners often read that lift as a loose fit and press it back down, which bends the assembly and can crack the digitizer underneath. Look for a rocking unit on a flat desk, a bright patch at the edge of the picture, or a case that no longer clips shut on one side. Stop charging a lifted device and keep it off soft furniture — a punctured pouch is a fire risk, and the safe move is a diagnosis, not another charge cycle.
The 30-pin port and why charging faults hide there
- Pin condition: all 30 contacts checked under magnification for bends, corrosion and pushed-in pins that stop seating.
- Flex and solder joints: the connector flex cracks where it folds against the logic board, cutting charging while data still passes.
- Power controller: we measure draw at the board to see whether current reaches the charging circuit.
- Cable and adapter: a known-good 30-pin cable and a lab power supply confirm the fault sits in the device, not the accessories.
- Cell draw test: a port that pulls current proves the pack is fine and the fault is upstream.
How an iPad mini 2 Repair Runs at iServices
The sequence is fixed and short, and most of it happens while you watch — from a photo on WhatsApp to a checked tablet back in your hands.
From a WhatsApp photo to a fixed quote
For a mini 2 repair in Astana, send a photo of the damage on WhatsApp and an engineer replies within 5 minutes with a price and a free slot; a courier can be called if you cannot come in. The engineer quotes from the picture, then runs a free 15-minute inspection in front of you and shows what is actually broken, even if you decide not to proceed. A crack can hide a damaged matrix, so the estimate is confirmed only after that in-person look — the receipt is written afterwards, not before. Waiting on a reply costs nothing and tells you whether the fault is glass alone or something deeper. Every iPad mini 2 repair in Astana follows this same route, so you know the price before any work begins.
What is fixed on the receipt before work starts
- Part type: original or aftermarket is named on the receipt before a screwdriver touches the tablet.
- Turnaround: the promised window is written down, so a quick job stays quick.
- Warranty: our term lasts up to 1 year and is tied to the component named on the paper.
- Old component: returned with the device, alongside the warranty card and the receipt.
How long it takes and what you check on pickup
Turnaround and post-repair tests by job type| Work on a mini 2 | Typical turnaround | Post-repair test |
|---|
| Touch glass replacement | Same day, while you wait | Touch in all corners, no light bleed |
|---|
| Full display assembly | One day or less | Image, brightness, touch response |
|---|
| Battery replacement | Same day, while you wait | Charge cycle, no shutdown under load |
|---|
| 30-pin port or flex | One day or less | Charging, data sync, no heat |
|---|
| Board-level fault | 1 to 3 days | Boot, charging, Wi-Fi, audio |
|---|
Original Part or Aftermarket and What the Warranty Covers
On a tablet this age the part choice is a real trade-off, and the honest answer depends on how much life you still expect from the device.
How an original screen and an aftermarket one differ in use
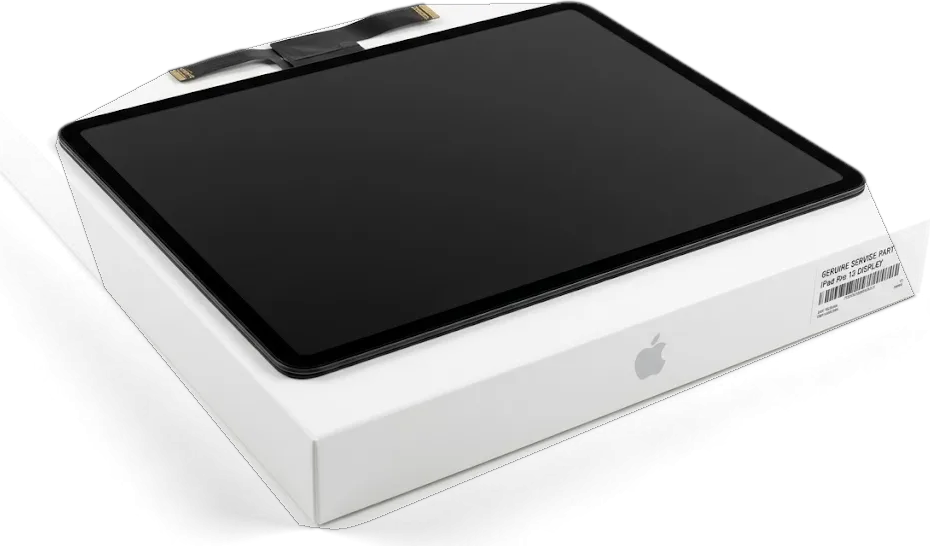
An original display keeps the colour, brightness and touch response the mini 2 shipped with, while an aftermarket panel can differ in tint and in how firmly it registers a light press. We fit both types and show the new unit in its factory packaging before installation, so you see exactly what goes into the frame. An aftermarket assembly usually arrives faster, but its outer layer may sit a fraction differently against the bezel and its digitiser can feel slightly less precise near the edges. A genuine unit restores the picture the tablet had on day one, including the anti-reflective coating and the wider viewing angles. On a screen used mainly for reading and video, a replacement panel is often the sensible pick; on one used for drawing or notes, the tap accuracy of a genuine part matters more.
Battery choice and what it changes day to day
An original battery holds its rated capacity longer, while an aftermarket cell is a cheaper way to get a working tablet back for light use. The difference shows up in runtime after a few months: a genuine cell keeps closer to its stated milliamp-hours through hundreds of charge cycles, and a cheaper one tends to fade sooner under heavy video or gaming load. We quote both options before work starts, name the unit on the receipt and give a warranty up to 1 year on either. 64% of our customers pick an original part, and on a mini 2 the battery is the one item where that choice shows up most in daily runtime.
What the warranty covers and how it is recorded
- Covered — the part: a display, battery or connector that fails on its own within the term is replaced under warranty at no charge.
- Covered — our workmanship: a loose frame, an unseated cable or a digitizer that stops responding after the job is redone by us.
- Recorded on the receipt: the price, the part (original or aftermarket), the turnaround and the warranty are fixed on the receipt before work starts.
- Returned with the device: the device comes back with the receipt, the warranty card and the old part.
Summary: iPad mini 2 repair
A mini 2 is worth repairing when the fault is matched to the right component and the work is checked on pickup. The points below cover what decides the outcome.
- Cracked outer layer, working picture: the mini 2 has a non-laminated screen, so a healthy matrix under a broken top layer is fixed with that layer alone.
- Lines, blotches, dead tap zones: the matrix or digitizer has failed, and the full display assembly is what gets swapped in.
- Battery replacement: the cell is glued beneath the display and reached by lifting the screen, which keeps it a workshop job rather than a home one.
- Charging faults: a bent pin or worn flex in the 30-pin port mimics a dead battery, so the connector is tested before any cell is ordered.
- On pickup: ask for the old component, the receipt and the warranty card, then test taps and charging before you leave the counter.













 MacBook
 iMac
 Mac mini and Studio
 Apple Watch
 AirPods
 Apple Pencil
 Apple TV
 HomePod